Community project
Mam Taki Sprzet 40 Szt Zestaw Kabli Do
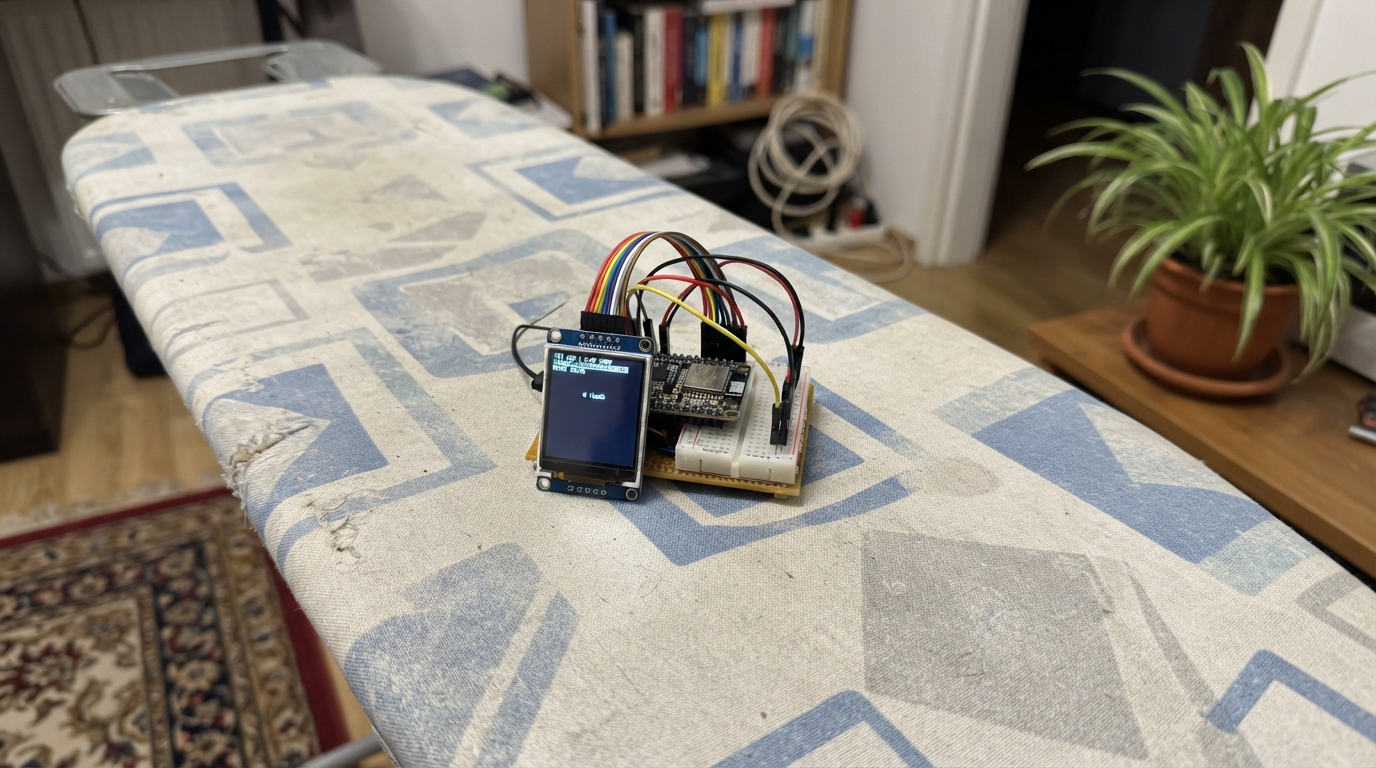
This project builds a weather station display using an ESP32 microcontroller and a 1.69" TFT LCD screen. The display connects to Wi-Fi to fetch live weather data, showing conditions and forecasts on a colorful 240×280 pixel screen with custom segment-based number rendering.
The guide provides a complete parts list from the 40-piece cable kit, a wiring diagram showing all eight connections between the ESP32 and ST7789V3 display, step-by-step assembly instructions, and ready-to-use firmware that handles SPI communication, Wi-Fi connectivity, JSON weather parsing, and real-time clock synchronization.
Wiring diagram

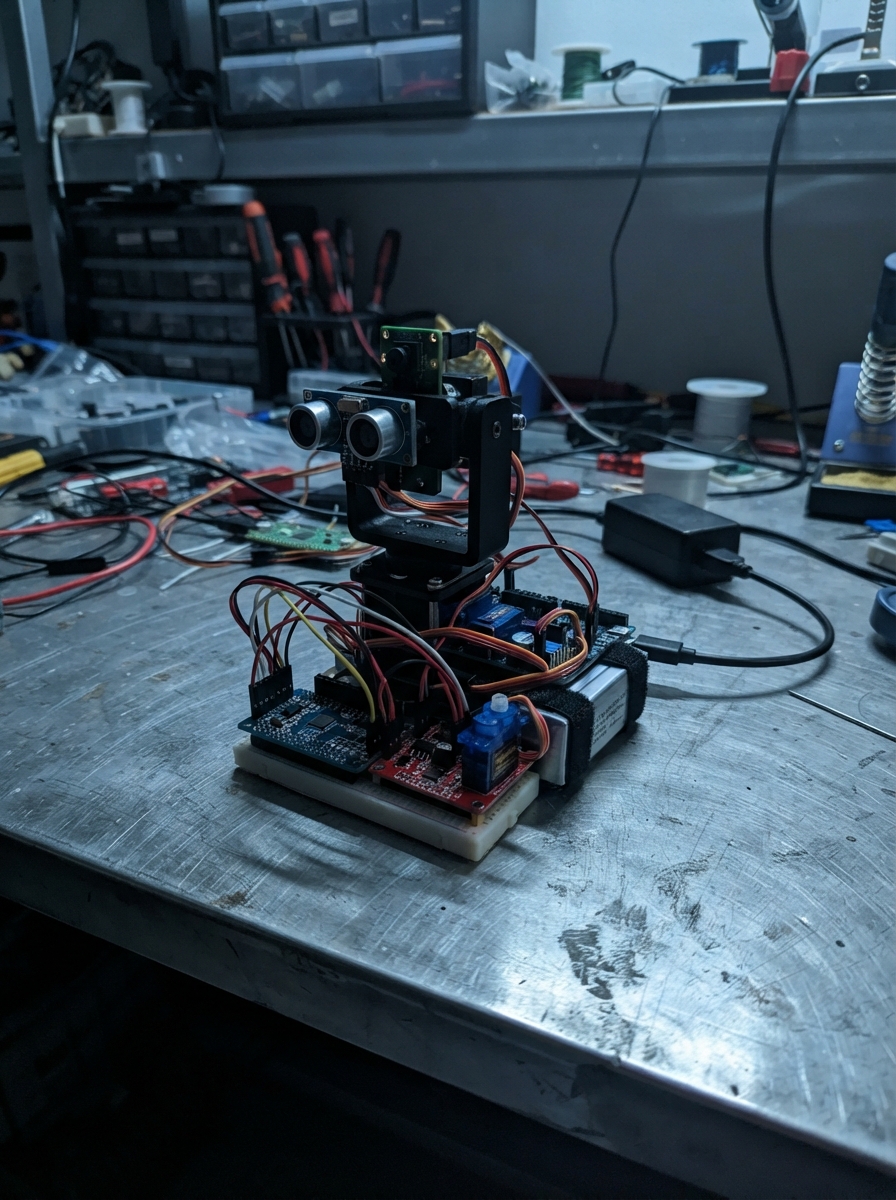
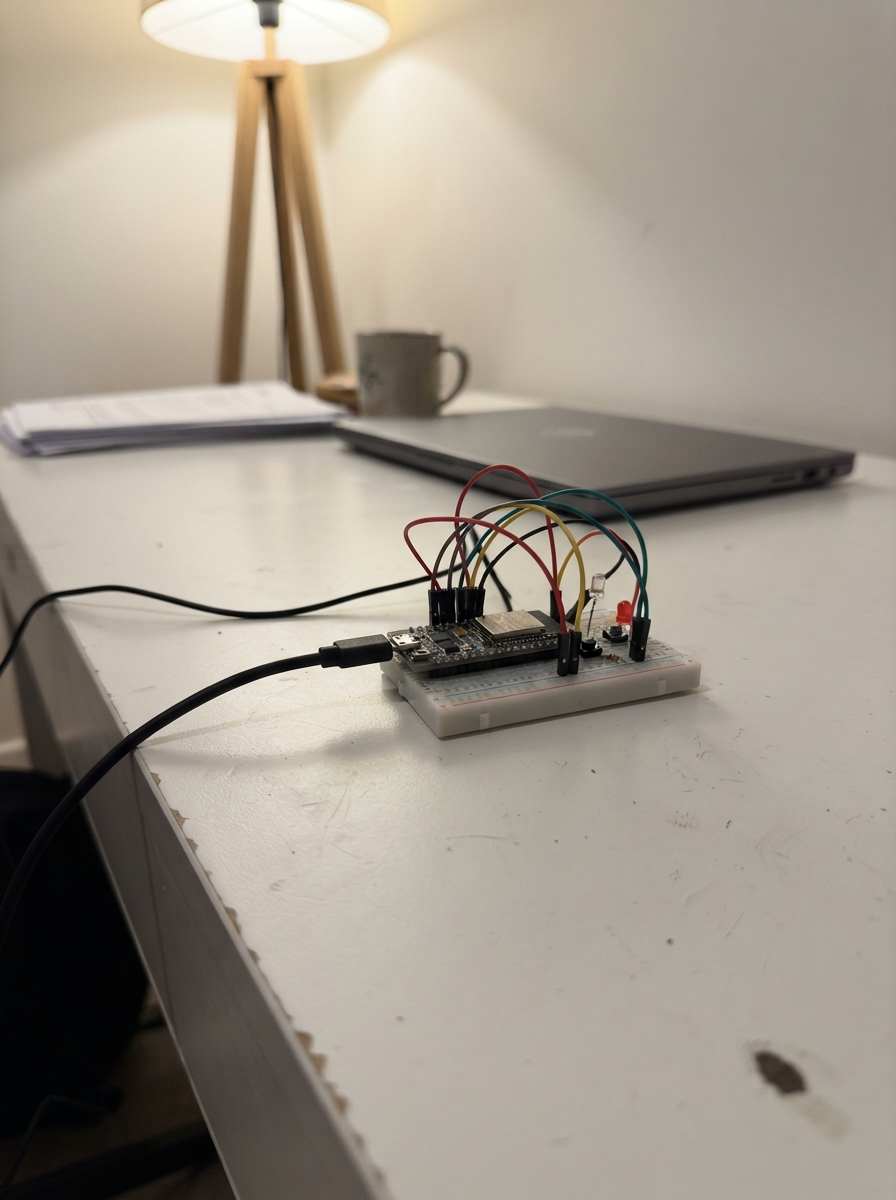
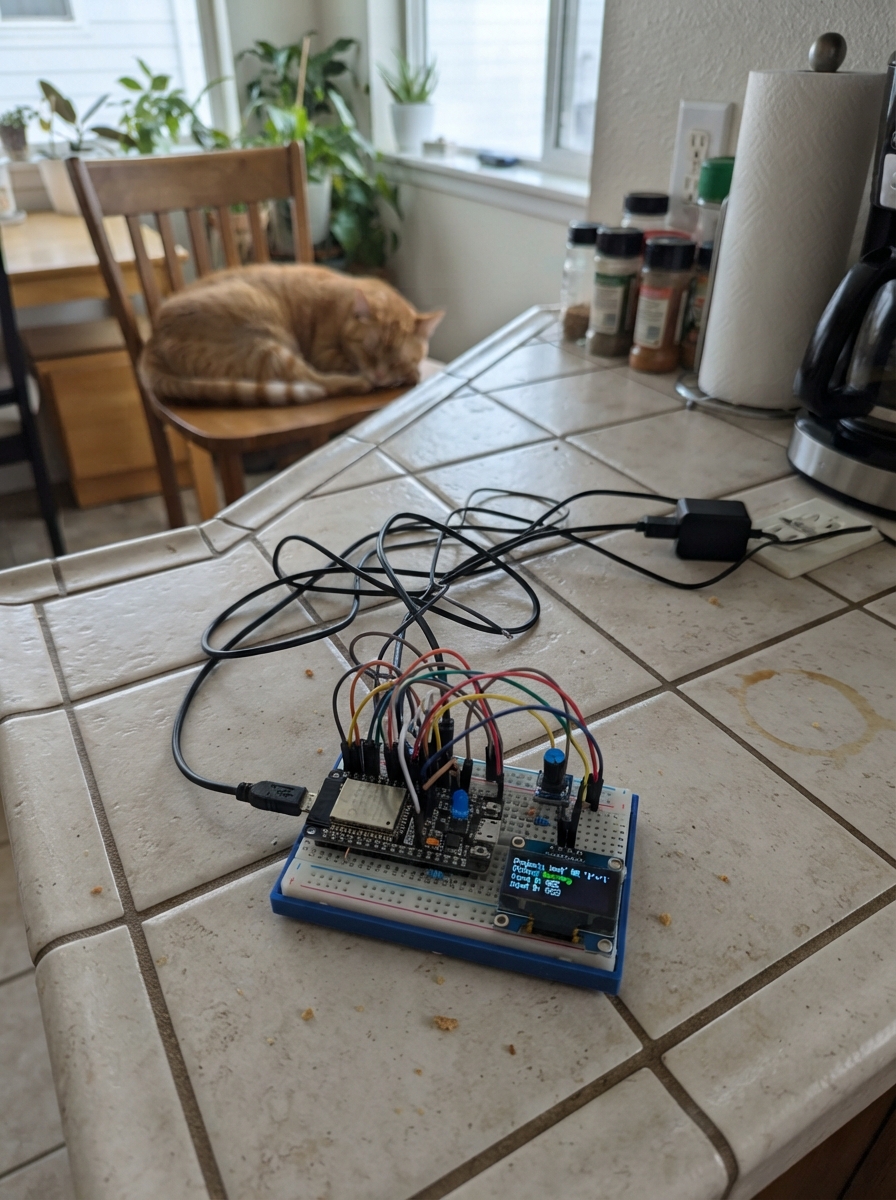
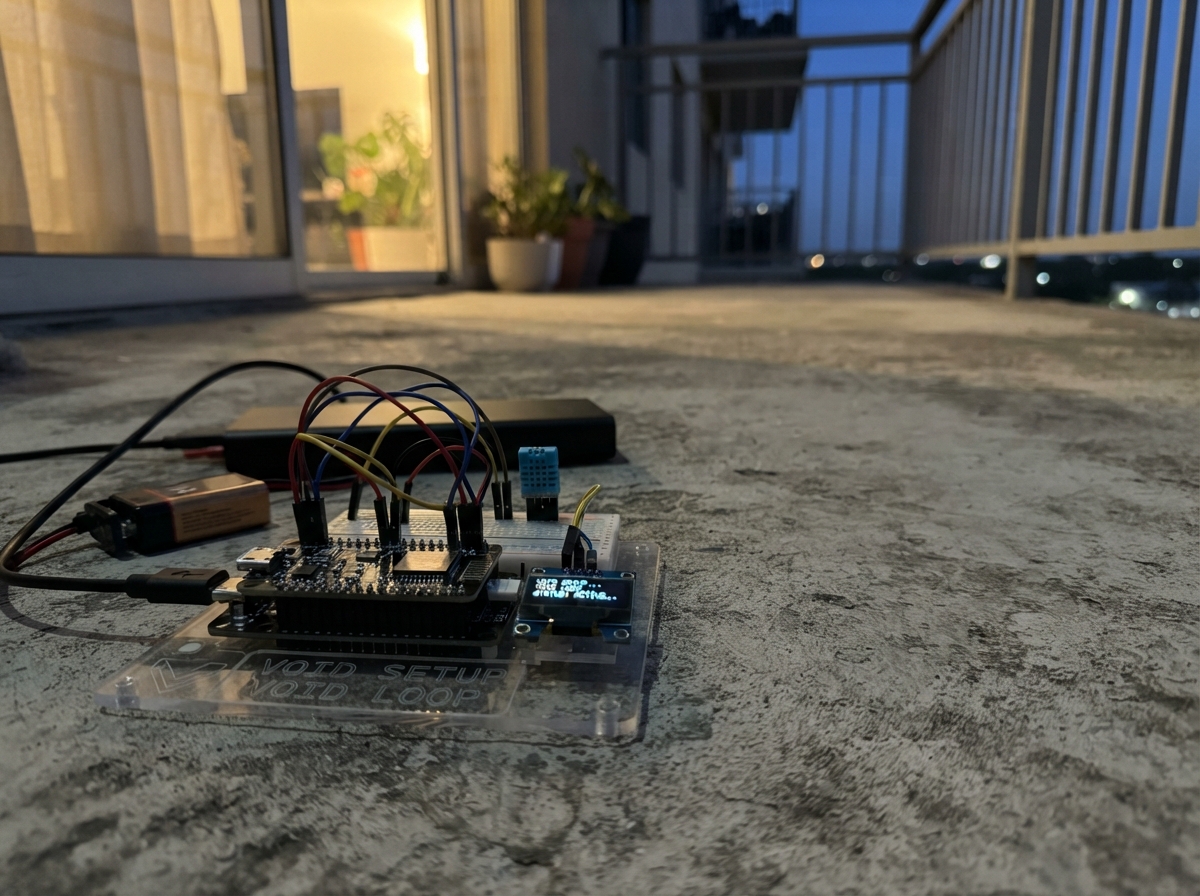
Gather all the parts
Assemble it in 5 steps
1. Odłącz zasilanie i ustaw płytki
Odłącz USB‑C od ESP32. Wepnij ESP32 przez środkową szczelinę płytki stykowej, a ekran `tft_169` ustaw obok. Upewnij się, że każdy metalowy pin trafia do osobnego rzędu otworów.
- Napisy przy pinach ekranu są małe; użyj światła z telefonu, aby odczytać je dokładnie.
- Jeśli ekran ma nieprzylutowany pasek pinów, przylutuj go przed włożeniem do płytki.
- Nie wkładaj ani nie przekładaj przewodów, gdy ESP32 jest podłączone przez USB — zwarcie może uszkodzić płytkę lub kabel.
2. Zrób dwie wspólne szyny zasilania
Wybierz boczną szynę z czerwonym znakiem plus jako szynę 3,3 V. Połącz pin 3V3 ESP32 z dowolnym otworem tej szyny czerwonym przewodem (zasilanie). Wybierz sąsiednią szynę z niebieskim znakiem minus i połącz ją z dowolnym pinem GND ESP32 czarnym przewodem (wspólny powrót prądu). Wszystkie otwory na jednej nieprzerwanej części długiej szyny są ze sobą połączone.
- Znak plus na płytce nie oznacza automatycznie 5 V: po tym połączeniu jest to bezpieczna szyna 3,3 V.
- Jeżeli długa szyna jest przerwana w połowie, użyj tylko jednej jej połowy albo połącz obie połówki krótkim przewodem.
- Nie łącz szyny użytej dla ekranu z VIN ani 5V — 5 V może uszkodzić ekran.
3. Podłącz zasilanie i światło ekranu
Z czerwonej szyny 3,3 V poprowadź jeden przewód do pinu VCC ekranu `tft_169` (zasilanie) i drugi przewód do pinu BLK, BL lub LED ekranu (włącza podświetlenie). Z czarnej szyny GND poprowadź przewód do pinu GND ekranu (wspólny powrót prądu). Oba czerwone przewody mogą być wpięte w dwa różne otwory tej samej długiej szyny.
- Nie potrzebujesz dwóch pinów 3V3 na ESP32: płytka stykowa rozdziela jeden pin 3V3 na VCC i BLK.
- Jeżeli nie masz miejsca w tym samym otworze, użyj innego wolnego otworu tej samej szyny.
- Nie zamieniaj VCC z GND — zamienione zasilanie może uszkodzić ekran.
- Nie podłączaj BLK do GND, ponieważ ekran pozostanie ciemny.
4. Podłącz pięć przewodów obrazu
Połącz `tft_169` SCL lub SCK z D18 ESP32 (zegar danych), SDA lub MOSI z D23 (dane obrazu), CS z D4 (wybór ekranu), DC z D25 (sterowanie ekranem) oraz RES lub RST z D26 (reset ekranu).
- SCL na tym ekranie może być opisany jako SCK, a SDA jako MOSI — to te same przewody w tym projekcie.
- Szukaj na ESP32 oznaczeń D18, D23, D4, D25 i D26; liczba po literze D odpowiada numerowi GPIO.
- Nie używaj D35 do żadnego z tych pięciu przewodów — ten pin potrafi tylko odbierać sygnał, a ekran potrzebuje sygnałów wysyłanych z ESP32.
- Włożenie przewodu o jeden rząd obok może pozostawić ekran czarny mimo poprawnego programu.
5. Uruchom zegar i połącz Wi-Fi
Sprawdź jeszcze raz osiem nazw pinów ekranu, potem podłącz ESP32 przewodem USB‑C. Naciśnij Deploy w Schematik. Przy pierwszym uruchomieniu połącz telefon lub komputer z siecią Wi‑Fi „Zegar-ESP32”, otwórz stronę ustawień i podaj dane swojej domowej sieci. Zegar pobierze czas oraz pogodę dla Warszawy.
- Jeżeli strona ustawień nie otworzy się sama, po połączeniu z siecią „Zegar-ESP32” wpisz w przeglądarce 192.168.4.1.
- Dane pogody są odświeżane co około 10 minut.
- Podawaj hasło tylko na stronie ustawień otwartej po połączeniu z własną siecią „Zegar-ESP32”.
Review all connections
1. Connections between "tft_169" and "ESP32"
Deploy the firmware
#include <Arduino.h>
#include <SPI.h>
#include <WiFi.h>
#include <WiFiManager.h>
#include <HTTPClient.h>
#include <ArduinoJson.h>
#include <time.h>
#define TFT_CS 4
#define TFT_DC 25
#define TFT_RST 26
#define TFT_MOSI 23
// Forward declarations
void segment(int x,int y,int n,int s,uint16_t c);
void number(const String &v,int x,int y,int s,uint16_t c);
void header();
void drawWeather();
void getWeather();
void clockUpdate();
constexpr int TFT_SCLK = 18;
constexpr uint16_t NAVY = 0x0861, SKY = 0x5DDF, PALE = 0xE73C, WHITE = 0xFFFF, YELLOW = 0xFFE0, RED = 0xF800;
constexpr unsigned long WEATHER_INTERVAL_MS = 600000UL;
class ST7789Direct {
public:
void begin() {
pinMode(TFT_CS, OUTPUT); pinMode(TFT_DC, OUTPUT); pinMode(TFT_RST, OUTPUT);
SPI.begin(TFT_SCLK, -1, TFT_MOSI, TFT_CS);
digitalWrite(TFT_CS, HIGH); digitalWrite(TFT_RST, LOW); delay(20); digitalWrite(TFT_RST, HIGH); delay(120);
cmd(0x01); delay(150); cmd(0x11); delay(120); cmdData(0x3A, 0x55); cmdData(0x36, 0x00);
const uint8_t porch[] = {0x0C, 0x0C, 0x00, 0x33, 0x33};
const uint8_t power[] = {0xA4, 0xA1};
cmdData(0xB2, porch, sizeof(porch));
cmdData(0xB7, 0x35); cmdData(0xBB, 0x19); cmdData(0xC0, 0x2C); cmdData(0xC2, 0x01);
cmdData(0xC3, 0x12); cmdData(0xC4, 0x20); cmdData(0xC6, 0x0F); cmdData(0xD0, power, sizeof(power));
cmd(0x21); cmd(0x29); delay(20); fill(0, 0, 240, 280, NAVY);
}
void fill(int x, int y, int w, int h, uint16_t c) {
if (x < 0) { w += x; x = 0; } if (y < 0) { h += y; y = 0; }
if (x + w > 240) w = 240 - x; if (y + h > 280) h = 280 - y; if (w <= 0 || h <= 0) return;
uint8_t d[4]; d[0]=x>>8; d[1]=x; d[2]=(x+w-1)>>8; d[3]=x+w-1; cmdData(0x2A,d,4);
d[0]=y>>8; d[1]=y; d[2]=(y+h-1)>>8; d[3]=y+h-1; cmdData(0x2B,d,4); cmd(0x2C);
digitalWrite(TFT_DC,HIGH); digitalWrite(TFT_CS,LOW); SPI.beginTransaction(SPISettings(40000000, MSBFIRST, SPI_MODE0));
uint8_t hi=c>>8, lo=c; for (uint32_t i=0;i<(uint32_t)w*h;i++) { SPI.transfer(hi); SPI.transfer(lo); }
SPI.endTransaction(); digitalWrite(TFT_CS,HIGH);
}
private:
void cmd(uint8_t c) { digitalWrite(TFT_DC,LOW); digitalWrite(TFT_CS,LOW); SPI.beginTransaction(SPISettings(40000000,MSBFIRST,SPI_MODE0)); SPI.transfer(c); SPI.endTransaction(); digitalWrite(TFT_CS,HIGH); }
void cmdData(uint8_t c,uint8_t v) { cmdData(c,&v,1); }
void cmdData(uint8_t c,const uint8_t *p,uint8_t n) { cmd(c); digitalWrite(TFT_DC,HIGH); digitalWrite(TFT_CS,LOW); SPI.beginTransaction(SPISettings(40000000,MSBFIRST,SPI_MODE0)); while(n--) SPI.transfer(*p++); SPI.endTransaction(); digitalWrite(TFT_CS,HIGH); }
};
ST7789Direct tft;
const uint8_t segs[] = {0x3F,0x06,0x5B,0x4F,0x66,0x6D,0x7D,0x07,0x7F,0x6F};
void segment(int x,int y,int n,int s,uint16_t c) { uint8_t m=segs[n]; int w=3*s, l=10*s; if(m&1)tft.fill(x+w,y,l,w,c); if(m&2)tft.fill(x+w+l,y+w,w,l,c); if(m&4)tft.fill(x+w+l,y+2*w+l,w,l,c); if(m&8)tft.fill(x+w,y+2*(w+l),l,w,c); if(m&16)tft.fill(x,y+2*w+l,w,l,c); if(m&32)tft.fill(x,y+w,w,l,c); if(m&64)tft.fill(x+w,y+w+l,l,w,c); }
void number(const String &v,int x,int y,int s,uint16_t c) { for (unsigned i=0;i<v.length();i++) { char q=v[i]; if(q>='0'&&q<='9') segment(x,y,q-'0',s,c); else if(q==':') { tft.fill(x+3*s,y+8*s,3*s,3*s,c); tft.fill(x+3*s,y+17*s,3*s,3*s,c); } else if(q=='.') tft.fill(x+3*s,y+25*s,3*s,3*s,c); else if(q=='-') tft.fill(x,y+13*s,10*s,3*s,c); x+=17*s; } }
void header() { tft.fill(0,0,240,280,NAVY); tft.fill(0,0,240,40,SKY); tft.fill(14,157,212,2,SKY); tft.fill(14,233,212,2,SKY); }
String weather = "--.-"; int weatherCode = -1; unsigned long lastWeather=0; String lastTime;
void drawWeather() { tft.fill(0,164,240,64,NAVY); number(weather,18,170,2,YELLOW); if(weatherCode==0) { tft.fill(175,178,32,32,YELLOW); } else if(weatherCode>=51) { tft.fill(165,182,50,16,PALE); for(int x=170;x<215;x+=12)tft.fill(x,204,3,12,SKY); } else { tft.fill(165,184,52,22,PALE); } }
void getWeather() { if(WiFi.status()!=WL_CONNECTED)return; HTTPClient h; h.begin("http://api.open-meteo.com/v1/forecast?latitude=52.2297&longitude=21.0122¤t=temperature_2m,weather_code"); int r=h.GET(); if(r==HTTP_CODE_OK){JsonDocument d; if(!deserializeJson(d,h.getStream())) { weather=String((float)(d["current"]["temperature_2m"]|0.0),1); weatherCode=d["current"]["weather_code"]|-1; drawWeather(); }} h.end(); }
void clockUpdate() { struct tm tm; if(!getLocalTime(&tm,50)) return; char b[6]; strftime(b,sizeof b,"%H:%M",&tm); String now(b); if(now!=lastTime){lastTime=now; tft.fill(0,48,240,102,NAVY); number(now,18,67,3,WHITE);} }
void setup() { Serial.begin(115200); tft.begin(); header(); WiFiManager wm; wm.setConfigPortalTimeout(180); wm.autoConnect("Zegar-ESP32"); configTzTime("CET-1CEST,M3.5.0,M10.5.0/3","pool.ntp.org","time.nist.gov"); clockUpdate(); getWeather(); lastWeather=millis(); }
void loop() { clockUpdate(); unsigned long n=millis(); if(n-lastWeather>=WEATHER_INTERVAL_MS){lastWeather=n;getWeather();} delay(50); }Remix this project
Make it yours in one click
Open a full copy of this project in your own Schematik workspace — diagram, code, parts, and assembly steps included. Swap the sensor, add features, or redesign the whole thing with AI. The author's original stays untouched.