Community project
Water Tank Level Monitor
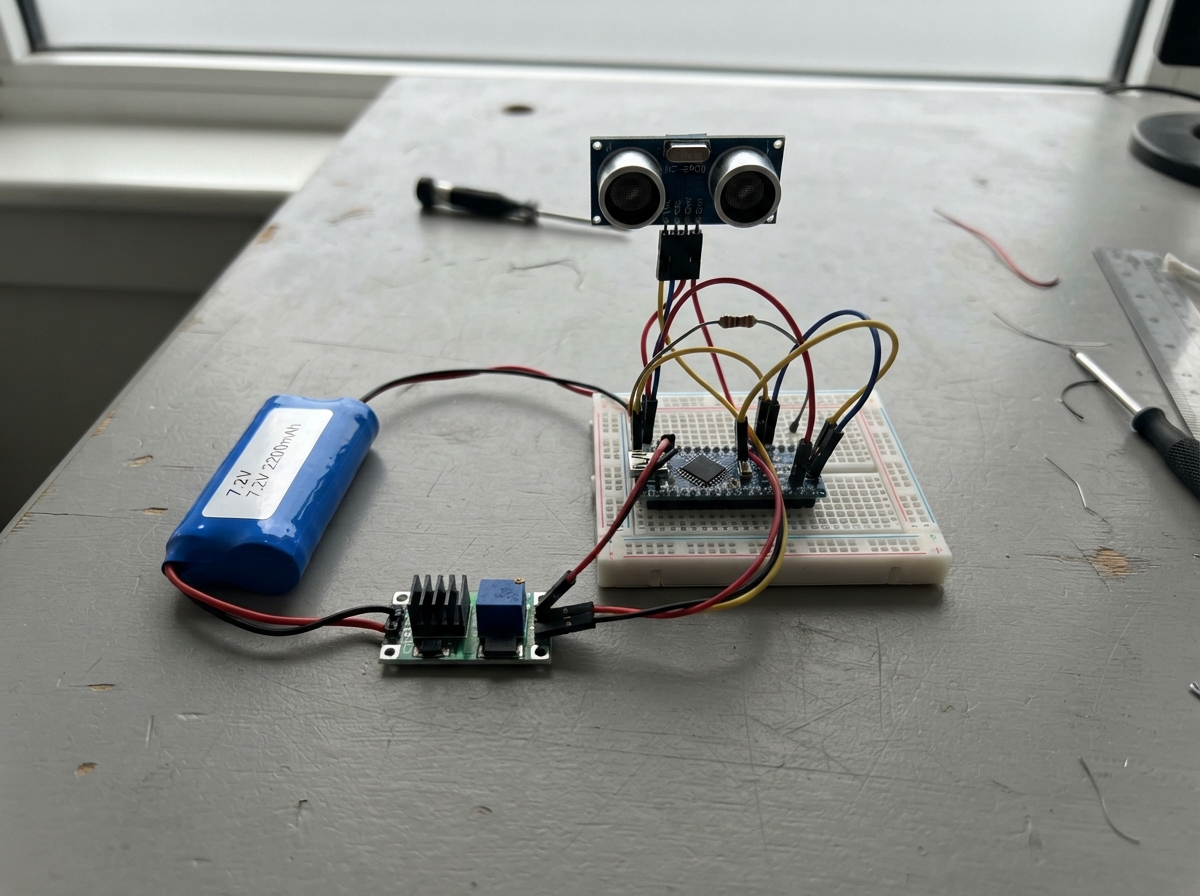
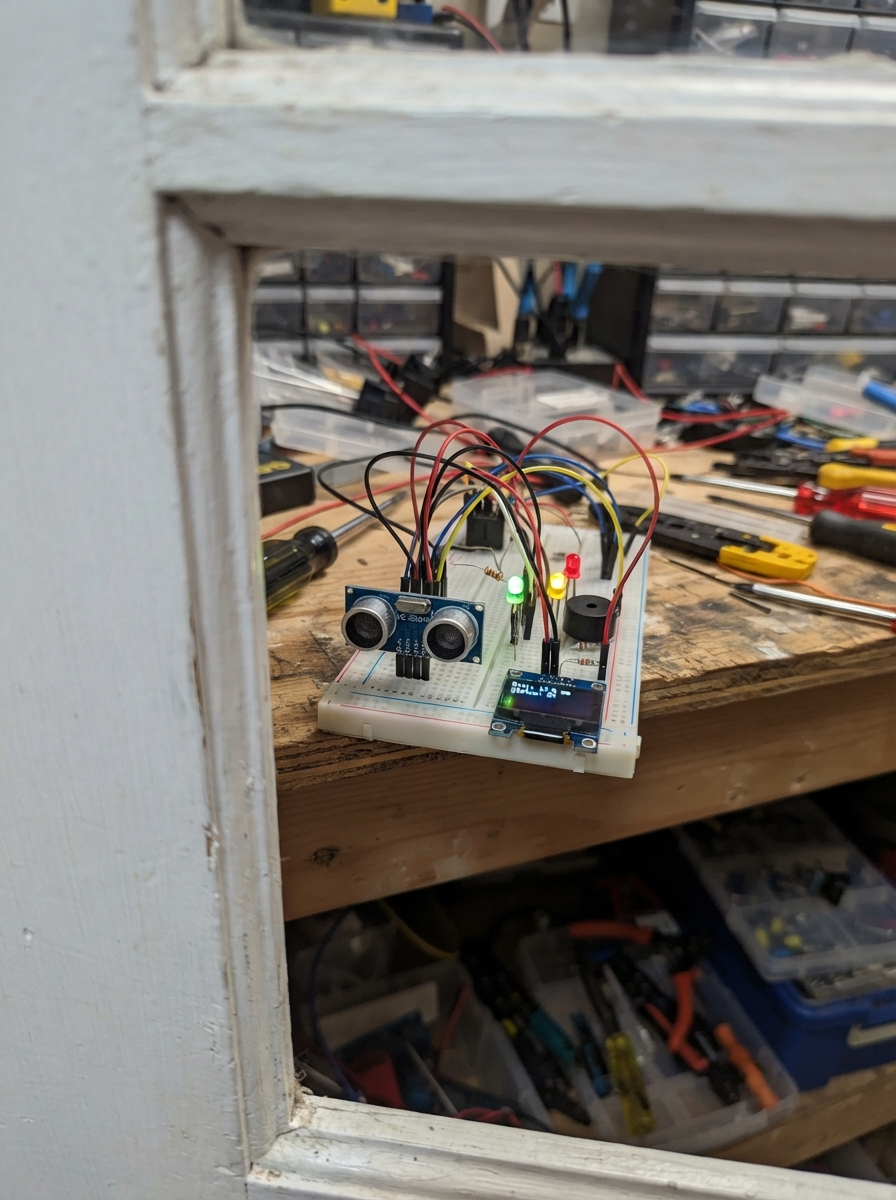
This water tank level monitor uses an HC-SR04 ultrasonic sensor to measure distance to water and report tank capacity as a percentage. Built around an ESP32, the system is powered by a 7.2V lithium-ion battery pack stepped down to 5V via a buck converter, making it suitable for remote tank installations. The sensor connects through a safety resistor divider to protect the microcontroller's input pin.
The guide provides a complete wiring diagram, parts list, and step-by-step assembly instructions for mounting the ultrasonic sensor and configuring the power supply. Firmware is included to calculate water volume in litres and serve a web interface accessible from any phone on the local network, allowing real-time monitoring of tank levels without additional hardware.
Wiring diagram

Gather all the parts
Assemble it in 5 steps
1. Set the LM2596 output before wiring the board
Connect the 7.2 V battery pack's positive lead to LM2596 VIN+ and its negative lead to VIN-. Use a multimeter across LM2596 VOUT+ and VOUT-, then turn the small adjustment screw until it reads exactly 5.0 V. Do this before connecting the NodeMCU, because a higher setting can damage it.
- Turn the adjustment screw a tiny amount at a time; the displayed voltage may change slowly.
- Leave the battery disconnected while making the remaining signal wires.
- Do not connect the 7.2 V battery directly to the NodeMCU or HC-SR04 — that voltage can damage them.
- Do not use the TP4056 charger with this two-cell battery pack; it can overcharge the pack and create a fire hazard. Use a charger made for a 2-cell lithium battery.
2. Power the NodeMCU and distance sensor
With the LM2596 still set to 5.0 V, connect VOUT+ to the NodeMCU VIN pin and to the HC-SR04 VCC pin (power). Connect VOUT- to a NodeMCU GND pin and to the HC-SR04 GND pin (ground). All four parts must share the same ground wire so the distance signal has a reference.
- Use a small breadboard power rail or a joined wire point to share the 5 V and GND connections.
- Check VCC and GND labels carefully before reconnecting the battery.
- Swapping VCC and GND on the HC-SR04 can damage the sensor.
- Do not power the board from USB and the LM2596 at the same time until you understand how your specific NodeMCU board handles two supplies.
3. Make the Echo safety resistor connection
Connect HC-SR04 ECHO to one end of the 1 kΩ resistor. Connect the resistor's other end to NodeMCU D6 / GPIO12 (signal). At that same D6 junction, connect one end of the 2 kΩ resistor; connect the other end of the 2 kΩ resistor to GND. This pair of resistors reduces the sensor's 5 V Echo signal to a safe level for the NodeMCU.
- Resistors have no positive or negative direction.
- The D6 junction is the one point where the 1 kΩ resistor, 2 kΩ resistor, and D6 wire meet.
- Never connect the HC-SR04 ECHO pin directly to D6 — its 5 V signal can damage the NodeMCU's 3.3 V input.
4. Connect the trigger wire and mount the sensor
Connect HC-SR04 TRIG to NodeMCU D5 / GPIO14 (signal). Mount the sensor level at the top of the tank, pointing straight down at the water, with a clear path and enough space that its two round faces do not touch the tank lid.
- Keep the sensor face above the highest water level and measure the distance from its face, not from the circuit board.
- If the readings are missing or jumpy, use a 3.3 V-to-5 V logic-level converter between D5 and TRIG; some HC-SR04 modules do not reliably recognise the NodeMCU's 3.3 V trigger signal.
- Keep all electronics dry and outside the tank; moisture on the board can cause a short circuit.
- Do not mount the HC-SR04 where condensation or water spray can reach its unsealed circuit board.
5. Connect your phone to the monitor
After the hardware is wired and the firmware is deployed, connect your phone to the Wi-Fi network named Tank Monitor using the password waterlevel. Open a browser and go to http://192.168.4.1 to see the live tank percentage and litres.
- Your phone may say this Wi-Fi network has no internet; stay connected because it is a direct link to the tank monitor.
- Change EMPTY_DISTANCE_CM and FULL_DISTANCE_CM in the firmware to match the distances you measure in your own tank.
- Do not rely on the displayed litre value until you have measured and entered your tank's real empty and full sensor distances.
Review all connections
1. Connections between "tank_sensor" and "ESP32"
2. Connections between "echo_top_resistor" and "ESP32"
3. Connections between "echo_bottom_resistor" and "ESP32"
4. Connections between "tank_battery" and "ESP32"
5. Connections between "battery_boost" and "ESP32"
Deploy the firmware
#include <Arduino.h>
#include <ESP8266WiFi.h>
#include <ESP8266WebServer.h>
#include <NewPing.h>


// Forward declarations
bool readWaterDistance(float &distanceCm);
void updateLevel();
void sendStatus();

constexpr uint8_t TRIG_PIN = 14;  // NodeMCU D5
constexpr uint8_t ECHO_PIN = 12;  // NodeMCU D6, after the resistor divider
constexpr uint16_t MAX_SENSOR_DISTANCE_CM = 400;

// Measure from the sensor face to the water at the tank's empty and full marks.
constexpr float EMPTY_DISTANCE_CM = 110.0f;
constexpr float FULL_DISTANCE_CM = 10.0f;
constexpr int TANK_CAPACITY_LITRES = 1000;
constexpr unsigned long MEASURE_INTERVAL_MS = 2000;

const char *AP_NAME = "Tank Monitor";
const char *AP_PASSWORD = "waterlevel";

ESP8266WebServer server(80);
NewPing sonar(TRIG_PIN, ECHO_PIN, MAX_SENSOR_DISTANCE_CM);

bool readingValid = false;
float waterDistanceCm = 0.0f;
int levelPercent = 0;
int waterLitres = 0;
unsigned long lastMeasureMs = 0;

const char PAGE_HTML[] PROGMEM = R"HTML(
<!doctype html><html><head><meta name="viewport" content="width=device-width,initial-scale=1">
<title>Tank Monitor</title><style>
body{margin:0;background:#0b1720;color:#eef7fb;font-family:Arial,sans-serif;text-align:center}main{max-width:430px;margin:auto;padding:28px 18px}h1{font-size:1.45rem;margin:0 0 26px}.card{background:#142833;border-radius:18px;padding:25px;box-shadow:0 5px 18px #0006}#percent{font-size:4.3rem;font-weight:bold;color:#59d4ff;margin:5px 0}.label{color:#a9c4cf}.bar{height:25px;border:2px solid #59d4ff;border-radius:14px;overflow:hidden;margin:22px 0}#fill{height:100%;width:0;background:#27aee3;transition:width .3s}.litres{font-size:1.7rem;margin:12px 0}#status{min-height:22px;color:#ffcf70;margin-top:22px}.small{font-size:.9rem;color:#a9c4cf;margin-top:25px}
</style></head><body><main><h1>Water Tank Level</h1><section class="card"><div id="percent">--</div><div class="label">full</div><div class="bar"><div id="fill"></div></div><div class="litres"><span id="litres">--</span> litres</div><div id="distance" class="label"></div></section><div id="status"></div><p class="small">This page refreshes automatically every 2 seconds.</p></main><script>async function refresh(){try{let r=await fetch('/status');let d=await r.json();if(d.valid){percent.textContent=d.percent+'%';litres.textContent=d.litres;distance.textContent='Water surface: '+d.distance+' cm below sensor';fill.style.width=d.percent+'%';status.textContent='';}else{percent.textContent='--';litres.textContent='--';distance.textContent='';fill.style.width='0%';status.textContent='No echo from the water. Check the sensor position.';}}catch(e){status.textContent='Connection lost. Check that your phone is connected to Tank Monitor.';}}refresh();setInterval(refresh,2000);</script></body></html>
)HTML";

bool readWaterDistance(float &distanceCm) {
  unsigned long totalUs = 0;
  uint8_t samples = 0;
  for (uint8_t i = 0; i < 3; ++i) {
    unsigned int echoUs = sonar.ping();
    if (echoUs > 0) { totalUs += echoUs; ++samples; }
    delay(35);
  }
  if (samples == 0) return false;
  distanceCm = (totalUs / samples) / 58.0f;
  return true;
}

void updateLevel() {
  readingValid = readWaterDistance(waterDistanceCm);
  if (!readingValid) return;
  float fraction = (EMPTY_DISTANCE_CM - waterDistanceCm) /
                   (EMPTY_DISTANCE_CM - FULL_DISTANCE_CM);
  fraction = constrain(fraction, 0.0f, 1.0f);
  levelPercent = lroundf(fraction * 100.0f);
  waterLitres = lroundf(fraction * TANK_CAPACITY_LITRES);
}

void sendStatus() {
  String json = "{\"valid\":";
  json += readingValid ? "true" : "false";
  json += ",\"percent\":" + String(levelPercent);
  json += ",\"litres\":" + String(waterLitres);
  json += ",\"distance\":" + String(waterDistanceCm, 1) + "}";
  server.send(200, "application/json", json);
}

void setup() {
  WiFi.mode(WIFI_AP);
  WiFi.softAP(AP_NAME, AP_PASSWORD);
  server.on("/", HTTP_GET, []() { server.send_P(200, "text/html", PAGE_HTML); });
  server.on("/status", HTTP_GET, sendStatus);
  server.begin();
  updateLevel();
  lastMeasureMs = millis();
}

void loop() {
  server.handleClient();
  if (millis() - lastMeasureMs >= MEASURE_INTERVAL_MS) {
    lastMeasureMs = millis();
    updateLevel();
  }
}
Remix this project
Make it yours in one click
Open a full copy of this project in your own Schematik workspace — diagram, code, parts, and assembly steps included. Swap the sensor, add features, or redesign the whole thing with AI. The author's original stays untouched.