Web flasher
Flash your ESP32 from your browser
From idea to flash in the same tab. Describe what you want to build, and Schematik writes the code and shows you the wiring. Plug in your board and press Deploy.
Works in Chrome and Edge on a computer. Deploy flashes 333 ESP boards over USB, plus the Arduino Uno and new-bootloader Nano. A Raspberry Pi Pico gets a file you copy across.
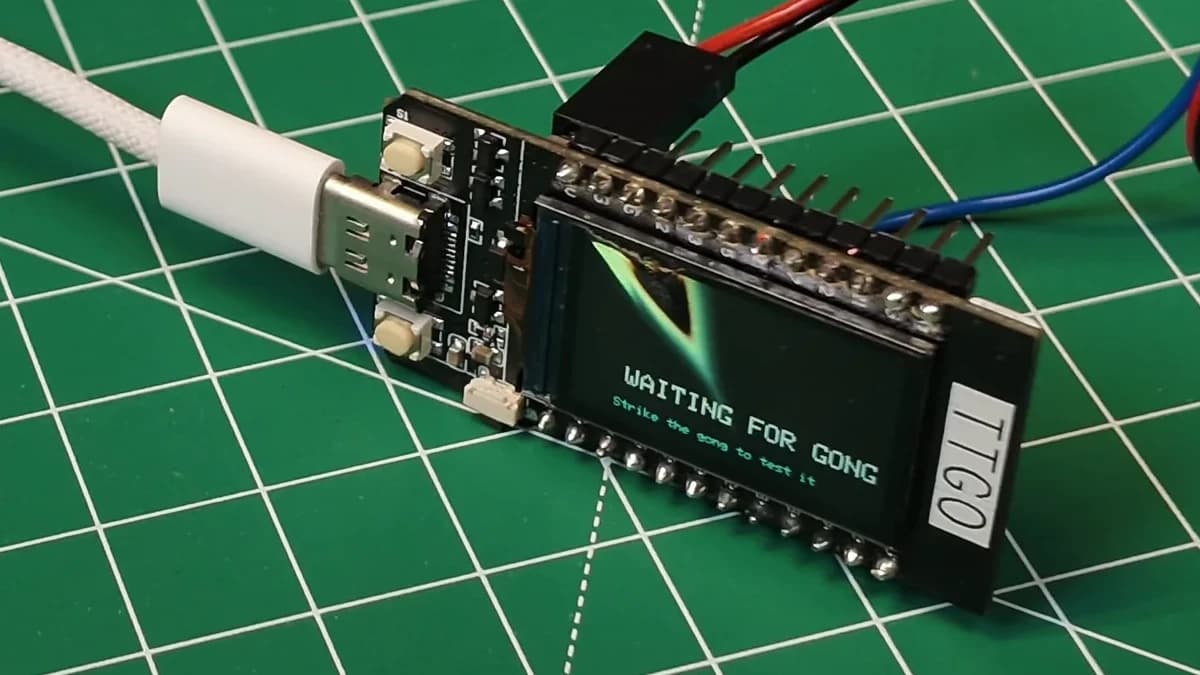
Describe it, wire it, flash it
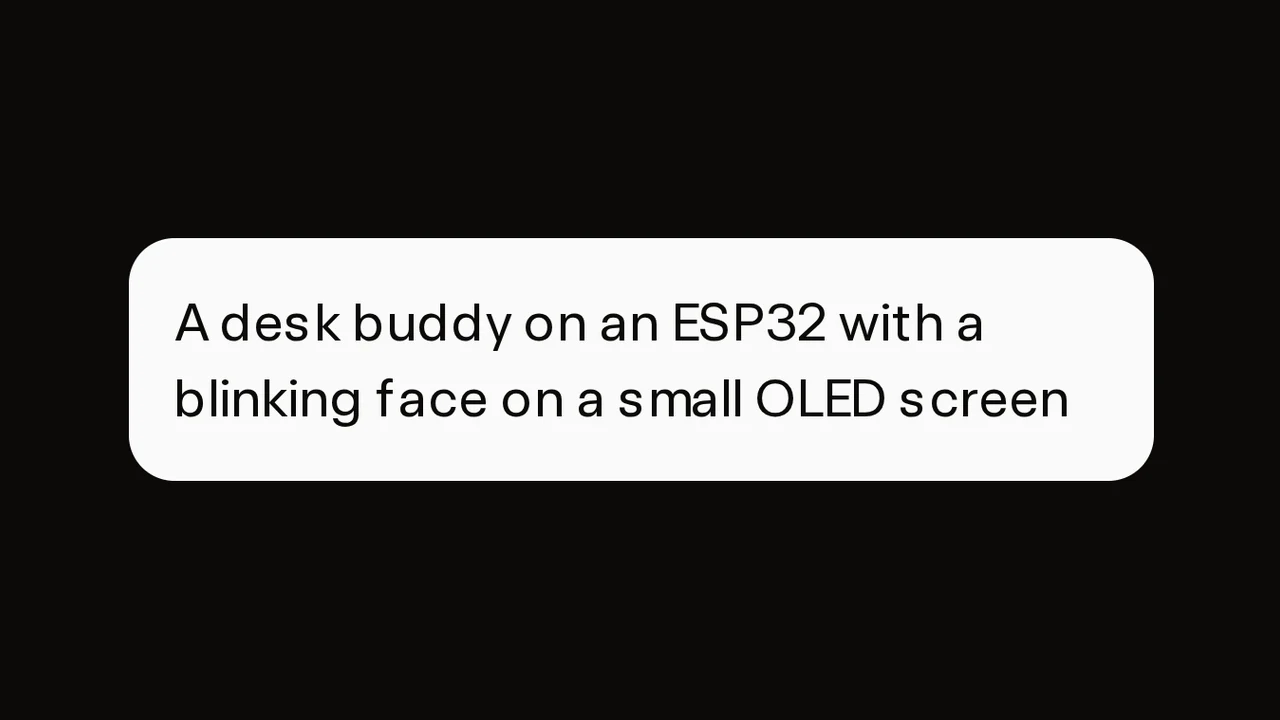
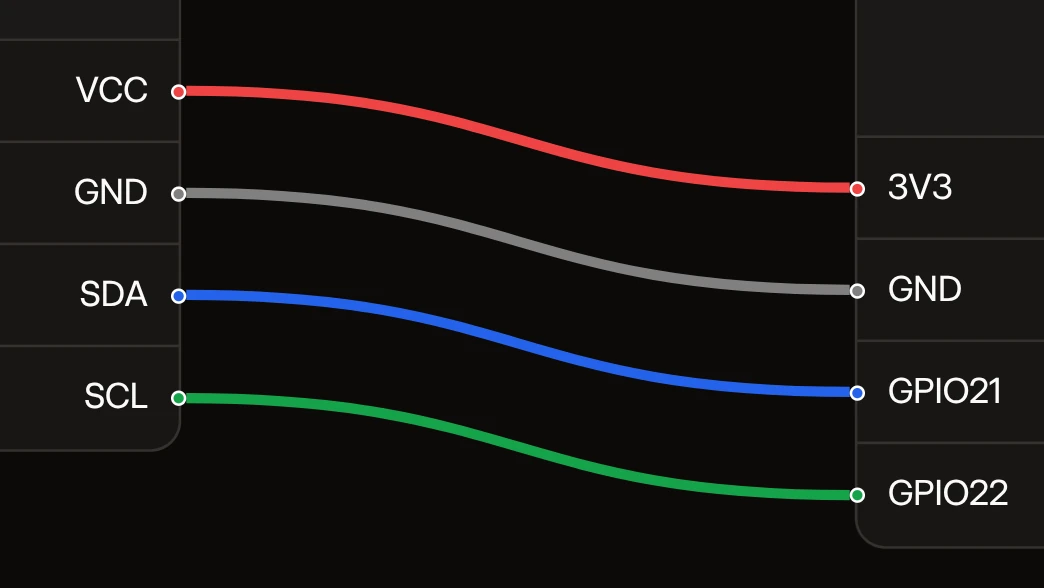
A real flash from Chrome
Here's the end of a Deploy log from a Waveshare ESP32-C6, flashed from Chrome on a Mac on October 15, 2026. The final firmware image, 1.26 MB, went across in 4.2 seconds. Then the board restarted and said hello over serial.
The project is Tiny ESP DeskBuddy.
Writing at 0x13d837... (100%)
[flashing] 95% — Flashing file 4/4: 100%
Wrote 1255600 bytes (761599 compressed) at 0x10000 in 4.199 seconds.
Leaving...
[verifying] 95% — Verifying and resetting...
Custom resetting using sequence D0|R1|W100|R0
[done] 100% — Flash complete! Board is resetting...
Connected (115200 baud)
ESP32-C6 DeskBuddy starting
Touch controller initialised
How to flash an ESP32 from your browser
- Open your project in Chrome or Edge on a computer. To start one, describe what you want or pick a template.
- Plug your board in with a USB cable that carries data. Some cables only charge.
- Press Deploy. Your browser asks which serial port to connect to. Pick your board and press Connect.
- Schematik compiles your firmware on its servers, then your browser writes it to the board over USB. The Deploy log shows the progress.
- The board restarts and runs your project. What it prints over serial shows up in the same log.

What you need
- A computer with Chrome or Edge
- A USB cable that carries data
- Your board
- A Schematik account
- For boards with a CH340 or CP210x chip (it turns USB into serial), maybe a driver. Check our USB drivers guide.
Boards you can flash
Deploy picks the method from your board, so you press the same button on all of them.
ESP boards333 boards · Web Serial
ESP32 154ESP32-S3 77ESP8266 45ESP32-S2 27ESP32-C3 19ESP32-C6 6ESP32-P4 5
RP2040 and RP235029 boards · UF2 file
Raspberry Pi Pico, Pico W, Pico 2 and more. You copy the file to the board yourself.
Arduino Uno and NanoWeb Serial
The Uno and the ATmega328P Nano with the new bootloader (the small program that takes new firmware). Press Deploy and pick the port, and the board resets itself.
Arduino Uno R4WebUSB or Web Serial
The R4 Minima and Nano R4 use USB DFU, a USB update mode. The R4 WiFi uses Web Serial.
Teensy 4WebHID
Teensy 4.0, 4.1 and MicroMod flash after you press the Program button. Older Teensy boards get a file to flash yourself.
Nordic development kitsWebUSB
The nRF9151, nRF7002 and nRF54L15 DKs flash through their onboard J-Link debug probe. Windows and Linux need a one-time setup.
STM32Web Serial
Deploy talks to the chip's bootloader over its serial pins, so connect a USB-to-serial adapter to those pins unless your board's USB port already goes there. Move BOOT0 to 1, press RESET and press Deploy. Then move BOOT0 back to 0 and press RESET.
Boards with flashing problemsFirmware file
A Nano with the old bootloader won't connect, because it listens at a slower speed than Deploy uses. Browser flashing can also fail today on the Arduino Mega 2560, Leonardo, Micro, Pro Micro and MKR boards and on Adafruit nRF52 boards. Download the compiled firmware and flash it with the board vendor's tool.
When your board needs a button press
Many boards reset themselves when you press Deploy. When one doesn't, the help button in the Deploy panel shows the steps for your board.
How to put an ESP32 in download mode
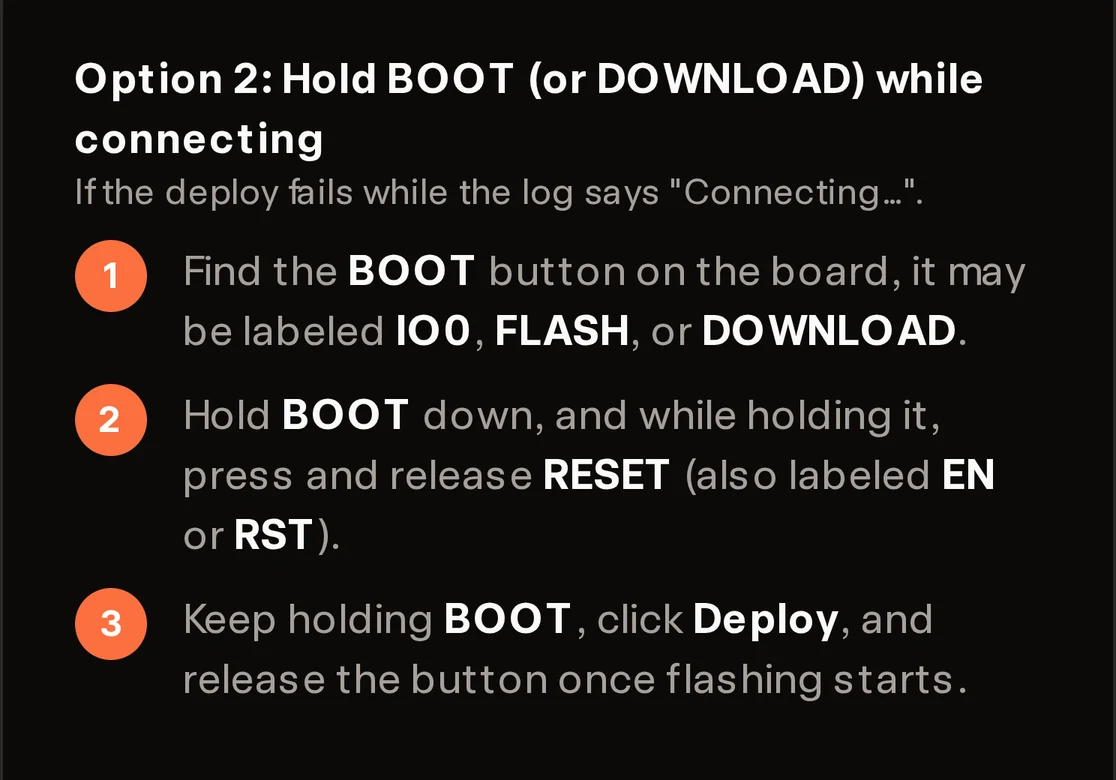
Download mode is how an ESP32 accepts new firmware. Try Deploy first. If the log stops at Connecting, hold BOOT, press and release RESET, keep holding BOOT, press Deploy and let go once flashing starts. BOOT can be labeled IO0, FLASH or DOWNLOAD, and RESET can be EN or RST.
The ESP32-CAM has no BOOT button. Connect a jumper wire from IO0 to GND, press RST and press Deploy. Remove the jumper and press RST again when it finishes.
Native USB boards: ESP32-S3, ESP32-C3 and ESP32-C6
Many of these boards talk to USB directly, with no separate bridge chip. If the port disappears or flashing can't connect, hold BOOT, press and release RESET, then release BOOT. Press Deploy and pick the port again, since the board can come back under a new one.
Press RESET afterwards if the board stays in download mode.
How to upload code to an Arduino Uno
Press Deploy, pick the port and the Uno resets itself to take your code. Some clone boards miss that reset. If the deploy can't sync, press Deploy again and press and release RESET when the progress says Syncing or Signing on.
How to flash a Raspberry Pi Pico
A Pico takes firmware as a file copied to a USB drive, so Deploy downloads a firmware.uf2 file for you. Unplug USB, hold BOOTSEL while you plug it back in and release it when RPI-RP2 appears. Copy the file to that drive, and the Pico restarts and runs your code.
Which browsers can flash boards
- Chrome and Edge on a computer
- Deploy flashes your board from here. They have Web Serial and WebUSB, the browser features that let a page talk to a USB device once you allow it.
- Safari
- Safari has no Web Serial or WebUSB. On a Web Serial board, Deploy offers the firmware file or the free desktop app for Mac instead. WebUSB boards need Chrome or Edge, and a UF2 board downloads its file as usual.
- Firefox
- Firefox added Web Serial in version 151 and has no WebUSB. Schematik's flashing steps are written for Chrome and Edge, so use one of those.
- Phones and tablets
- Open your project on a computer to Deploy. iPhones and iPads have no Web Serial, and Deploy is made for a computer with a USB port.