I Built a Gong That Controls the Internet
Max from n8n asked for the world's first webhook gong. Hit it, and it calls any URL on the internet — an n8n workflow, a Slack message, or every light in the house. Two parts, an ESP32 and a vibration sensor, and Schematik for the rest.
Published

On this page
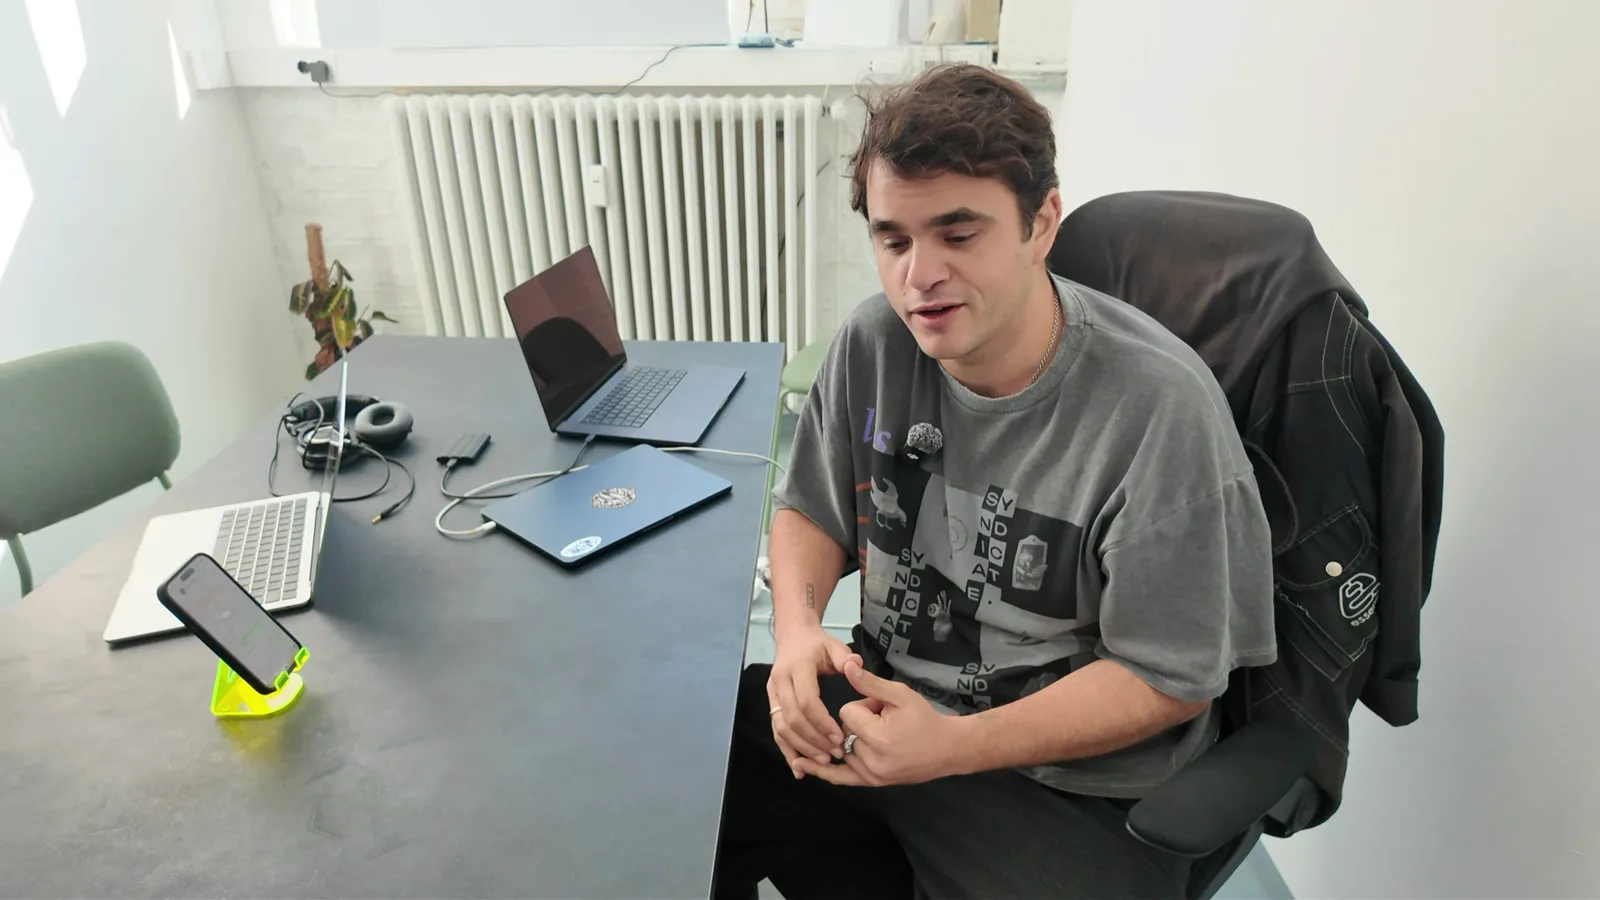
Since we started the YouTube channel, I've been getting some weird requests. This one came from Max (@theflowgrammer), the first hire at n8n. He wanted a gong. Not a normal gong: a webhook gong. You hit it, and it calls a URL on the internet, so it can kick off an n8n workflow, post in Slack, or do anything else that listens for a webhook.
I said yes before I knew how to build it. So, like every project, I started by asking Schematik.
Watch the full build on YouTube, or open the finished project with all the code and build your own.
What you need
- LilyGo T-Display: an ESP32 with a small built-in screen. Schematik suggested a plain ESP32 dev kit, which works too, but the screen turned out to be the best part.
- DFRobot Gravity Digital Vibration Sensor (DFR0027): this is what feels the gong being hit.
- Dupont jumper wires, plus a few female Dupont connectors and a crimper if you need to rewire the sensor cable (more on that below).
- A small desktop gong.
- Optional: a small LiPo battery, a 3D-printed case (download the STL) and super glue for the finished version.
Step 1: Ask Schematik
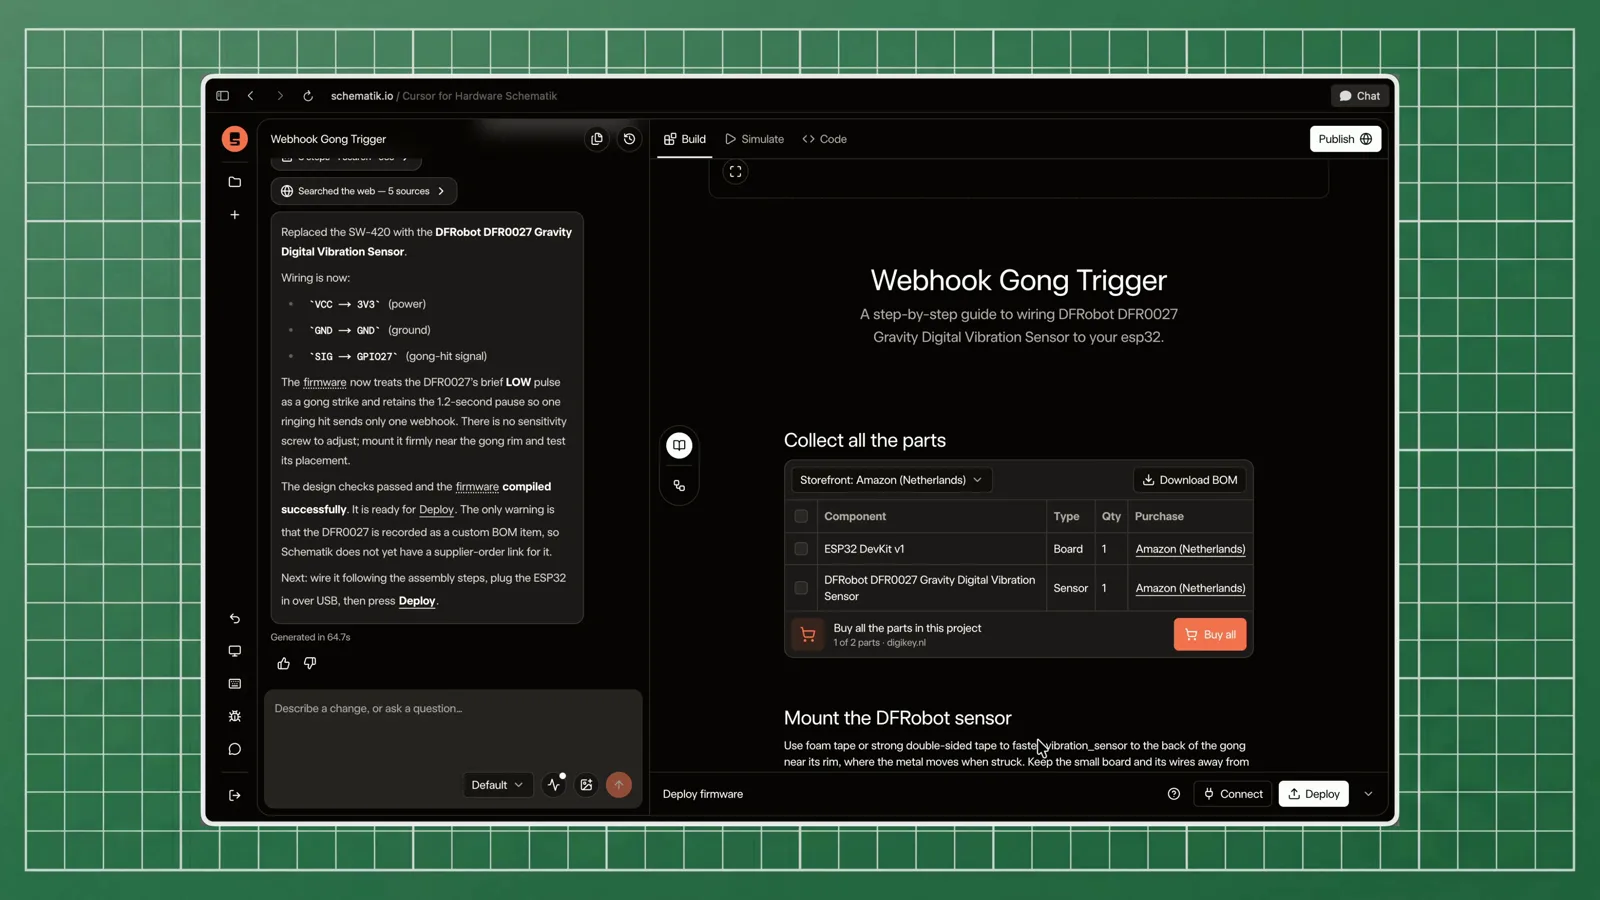
My whole prompt was: "Can you help me build a gong that can trigger a webhook?"
Schematik came back with a parts list, a wiring diagram and the firmware. Only two parts: an ESP32 and a vibration sensor. The idea is simple: the sensor sits on the back of the gong, feels it ring, and the ESP32 uses its Wi-Fi to call your webhook.
Step 2: Wire it up
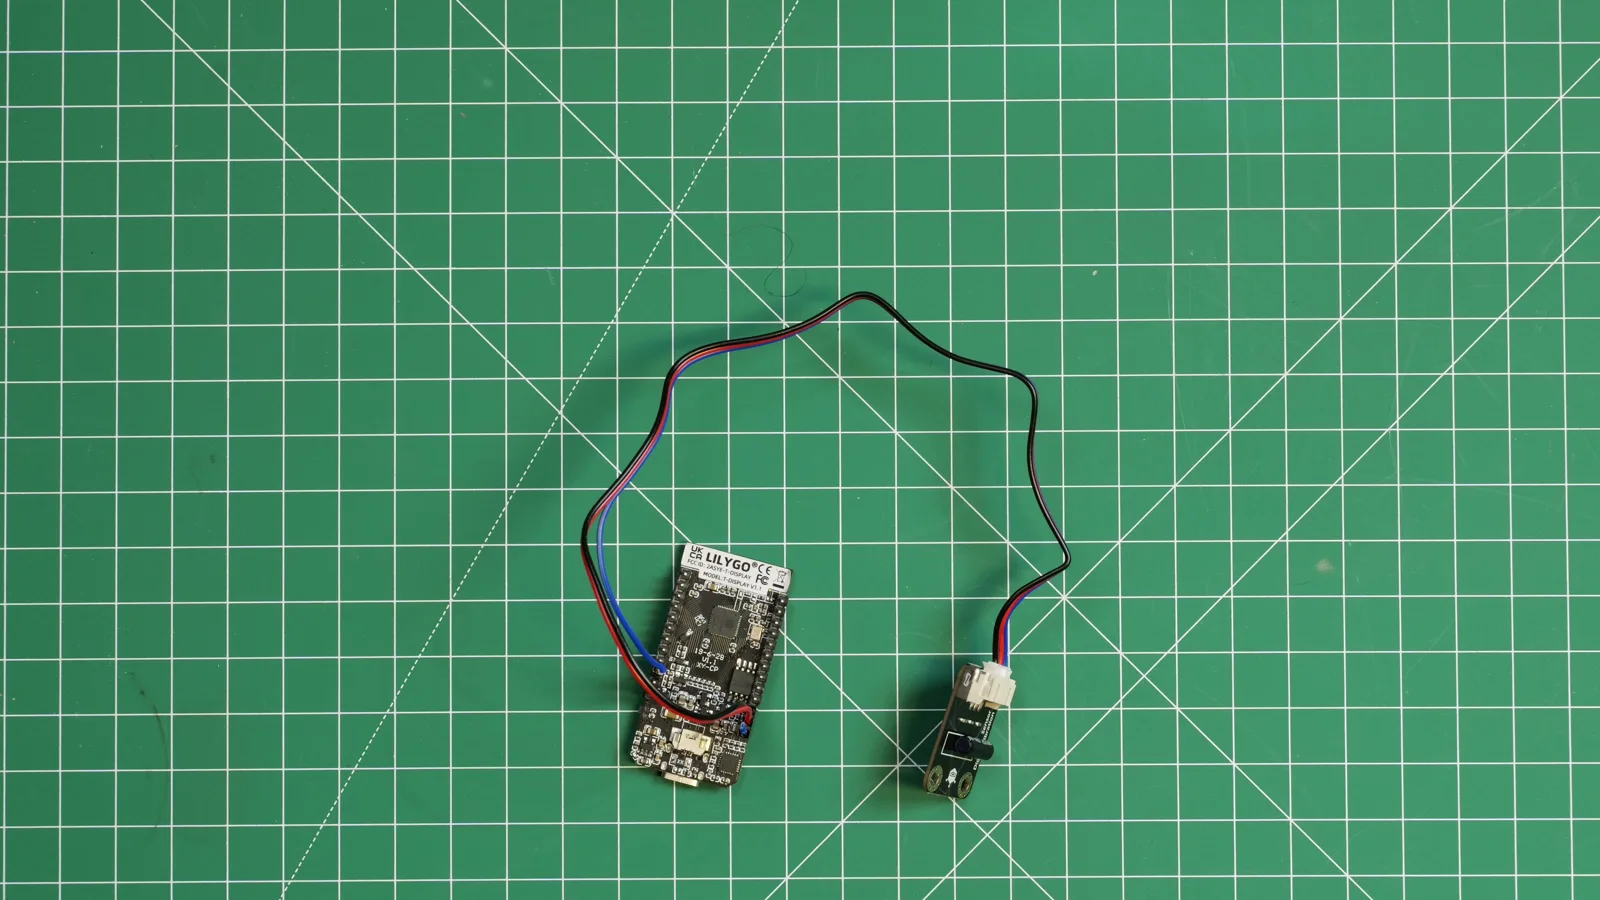
The sensor has three wires. Here's where they go:
| Sensor | ESP32 |
|---|---|
| VCC | 3.3V |
| GND | GND |
| Signal | GPIO 27 |
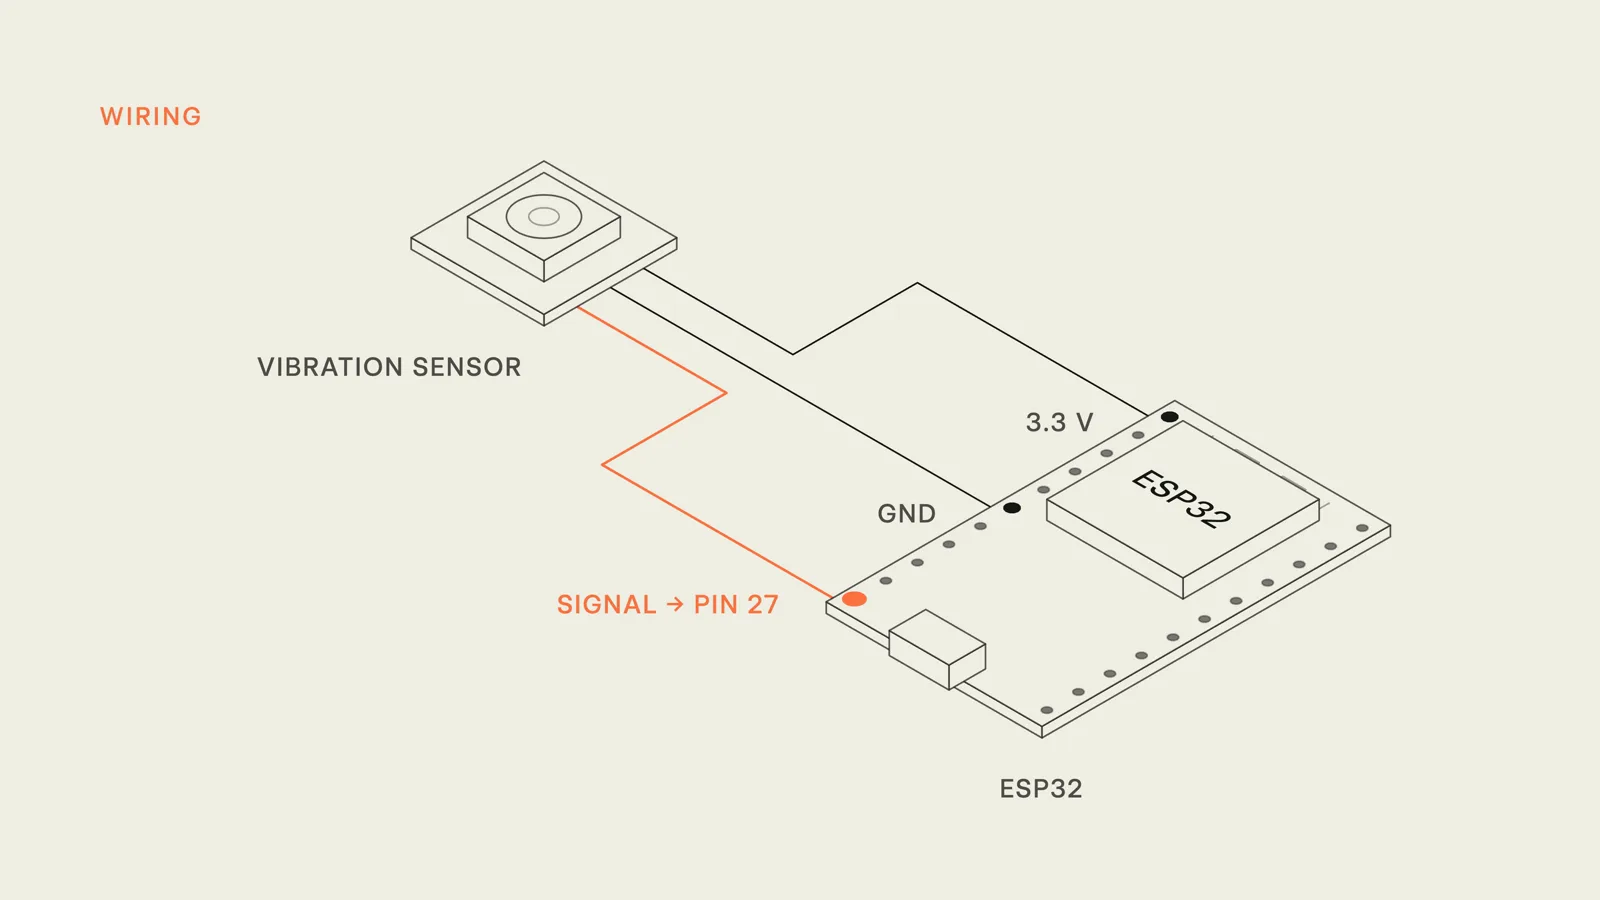
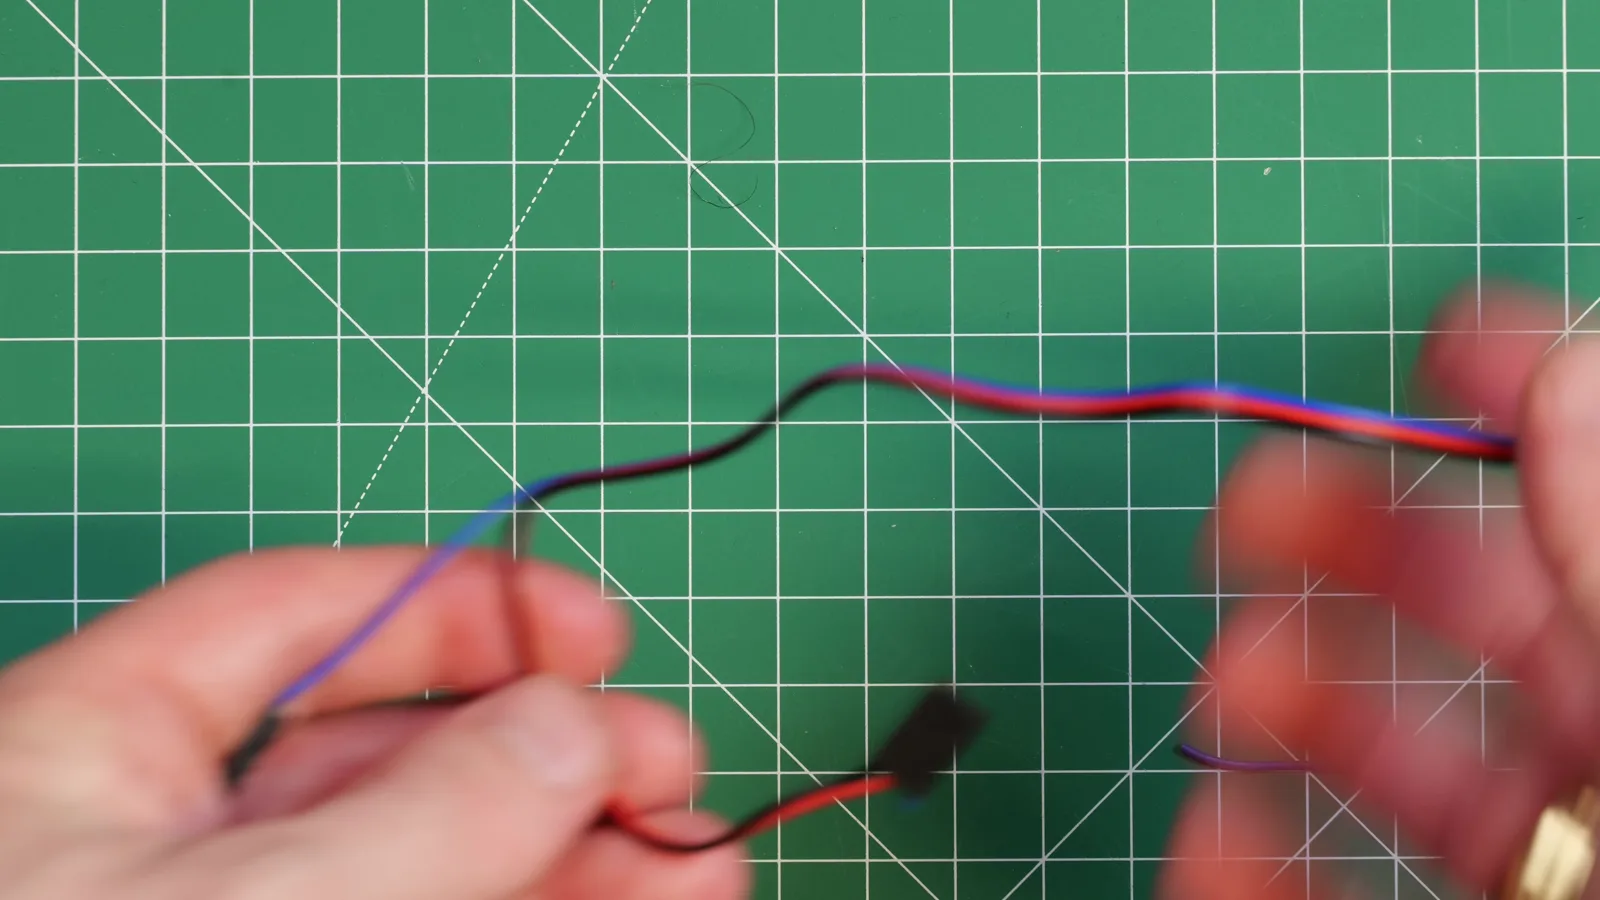
One annoying problem. The sensor's cable ends in a single plug with all three wires in it, and there's no sensible place on the board to plug that in. The fix: cut the signal wire out of the plug, strip it, and crimp a female Dupont connector onto it. Then power and ground go in together, and the signal wire goes to pin 27 on its own.
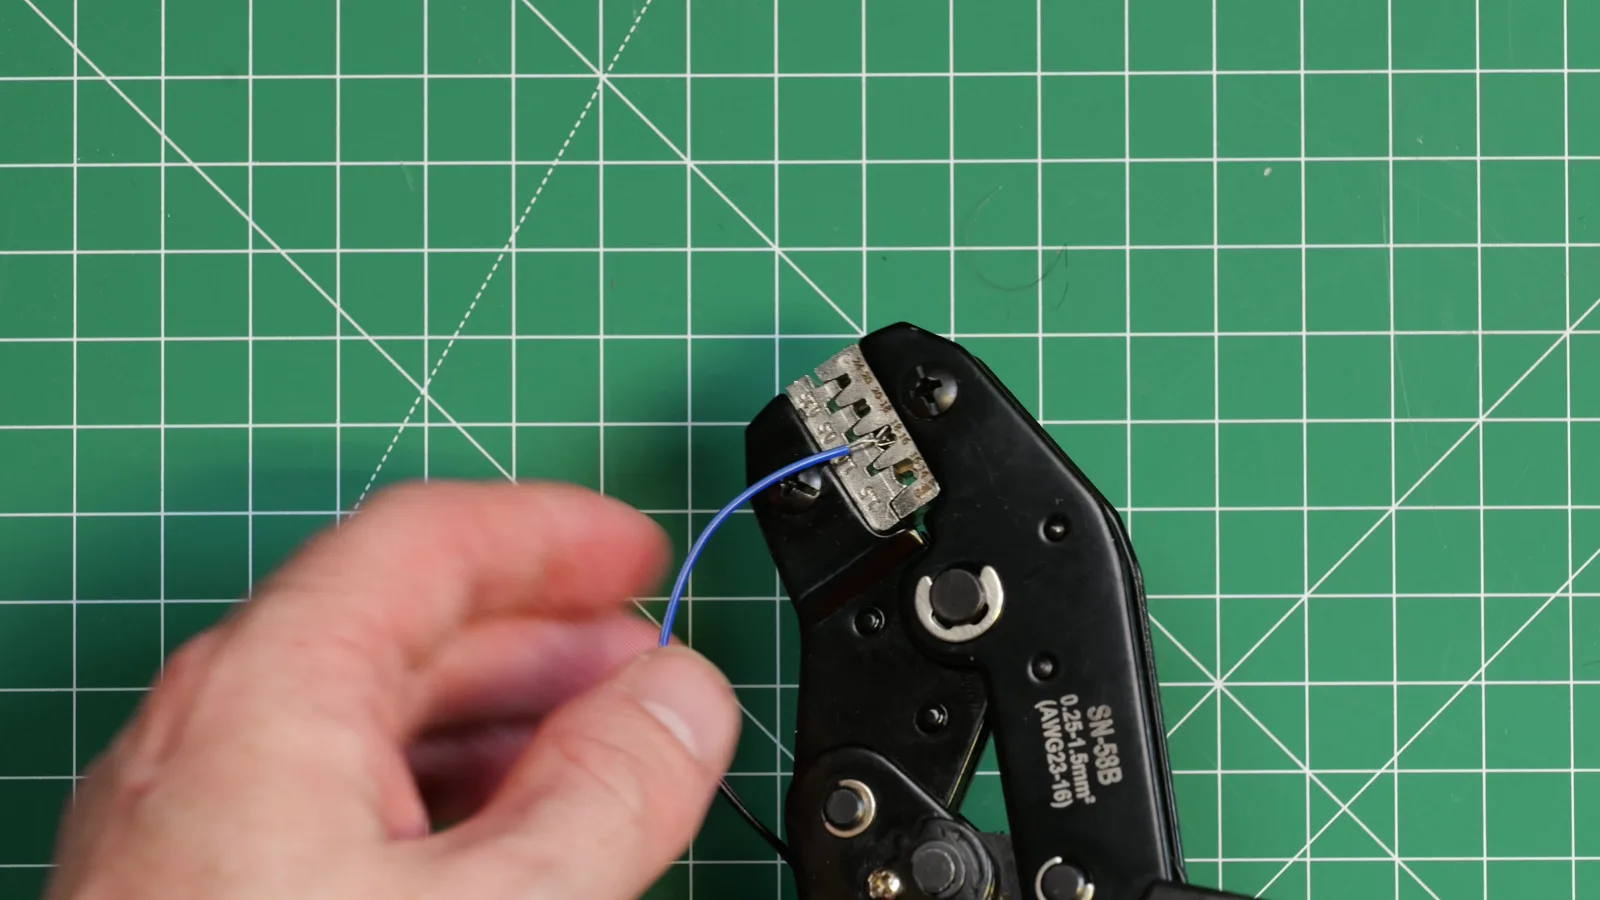
Crimping Dupont connectors is a fiddly job that I don't wish on anyone. If your sensor comes with separate jumper wires, you can skip it entirely.
Step 3: Put the sensor on the gong
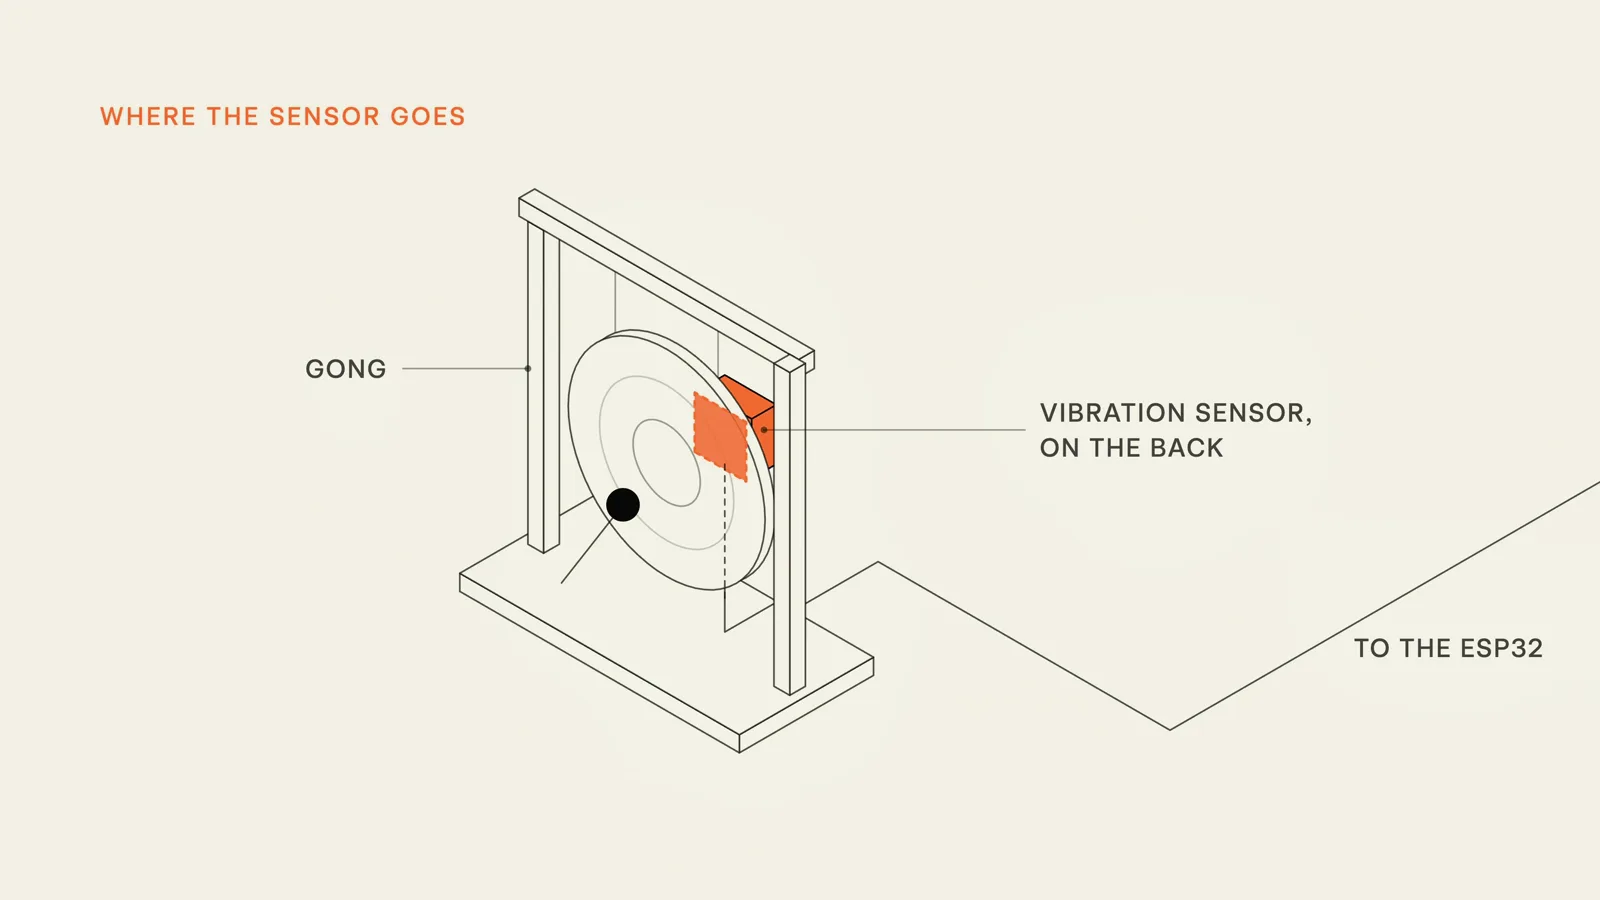
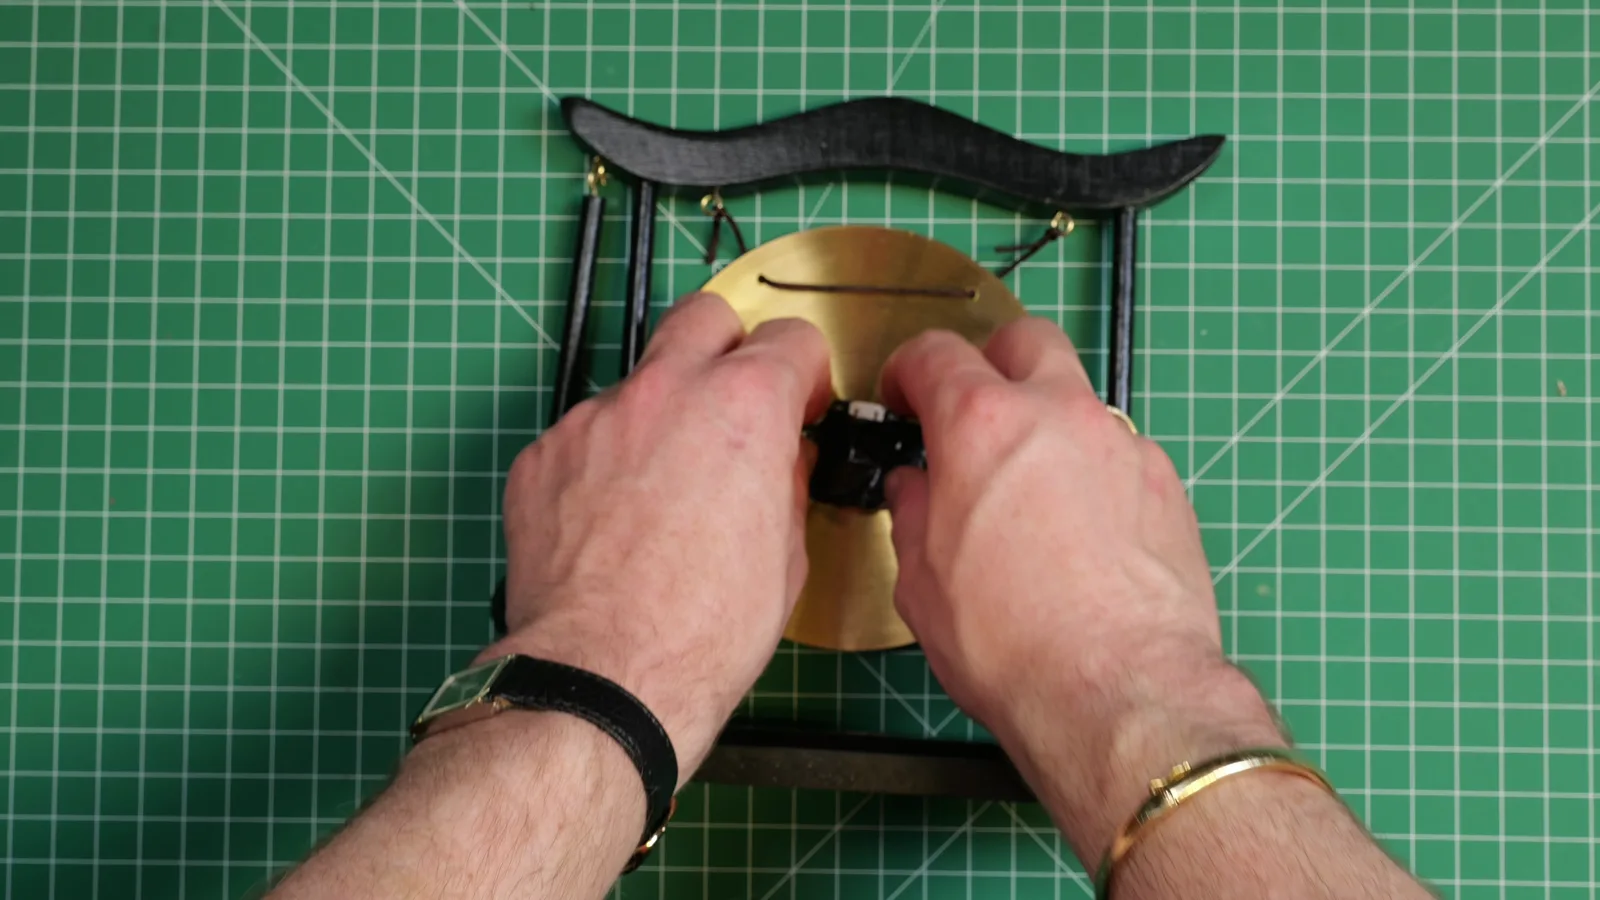
The sensor goes on the back of the gong, close to the rim, where the metal really vibrates when you hit it. Tape it on first so you can test. Glue comes at the end.
Step 4: Deploy and test
Connect the board to your computer and hit Deploy in Schematik.
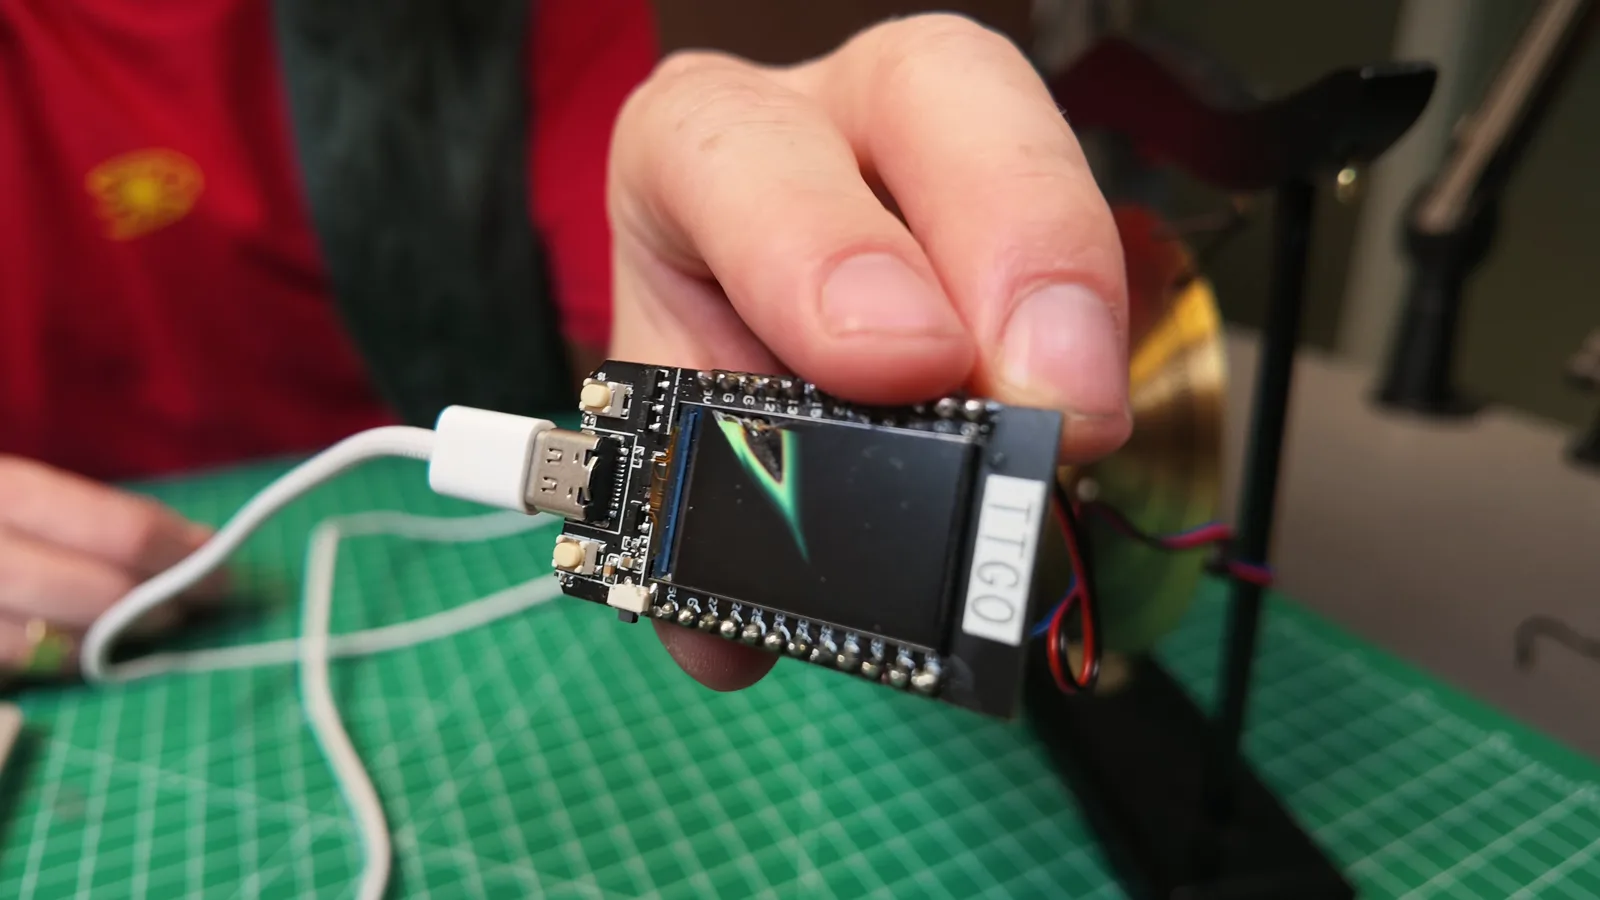
My first version showed nothing on the screen. I told Schematik, "The display isn't showing anything. Are you sure it's working?" Because Schematik can read what the device is reporting, it found the problem and updated the project. On the next deploy the screen said "Waiting for gong."
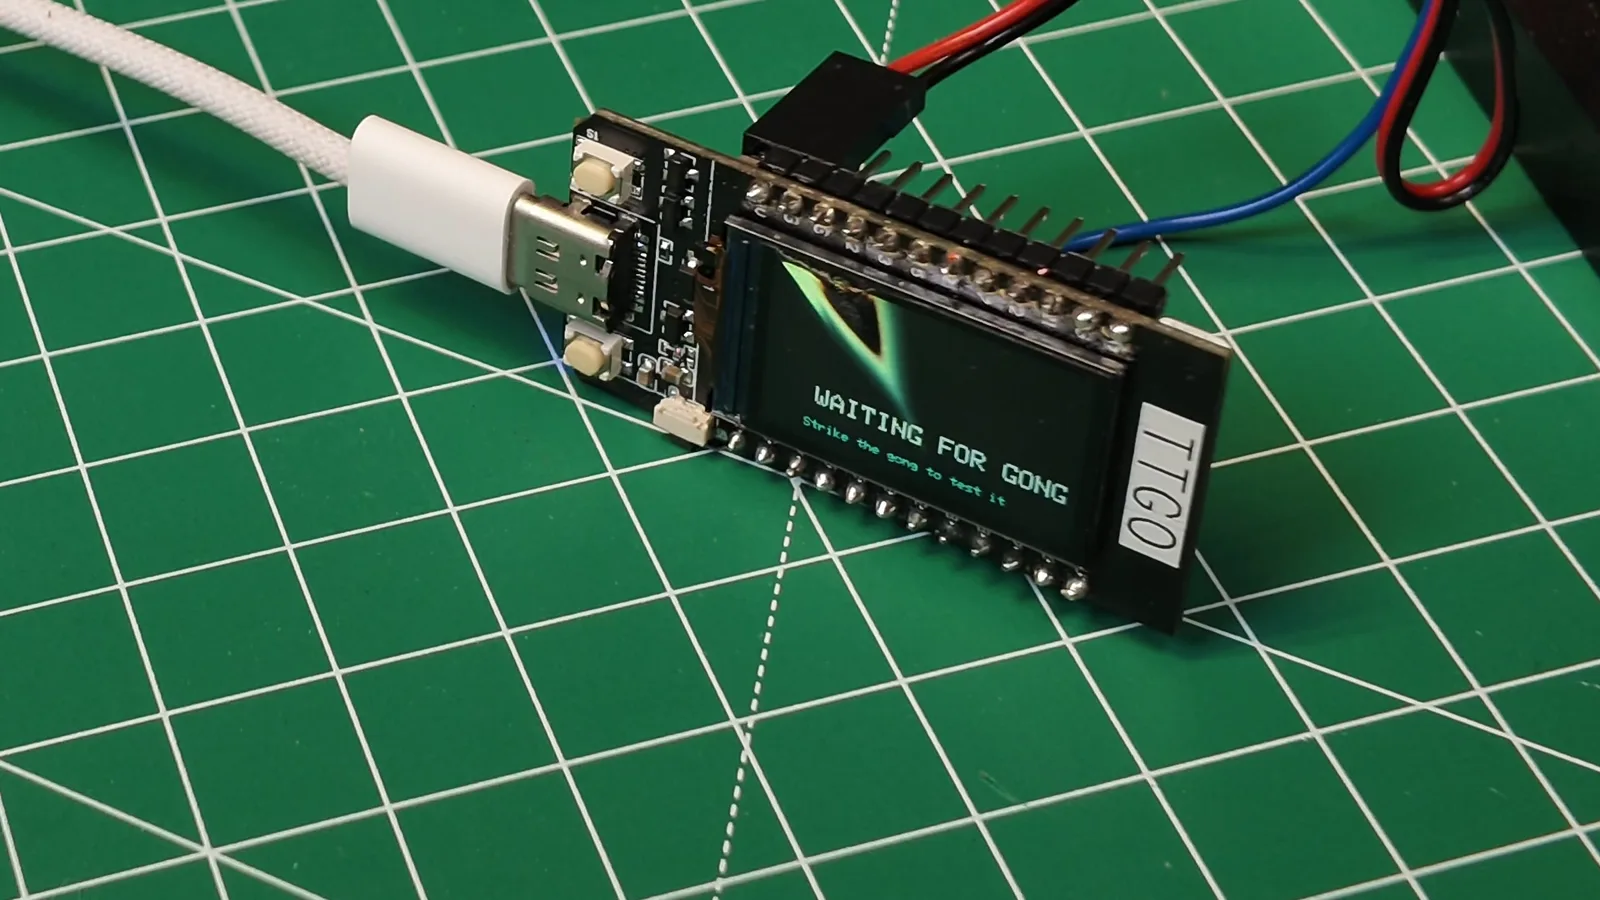
Then the fun part: hitting it. It worked, but only if I really whacked it. A soft tap didn't register. So I asked: "Can you make it a bit more sensitive, so that even if we don't hit it super hard, you can feel it?" One deploy later the sensitivity was just right, and the screen flashes green on every hit.
The firmware also ignores the sensor for 600 ms after each hit, so one ringing gong sends one webhook, not ten.
I used a LilyGo T-Display instead of the plain ESP32 dev kit in the parts list. Just tell Schematik which board you have, and it adapts the firmware, including the screen. When my first display turned out to be scratched, it deployed the same firmware to a fresh board with no changes.
Step 5: Set up Wi-Fi and the webhook from your phone
So far the URL was baked into the code. That's fine for me, but Max needs to set it up on his own Wi-Fi with his own webhook. So I asked Schematik for a setup mode:
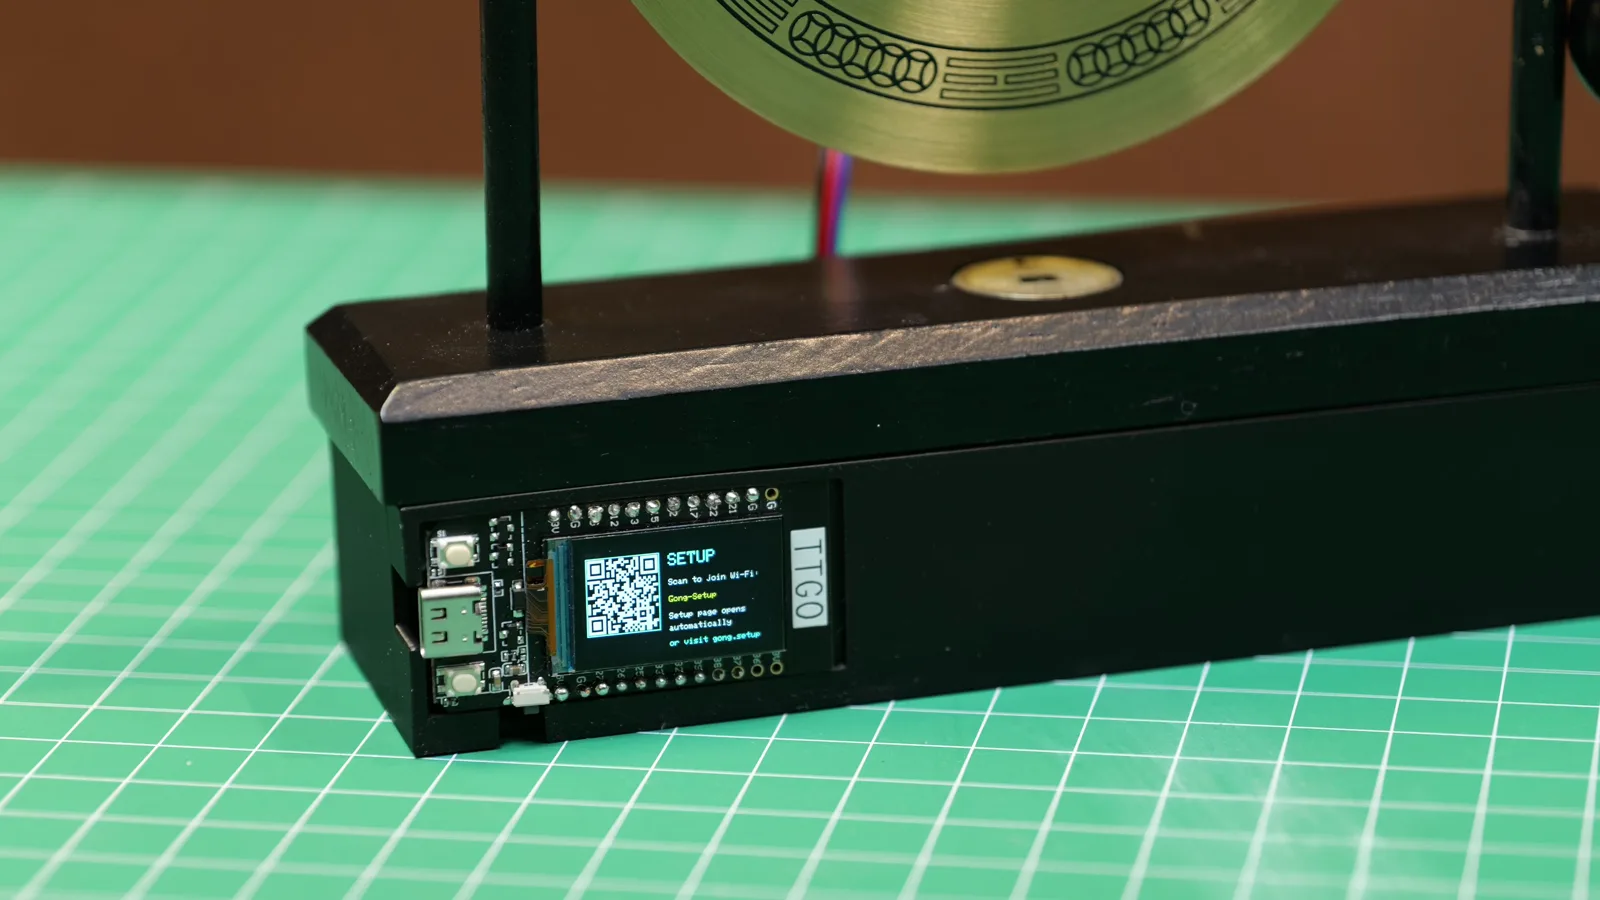
- On first start, the screen shows a QR code and the gong creates its own Wi-Fi network called Gong-Setup (password
gongsetup). - Scan the code with your phone and you join that network.
- A setup page opens by itself, like the login page on airport Wi-Fi (or go to
gong.setup). Enter your Wi-Fi network, your password and the webhook URL you want the gong to call. You can also pick how sensitive it is, from "very sensitive" for light taps to "less sensitive" for proper strikes.
If the gong can't join your Wi-Fi within 30 seconds, press either button on the board to go back into setup mode.
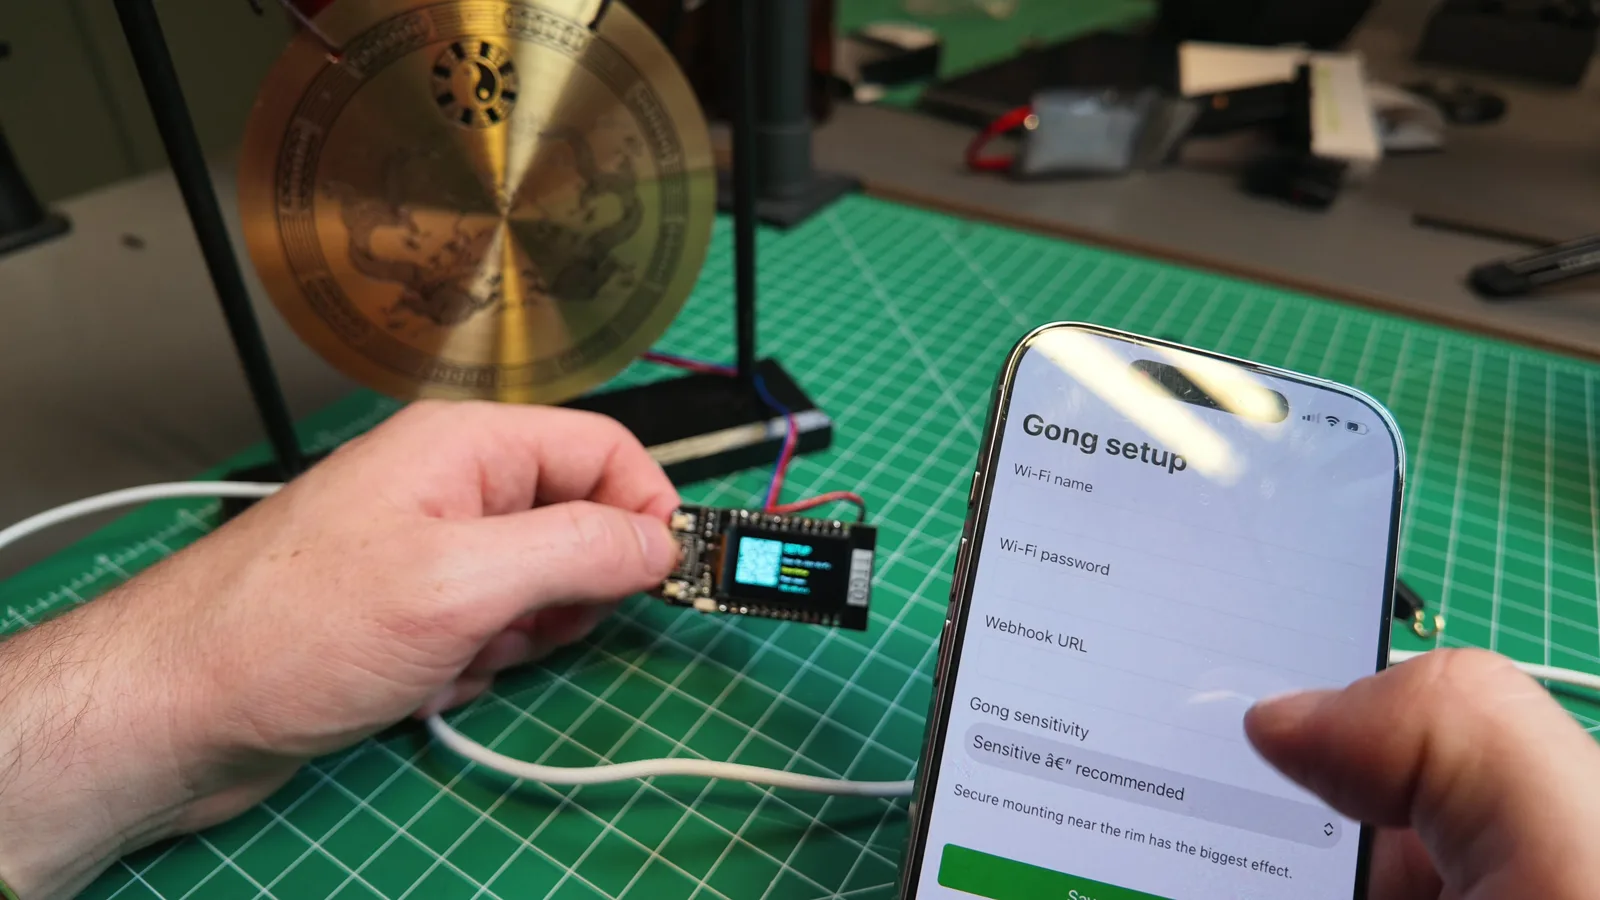
That last step took one extra ask. At first I had to type a long IP address into the browser, so I asked Schematik to make the page open automatically.
A webhook is just a URL, so anything that gives you one works: an n8n Webhook node, Zapier, Make, Home Assistant, or your own server.
Step 6: Make it look good
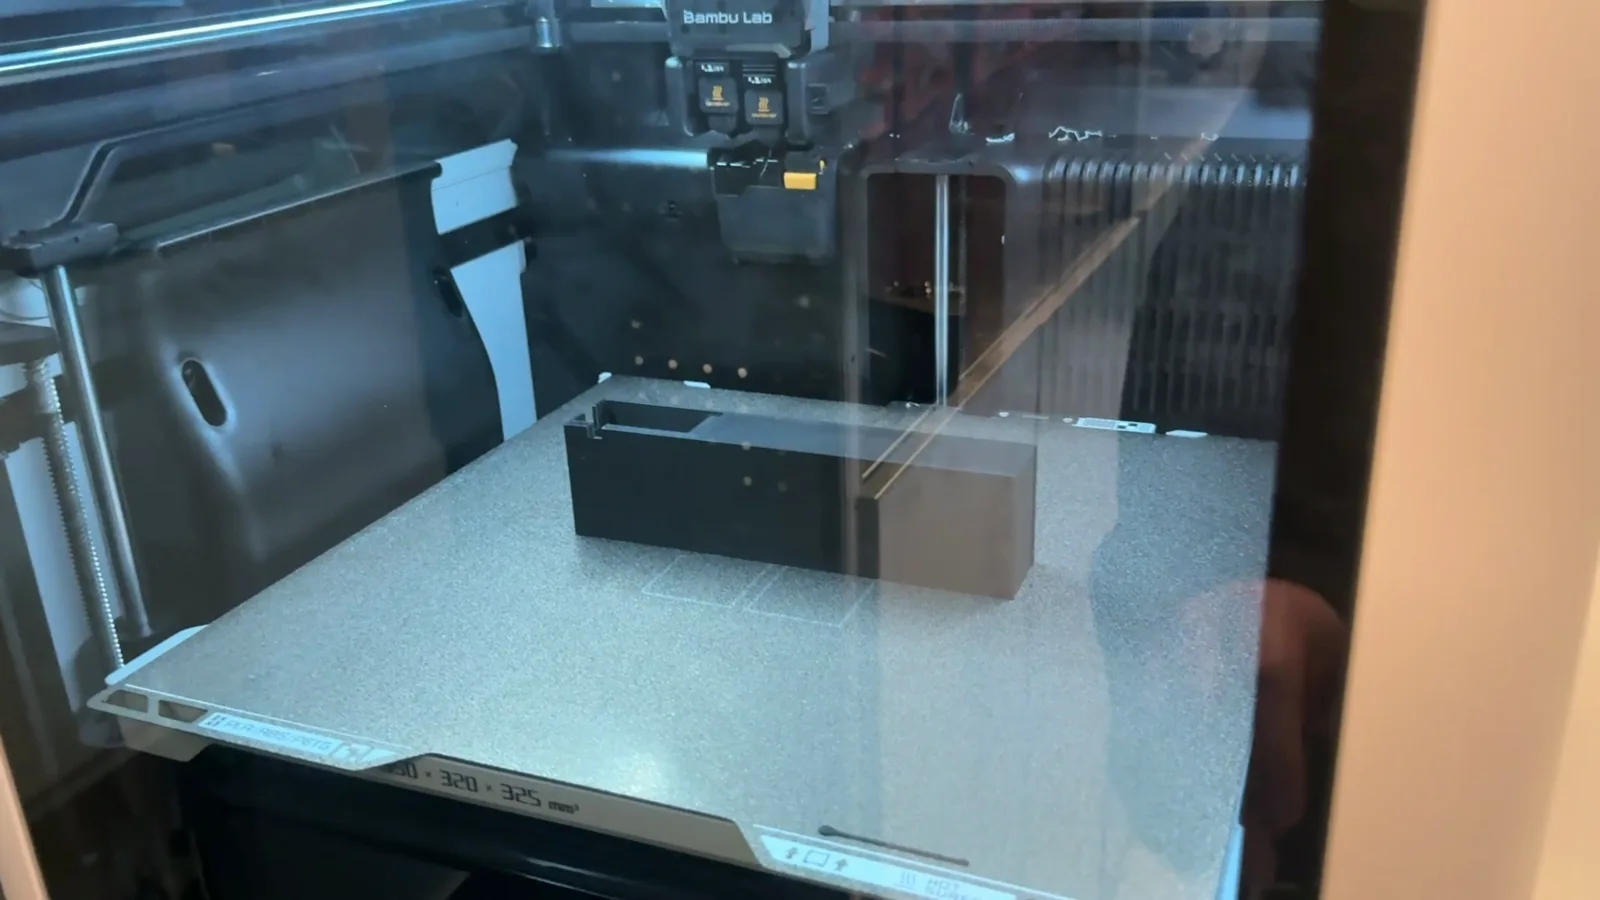
Wires and tape look fine on a desk, but not as a gift. I measured the board, battery and gong base with calipers and designed a small 3D-printed case. It leaves room for the buttons and cables and has solid surfaces to glue things to. It looked a bit weird on screen, but the printed result came out great.
Download the case as an STL (about 183 × 32 × 48 mm). It's designed around the LilyGo T-Display and the base of my gong, so measure yours before you print.
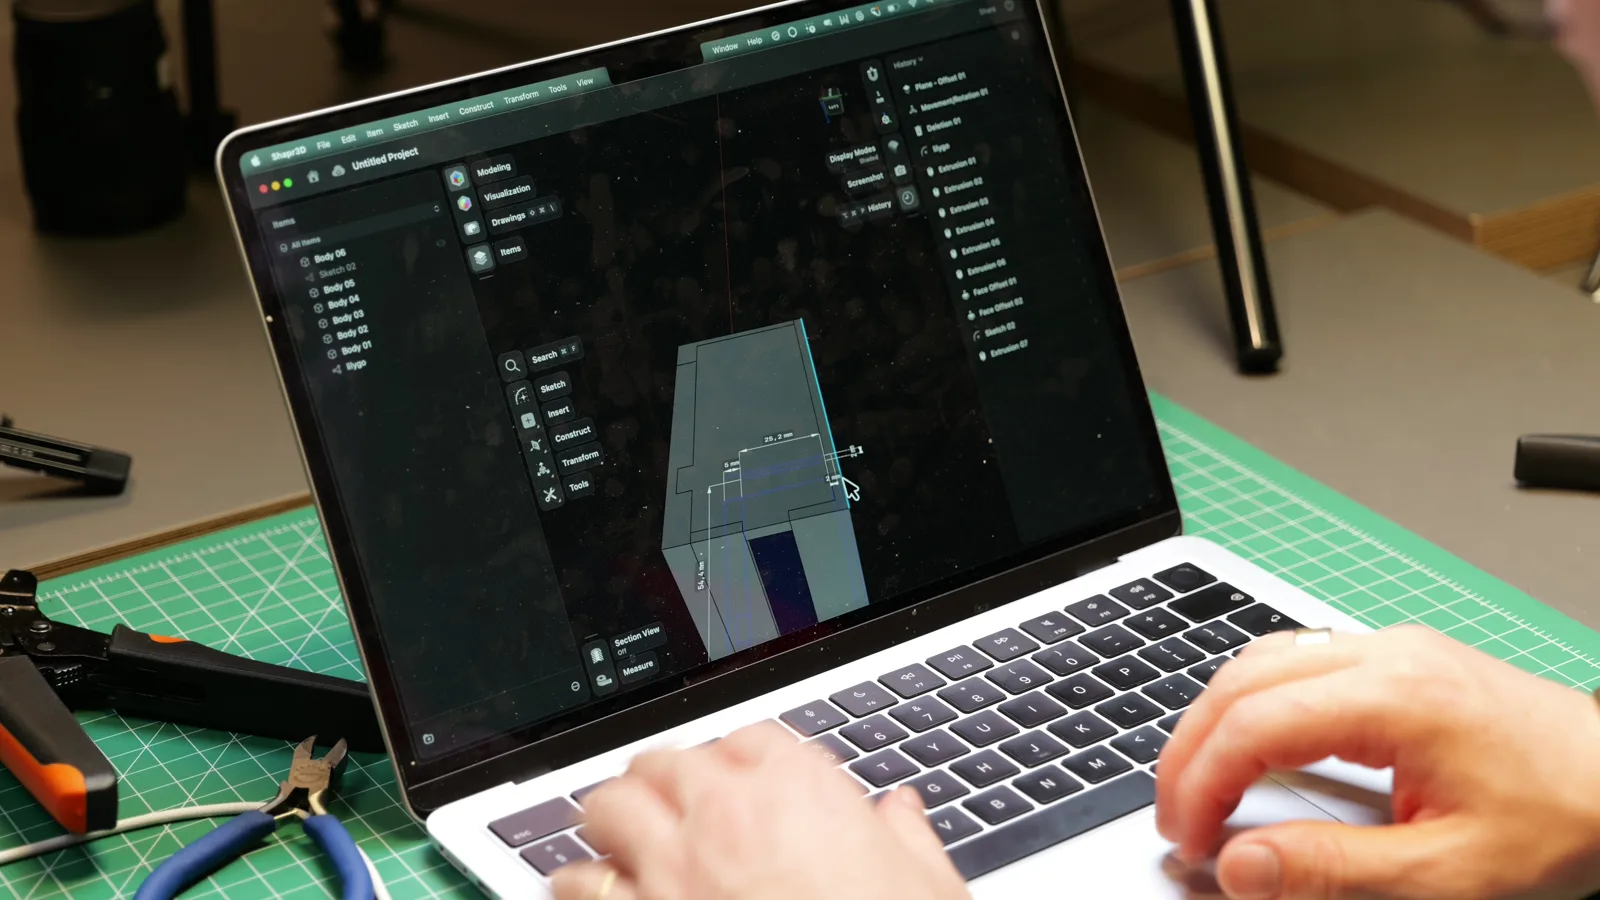
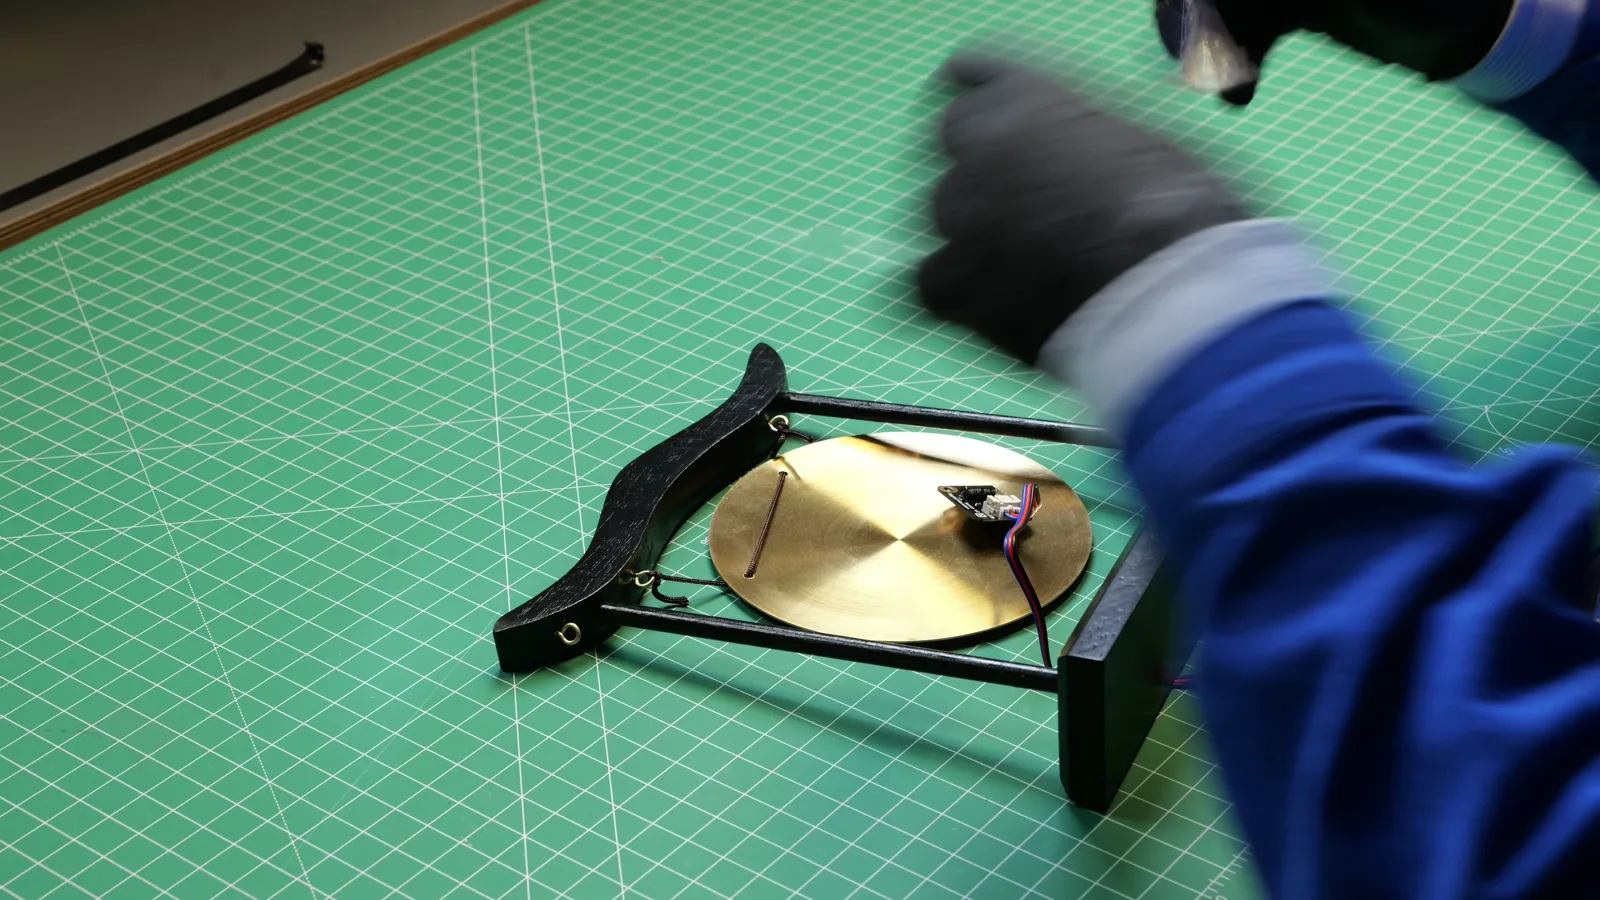
Final assembly:
- Wear gloves when you use super glue. You'll forget once, and your fingers will regret it for days.
- Glue the sensor to the back of the gong.
- Connect the battery to the board.
- Put the board in the case and connect the sensor.
- Glue the gong to the case.
The result
When Max saw it on the call, the screen surprised him most: "Oh my gosh. And it's got a screen." Hit the gong and it says it's been hit, then fires the webhook.
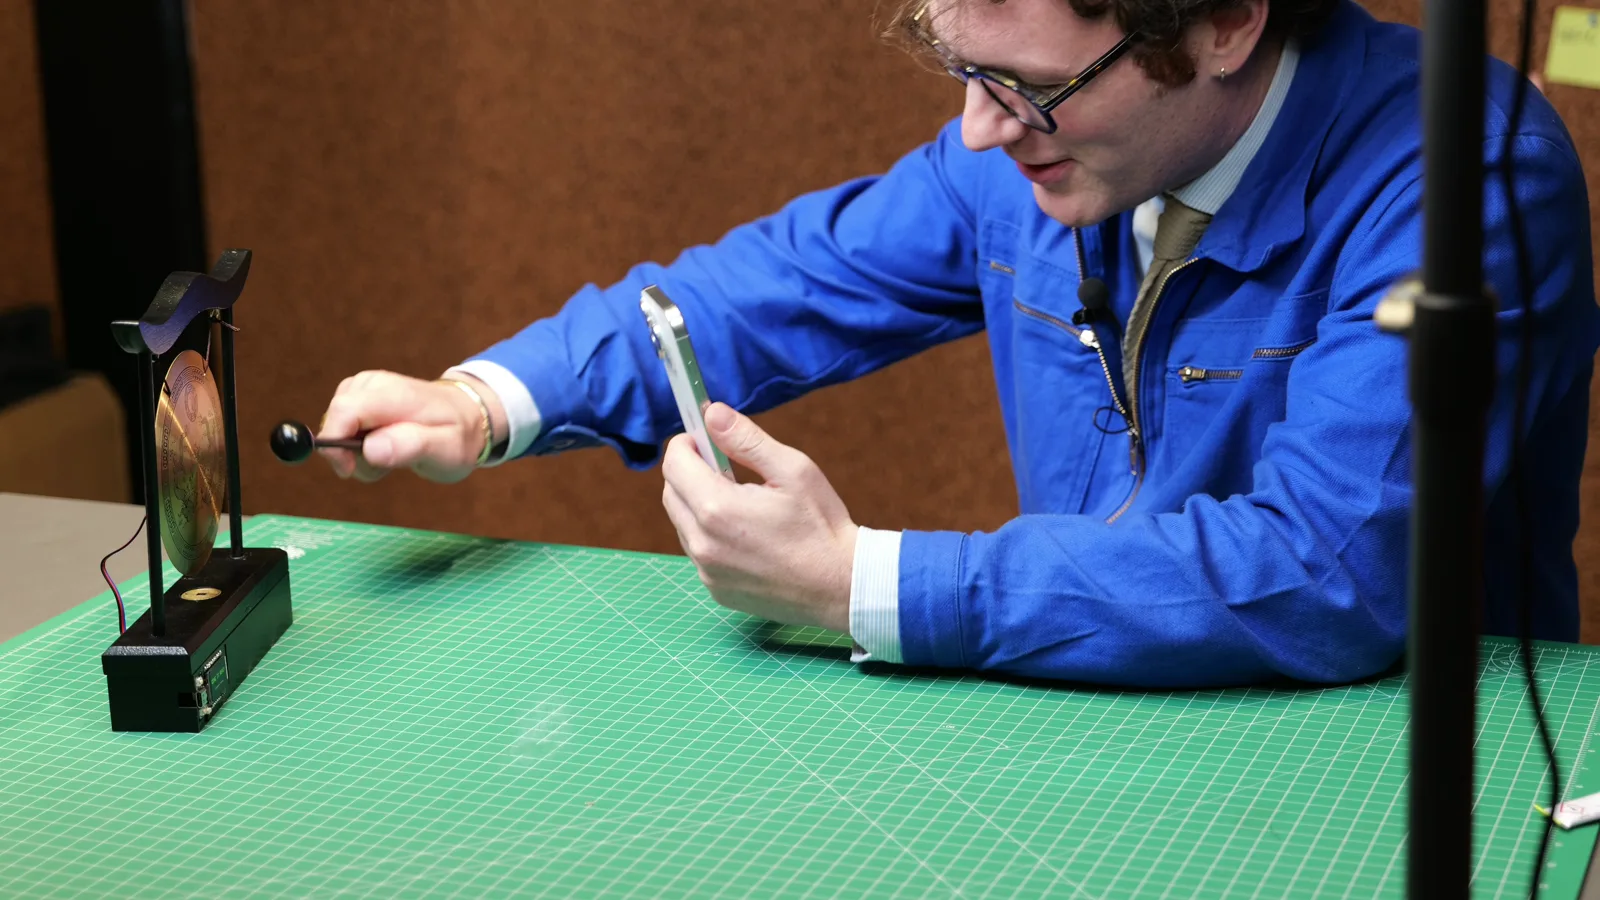
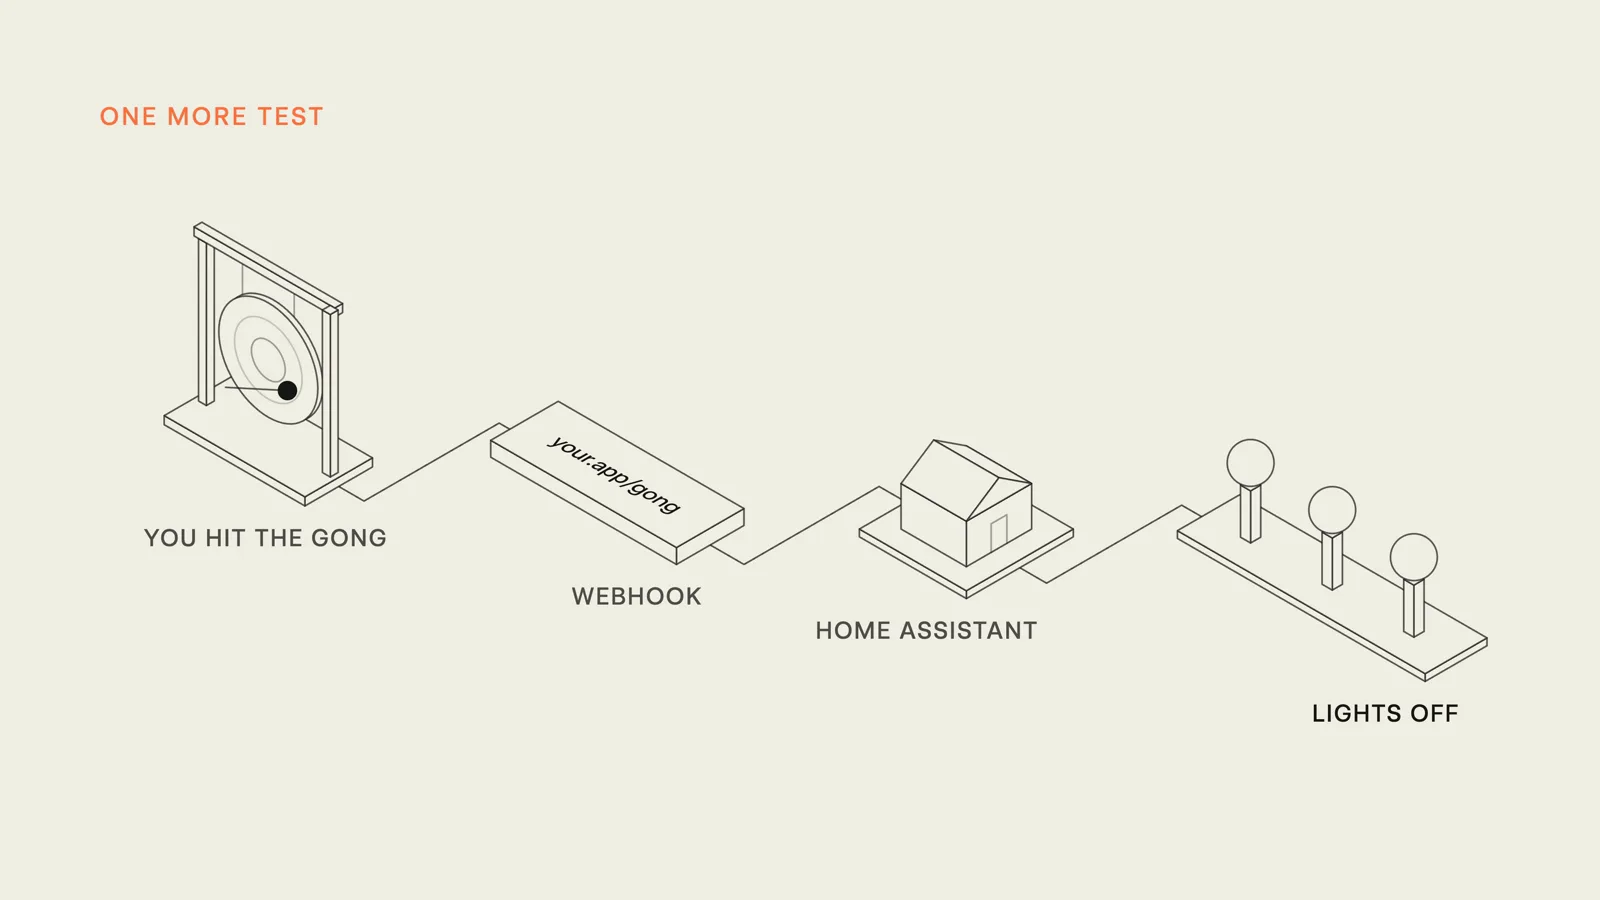
For the final test, I pointed it at my lights at home, which run on Home Assistant. One strike of the gong and every light in the room went off.
What will you connect it to?
Some ideas:
- Ring the gong when a deal closes, and post it in Slack.
- Start an n8n workflow: send an invoice, deploy a website, order a pizza.
- Turn the lights off at the end of the workday.
New to the ESP32? Start with our beginner guide. Then build your own: open the webhook gong project for the firmware and wiring, or start from the same prompt in Schematik and ask it for a twist of your own.
Keep building from here
Jump into a step-by-step build, or open Schematik and turn your own idea into code, wiring, and assembly instructions.
Related posts

How to Make the Viral Digital Hair Clip
A LilyGo T-Display clipped into your hair, showing whatever you want it to say. Four parts, no breadboard, and the soldering is optional. The hard bit is not the electronics — it is getting it to stay on your head.

New to Hardware? A Beginner ESP32 Guide for Your First Build
A beginner ESP32 hardware guide: what to buy first, how breadboards work, what pin labels mean, and what to check before powering your first build.
