Community project
ESP32 Chatty Pet
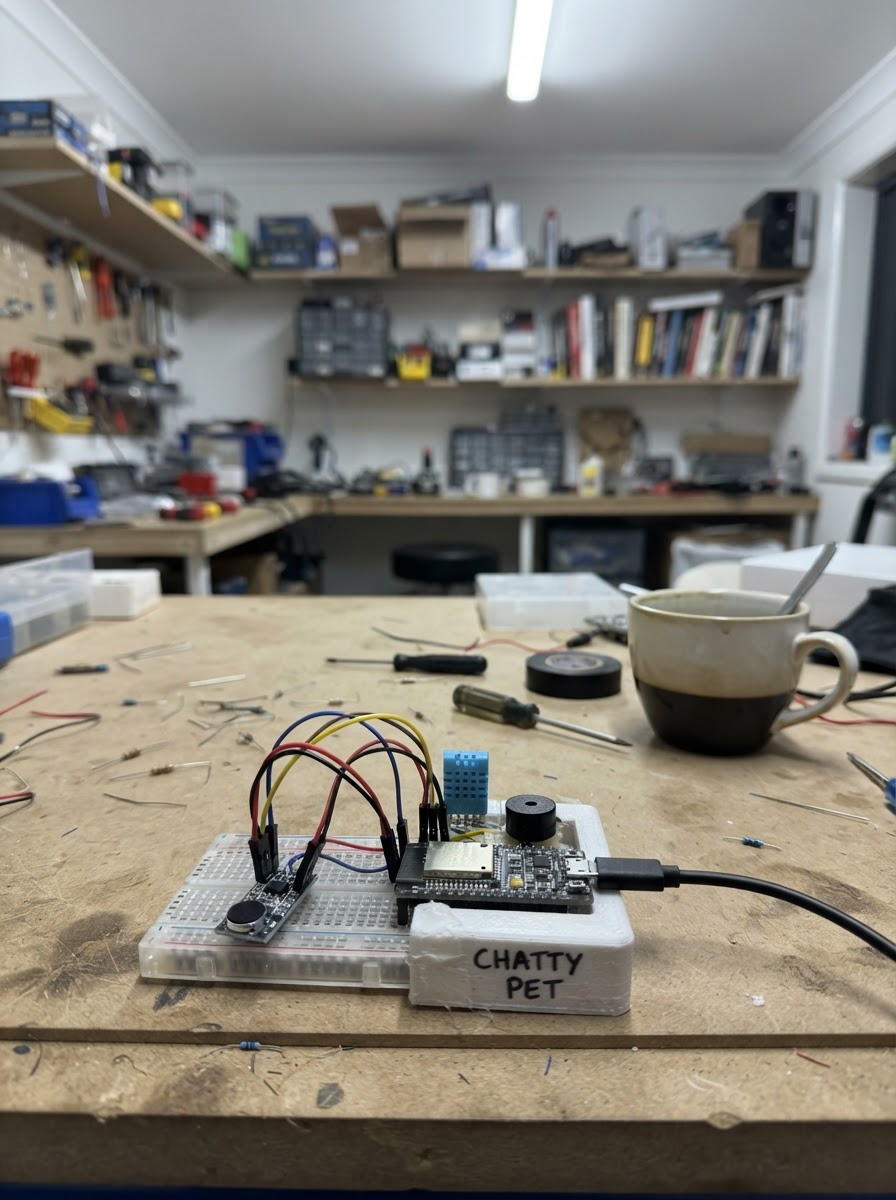
The ESP32 Chatty Pet is an interactive virtual companion that lives on an M5Stack CoreS3 display. This project brings a playful pet to life with touch-responsive interactions, expressive animations, and sound effects that react to user input.
Builders will receive a complete parts list, wiring diagram for the USB power connection, and fully commented firmware code. The guide covers powering up the CoreS3, uploading the pet firmware, and interacting with the pet through on-screen touch buttons that trigger different responses and emotional states.
Wiring diagram
Gather all the parts
Assemble it in 3 steps
1. Use the CoreS3 as the complete pet
No external electronic components are required. The M5Stack CoreS3 already contains the color display, touch panel, speaker, microphone, battery circuitry, and Wi‑Fi hardware used by this pet project.
- Leave the protective film on only if it does not interfere with touch; remove it if taps feel unreliable.
- Do not open the CoreS3 enclosure or connect wires to its internal display, touch, microphone, or speaker circuits.
2. Power the pet
Place the CoreS3 where its screen and speaker are unobstructed. Power it from its USB-C connection, or use its charged internal battery if available.
- For a desk pet, keep USB-C power connected so it does not go to sleep from a flat battery.
- Use a standard 5 V USB-C supply. Do not connect higher voltage to the device.
3. Interact with the pet
After deploying the firmware, tap the large face to give the pet attention, or tap one of the four on-screen chat phrases. It responds with a new message, changes its mood, and plays a short sound. It goes to sleep after about 90 seconds of no interaction; tap it once to wake it.
- Tap the center of each button for the most reliable response.
- The pet is local and offline in this first version; it does not send speech or chat content to a cloud service.
- Keep liquid away from the touch screen and USB-C port.
Review all connections
1. Connections between "usb_c_cable_1" and "ESP32"
Deploy the firmware
#include <Arduino.h>
#include <M5Unified.h>

struct ChatChoice {
  const char* label;
  const char* reply;
  uint16_t color;
};


// Forward declarations
void beep(uint16_t frequency, uint16_t durationMs);
void drawFace();
void handleTouch();

const ChatChoice choices[] = {
  {"Hello!", "Hi friend! I am happy to see you!", 0x07E0},
  {"Play?", "Yes! Let's play chase-the-light!", 0xFFE0},
  {"Treat", "Yum! Thank you. You are my favorite!", 0xF81F},
  {"Good pet", "*happy wiggle* I like being your pet!", 0x07FF}
};
constexpr uint8_t CHOICE_COUNT = sizeof(choices) / sizeof(choices[0]);

uint8_t happiness = 3;
int lastChoice = -1;
bool sleeping = false;
uint32_t lastInteraction = 0;
uint32_t lastDraw = 0;

void beep(uint16_t frequency, uint16_t durationMs) {
  M5.Speaker.tone(frequency, durationMs);
}

void drawFace() {
  auto& d = M5.Display;
  d.fillScreen(TFT_NAVY);
  d.fillRoundRect(10, 8, 300, 95, 18, TFT_DARKCYAN);
  d.setTextDatum(middle_center);
  d.setTextColor(TFT_WHITE, TFT_DARKCYAN);
  d.setTextSize(2);
  d.drawString("CHAT PET", 160, 20);

  uint16_t eyeColor = sleeping ? TFT_WHITE : (happiness >= 4 ? TFT_YELLOW : TFT_WHITE);
  if (sleeping) {
    d.drawLine(75, 58, 115, 58, eyeColor);
    d.drawLine(205, 58, 245, 58, eyeColor);
    d.setTextSize(2);
    d.drawString("Z z z", 160, 78);
  } else {
    d.fillCircle(95, 58, 20, eyeColor);
    d.fillCircle(225, 58, 20, eyeColor);
    d.fillCircle(95, 58, 8, TFT_BLACK);
    d.fillCircle(225, 58, 8, TFT_BLACK);
    d.drawArc(135, 62, 185, 88, 20, 160, TFT_WHITE);
  }

  d.fillRoundRect(10, 108, 300, 38, 8, TFT_BLACK);
  d.setTextColor(TFT_WHITE, TFT_BLACK);
  d.setTextSize(1);
  const char* status = sleeping ? "Tap me to wake me up!" : (lastChoice < 0 ? "Tap a message to chat with me." : choices[lastChoice].reply);
  d.drawString(status, 160, 127);

  for (uint8_t i = 0; i < CHOICE_COUNT; ++i) {
    int x = 10 + (i % 2) * 152;
    int y = 156 + (i / 2) * 42;
    d.fillRoundRect(x, y, 146, 34, 8, choices[i].color);
    d.setTextColor(TFT_BLACK, choices[i].color);
    d.setTextSize(2);
    d.drawString(choices[i].label, x + 73, y + 17);
  }
  d.setTextColor(TFT_LIGHTGREY, TFT_NAVY);
  d.setTextSize(1);
  d.drawString("Pet mood: " + String(happiness) + "/5", 160, 232);
}

void handleTouch() {
  auto detail = M5.Touch.getDetail();
  if (!detail.wasPressed()) return;

  lastInteraction = millis();
  if (sleeping) {
    sleeping = false;
    lastChoice = -1;
    beep(880, 70);
    drawFace();
    return;
  }

  int x = detail.x;
  int y = detail.y;
  if (y >= 156 && y < 232) {
    int col = x >= 162 ? 1 : 0;
    int row = (y - 156) / 42;
    int picked = row * 2 + col;
    if (picked >= 0 && picked < CHOICE_COUNT) {
      lastChoice = picked;
      if (picked == 2 || picked == 3) happiness = min<uint8_t>(5, happiness + 1);
      else happiness = max<uint8_t>(1, happiness - (picked == 0 ? 0 : 0));
      beep(600 + picked * 160, 90);
      drawFace();
    }
  } else if (y < 105) {
    happiness = min<uint8_t>(5, happiness + 1);
    lastChoice = -1;
    beep(1040, 65);
    drawFace();
  }
}

void setup() {
  auto config = M5.config();
  M5.begin(config);
  M5.Display.setRotation(1);
  M5.Display.setTextWrap(false);
  M5.Speaker.setVolume(80);
  lastInteraction = millis();
  drawFace();
  beep(784, 70);
}

void loop() {
  M5.update();
  handleTouch();

  if (!sleeping && millis() - lastInteraction > 90000) {
    sleeping = true;
    lastChoice = -1;
    drawFace();
  }

  if (millis() - lastDraw > 1000 && !sleeping) {
    lastDraw = millis();
  }
}
Remix this project
Make it yours in one click
Open a full copy of this project in your own Schematik workspace — diagram, code, parts, and assembly steps included. Swap the sensor, add features, or redesign the whole thing with AI. The author's original stays untouched.