Community project
ESP32 Custom Drawing Display
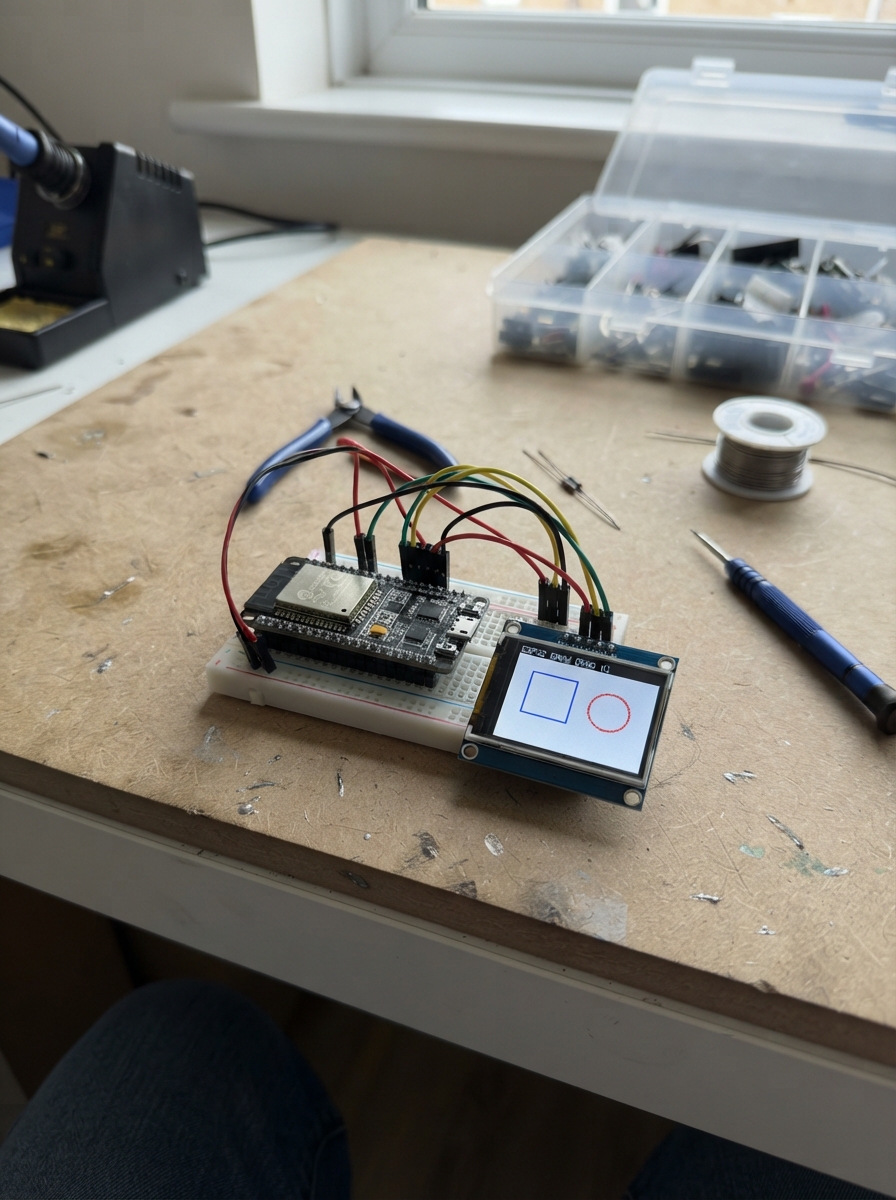
This project demonstrates how to use the built-in ST7789 display on an ESP32 development board to render custom graphics and text. The guide covers the essential wiring connections, library setup, and firmware needed to control the TFT screen through SPI communication.
Builders will receive a complete parts list, wiring diagram showing the display connections to the ESP32 pins, and ready-to-upload firmware that draws shapes, circles, and text on the display. After loading the code via USB, the custom drawing appears immediately on screen, providing a foundation for creating interactive graphics projects.
Wiring diagram
Assemble it in 3 steps
1. Usa la pantalla que ya trae la placa
No conectes una TFT externa. La pantalla de color ya está montada dentro de esta placa Ideaspark; sus conexiones están hechas en la propia placa.
- Déjala sin cables conectados a los pines de la pantalla: no hacen falta para este dibujo.
2. Conecta la placa por USB
Conecta el cable USB-C desde la placa al ordenador. El mismo cable alimenta la placa y permite cargar el programa.
- No fuerces el conector USB-C ni uses un cable dañado.
3. Carga y mira el dibujo
En Schematik, pulsa Deploy. Al iniciarse, la pantalla integrada debe encenderse y mostrar un borde celeste, una cara amarilla y el texto “Hola!”.
- El programa dibuja la imagen una vez al encender, así que no parpadea continuamente.
Deploy the firmware
#include <SPI.h>
#include <Adafruit_GFX.h>
#include <Adafruit_ST7789.h>

constexpr int TFT_CS = 15;
constexpr int TFT_DC = 2;
constexpr int TFT_RST = 4;
constexpr int TFT_BL = 32;
constexpr int TFT_SCLK = 18;
constexpr int TFT_MOSI = 23;

Adafruit_ST7789 tft(TFT_CS, TFT_DC, TFT_RST);

void setup() {
  pinMode(TFT_BL, OUTPUT);
  digitalWrite(TFT_BL, HIGH);

  SPI.begin(TFT_SCLK, -1, TFT_MOSI, TFT_CS);
  tft.init(170, 320);
  tft.setRotation(1);
  tft.fillScreen(ST77XX_BLACK);

  tft.drawRoundRect(4, 4, 312, 162, 12, ST77XX_CYAN);
  tft.fillCircle(160, 76, 42, ST77XX_YELLOW);
  tft.fillCircle(144, 66, 6, ST77XX_BLACK);
  tft.fillCircle(176, 66, 6, ST77XX_BLACK);
  tft.drawLine(138, 96, 182, 96, ST77XX_BLACK);

  tft.setTextColor(ST77XX_WHITE);
  tft.setTextSize(3);
  tft.setCursor(110, 130);
  tft.print("Hola!");
}

void loop() {
}
Remix this project
Make it yours in one click
Open a full copy of this project in your own Schematik workspace — diagram, code, parts, and assembly steps included. Swap the sensor, add features, or redesign the whole thing with AI. The author's original stays untouched.