Community project
ESP32 DOOM Joystick Display
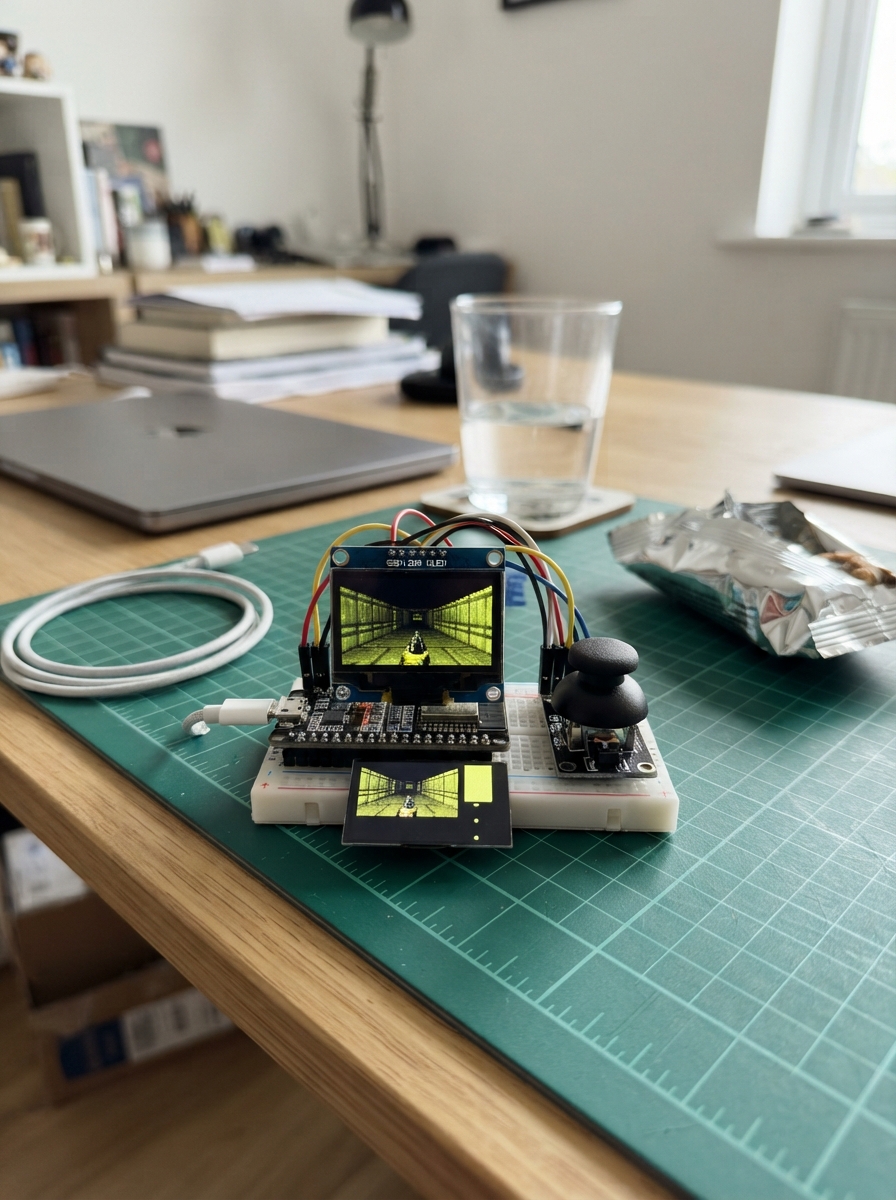
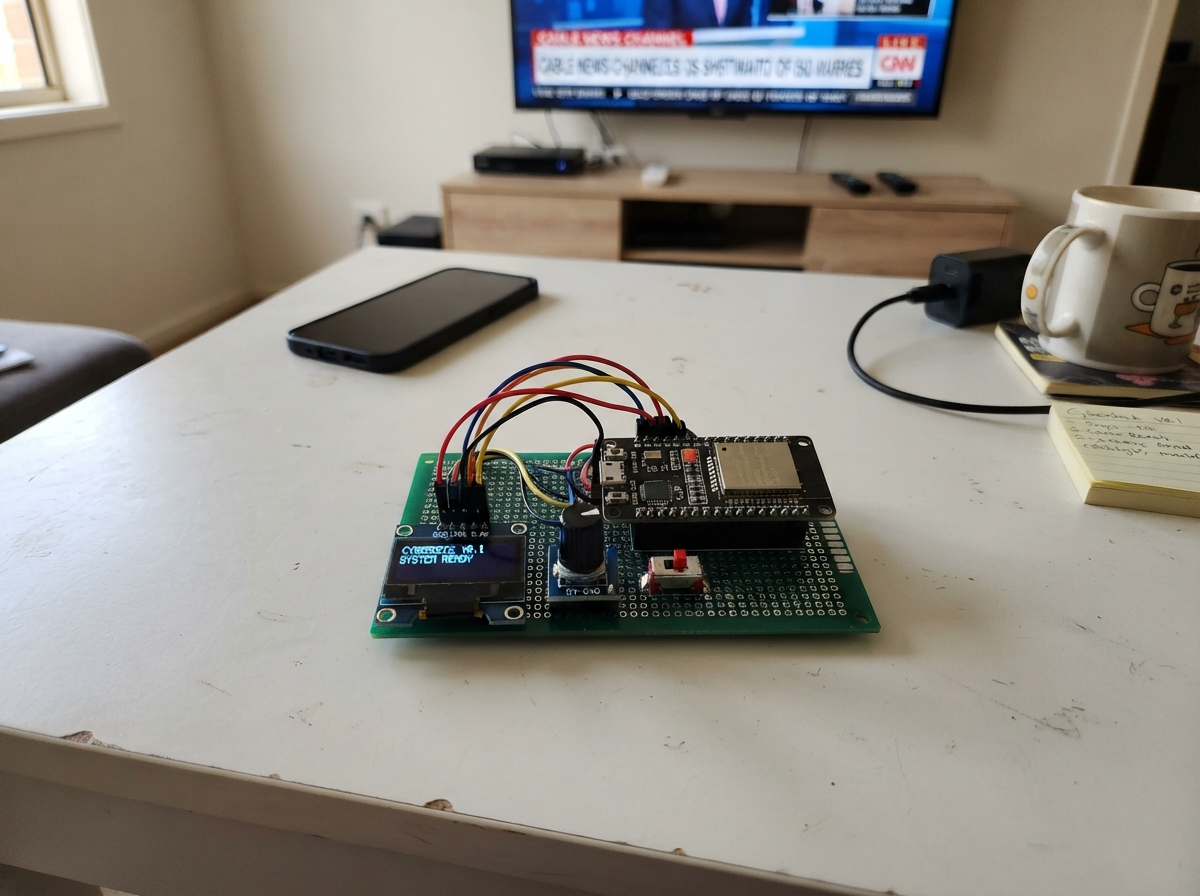
Build a retro first-person shooter on the ESP32 with a dual-axis joystick controller and compact OLED display. This project combines classic DOOM-style gameplay with modern microcontroller hardware, rendering a 3D maze environment where players navigate, aim, and shoot enemies in real time.
The guide includes a complete wiring diagram connecting the KY-023 joystick module and SSD1309 OLED display to the ESP32, a full parts list, and ready-to-compile firmware featuring raycasting graphics, enemy AI, collision detection, and score tracking. Assembly takes minutes—just connect power at 3.3V, wire the joystick analog inputs and button, link the SPI display pins, and start playing.
Wiring diagram

Gather all the parts
Assemble it in 4 steps
1. Keep the power at 3.3 volts
With the ESP32-C6 unplugged, connect the 3V3 pin on the board to the VCC pin on the joystick and to VCC on the OLED. Connect a GND pin on the board to GND on both modules. Use red wires for 3V3 and black wires for GND so the two power connections are easy to inspect.
- The OLED and joystick must share the same GND connection or their signals cannot be understood by the board.
- Do not connect either module VCC to the board's 5V/VIN pin — 5 V joystick outputs can damage the ESP32-C6 inputs.
2. Connect the joystick controls
Connect joystick VRx to GPIO0 for left and right, VRy to GPIO1 for forward and backward, and SW to GPIO2 for the stick press that fires. The three pins are usually printed beside the five-pin joystick header.
- If left/right or forward/back feels reversed after testing, turn the joystick module around physically first; the game remains safe if you later choose to swap the two signal wires.
- Make sure VRx and VRy do not touch 3V3 or GND directly — those are signal wires, not power wires.
3. Connect the OLED picture wires
Connect OLED SCLK (sometimes labelled CLK) to GPIO18, MOSI (sometimes labelled DIN) to GPIO20, CS to GPIO21, DC to GPIO10, and RST (sometimes labelled RES) to GPIO11. Keep these wires short and press each jumper fully onto its header pin.
- If your display labels its data pin DIN rather than MOSI, DIN is the same connection in this build.
- The display has no MISO wire; that unused SPI return pin is not needed.
- Make sure the OLED VCC and GND wires are not swapped — swapped power can damage the screen.
4. Power up and play
Inspect every connection once more, plug the ESP32-C6 into USB, then use Schematik's Deploy button. Push the stick left or right to turn, push it forward or backward to walk, and press the stick to fire. When health reaches zero, press the stick to restart.
- The game refreshes about 20 times each second, so movement should feel responsive while the display remains readable.
- If the screen stays blank, disconnect USB before moving wires; do not move power wires while the board is powered.
Review all connections
1. Connections between "joystick_1" and "ESP32"
2. Connections between "oled_1" and "ESP32"
Deploy the firmware
#include <Arduino.h>
#include <SPI.h>
#include <U8g2lib.h>


// Hoisted type definitions
struct Enemy {
  float x;
  float y;
  bool alive;
};


// Forward declarations
bool isWall(float x, float y);
float wrapAngle(float a);
void resetGame();
void shoot();
void readControls();
void updateEnemies();
void drawScene();

constexpr uint8_t JOY_X_PIN = 0;
constexpr uint8_t JOY_Y_PIN = 1;
constexpr uint8_t JOY_BUTTON_PIN = 2;
constexpr uint8_t OLED_SCK_PIN = 18;
constexpr uint8_t OLED_MOSI_PIN = 20;
constexpr uint8_t OLED_CS_PIN = 21;
constexpr uint8_t OLED_DC_PIN = 10;
constexpr uint8_t OLED_RST_PIN = 11;

constexpr int SCREEN_W = 128;
constexpr int SCREEN_H = 64;
constexpr int VIEW_TOP = 10;
constexpr int VIEW_BOTTOM = 55;
constexpr uint32_t FRAME_MS = 50;

U8G2_SSD1309_128X64_NONAME0_F_4W_HW_SPI display(U8G2_R0, OLED_CS_PIN, OLED_DC_PIN, OLED_RST_PIN);

float playerX = 1.5f;
float playerY = 1.5f;
float playerAngle = 0.0f;
int health = 100;
int score = 0;
bool gameOver = false;
bool lastButton = true;
uint32_t lastFrame = 0;
uint32_t lastShot = 0;

const char worldMap[8][9] = {
  "########",
  "#......#",
  "#..##..#",
  "#......#",
  "#.####.#",
  "#......#",
  "#......#",
  "########"
};


Enemy enemies[] = {
  {5.5f, 1.5f, true},
  {6.0f, 3.5f, true},
  {2.0f, 6.0f, true}
};
constexpr int ENEMY_COUNT = sizeof(enemies) / sizeof(enemies[0]);

bool isWall(float x, float y) {
  int mapX = (int)x;
  int mapY = (int)y;
  if (mapX < 0 || mapX >= 8 || mapY < 0 || mapY >= 8) return true;
  return worldMap[mapY][mapX] == '#';
}

float wrapAngle(float a) {
  while (a > PI) a -= TWO_PI;
  while (a < -PI) a += TWO_PI;
  return a;
}

void resetGame() {
  playerX = 1.5f;
  playerY = 1.5f;
  playerAngle = 0.0f;
  health = 100;
  score = 0;
  gameOver = false;
  enemies[0] = {5.5f, 1.5f, true};
  enemies[1] = {6.0f, 3.5f, true};
  enemies[2] = {2.0f, 6.0f, true};
}

void shoot() {
  uint32_t now = millis();
  if (now - lastShot < 280 || gameOver) return;
  lastShot = now;
  int target = -1;
  float nearest = 99.0f;
  for (int i = 0; i < ENEMY_COUNT; ++i) {
    if (!enemies[i].alive) continue;
    float dx = enemies[i].x - playerX;
    float dy = enemies[i].y - playerY;
    float distance = sqrtf(dx * dx + dy * dy);
    float enemyAngle = atan2f(dy, dx);
    if (fabsf(wrapAngle(enemyAngle - playerAngle)) < 0.16f && distance < nearest) {
      target = i;
      nearest = distance;
    }
  }
  if (target >= 0) {
    enemies[target].alive = false;
    score += 100;
  }
}

void readControls() {
  bool button = digitalRead(JOY_BUTTON_PIN);
  if (!button && lastButton) {
    if (gameOver) resetGame(); else shoot();
  }
  lastButton = button;
  if (gameOver) return;

  int rawX = analogRead(JOY_X_PIN);
  int rawY = analogRead(JOY_Y_PIN);
  float x = (rawX - 2048) / 2048.0f;
  float y = (rawY - 2048) / 2048.0f;
  if (fabsf(x) > 0.18f) playerAngle = wrapAngle(playerAngle + x * 0.075f);
  if (fabsf(y) > 0.20f) {
    float step = -y * 0.075f;
    float nextX = playerX + cosf(playerAngle) * step;
    float nextY = playerY + sinf(playerAngle) * step;
    if (!isWall(nextX, playerY)) playerX = nextX;
    if (!isWall(playerX, nextY)) playerY = nextY;
  }
}

void updateEnemies() {
  if (gameOver) return;
  for (int i = 0; i < ENEMY_COUNT; ++i) {
    if (!enemies[i].alive) continue;
    float dx = playerX - enemies[i].x;
    float dy = playerY - enemies[i].y;
    float d = sqrtf(dx * dx + dy * dy);
    if (d < 0.55f) {
      health -= 2;
      if (health <= 0) { health = 0; gameOver = true; }
    } else if (d < 4.5f) {
      float step = 0.018f;
      float nx = enemies[i].x + dx / d * step;
      float ny = enemies[i].y + dy / d * step;
      if (!isWall(nx, enemies[i].y)) enemies[i].x = nx;
      if (!isWall(enemies[i].x, ny)) enemies[i].y = ny;
    }
  }
}

void drawScene() {
  display.clearBuffer();
  display.setFont(u8g2_font_5x7_tf);
  char status[24];
  snprintf(status, sizeof(status), "HP:%03d  SCORE:%04d", health, score);
  display.drawStr(0, 7, status);

  // Ray-cast a simple maze, one narrow vertical wall slice at a time.
  for (int column = 0; column < SCREEN_W; column += 2) {
    float rayAngle = playerAngle + ((float)column / SCREEN_W - 0.5f) * 1.05f;
    float distance = 0.03f;
    while (distance < 8.0f && !isWall(playerX + cosf(rayAngle) * distance, playerY + sinf(rayAngle) * distance)) distance += 0.035f;
    float corrected = distance * cosf(rayAngle - playerAngle);
    int wallHeight = (int)(38.0f / max(corrected, 0.12f));
    wallHeight = constrain(wallHeight, 1, VIEW_BOTTOM - VIEW_TOP);
    int top = (VIEW_TOP + VIEW_BOTTOM - wallHeight) / 2;
    display.drawVLine(column, top, wallHeight);
  }

  // Draw living enemies as sprites when they are in front of the player.
  for (int i = 0; i < ENEMY_COUNT; ++i) {
    if (!enemies[i].alive) continue;
    float dx = enemies[i].x - playerX;
    float dy = enemies[i].y - playerY;
    float d = sqrtf(dx * dx + dy * dy);
    float relative = wrapAngle(atan2f(dy, dx) - playerAngle);
    if (fabsf(relative) < 0.52f && d > 0.25f) {
      int sx = SCREEN_W / 2 + (int)(relative * 105.0f);
      int size = constrain((int)(22.0f / d), 3, 19);
      int sy = (VIEW_TOP + VIEW_BOTTOM) / 2 - size / 2;
      display.drawBox(sx - size / 2, sy, size, size);
      display.setDrawColor(0);
      display.drawBox(sx - size / 4, sy + size / 4, 2, 2);
      display.drawBox(sx + size / 4 - 2, sy + size / 4, 2, 2);
      display.setDrawColor(1);
    }
  }

  display.drawHLine(0, VIEW_BOTTOM + 2, SCREEN_W);
  display.drawBox(55, 57, 18, 2);
  display.drawBox(61, 55, 6, 7);
  if (millis() - lastShot < 80) display.drawFrame(50, 52, 28, 12);

  if (gameOver) {
    display.setDrawColor(0);
    display.drawBox(16, 19, 96, 25);
    display.setDrawColor(1);
    display.drawFrame(16, 19, 96, 25);
    display.setFont(u8g2_font_6x12_tf);
    display.drawStr(31, 31, "YOU DIED");
    display.setFont(u8g2_font_5x7_tf);
    display.drawStr(23, 40, "PRESS STICK TO RESTART");
  }
  display.sendBuffer();
}

void setup() {
  pinMode(JOY_BUTTON_PIN, INPUT_PULLUP);
  analogReadResolution(12);
  SPI.begin(OLED_SCK_PIN, -1, OLED_MOSI_PIN, OLED_CS_PIN);
  display.begin();
  display.setContrast(255);
  drawScene();
}

void loop() {
  uint32_t now = millis();
  if (now - lastFrame < FRAME_MS) return;
  lastFrame = now;
  readControls();
  updateEnemies();
  drawScene();
}
Remix this project
Make it yours in one click
Open a full copy of this project in your own Schematik workspace — diagram, code, parts, and assembly steps included. Swap the sensor, add features, or redesign the whole thing with AI. The author's original stays untouched.