Community project
Maak Voor Een M5stick S3 Een Dragon Radar
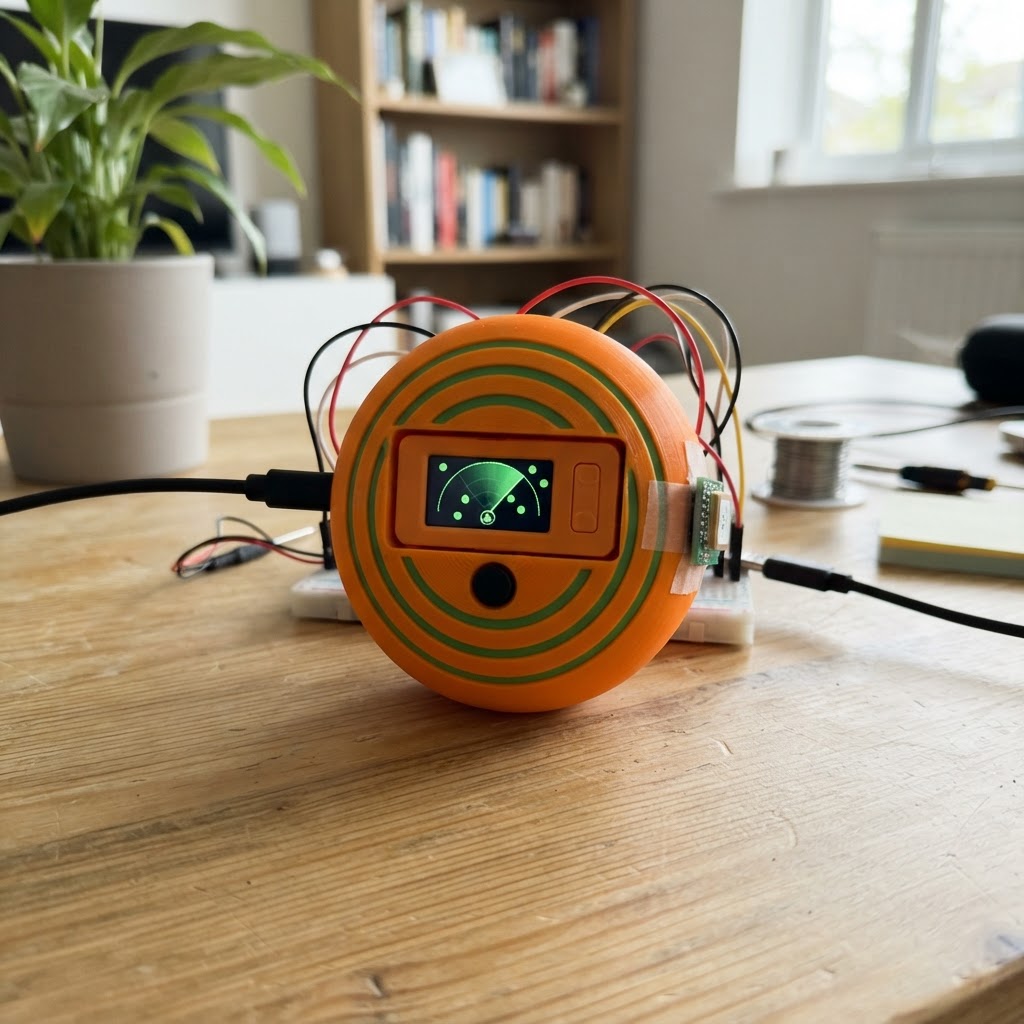
This project transforms an M5StickS3 into a Dragon Radar display inspired by the Dragon Ball series. The radar scans for Dragon Balls across a circular grid, with each ball marked by its star count, and automatically relocates targets every 10 minutes to keep the hunt dynamic.
The guide includes a complete wiring diagram (using only the M5StickS3's built-in display and power), a parts list, ready-to-flash firmware, and step-by-step assembly instructions. Builders will have everything needed to load the code onto their M5StickS3 and watch the radar come to life with scanning animations and target tracking.
Wiring diagram
Assemble it in 2 steps
1. Gebruik de ingebouwde hardware
Voor dit project zijn geen losse onderdelen of draadverbindingen nodig. De Dragon Radar gebruikt het ingebouwde 1,14-inch scherm en de twee knoppen van je M5StickS3.
- Houd de M5StickS3 horizontaal: de firmware draait het scherm automatisch naar landschapsweergave.
- De radar start direct na inschakelen.
2. Voed de M5StickS3
Sluit de M5StickS3 met een geschikte USB-kabel aan op USB-voeding of je computer. Gebruik alleen de USB-aansluiting van het apparaat; sluit geen losse spanning aan op de GPIO-pinnen.
- Knop A of B kan altijd handmatig een nieuwe radar-scan starten.
- Koppel de voeding los voordat je ooit externe bedrading aan de uitbreidingspinnen toevoegt.
Deploy the firmware
#include <Arduino.h>
#include <M5Unified.h>


// Hoisted type definitions
struct RadarBall {
  int16_t x;
  int16_t y;
  uint8_t stars;
};


// Forward declarations
void drawRadarGrid();
void drawDragonBall(const RadarBall &ball);
bool overlapsExisting(int16_t x, int16_t y, uint8_t count);
void generateLocations();
void relocateDragonBalls();

constexpr uint32_t RELOCATE_INTERVAL_MS = 10UL * 60UL * 1000UL;
constexpr int BALL_COUNT = 7;
constexpr int SCREEN_W = 240;
constexpr int SCREEN_H = 135;
constexpr int RADAR_X = 120;
constexpr int RADAR_Y = 72;
constexpr int RADAR_R = 52;


RadarBall balls[BALL_COUNT];
uint32_t nextRelocationAt = 0;
uint16_t scanNumber = 0;

void drawRadarGrid() {
  M5.Display.fillScreen(TFT_BLACK);
  M5.Display.drawRoundRect(2, 2, SCREEN_W - 4, SCREEN_H - 4, 8, TFT_DARKGREEN);
  M5.Display.setTextColor(TFT_GREEN, TFT_BLACK);
  M5.Display.setTextSize(1);
  M5.Display.setCursor(10, 10);
  M5.Display.print("DRAGON RADAR");
  M5.Display.setCursor(175, 10);
  M5.Display.printf("SCAN %02u", scanNumber % 100);

  M5.Display.drawCircle(RADAR_X, RADAR_Y, RADAR_R, TFT_DARKGREEN);
  M5.Display.drawCircle(RADAR_X, RADAR_Y, RADAR_R * 2 / 3, TFT_DARKGREEN);
  M5.Display.drawCircle(RADAR_X, RADAR_Y, RADAR_R / 3, TFT_DARKGREEN);
  M5.Display.drawFastHLine(RADAR_X - RADAR_R, RADAR_Y, RADAR_R * 2, TFT_DARKGREEN);
  M5.Display.drawFastVLine(RADAR_X, RADAR_Y - RADAR_R, RADAR_R * 2, TFT_DARKGREEN);
  M5.Display.fillCircle(RADAR_X, RADAR_Y, 2, TFT_GREEN);

  M5.Display.setTextColor(TFT_DARKGREY, TFT_BLACK);
  M5.Display.setCursor(10, 116);
  M5.Display.print("Nieuwe locatie: 10 min");
}

void drawDragonBall(const RadarBall &ball) {
  M5.Display.fillCircle(ball.x, ball.y, 7, TFT_ORANGE);
  M5.Display.drawCircle(ball.x, ball.y, 7, TFT_YELLOW);
  M5.Display.fillCircle(ball.x - 2, ball.y - 2, 2, TFT_WHITE);
  for (uint8_t i = 0; i < ball.stars; ++i) {
    const int8_t offsetX = ((i % 3) - 1) * 2;
    const int8_t offsetY = ((i / 3) - 1) * 2;
    M5.Display.drawPixel(ball.x + offsetX, ball.y + offsetY, TFT_RED);
  }
}

bool overlapsExisting(int16_t x, int16_t y, uint8_t count) {
  for (uint8_t i = 0; i < count; ++i) {
    const int16_t dx = x - balls[i].x;
    const int16_t dy = y - balls[i].y;
    if ((dx * dx + dy * dy) < (18 * 18)) return true;
  }
  return false;
}

void generateLocations() {
  for (uint8_t i = 0; i < BALL_COUNT; ++i) {
    int16_t x;
    int16_t y;
    do {
      x = random(RADAR_X - RADAR_R + 9, RADAR_X + RADAR_R - 8);
      y = random(RADAR_Y - RADAR_R + 9, RADAR_Y + RADAR_R - 8);
    } while (((x - RADAR_X) * (x - RADAR_X) + (y - RADAR_Y) * (y - RADAR_Y) > (RADAR_R - 9) * (RADAR_R - 9)) || overlapsExisting(x, y, i));
    balls[i] = {x, y, static_cast<uint8_t>(i + 1)};
  }
}

void relocateDragonBalls() {
  ++scanNumber;
  generateLocations();
  drawRadarGrid();
  for (const RadarBall &ball : balls) drawDragonBall(ball);
  nextRelocationAt = millis() + RELOCATE_INTERVAL_MS;
}

void setup() {
  auto config = M5.config();
  M5.begin(config);
  M5.Display.setRotation(1);
  M5.Display.setTextFont(&fonts::Font2);
  randomSeed(esp_random());
  relocateDragonBalls();
}

void loop() {
  M5.update();
  if (M5.BtnA.wasPressed() || M5.BtnB.wasPressed() || static_cast<int32_t>(millis() - nextRelocationAt) >= 0) {
    relocateDragonBalls();
  }
  delay(10);
}
Remix this project
Make it yours in one click
Open a full copy of this project in your own Schematik workspace — diagram, code, parts, and assembly steps included. Swap the sensor, add features, or redesign the whole thing with AI. The author's original stays untouched.