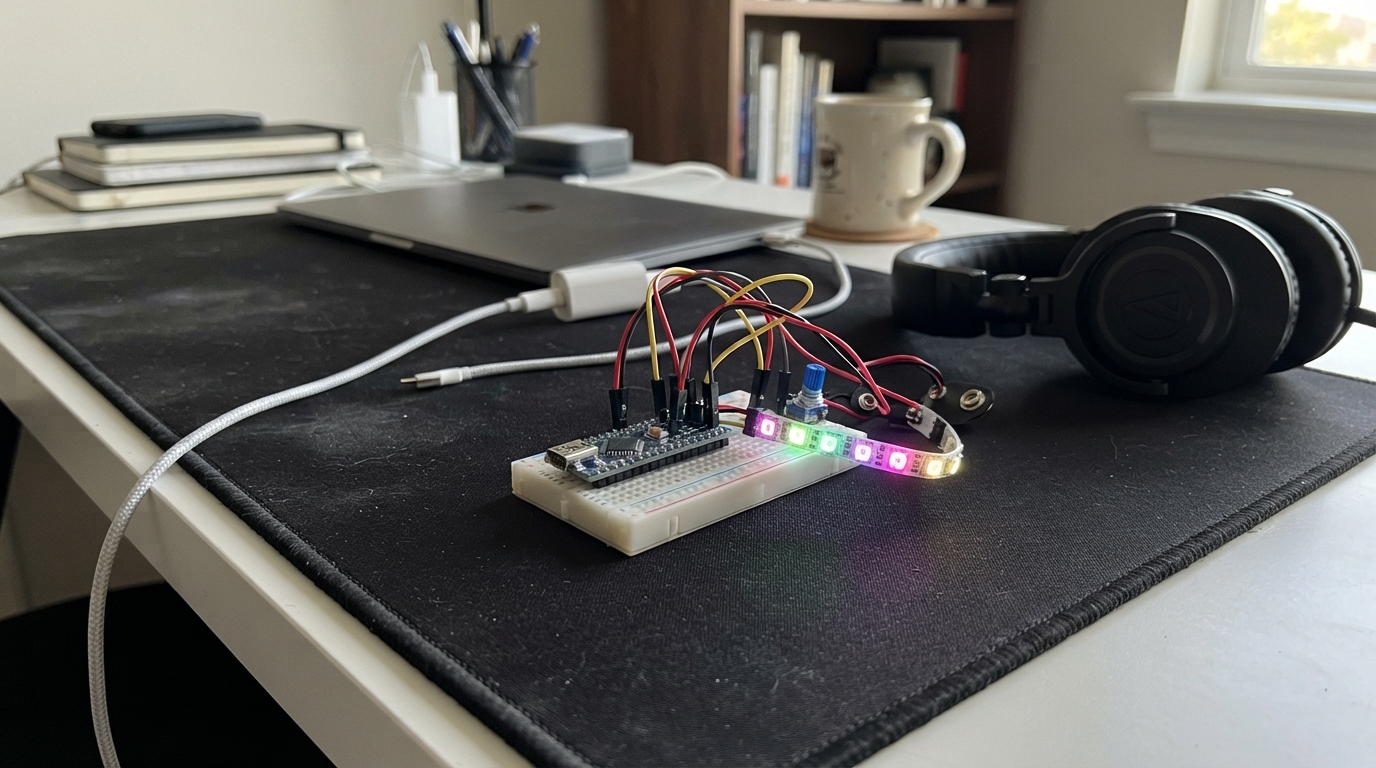
This project uses an ESP32 microcontroller to drive a single addressable RGB LED through a smooth, continuous rainbow color cycle. The LED shifts through the full spectrum of hues, creating a mesmerizing fade effect that repeats every 10 seconds.
The guide includes a complete parts list, wiring diagram showing how to connect the NeoPixel LED to the ESP32, and ready-to-use Arduino firmware. Assembly is straightforward—just connect the LED data pin to GPIO 21, power, and ground, then upload the code to see the rainbow effect in action.
Wiring diagram
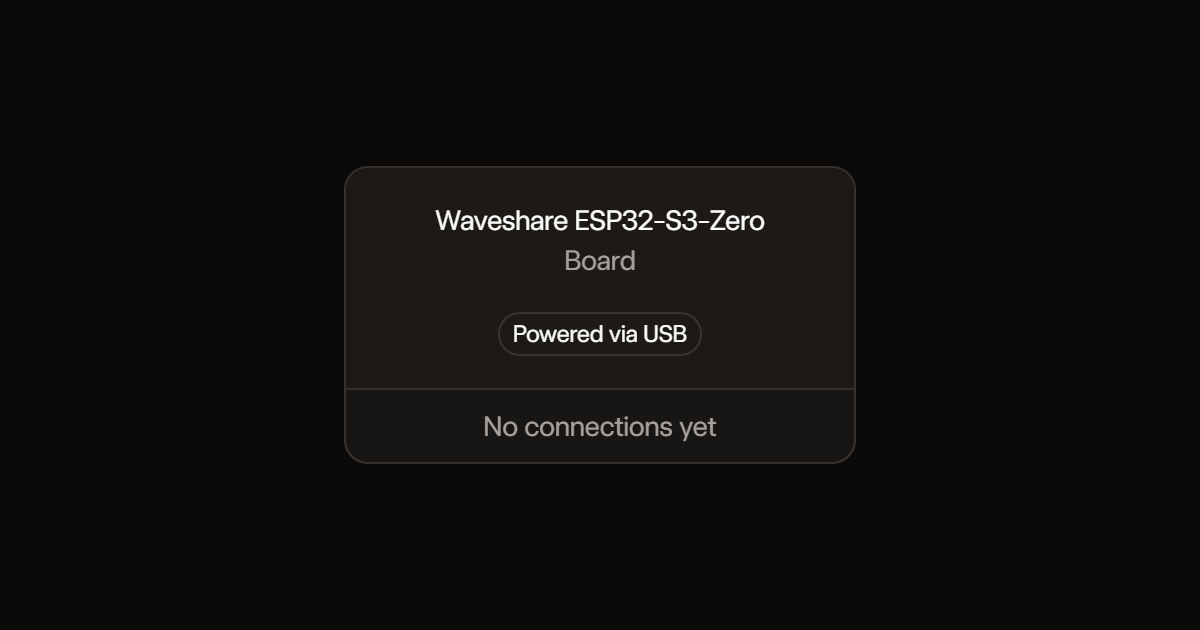
Assemble it in 1 step
1. Connect the board
The RGB LED is already connected to GPIO21 inside the ESP32-S3-Zero. No extra parts or wires are needed. Plug the board into your computer using a USB-C data cable.
- If the board is not detected, hold BOOT while connecting USB, then release BOOT.
Deploy the firmware
#include <Arduino.h>
#include <Adafruit_NeoPixel.h>

constexpr uint8_t LED_PIN = 21;
Adafruit_NeoPixel led(1, LED_PIN, NEO_RGB + NEO_KHZ800);

void setup() {
  led.begin();
  led.setBrightness(50);
  led.clear();
  led.show();
}

void loop() {
  static uint16_t hue = 0;
  led.setPixelColor(0, led.gamma32(led.ColorHSV(hue)));
  led.show();
  hue += 128;
  delay(20); // One smooth rainbow cycle in about 10 seconds.
}
Remix this project
Make it yours in one click
Open a full copy of this project in your own Schematik workspace, diagram, code, parts, and assembly steps included. Swap the sensor, add features, or redesign the whole thing with AI. The author's original stays untouched.