Community project
Voice-Reactive Color Visualizer
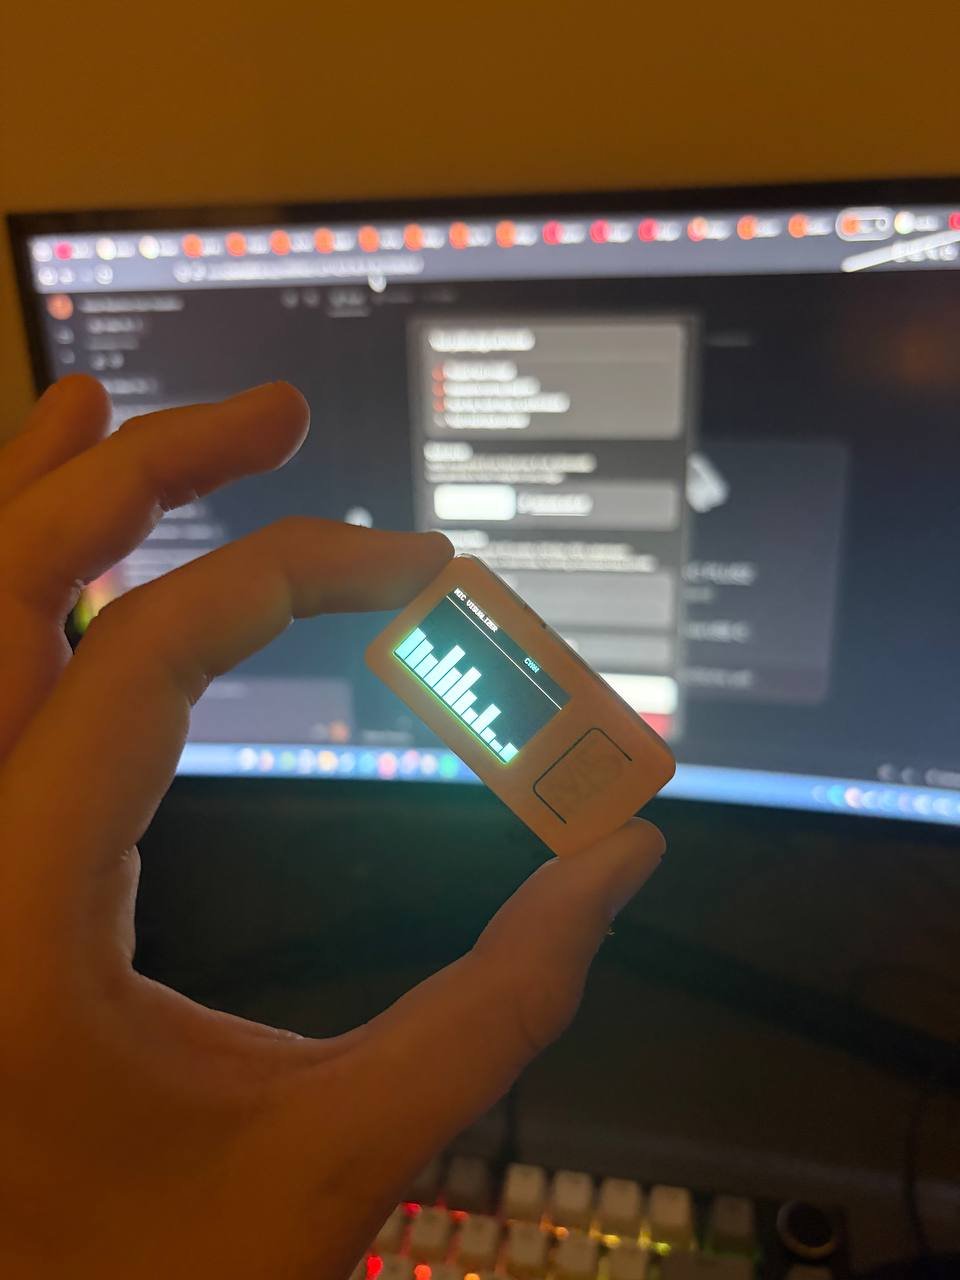
This project transforms sound into a colorful visual display using the M5StickC PLUS2's built-in microphone and screen. Audio is sampled in real-time and converted into animated frequency bars that react to voice, music, and ambient noise, with selectable color palettes to match any mood.
The guide includes a complete parts list, wiring diagram, and ready-to-flash firmware that handles audio capture, FFT analysis, and bar rendering. Assembly takes just minutes—power up the device and watch sound come to life on the display.
Wiring diagram
Assemble it in 2 steps
1. Prepare the M5StickC PLUS2
Nothing needs to be connected: the project uses the microphone, screen, and Button A already built into the M5StickC PLUS2. Keep the tiny microphone opening on the case uncovered so your voice can reach it.
- Hold the device with its screen facing you; Button A is the larger front button below the screen.
- Do not poke anything into the microphone opening; this can damage the microphone.
2. Power the device
Connect the M5StickC PLUS2 to your computer with its USB cable. The cable supplies power and is also used by Schematik to put the program onto the device.
- No breadboard, jumper wires, or external microphone are required.
Deploy the firmware
#include <M5Unified.h>

constexpr int POWER_HOLD_PIN = 4;
constexpr uint32_t SAMPLE_RATE = 44100;
constexpr size_t SAMPLE_COUNT = 256;
constexpr uint32_t FRAME_INTERVAL_MS = 50;
constexpr int BAR_COUNT = 12;

int16_t samples[SAMPLE_COUNT];
uint16_t palette[] = {TFT_CYAN, TFT_GREEN, TFT_MAGENTA, TFT_ORANGE, TFT_YELLOW};
const char* paletteNames[] = {"CYAN", "GREEN", "PINK", "ORANGE", "YELLOW"};
constexpr int PALETTE_COUNT = sizeof(palette) / sizeof(palette[0]);
int paletteIndex = 0;
uint32_t nextFrameAt = 0;
bool micReady = false;

void drawHeader() {
  M5.Display.fillRect(0, 0, M5.Display.width(), 23, TFT_BLACK);
  M5.Display.setTextSize(1);
  M5.Display.setTextColor(TFT_WHITE, TFT_BLACK);
  M5.Display.setCursor(4, 4);
  M5.Display.print("MIC VISUALIZER");
  M5.Display.setTextColor(palette[paletteIndex], TFT_BLACK);
  M5.Display.setCursor(150, 4);
  M5.Display.print(paletteNames[paletteIndex]);
  M5.Display.drawFastHLine(0, 22, M5.Display.width(), TFT_DARKGREY);
}

void drawBars() {
  const int top = 27;
  const int bottom = M5.Display.height() - 4;
  const int graphHeight = bottom - top;
  const int barPitch = M5.Display.width() / BAR_COUNT;
  const int barWidth = barPitch - 3;

  for (int bar = 0; bar < BAR_COUNT; ++bar) {
    const int first = (SAMPLE_COUNT * bar) / BAR_COUNT;
    const int last = (SAMPLE_COUNT * (bar + 1)) / BAR_COUNT;
    uint32_t sum = 0;
    for (int i = first; i < last; ++i) {
      int32_t value = samples[i];
      sum += (value < 0) ? -value : value;
    }
    const uint32_t average = sum / (last - first);
    // The onboard PDM microphone produces modest raw values for normal speech.
    // Apply display-only gain so talking close to the Stick visibly moves the bars.
    constexpr uint8_t DISPLAY_GAIN = 14;
    const uint32_t boosted = average * DISPLAY_GAIN;
    int height = map(constrain((int)boosted, 0, 9000), 0, 9000, 2, graphHeight);
    const int x = bar * barPitch + 2;

    // Only the bar's own narrow rectangle is refreshed each frame.
    M5.Display.fillRect(x, top, barWidth, graphHeight, TFT_BLACK);
    M5.Display.fillRect(x, bottom - height, barWidth, height, palette[paletteIndex]);
  }
}

void setup() {
  // The Plus2 needs this held high after a button/RTC wake, otherwise it powers off.
  pinMode(POWER_HOLD_PIN, OUTPUT);
  digitalWrite(POWER_HOLD_PIN, HIGH);

  auto cfg = M5.config();
  cfg.internal_mic = true;
  M5.begin(cfg);
  Serial.begin(115200);
  M5.Display.setRotation(1);
  M5.Display.fillScreen(TFT_BLACK);
  drawHeader();

  // The onboard SPM1423 PDM microphone is configured by M5Unified for this board.
  auto micCfg = M5.Mic.config();
  micCfg.sample_rate = SAMPLE_RATE;
  M5.Mic.config(micCfg);
  micReady = M5.Mic.begin();

  nextFrameAt = millis();
}

void loop() {
  M5.update();

  if (M5.BtnA.wasClicked()) {
    paletteIndex = (paletteIndex + 1) % PALETTE_COUNT;
    drawHeader();
  }

  const uint32_t now = millis();
  if ((int32_t)(now - nextFrameAt) >= 0) {
    const bool received = M5.Mic.record(samples, SAMPLE_COUNT, SAMPLE_RATE, false);
    if (received) {
      drawBars();
    }
    nextFrameAt = millis() + FRAME_INTERVAL_MS;
  }

  const int32_t waitMs = (int32_t)(nextFrameAt - millis());
  if (waitMs > 1) {
    delay(waitMs);
  } else {
    delay(1);
  }
}
Remix this project
Make it yours in one click
Open a full copy of this project in your own Schematik workspace — diagram, code, parts, and assembly steps included. Swap the sensor, add features, or redesign the whole thing with AI. The author's original stays untouched.