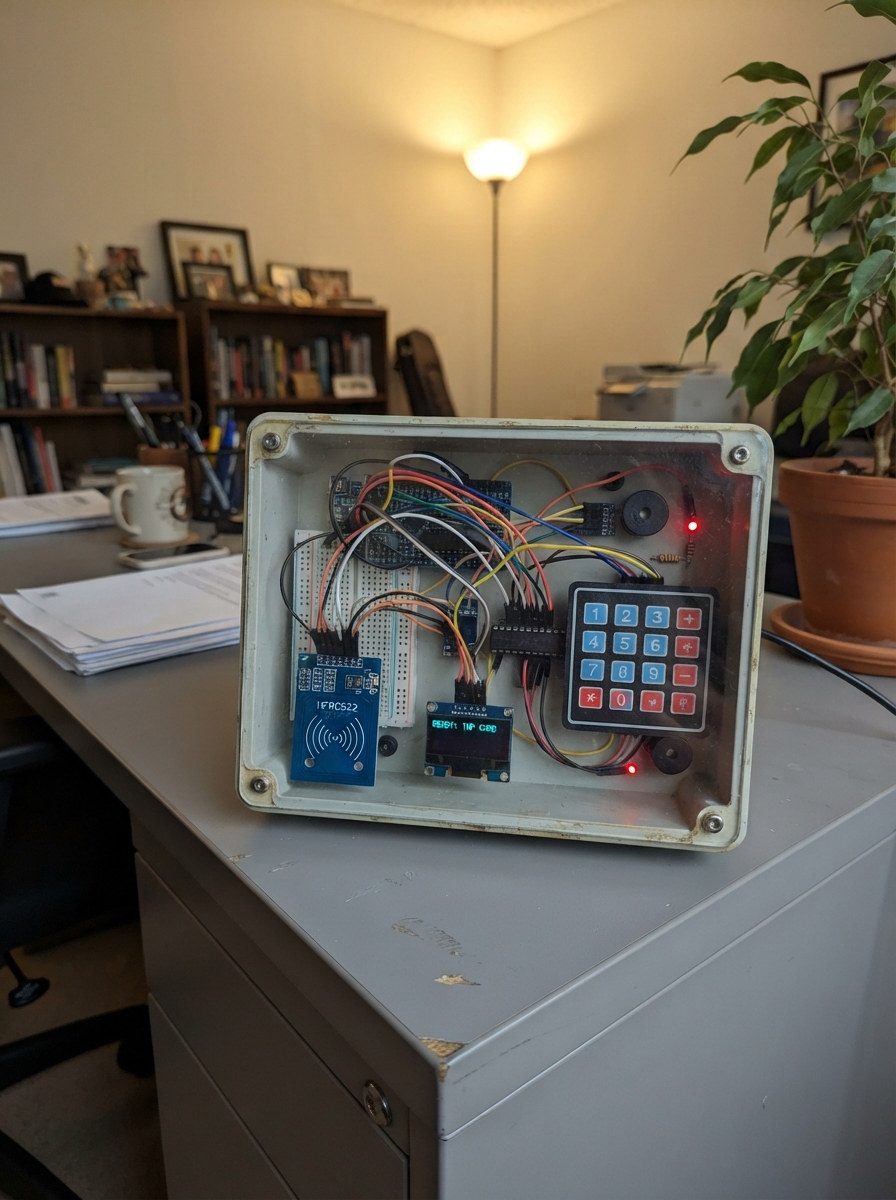
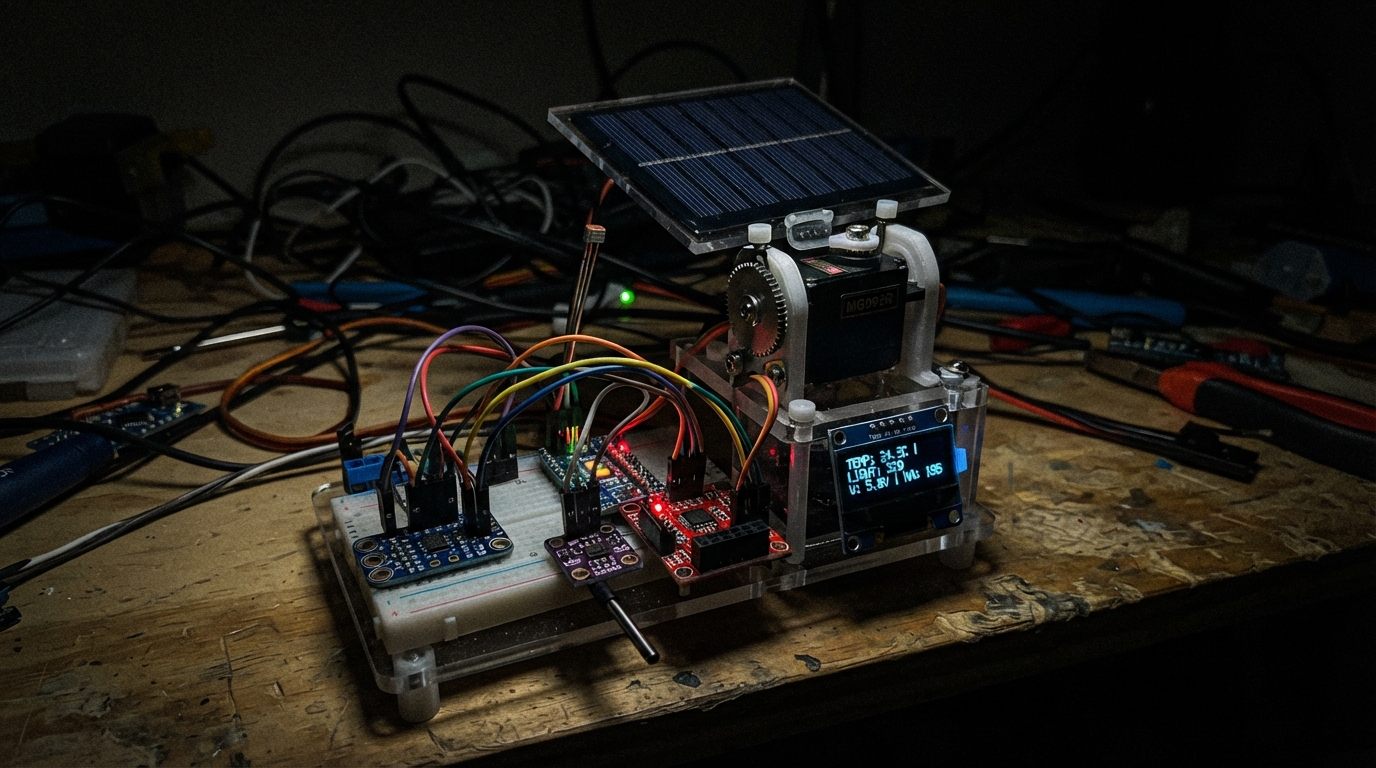
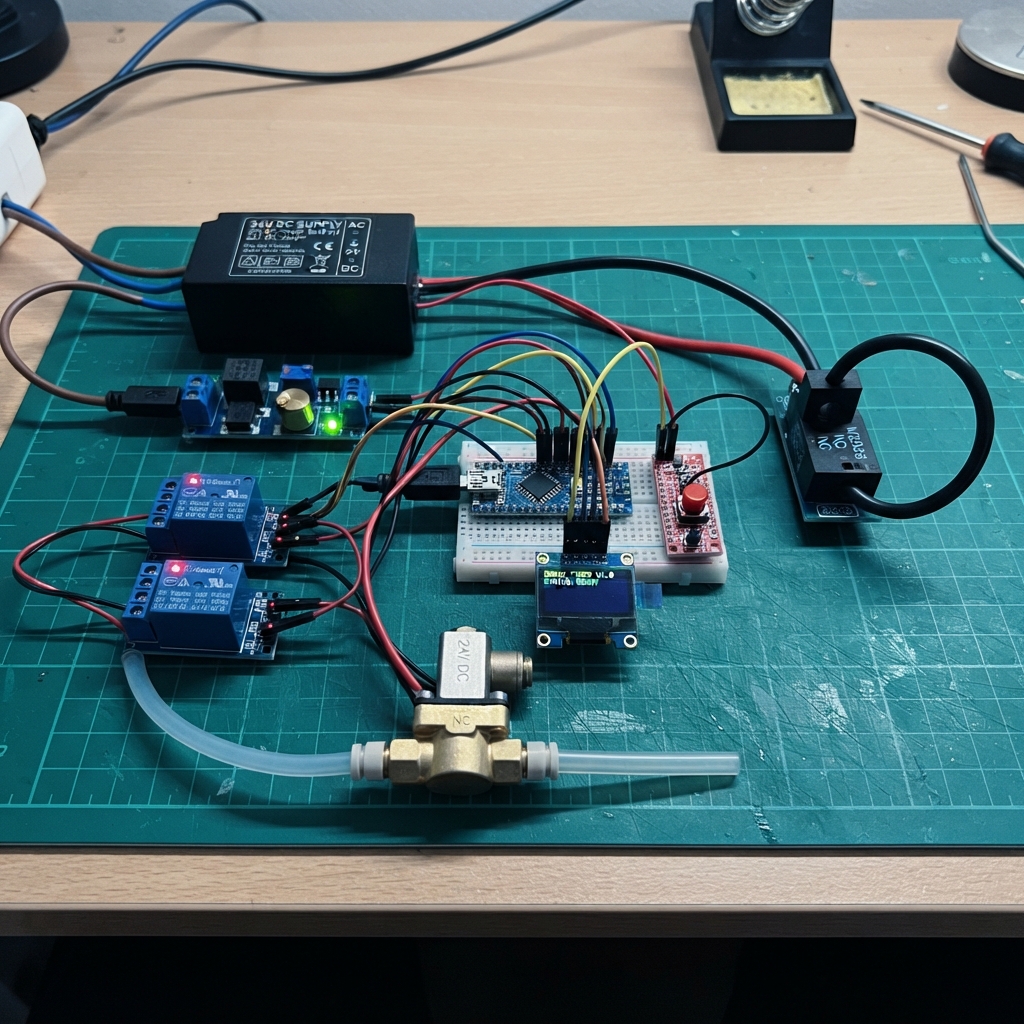
Community project
WiFi Proximity Gate Opener
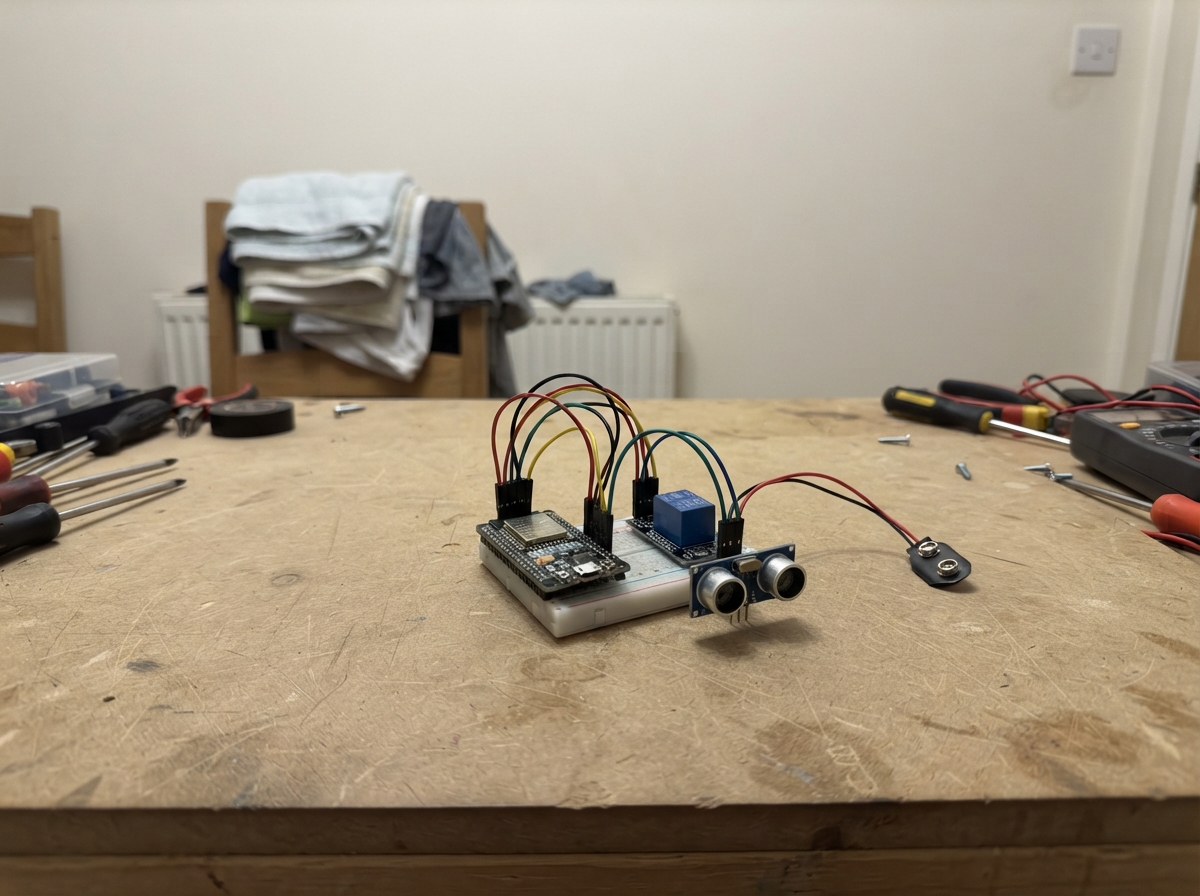
This WiFi-enabled gate opener lets you trigger door or gate mechanisms remotely from your smartphone or through proximity detection. Built around an ESP32 microcontroller with an OLED display, button interface, and WiFi connectivity, it communicates with a receiver endpoint to activate the gate mechanism securely using token-based authentication.
The guide includes a complete wiring diagram showing connections for the OLED display, button input, and power supply, a full parts list, and step-by-step assembly instructions. You'll also get the complete Arduino firmware with WiFi configuration, web server setup, and display management, plus instructions for programming the ESP32 via USB-C and configuring your WiFi credentials through the built-in setup access point.
Wiring diagram
Assemble it in 3 steps
1. Collega la batteria adatta
Con la scheda scollegata dal computer, collega al connettore batteria della scheda una batteria LiPo ricaricabile a singola cella da 3,7 V con connettore compatibile. Il connettore entra in un solo verso: non forzarlo.
- La batteria e il circuito di ricarica sono già sulla scheda; non aggiungere una batteria da 9 V.
- La prima volta lasciala collegata via USB-C finché la batteria non è carica.
- Non collegare mai una batteria da 9 V o due celle insieme: una tensione troppo alta può danneggiare la scheda e la batteria.
2. Lascia libero il piccolo portachiavi
Non sono necessari fili esterni: lo schermo, il pulsante BOOT e il connettore batteria sono già collegati dentro la scheda. Tieni accessibile il pulsante BOOT sul lato della scheda.
- GPIO5 e GPIO6 sono già usati dallo schermo, quindi non collegare accessori a quei contatti.
- Il pulsante BOOT è anche il comando del portachiavi.
- Non tenere premuto BOOT mentre inserisci il cavo USB-C o riavvii la scheda: può avviarla in modalità di programmazione invece che normalmente.
3. Collega il cavo USB-C per programmare
Collega la scheda al computer usando un cavo USB-C che trasferisce dati; il cavo alimenta temporaneamente la scheda e ricarica la batteria.
- Dopo il caricamento del firmware potrai scollegare il cavo e usare la batteria.
- Se lo schermo non si accende durante le prove, controlla prima che la batteria sia inserita correttamente e che il cavo USB-C non sia solo di ricarica.
Deploy the firmware
#include <Arduino.h>
#include <Wire.h>
#include <WiFi.h>
#include <WebServer.h>
#include <HTTPClient.h>
#include <Preferences.h>
#include <time.h>
#include <U8g2lib.h>

constexpr int OLED_SDA_PIN = 5;
constexpr int OLED_SCL_PIN = 6;
constexpr int BUTTON_PIN = 9;
constexpr int OLED_X = 28;
constexpr int OLED_Y = 28;
constexpr unsigned long HOLD_TO_ACTIVATE_MS = 2000;
constexpr unsigned long WIFI_TIMEOUT_MS = 12000;
constexpr char HOME_WIFI_SSID[] = "Tenda_6CC274";
constexpr char HOME_WIFI_PASSWORD[] = "once6763";
constexpr char CONFIG_AP_NAME[] = "Apricancello-Setup";
constexpr char CONFIG_AP_PASSWORD[] = "configura1";

U8G2_SH1106_128X64_NONAME_F_HW_I2C display(U8G2_R0, U8X8_PIN_NONE);
WebServer server(80);
Preferences preferences;
String wifiSsid, wifiPassword, receiverUrl, sharedToken;
bool configured = false, setupMode = false, buttonWasDown = false, longActionDone = false;
unsigned long buttonDownAt = 0, lastClockDrawAt = 0;

void drawLines(const String &a, const String &b = "", const String &c = "") {
  display.clearBuffer();
  display.setFont(u8g2_font_5x8_tf);
  display.drawStr(OLED_X, OLED_Y + 8, a.c_str());
  display.drawStr(OLED_X, OLED_Y + 20, b.c_str());
  display.drawStr(OLED_X, OLED_Y + 32, c.c_str());
  display.sendBuffer();
}

void showClock() {
  struct tm t;
  char text[6];
  if (getLocalTime(&t, 10)) strftime(text, sizeof(text), "%H:%M", &t);
  else snprintf(text, sizeof(text), "--:--");
  display.clearBuffer();
  display.setFont(u8g2_font_logisoso20_tf);
  display.drawStr(OLED_X + 1, OLED_Y + 20, text);
  display.setFont(u8g2_font_4x6_tf);
  display.drawStr(OLED_X, OLED_Y + 30, configured ? "Tieni 2 s: apri" : "Tieni 2 s: setup");
  display.sendBuffer();
  lastClockDrawAt = millis();
}

void loadSettings() {
  preferences.begin("gate", true);
  wifiSsid = preferences.getString("ssid", HOME_WIFI_SSID);
  wifiPassword = preferences.getString("pass", HOME_WIFI_PASSWORD);
  receiverUrl = preferences.getString("url", "");
  sharedToken = preferences.getString("token", "");
  preferences.end();
  configured = receiverUrl.length() && sharedToken.length() >= 16;
}

void saveSettings(const String &ssid, const String &pass, const String &url, const String &token) {
  preferences.begin("gate", false);
  preferences.putString("ssid", ssid); preferences.putString("pass", pass);
  preferences.putString("url", url); preferences.putString("token", token);
  preferences.end(); loadSettings();
}

void startSetupPortal() {
  if (setupMode) return;
  setupMode = true;
  WiFi.mode(WIFI_AP); WiFi.softAP(CONFIG_AP_NAME, CONFIG_AP_PASSWORD);
  drawLines("Configurazione", "Apri dal telefono", "192.168.4.1");
  server.on("/", HTTP_GET, []() {
    String p = "<!doctype html><meta name='viewport' content='width=device-width,initial-scale=1'><h2>Apricancello</h2><form method='post' action='/save'>Rete Wi-Fi<br><input name='ssid' value='" + wifiSsid + "' required><br>Password Wi-Fi<br><input name='pass' type='password'><br>Indirizzo ricevitore<br><input name='url' placeholder='http://192.168.1.50/open' required><br>Codice segreto (almeno 16 caratteri)<br><input name='token' type='password' minlength='16' required><br><br><button>Salva</button></form>";
    server.send(200, "text/html", p);
  });
  server.on("/save", HTTP_POST, []() {
    String ssid = server.arg("ssid"), pass = server.arg("pass"), url = server.arg("url"), token = server.arg("token");
    if (!ssid.length() || !url.startsWith("http://") || token.length() < 16) { server.send(400, "text/plain", "Dati non validi."); return; }
    saveSettings(ssid, pass, url, token);
    server.send(200, "text/html", "<h2>Salvato.</h2><p>Riavvio in corso.</p>"); delay(800); ESP.restart();
  });
  server.begin();
}

bool connectToHomeWifi() {
  WiFi.mode(WIFI_STA); WiFi.begin(wifiSsid.c_str(), wifiPassword.c_str());
  unsigned long started = millis();
  while (WiFi.status() != WL_CONNECTED && millis() - started < WIFI_TIMEOUT_MS) delay(100);
  if (WiFi.status() != WL_CONNECTED) { WiFi.disconnect(true); WiFi.mode(WIFI_OFF); return false; }
  configTime(7200, 0, "pool.ntp.org", "time.nist.gov");
  return true;
}

void requestGateOpen() {
  drawLines("Connessione...");
  if (!connectToHomeWifi()) { drawLines("Rete non trovata", "Nessuna apertura"); delay(2000); showClock(); return; }
  drawLines("Apro cancello...");
  HTTPClient http; http.setTimeout(5000); http.begin(receiverUrl); http.addHeader("X-Gate-Token", sharedToken);
  int result = http.POST(""); http.end(); WiFi.disconnect(true); WiFi.mode(WIFI_OFF);
  drawLines(result >= 200 && result < 300 ? "Comando inviato" : "Ricevitore", result >= 200 && result < 300 ? "Cancello aperto" : "non raggiungibile");
  delay(1500); showClock();
}

void handleButton() {
  bool down = digitalRead(BUTTON_PIN) == LOW;
  if (down && !buttonWasDown) { buttonWasDown = true; longActionDone = false; buttonDownAt = millis(); }
  if (down && !longActionDone && millis() - buttonDownAt >= HOLD_TO_ACTIVATE_MS) { longActionDone = true; if (configured) requestGateOpen(); else startSetupPortal(); }
  if (!down) buttonWasDown = false;
}

void setup() {
  pinMode(BUTTON_PIN, INPUT_PULLUP);
  Wire.begin(OLED_SDA_PIN, OLED_SCL_PIN);
  display.setI2CAddress(0x3C << 1);
  display.begin(); display.setContrast(180); display.setPowerSave(0);
  loadSettings(); drawLines("Avvio...");
  if (connectToHomeWifi()) {
    struct tm t; for (int i = 0; i < 30 && !getLocalTime(&t, 50); ++i) delay(200);
    WiFi.disconnect(true); WiFi.mode(WIFI_OFF);
  }
  showClock();
}

void loop() {
  if (setupMode) { server.handleClient(); return; }
  handleButton();
  if (millis() - lastClockDrawAt >= 1000 && !buttonWasDown) showClock();
  delay(15);
}
Remix this project
Make it yours in one click
Open a full copy of this project in your own Schematik workspace — diagram, code, parts, and assembly steps included. Swap the sensor, add features, or redesign the whole thing with AI. The author's original stays untouched.