On this page
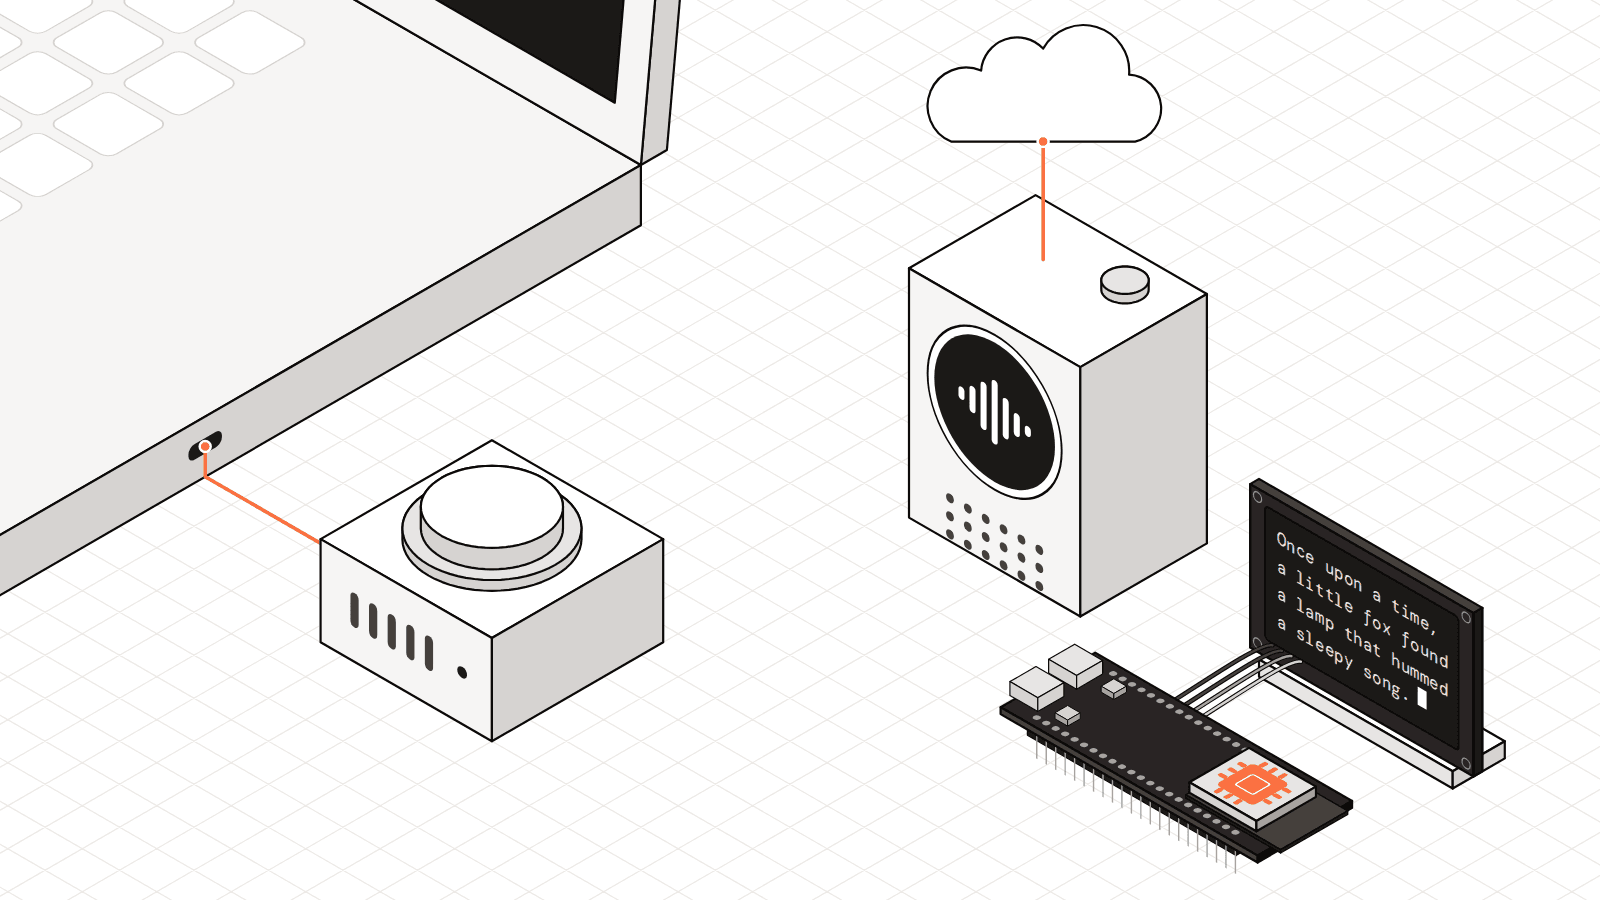
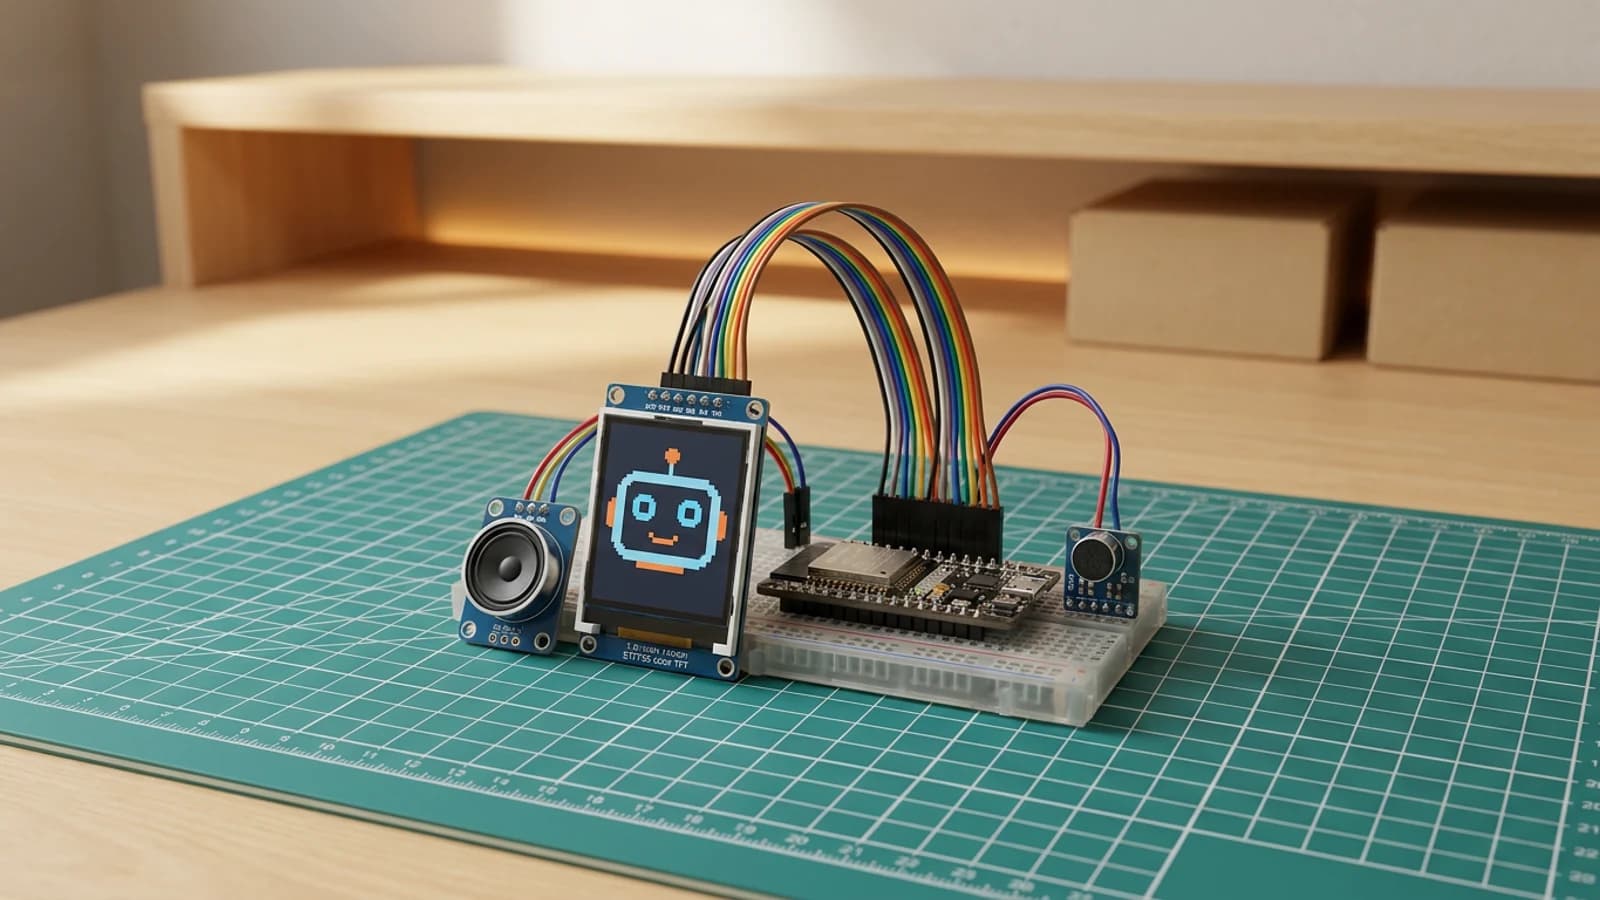
A small screen wired to an ESP32-S3 (a microcontroller, which is a tiny computer on a single chip) is writing a bedtime story on the cutting mat in front of you. New letters appear at 9.88 tokens per second (the word-pieces a language model writes with, roughly seven words a second, far quicker than you could read the story aloud).
The board has no Wi-Fi connection and talks to no server. Most of a 28.9 million parameter language model (the program that writes the text, where parameters are the tiny number weights it learned during training), 25 million of them, sits in the board's 16MB flash memory, the permanent storage that keeps your files when the power goes out.
But it can't tell you what time it is. It was trained on a dataset called TinyStories, so it only knows how to make up short tales.
That's the pattern behind most builds in our ESP32 project hub that use AI. The chip is great at hearing your voice, watching a camera and lighting up a screen, while the big thinking usually happens somewhere else. Where that brain lives changes what you can build.
Where does the brain live?
When you wire a microphone or a camera to an ESP32, the thinking can live in three places: in the cloud, on your own computer or right on the device.
In a cloud build, the board records your voice and sends it over the internet to a big server like OpenAI or xiaozhi.me. You need an account, and often an API key (a secret password that lets your board use and pay for an online service). Your words leave your house, and if your internet drops, your gadget forgets how to talk.

In a local computer build, the board sends your recorded voice over your home Wi-Fi to a laptop or a Raspberry Pi in the next room. Your voice stops at your own computer first, and whether it goes any further depends on which model your agent uses. You also keep your passwords off the microcontroller, as long as your computer stays awake.
In an on-device build, the inference (the step where a trained AI model looks at new audio, pictures or words and makes a decision) happens right on your workbench. No audio or video ever leaves the board, and it works in the woods with no Wi-Fi at all, though the brain has to be small enough to fit on a tiny chip.
A voice button for your own AI
If you already run an AI assistant on your laptop or a Raspberry Pi, you can build a physical push-to-talk button for it with the Hermes voice satellite build guide. It is an intermediate project that takes about 60 minutes to put together on your workbench.
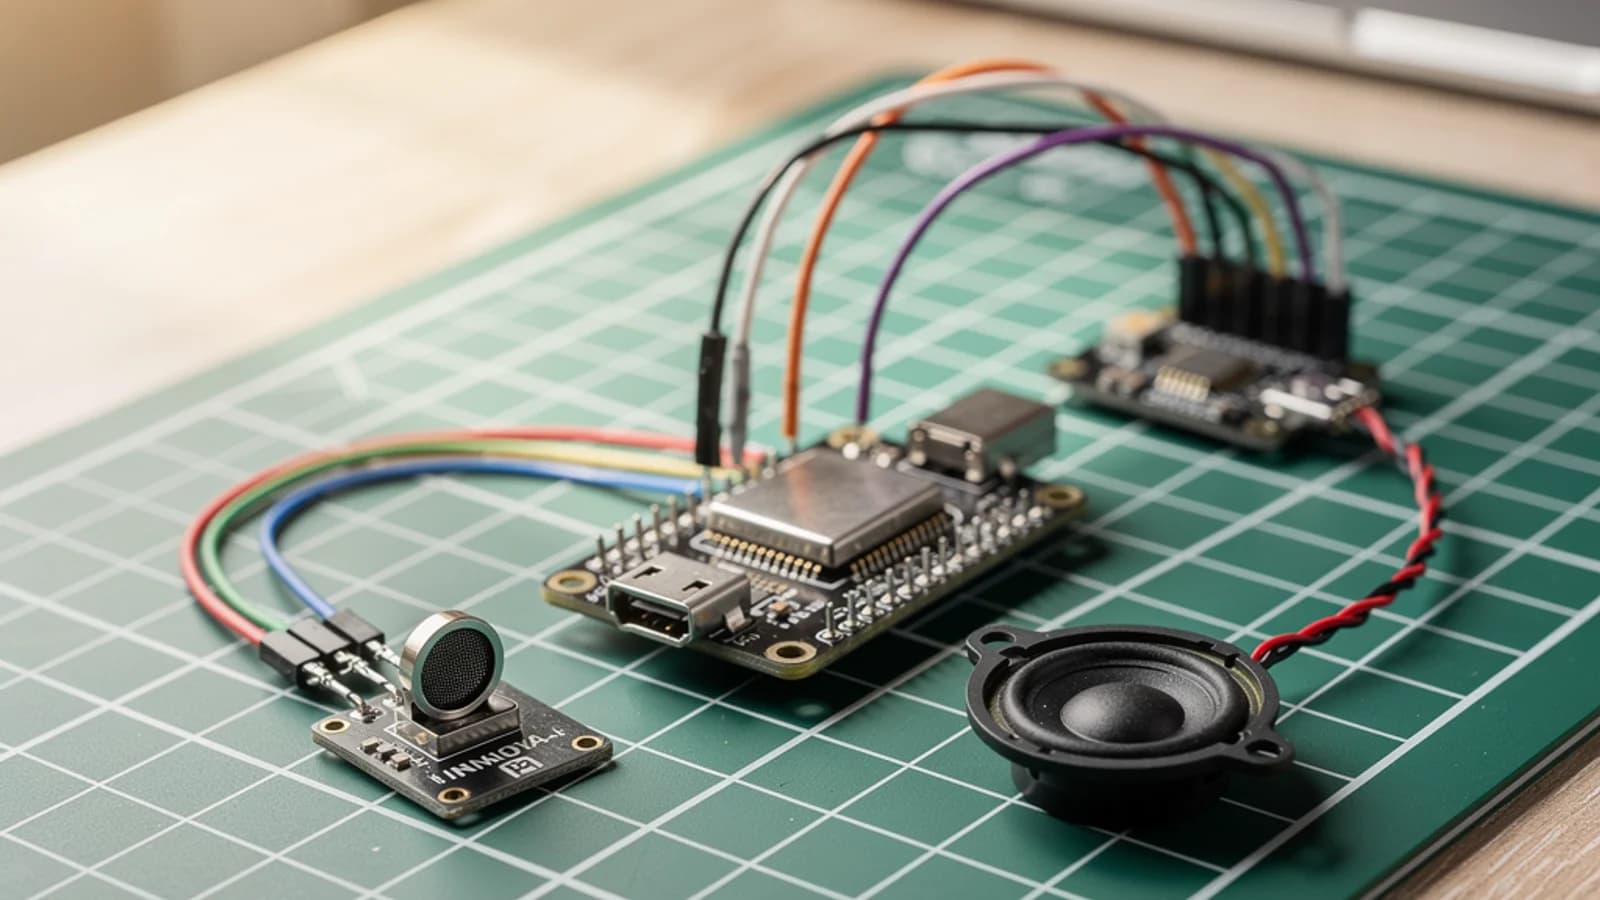
Hold down the PTT button (a push-to-talk switch, like the button on a walkie-talkie) to record 3 seconds of audio from an INMP441 digital microphone, then release it to send the recording over your home Wi-Fi to BRIDGE_URL. That bridge on your laptop or Pi talks to your Hermes or OpenClaw agent (an AI program that can take actions and run tools for you) and returns a spoken WAV reply, keeping your secret keys on the computer.
Before you press Deploy, check the exact address on your computer. Hermes and OpenClaw gateway addresses (the local network doors those programs listen on) depend on their current configuration. Do not point the microcontroller at a guessed port (the numbered channel a network program listens on), or your voice clip will hit a closed door and fail.
The Voice AI Cube Assistant, a design on Schematik by Max Potze, packs an INMP441 microphone and a MAX98357A audio amplifier (a tiny chip that boosts digital sound so it can drive a speaker) into a 3D-printed cube speaker. It sends raw 16 kHz audio to /v1/voice on a home network bridge that takes its raw audio, and leaves the Wi-Fi settings as YOUR_… placeholders in the code so you can drop in your own network details. Its code also ships with a sample bridge address, 192.168.1.50 on port 8080, so change both to your own bridge's address before you press Deploy.
A desk assistant that talks back
Maybe you don't want to leave a home server running all day. When the brain lives in the cloud, your board can talk straight to an online model whenever you press the button.
The Desk Voice Assistant, a design on Schematik by Greg Manshirov, puts a cloud voice assistant on your mat in about an hour using a soldering iron. Press the button to record your question through an I2S microphone (a digital mic protocol that sends clean audio pulses over three wires instead of an analog signal), and the board sends the clip over Wi-Fi to OpenAI's Whisper service for transcription (turning spoken audio into written text). Then it asks GPT-4o-mini for an answer, shows the reply on a round 1.28-inch GC9A01 color screen and OpenAI turns the answer into speech while a MAX98357A amplifier plays the audio.

One wire on Greg's page needs a fix. It connects the amplifier's SD pin to GND, and SD pulled low switches the MAX98357A off, so the speaker stays silent. Leave SD unconnected instead.
Greg's code sets OPENAI_KEY to "sk-YOUR_OPENAI_API_KEY" in main.cpp as a placeholder for you to fill in. Do not publish or share a project with your real API key inside, because anyone who sees it can spend your credit.
If you want a chatbot that listens without a button press, check out xiaozhi-esp32 on GitHub (32,118 stars as of October 28, 2026). It is an MCP-based chatbot (built on the Model Context Protocol, a standard way for AI chatbots to plug into external tools and data) that supports 138 board directories, 171 release variants and 39 interface languages.
Its wake word (the spoken word that makes the board start listening, like a smart speaker's name) runs offline on the chip itself using ESP-SR (Espressif's speech recognition software library), and you can set customizable wake words. Once it hears you wake it up, the default firmware connects to the official xiaozhi.me cloud server, where personal users can register an account to use the Qwen real-time model for free. If you decide later to bring the brain home, the community also maintains self-hosted server programs in Python, Java and Go.
A camera that learns a face
Some projects skip the internet and the home server altogether by putting a second chip on the workbench to handle the thinking.
In the AI Vision Machine, a design on Schematik by Ahmed Rami, an ESP32 DevKit v1 connects to a HUSKYLENS 2 camera module. The HUSKYLENS handles all the computer vision processing (the math that finds faces and objects in a video feed) on its own built-in processor. You point the camera at someone and use the camera's own screen controls to teach it a face right on the device.
Once the camera knows who to look for, the ESP32 reads the results over I2C (a communication setup that lets parts share data across two wires) and prints who it sees and where to the Serial Monitor (the text window in your code editor). The ESP32 never has to crunch a single pixel of video, and no camera frame ever touches Wi-Fi.
Before you start connecting the camera, unplug the USB cable from your board. Leave the ESP32 unplugged while you add wires so a loose wire cannot accidentally touch the wrong pin and cause a short circuit. Give the HUSKYLENS 2 its own USB-C cable for power, because it can use up to 3 W, more than the ESP32's 3V3 pin should supply, and keep its GND wire connected to the ESP32's GND so the two boards share a reference.
How much brain fits on the chip?
What if you refuse to use a cloud server, a laptop bridge or a helper camera chip, and want the language model inside the ESP32 itself? That brings us back to the bedtime story machine from the top of the page: esp32-ai on GitHub (4,605 stars as of October 28, 2026).
The ESP32-S3 on this board has 512KB of internal SRAM (the fast working memory inside the main chip) and 8MB of PSRAM (extra working memory on a companion chip), while this 28.9 million parameter model takes up 14.9MB even when compressed down to 4-bit numbers. It fits on a board with 16MB of flash storage because most of the model stays in flash instead of RAM, using a trick called Per-Layer Embeddings borrowed from Google's Gemma 3n.
The same repository even uses that chip to run part of a fruit fly connectome (a map of how brain cells connect to each other), simulating 48,311 neurons and 9.46 million connections right on the board, and it has since added a Barista model that answers espresso questions. Still, remember the catch before you flash the story model: the story model will not answer questions, follow instructions, write code or know facts.
When you want your chip to make real decisions and follow instructions, you can split the brain in half with ESP-Claw on GitHub (2,320 stars as of October 28, 2026). ESP-Claw is Espressif's Chat Coding AI agent framework for IoT devices (Internet of Things gadgets that connect to your network).
It runs on ESP32-S3, ESP32-P4, ESP32-C5 and ESP32-S31 boards, including the M5Stack CoreS3. You define how the device behaves through conversation, and the chip runs the full loop of reading sensors, deciding what to do next and flipping pins locally, while calling a large language model through an OpenAI-style or Anthropic-style API, usually a cloud one, when it needs to figure out a tool call.
Which one should you build?
Pick your first project by deciding where you want the thinking to happen, which board you already have and whether you want your build to work with the router unplugged.
| Build | Brain lives | Account? | Without Wi-Fi? |
|---|---|---|---|
| Hermes satellite | Your computer | Depends on your agent | No |
| Voice AI Cube | Your computer | Depends on your bridge | No |
| Desk Voice Assistant | Cloud (OpenAI) | OpenAI key | No |
| xiaozhi-esp32 | Cloud, or self-hosted | xiaozhi.me, unless self-hosted | Wake word only |
| AI Vision Machine | HUSKYLENS 2 camera | None | Yes |
| esp32-ai | ESP32-S3 itself | None | Yes, stories only |
| ESP-Claw | Split: chip and API | Model API key | Loop only |
Your next build
Grab a microphone and a board, open the Schematik app to wire up your parts tray and press Deploy. What would you ask a button that answers, and where would you want the answer to come from?


Keep building from here
Jump into a step-by-step build, or open Schematik and turn your own idea into code, wiring, and assembly instructions.
Related posts
ESP32 projects to build in 2027: a plane radar, a desk buddy and 5 more
Seven small ESP32 builds from 2026, from a radar that spots the planes over your roof to a pixel lobster that sulks when you ignore it.
Desk buddies: tiny ESP32 faces that live next to your laptop
Why makers kept putting little faces next to their laptops in 2026, from a pet that asks before Claude runs a command to a busy light for your door.
Related builds
How to Build a Local Voice Satellite for Hermes or OpenClaw
Build an ESP32-S3 voice satellite with an I2S microphone, I2S speaker amp, push-to-talk recording, and local-network Hermes/OpenClaw bridge integration.
How to Build a Voice-Controlled Robot Face
Build an ESP32-S3 robot face starter with display wiring, Wi-Fi control code, and calibration notes for turning a board into a character.