On this page
- A radar for the planes over your roof
- A little face that lives next to your laptop
- A pet that sulks if you forget it
- A jukebox that plays songs from NFC stickers
- A speedometer that waits for the sky
- A phone you put together in 3 steps
- A voice button for your own AI helper
- Which one should you build first?
- New ESP32 parts to watch in 2027
- Your next build
A green blip slides across a round screen the size of a coin. Next to the dot, tiny letters spell out a plane's callsign. Five seconds later the dot jumps forward, because that's how often the board asks the sky for an update.
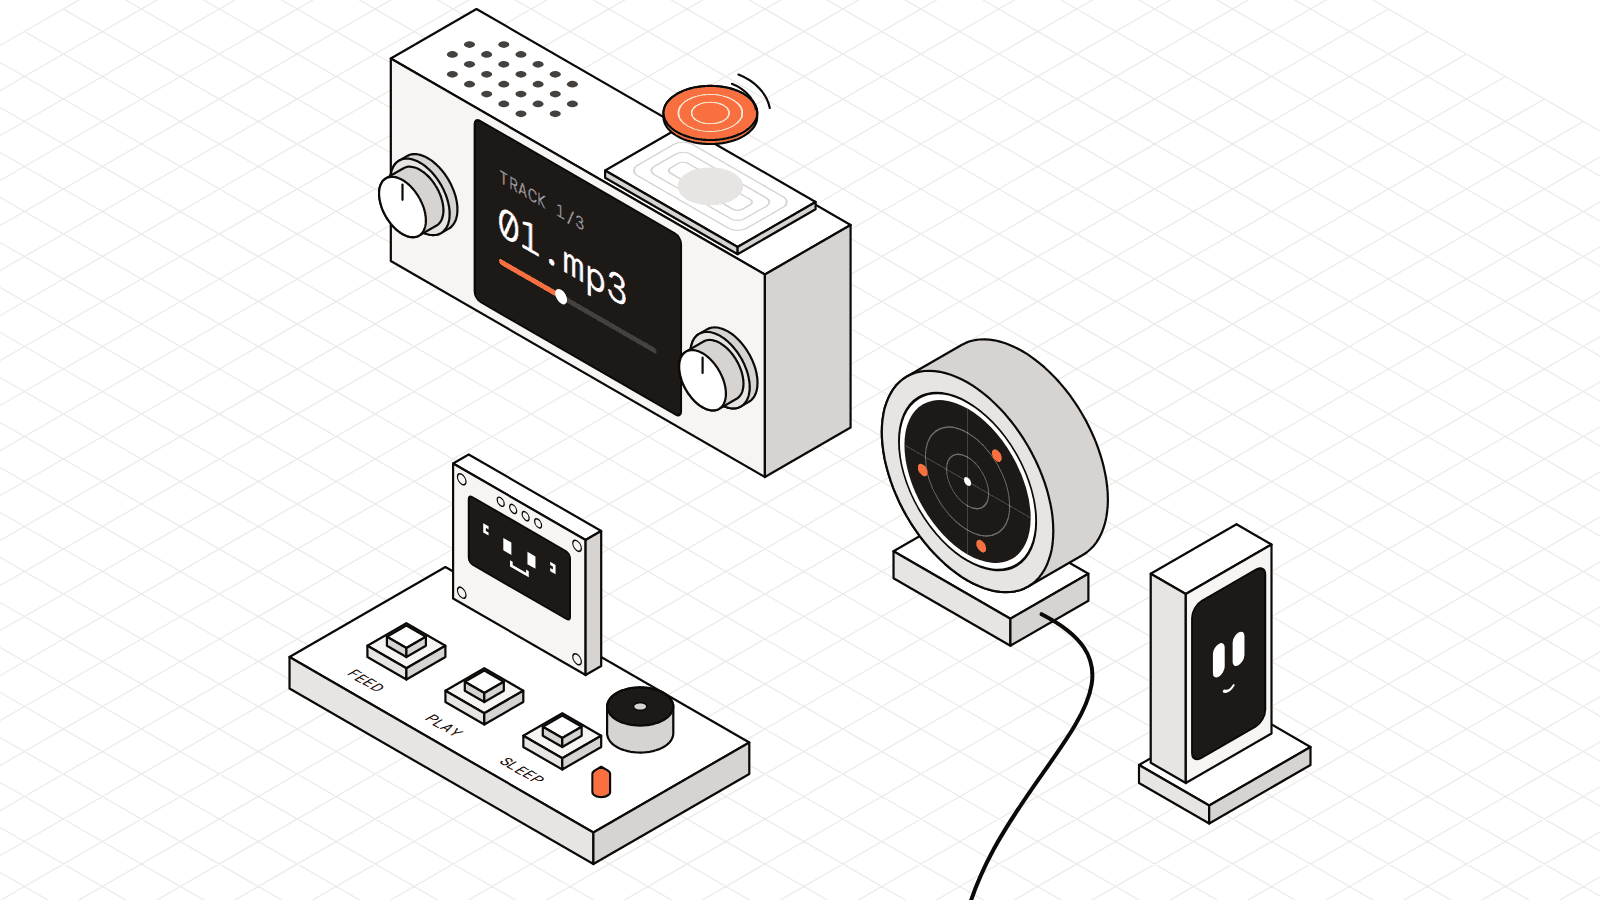
In 2026, the ESP32 builds people kept making shared a shape: small gadgets that sit on your desk and give you one piece of the world, like the planes overhead, a jukebox you tap with a sticker or a pixel pet that wants lunch.
Seven of them are below. If this is your first time holding one of these boards, the beginner ESP32 hardware guide walks through what the pins do before you start.
A radar for the planes over your roof
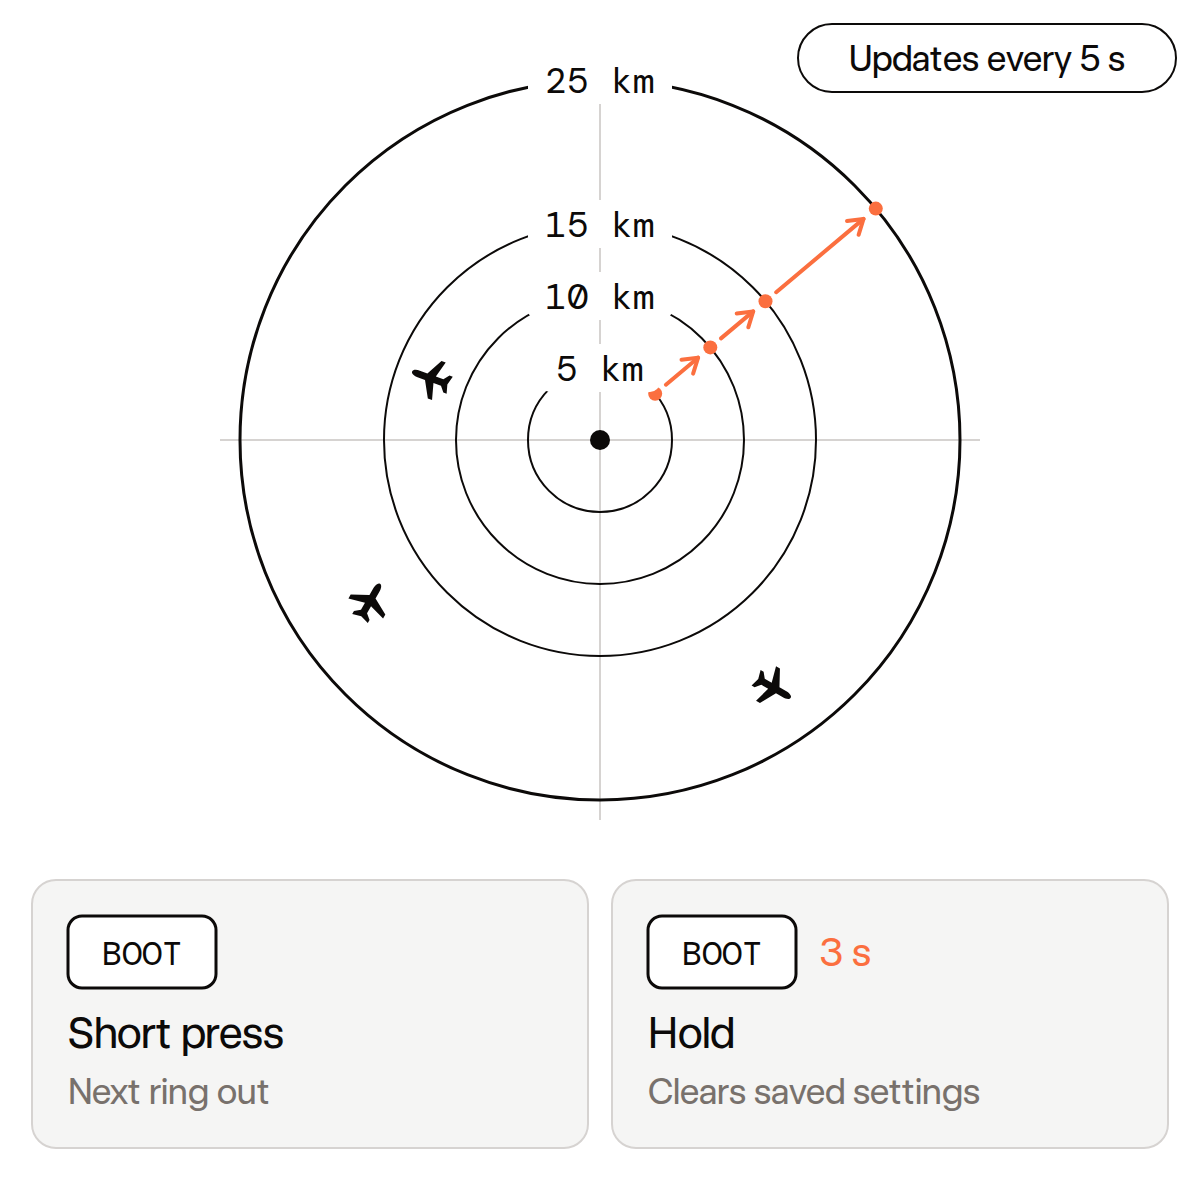
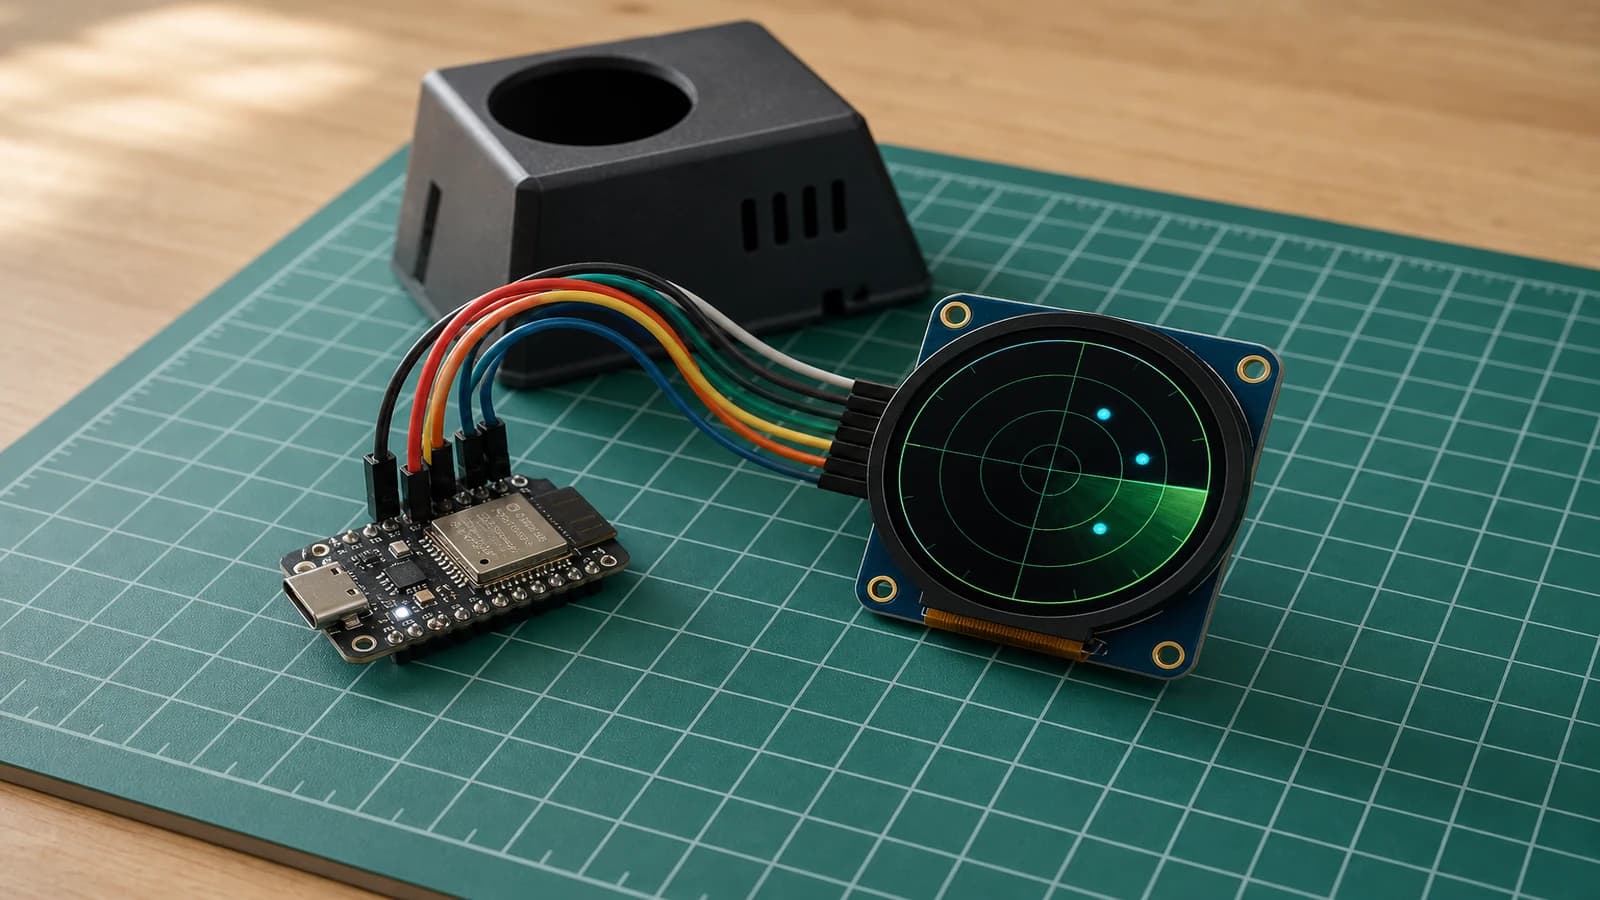
Stand this 1.28-inch round screen on your desk and it plots live aircraft flying near your house. Every 5 seconds, the board pulls fresh positions over Wi-Fi from the public opendata.adsb.fi service and draws each plane at its real bearing and distance, labeled with its callsign or ICAO hex code (the six-character ID assigned to that airframe).
This intermediate build takes 1.5 hours across 6 steps and uses an ESP32-C3 Super Mini, the round 240×240 GC9A01 screen, 7 female-to-female jumper wires and a USB-C data cable. Do not power the screen from 5V. Its VCC wire goes to 3V3, because extra voltage can damage the display controller.

On first boot, join the board's PlaneRadar-Setup Wi-Fi network and open 192.168.4.1 in a browser to save your home Wi-Fi and coordinates (the guide uses 52.3676, 4.9041 for Amsterdam). Use Chrome or Edge to press Deploy. Deploy talks to your board through Web Serial (the browser's way of reaching a USB device), and Firefox doesn't support it. Watch out for charge-only USB-C cables too, because they hide your board from the browser.
If the screen stays empty, widen the circle. The radar starts at 10 km, and each short press on BOOT steps it out to 15, then 25, then back around to 5 km. Hold BOOT for 3 seconds to wipe your saved settings and move the radar to a new town.
The firmware in the ESP32 plane radar project builds on MatixYo's open-source ESP32 Plane Radar. Other builders have put the same idea on different hardware, like aliferous3's M5Stack Dial scanner that scrolls through planes from OpenSky Network when you twist the bezel, and Kshitij Patil's buzzer radar that beeps whenever an aircraft enters your zone.

A little face that lives next to your laptop
Two tall white eyes on a black screen look back at you above a small mouth. Tilt the board in your hand and the eyes drift across the glass, driven by the built-in QMI8658 motion sensor (if the firmware doesn't find the sensor, they float in a smooth sine-wave pattern instead).
Tap the screen to cycle through 5 expressions. Swipe sideways to flip through pages for the clock, date, local weather from Open-Meteo, the moon phase, an AAPL stock quote from Stooq and your GitHub followers and public repos. Skip Wi-Fi setup and the face still runs while the network pages show NO WIFI CONFIG.

This intermediate build takes 45 minutes and 5 steps, with no loose wires on the Waveshare ESP32-C6-Touch-LCD-1.47 board. Plug in a 3.7V LiPo (a flat rechargeable battery pack) and tuck it into the printable STL enclosure (a 3D-printable file) attached to the ESP32-C6 touch LCD gadget project.
One setting trips people up. Turn on "CDC on Boot" (the option that sends text messages out through the USB-C port when the board starts), or Serial Monitor shows nothing while the firmware runs fine. If an upload stalls, hold BOOT, press Reset, then try again.
In the wider ESP32 world, builders also made Clawdmeter to show Claude Code usage on a small screen, and Espressif published an ESP Desktop Buddy SDK for Claude's hardware Bluetooth API. On Schematik, elcid33 put the buddy on an M5Stack StickS3, Tejas Borate built a second C6 1.47 dashboard and Glitchlits gave it a speaker with a 1.28-inch round GC9A01 screen and a MAX98357A amplifier.

A pet that sulks if you forget it
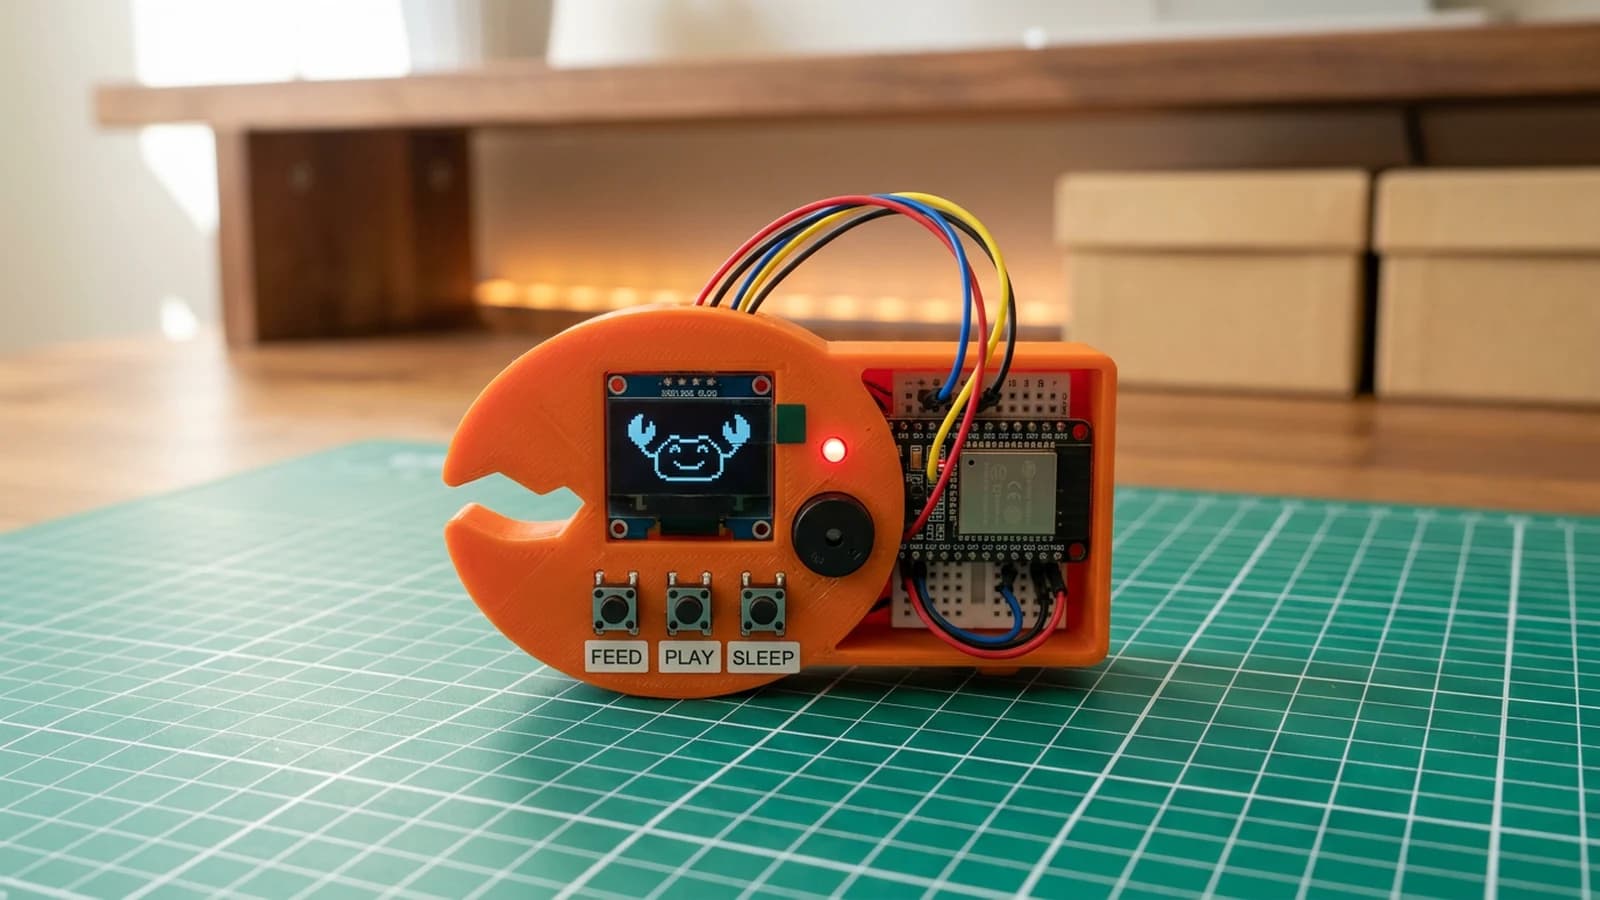
Leave this pixel lobster alone for 30 seconds and watch its mood sour. Its hunger, entertainment and energy bars tick down while you work, and the lobster shifts through 5 moods: happy, hungry, bored, cranky and sleepy. Ignore it long enough and its face on the SSD1306 OLED screen (a tiny high-contrast display that lights up each pixel on its own) turns from happy to grumpy to furious, with snapping claws.
Three buttons bring it back: Feed on GPIO32 plays a crunch on the piezo buzzer, Play on GPIO33 plays a jingle and Sleep on GPIO25 starts a snoring animation. A status LED sits beside the screen: solid when happy, slow blinking when sleepy and fast blinking when cranky.

The ClawdBot tamagotchi build is a beginner project that takes 45 minutes and 4 steps, wiring the ESP32 to the OLED screen, 3 buttons, the piezo buzzer and the status LED with its 220Ω resistor.
If the buzzer sings when you press a button but the screen stays dark, check the screen's I2C address (the short ID number the board uses to pick out the screen on shared data wires). Most OLED modules use 0x3C, and if yours stays blank, try 0x3D in the code.
A jukebox that plays songs from NFC stickers
Tap an NFC tag (the same kind of chip inside a contactless card or sticker) against the reader and a song starts playing from a microSD card through the speaker. In the published code, each tag's unique built-in number picks one of three demo tracks named 01.mp3, 02.mp3 and 03.mp3 in the top folder of a FAT32 microSD card, so the same tag always plays the same song.
Two knobs sit beside a small color screen that shows the track. Turn the left knob to choose a song and press to start it, or turn the right knob for volume and press it to switch to bass.

Iñaki lerga's NFC jukebox is a community design on Schematik, generated with AI, with 6 assembly steps and the most wiring of the seven projects. It combines an ESP32-S3, a PN532 NFC reader, an ILI9341 screen, a MAX98357A amplifier and speaker, a microSD module and a rechargeable lithium battery with a PowerBoost charger and MAX17043 battery gauge.
Flip the small switches on the PN532 board to I2C mode (the two-wire way chips share data) before powering it, or it will not answer. Change the file names in the code to add your own songs for a jukebox a kid could run with a pile of stickers.
A speedometer that waits for the sky
Plug this build into USB power and the TFT screen (a bright full-color liquid-crystal display) starts out reading SEARCHING. Once the little antenna hears enough satellites overhead, the status flips to LOCKED, live speed in km/h climbs as you move and a second line holds onto your top speed.
Community builder Utku Kahraman put this together in 4 steps using an ESP32, a TFT screen and a NEO-6M GPS module.

The first satellite lock can take several minutes, so start near a window or outdoors with the antenna facing the sky. Do not use it as a safety-critical speedometer while driving. Use the vehicle's own speedometer.
A phone you put together in 3 steps
Hold a working touchscreen with orange and grey app tiles in your palm. Tap the glass to open a clock, weather, news, a small game and a calculator, all drawn with the LVGL graphics library (a toolkit that renders smooth buttons and screens on small boards).
The touchscreen mini phone is a beginner build that takes 45 minutes and 3 steps on a Waveshare ESP32-P4 board with a built-in touchscreen. Plug in a data-capable USB cable and press Deploy.
If you add parts to the back of the board later, check the pin map first. Do not add wires to GPIO26, GPIO27, GPIO7 or GPIO8, because the screen and touch panel use them.
A voice button for your own AI helper
Hold the push-to-talk button down and talk for 3 seconds. The board records your voice at 16 kHz and sends it over Wi-Fi as a WAV file to a small bridge program on your laptop or Raspberry Pi, which sends a spoken WAV reply back to play through your speaker.

That bridge turns your speech into text, asks your agent (Hermes or OpenClaw) and turns the reply into audio, keeping your agent passwords on your own computer. For more voice firmware to explore, the open-source xiaozhi-esp32 chatbot project has 32,073 GitHub stars, and Espressif's ESP-Claw runs an AI agent loop on an ESP32-S3.
The Hermes voice satellite guide is an intermediate 60-minute build across 6 steps that wires an ESP32-S3 to an INMP441 digital microphone, a MAX98357A amplifier with an 8Ω speaker, a push-to-talk button and a status LED with a 220Ω resistor. Do not connect the INMP441 mic to 5V. Its VCC goes to 3V3 while the amp's VIN takes 5V. If your computer's bridge doesn't answer within 20 seconds, the LED blinks 4 times so you know to check the laptop.
Which one should you build first?
Pick by how many wires you feel like plugging in this weekend.
| Build | Level | Time | Loose wires |
|---|---|---|---|
| DIY phone | Beginner | 45 min | 0 |
| Desk buddy | Intermediate | 45 min | 0, plus a battery plug |
| ClawdBot | Beginner | 45 min | Screen, 3 buttons, buzzer, LED |
| GPS speedometer | Not listed | Not listed | 4 |
| Plane radar | Intermediate | 1.5 hours | 7 |
| Voice button | Intermediate | 60 min | Mic, amp, button, LED |
| NFC jukebox | Not listed | Not listed | Reader, screen, card slot, amp, 2 knobs, battery |
To browse beyond these seven, explore every ESP32 project on Schematik or see how two boards talk over radio in our e-ink photo camera build.
New ESP32 parts to watch in 2027
A few fresh chips and tools arrived in 2026 that will show up on workbenches through 2027.
- ESP32-P4 v3.x raises the chip's top speed from 360 to 400 MHz for smoother screens.
- ESP32-S31 puts Wi-Fi 6, Bluetooth 5.4, Gigabit Ethernet and camera and display support onto one chip.
- ESP-Mosaico is a modular ESP32-S31 touchscreen board made for building alongside an AI coding helper.
- Arduino-ESP32 4.0.0-RC1 brings the Arduino core onto ESP-IDF 6.1 (Espressif's underlying software framework).

Your next build
Once you have one of these running on your desk, try combining two of them. Put the plane radar's opendata.adsb.fi code inside the desk buddy, and describe it in Schematik to steer the firmware for the parts on your mat. What face should your desk buddy pull when a plane passes straight over your roof: wide eyes looking up at the top bezel, or a grumpy squint if a jet flies over after bedtime?


Keep building from here
Jump into a step-by-step build, or open Schematik and turn your own idea into code, wiring, and assembly instructions.
Related posts
New to Hardware? A Beginner ESP32 Guide for Your First Build
A beginner ESP32 hardware guide: what to buy first, how breadboards work, what pin labels mean, and what to check before powering your first build.

I Built a Touchscreen Chess Game With Zero Hardware Skills
For week three in the Schematik workshop, I turned a viral idea for a distraction-free chess device into a working touchscreen chess game on an ESP32 Cheap Yellow Display.

How to Build an E-Ink Camera
A XIAO ESP32S3 Sense in a 3D-printed shell takes a photo and pushes the JPEG over ESP-NOW to an M5Stack PaperColor, where it lands on the e-ink screen. No router, no SD card, no phone.
Related builds
How to Build an ESP32 Plane Radar
Build a compact ESP32-C3 plane radar using a 1.28 inch GC9A01 round display, Wi-Fi setup portal, and live ADS-B data.

How to Build a Tiny ESP DeskBuddy with ESP32-C6
Build a small ESP32-C6 touch LCD DeskBuddy with a monochrome animated face, swipeable dashboard pages, Wi-Fi data cards, and printed enclosure.
How to Build a ClawdBot Tamagotchi with ESP32
Create an ESP32 Tamagotchi-style companion bot with OLED face, buttons for feed/play/sleep, buzzer effects, and a care loop that responds to attention.