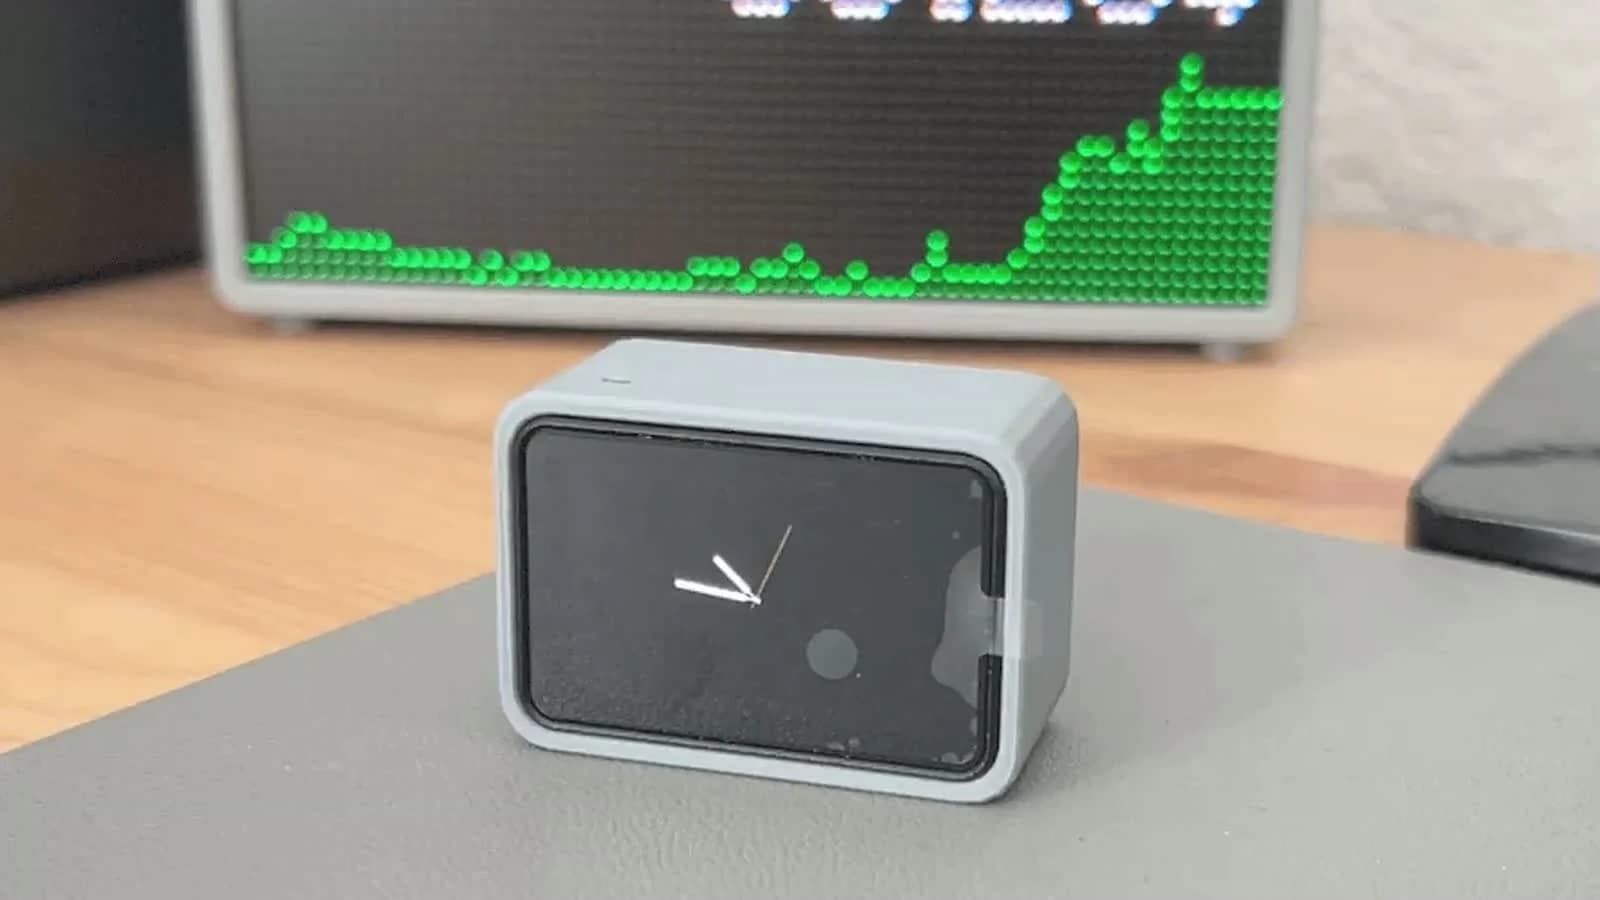
On this page
Claude Code is halfway through a task on your laptop when it stops to ask if it can run a command. Next to your keyboard, a stick-sized screen has been sweating along with the session. Then the request arrives, and the pixel pet turns impatient while its LED blinks at you.
You press the front button (button A). That click approves the prompt on your computer, and because you answered in under 5 seconds, floating hearts drift up the screen.
That's a desk buddy: a tiny screen with a face and one job. Anthropic published one for Claude in April 2026, and makers on Schematik have shared more than 20 designs since.
A pet that asks before Claude acts
Anthropic's Claude Desktop Buddy turns permissions into a thumb game. Claude for macOS and Windows connects Claude Cowork and Claude Code to maker devices over BLE (low-power Bluetooth, the kind watches and fitness bands use), so desk hardware can show permission prompts, recent messages and other interactions.
The screen goes dark after 30 seconds of inactivity, but stays on while a prompt waits. Press button A to advance screens or approve a prompt, and press button B to scroll text or deny it.

The companion moves through seven states during your coding session:
- Sleep when disconnected from Claude.
- Idle when the session is quiet.
- Busy with drops of sweat when sessions run.
- Attention with a blinking LED when a prompt waits.
- Celebrate with confetti when you level up every 50,000 tokens (the chunks of text Claude reads and writes).
- Dizzy when you shake the board.
- Heart with floating hearts when you approve a prompt in under 5 seconds.
Place it face-down and it naps to refill its energy.
The firmware includes 18 pets, each with seven animations. To use your own character, drag a folder of custom GIFs onto the Hardware Buddy window in the desktop app to stream them over BLE to the board. Keep each GIF 96 pixels wide, and keep the folder under 1.8 MB alongside a manifest.json file that maps each GIF to a state.
To pair your board, open Claude on your computer and click Help, Troubleshooting, then Enable Developer Mode. Open the Developer menu, click Open Hardware Buddy, press Connect and pick your board. Anthropic calls this a developer mode maker feature, and the menus or Bluetooth behavior may move in a future update.
Can I run it on my board?
The M5StickC Plus runs Anthropic's code as written because the sketch depends on the M5StickCPlus library (the code that drives that stick's screen, buttons and motion sensor), so you can't flash the default project straight onto another board. Espressif wrote about the Claude Hardware Interface on May 14, 2026 and pointed ESP-IDF developers (using Espressif's software framework for ESP32 chips) to its ESP Desktop Buddy SDK with examples for the M5Stack Chain DualKey and ESP32-S3-BOX-3, while LilyGO maintains Claude Desktop Buddy firmware for the T-Keyboard S3 Pro (an ESP32-S3 with 4 tiny 128×128 screens) and a second guide for the T-LoRa Pager. Although Anthropic's Build with Claude event showcased the M5Stack Cardputer for AI agent interfaces, if you're holding a Cardputer, M5Stack StickS3 or Cheap Yellow Display, you'll need a fork with display and button drivers written against the protocol in REFERENCE.md (the file listing every message Claude and the board exchange).
M5StickC Plus: runs Anthropic's firmware as written.
ESP32-S3-BOX-3 or M5Stack Chain DualKey: start from the examples in Espressif's ESP Desktop Buddy SDK for ESP-IDF.
LilyGO T-Keyboard S3 Pro or T-LoRa Pager: LilyGO publishes its own buddy firmware for the T-Keyboard S3 Pro and the T-LoRa Pager.
Anything else, like a Cardputer, StickS3 or Cheap Yellow Display: fork the project and write screen and button drivers that speak the protocol in REFERENCE.md. We haven't found a tested port for these yet.
One face, more than 20 designs
One pair of tall white eyes shows up in more than 20 desk buddy designs on Schematik, and you can spot it in our 2027 ESP32 project roundup.
The original Tiny ESP DeskBuddy build guide runs on a Waveshare ESP32-C6-Touch-LCD-1.47, one board with no loose wires. Do not pinch or puncture the LiPo (a flat rechargeable lithium-polymer battery) when closing the printed shell, because a damaged lithium pouch can overheat or catch fire.
Want the exact firmware on your own board? Open the Tiny ESP DeskBuddy in Schematik to get your own copy of the project, with the code, wiring and printable case. Type your Wi-Fi name and password into WIFI_SSID and WIFI_PASSWORD before you press Deploy.
Community members soon moved it to other boards. In an AI-generated design on Schematik by elcid33 for the M5Stack StickS3, press button A to step through Face, Clock, Date, Weather, Moon, AAPL and GitHub, and press button B on the Face page to pick a mood. Do not solder a second LiPo to it. The stick has its own 250 mAh battery and charger inside.
Another AI-generated design by James Blank (Jiffybytes) ports the dashboard to a Cheap Yellow Display, drops the MPU-6050 motion sensor and wires a DHT11 (a temperature and humidity sensor) with DATA on GPIO27 and VCC on 3V3. Its indoor page displays Fahrenheit and relative humidity (%RH). Keep the DHT11 away from the display or a sealed pocket, because trapped heat skews its temperature reading high.

A pet that needs you
Claude's buddy waits for your laptop before it reacts. For a companion you play with by hand, try the Cosmic Critter pet guide.
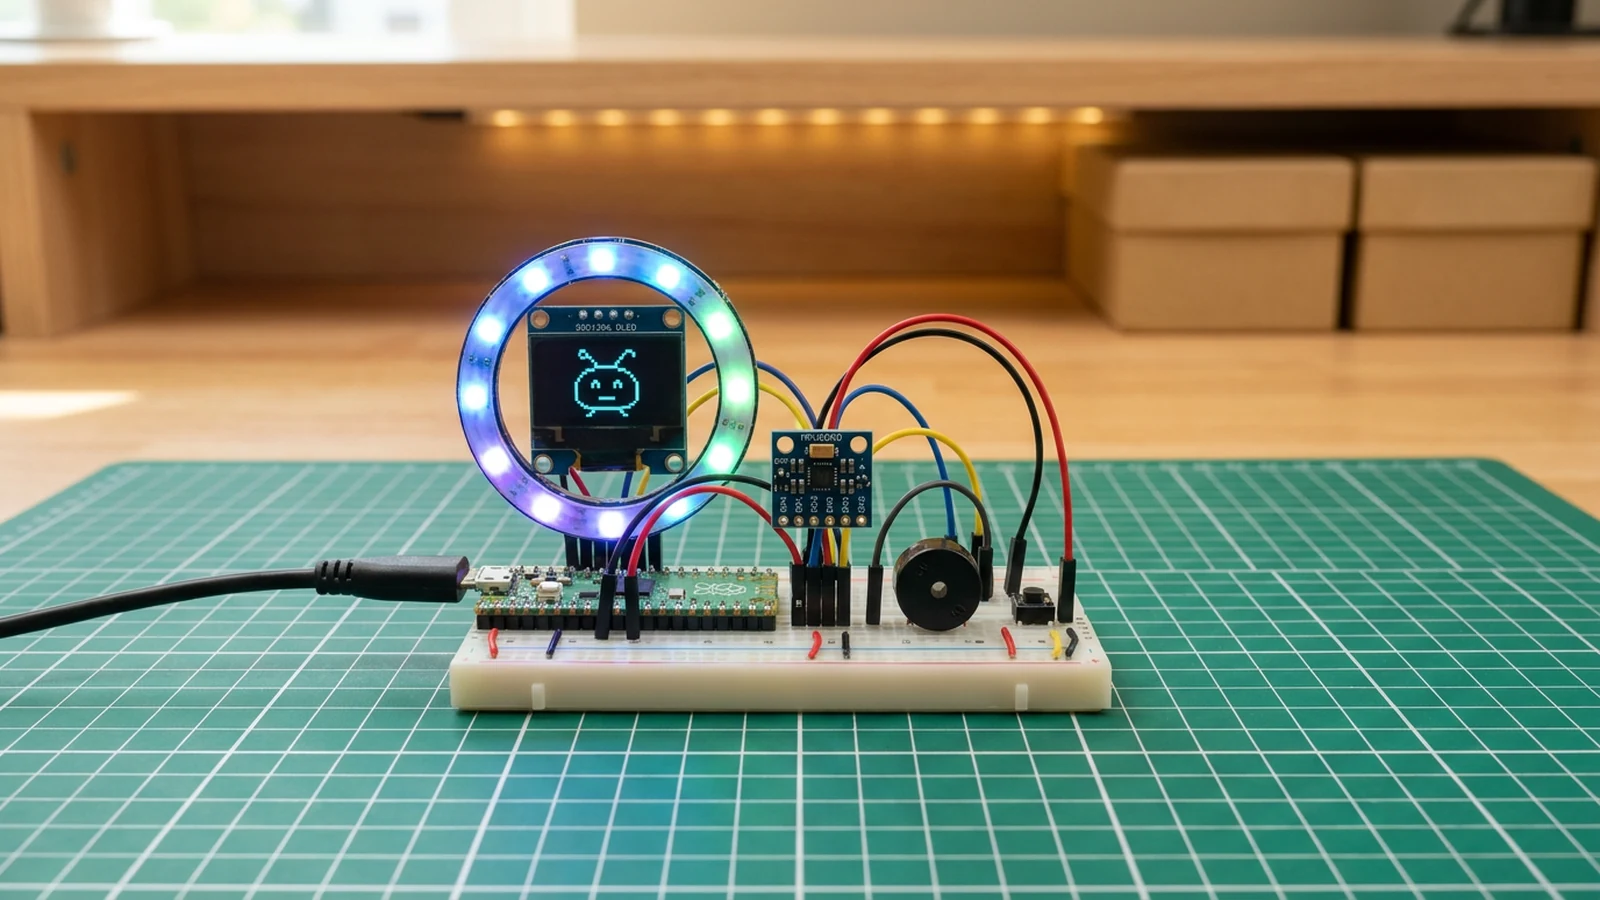
This 40-minute beginner build wires a Raspberry Pi Pico to an MPU6050 motion sensor, a 0.96-inch OLED screen (a tiny screen that lights each pixel on its own), a WS2812B RGB LED ring and a piezo buzzer (a tiny speaker component that clicks and beeps when voltage pulses through it). It chirps every 3 seconds while idle. Tilt it to shift its face between HAPPY, SLEEPY, DIZZY and HYPER, or press a button on GP14 to cycle the 4 moods without tilting.

When you plug the Pico in, watch the Serial Monitor (the text window in your code editor) for Cosmic Critter ready. If that line doesn't appear within 2 seconds of power-on, the MPU6050 initialization failed, so check your GP4 and GP5 wiring first. Prefer buttons over tilt sensors? Wire up the ClawdBot tamagotchi, a pixel lobster on an ESP32 with 3 buttons that gets grumpy when unfed.
Eyes with feelings
Some desk buddies drop status pages and put every pixel into expressive eyes. On Schematik, Duy Hoàng shared a photo of Cozmo Robot Eyes on an ES3C28P board, which includes a built-in 2.8-inch ILI9341 (the color screen built into the board). Because the screen is pre-attached, the project takes 2 steps and a USB-C cable.
Once you press Deploy, each blink lasts 130 ms while the eyes glance around and switch through emotion presets. If you expand the board later, do not connect an SSD1306 module (a small monochrome OLED screen) or extra wires to GPIO10, GPIO11, GPIO12, GPIO13, GPIO45 or GPIO46. The built-in screen uses those pins inside the board.
Want a face that reacts when you talk? Try the voice-controlled robot face guide, an intermediate 50-minute project connecting an ESP32-S3 to a 128×128 ST7735 (a small color screen) and an INMP441 digital microphone. The mouth opens wider the louder you speak, and you can switch its mood between idle, happy, sad and surprised by visiting /mood?set=happy in your browser.
Tie the microphone's L/R pin to GND (ground) so it stays on the left audio channel. Test by speaking normally from 30 cm away; if the mouth barely moves, set RMS_MIN (the quietest sound the mouth reacts to) in the firmware to 500.
A buddy that guards your focus
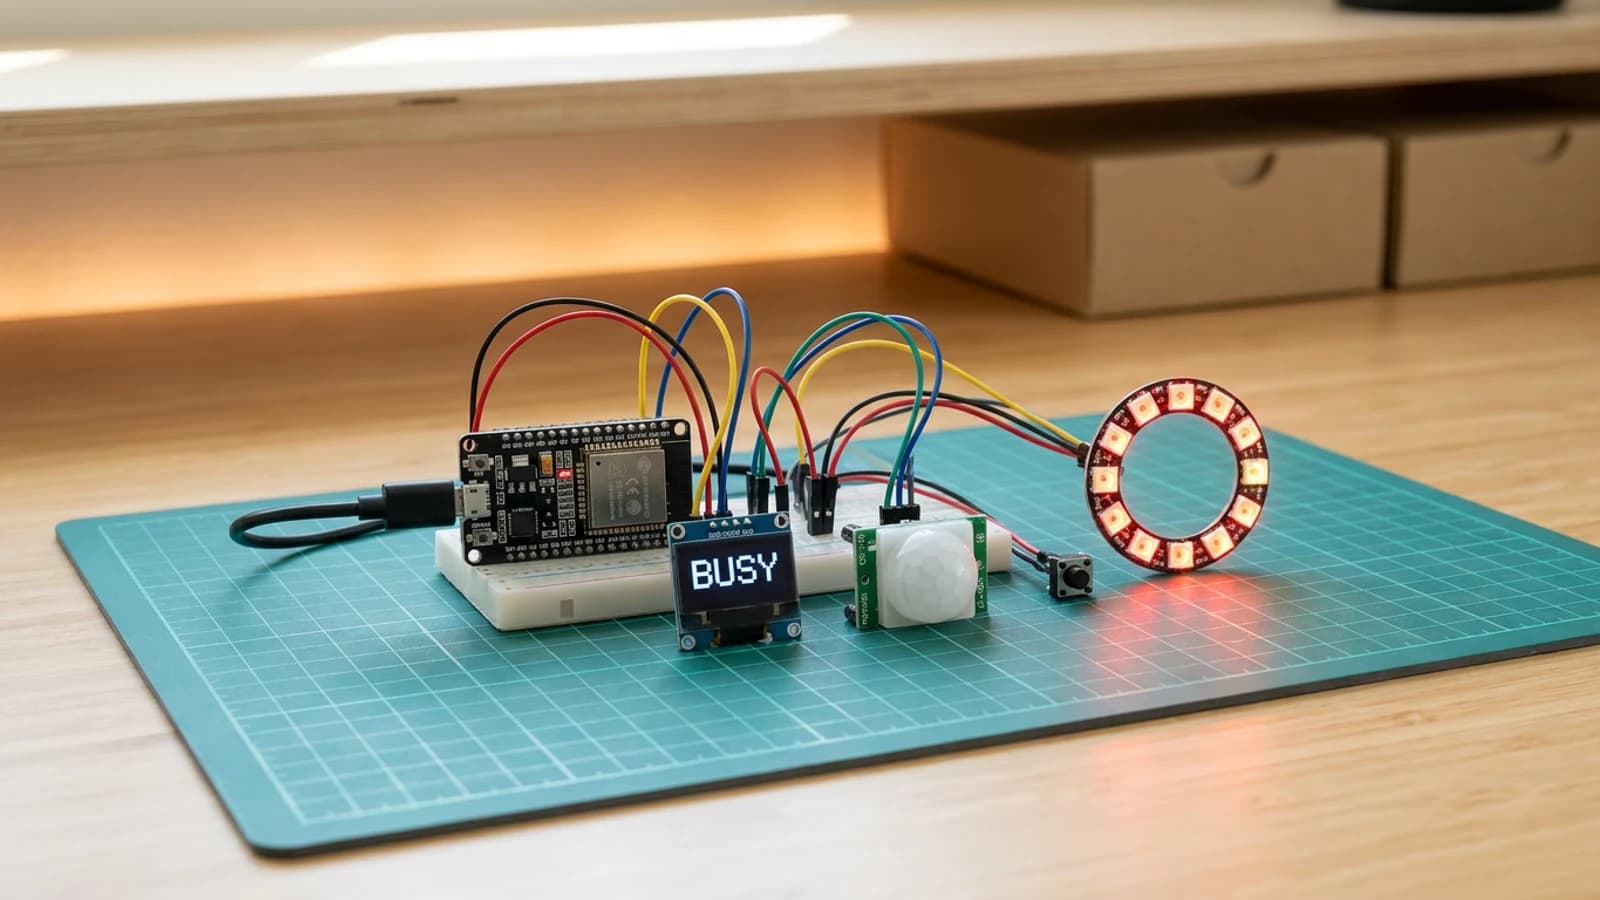
A desk buddy can also face away from you to signal the rest of the house. The ESP32 desk presence busy light is a 35-minute beginner build combining an HC-SR501 PIR sensor (a passive infrared sensor that detects moving body heat), a push button, an SSD1306 OLED screen and a WS2812B LED ring. With no Wi-Fi credentials to enter, it runs anywhere with USB power.
When your desk is empty, the screen shows FREE and the ring glows green. Walk up and it flips to HERE in orange for 120 seconds after your last movement (set by occupiedHoldMs in the code), or press the button during a call to lock onto BUSY in red. After plugging it in, wait before waving at the dome: the HC-SR501 needs a 30 to 60 second warm-up before its readings settle.

The ESP32 focus timer is a 45-minute beginner build with an SSD1306 screen, KY-040 rotary encoder knob, piezo buzzer and LED ring. Press the knob to start a 25:00 countdown where the screen reads Focus and the ring glows sky blue (DeepSkyBlue in the code), turning green at break time. Beside it, the 30-minute beginner tiny OLED desk command centre shows time and weather, and lets any phone on your Wi-Fi push a message to your screen for 8 seconds.
Desk buddies for your AI
Community members also design AI companions on Schematik. The AI Desk Companion Approval Console, an AI-generated design by Parthiv Nair, combines an OLED face, MPU-6050 motion sensor and TTP223 capacitive touch pad. It connects over Wi-Fi, and tapping the pad sends an attention ping to a small Windows PC program.
The Cloud LLM Usage Monitor by Austin Terry uses a 2.0-inch ST7789 (a small high-resolution color screen) to display API usage for DeepSeek, OpenAI, Anthropic and OpenCode. Do not use ESP32 GPIO1 or GPIO3 for the screen, because those pins connect to the CH340G USB serial interface that talks to your computer. When sharing any AI monitor on Schematik, keep your personal API keys out of published code; Austin's project leaves all key constants as empty strings.
Which buddy should you build?
Compare the parts and time for each companion below, then grab the one that fits the board on your mat today.
| Buddy | Board | Level and time | What you wire |
|---|---|---|---|
| Claude's desk pet | M5StickC Plus | Not listed | Nothing |
| Tiny ESP DeskBuddy | Waveshare ESP32-C6-Touch-LCD-1.47 | Intermediate, 45 min | Nothing, plus a battery plug |
| Cosmic Critter | Raspberry Pi Pico | Beginner, 40 min | Motion sensor, OLED, LED ring, buzzer, button |
| Cozmo Robot Eyes | ES3C28P | Not listed | Nothing |
| Voice robot face | ESP32-S3 | Intermediate, 50 min | Screen, mic, amp, speaker |
| Busy light | ESP32 | Beginner, 35 min | Motion sensor, button, OLED, LED ring |
| Focus timer | ESP32 | Beginner, 45 min | OLED, knob, buzzer, LED ring |
Give it a new job
Once your buddy is blinking on your cutting mat, try drawing your own pet. Make seven GIFs (one per state), keep each 96 pixels wide and under 1.8 MB total, and drop the folder onto the Hardware Buddy window, or describe a buddy for your board in the Schematik app. What does your custom pet look like while sweating through a long task?


Keep building from here
Jump into a step-by-step build, or open Schematik and turn your own idea into code, wiring, and assembly instructions.
Related posts
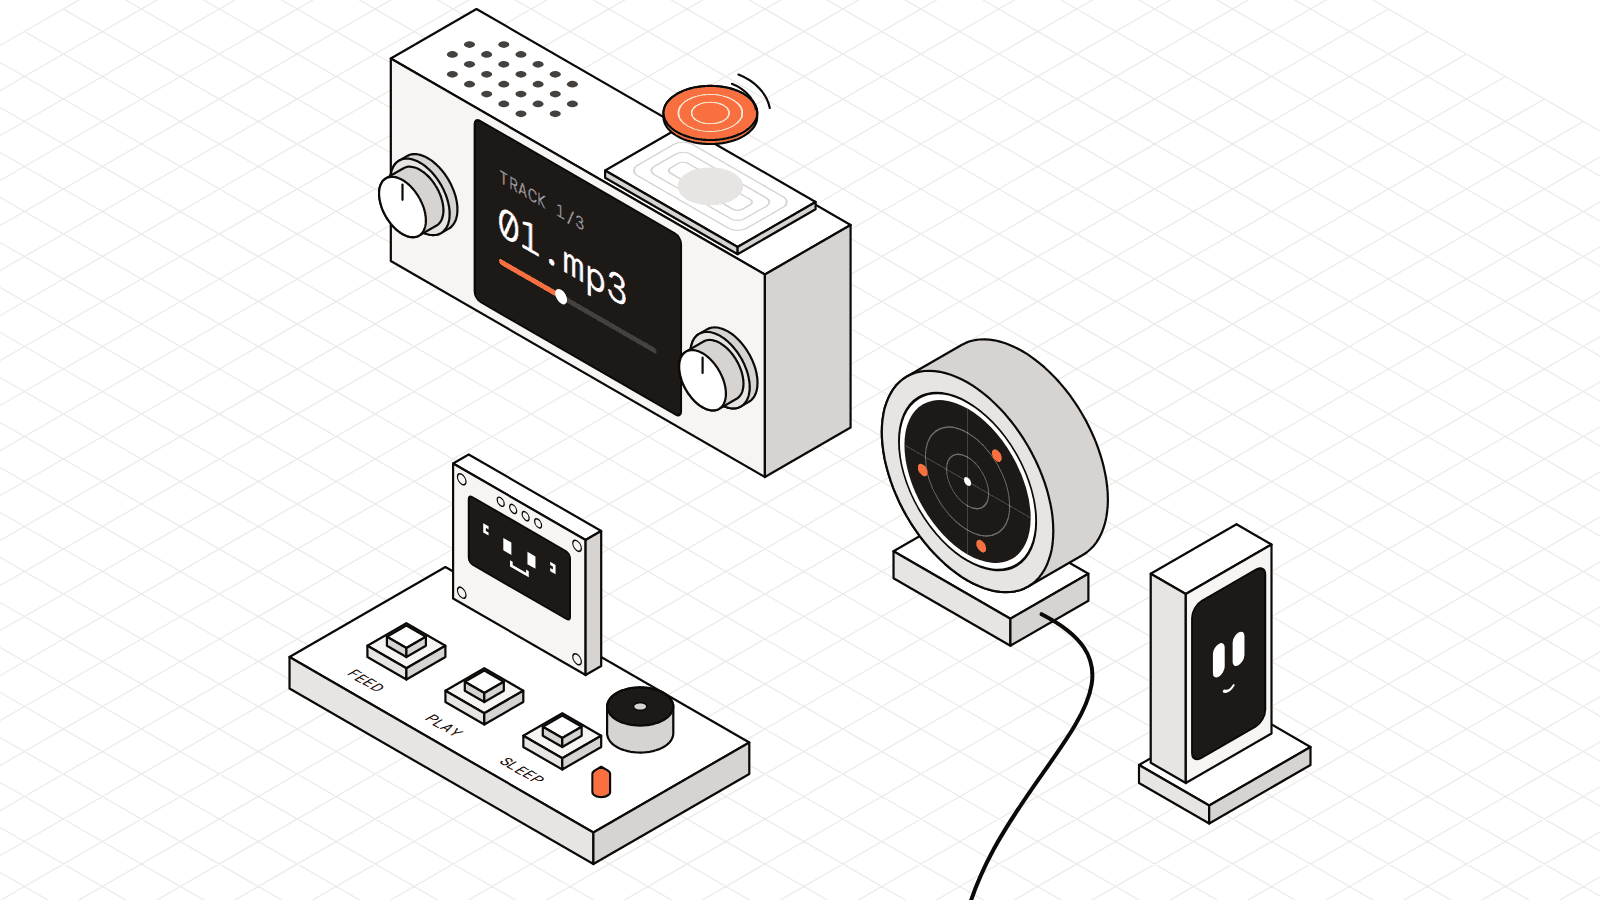
ESP32 projects to build in 2027: a plane radar, a desk buddy and 5 more
Seven small ESP32 builds from 2026, from a radar that spots the planes over your roof to a pixel lobster that sulks when you ignore it.

I Built a Touchscreen Chess Game With Zero Hardware Skills
For week three in the Schematik workshop, I turned a viral idea for a distraction-free chess device into a working touchscreen chess game on an ESP32 Cheap Yellow Display.
Related builds

How to Build a Tiny ESP DeskBuddy with ESP32-C6
Build a small ESP32-C6 touch LCD DeskBuddy with a monochrome animated face, swipeable dashboard pages, Wi-Fi data cards, and printed enclosure.
How to Build a Cosmic Critter Pet with Raspberry Pi Pico
Create a Raspberry Pi Pico virtual pet with MPU6050, OLED face, WS2812B LED ring, and buzzer. Tilting changes mood, colors, and sounds.
How to Build an ESP32 Desk Presence Busy Light
Build an ESP32 desk presence light that shows whether your workspace is free, recently active, or manually set to busy. Includes PIR wiring, OLED status text, LED ring feedback, and complete Arduino code.