On this page
Your microwave has one. So does your TV remote, your washing machine and the thermostat on your wall. Each of them has a tiny computer inside, built to do one job and do it the moment you press a button.
That tiny computer is a microcontroller, and you can buy one on a board the size of a stick of gum, plug it into your laptop and make it do your job instead.
What is a microcontroller?
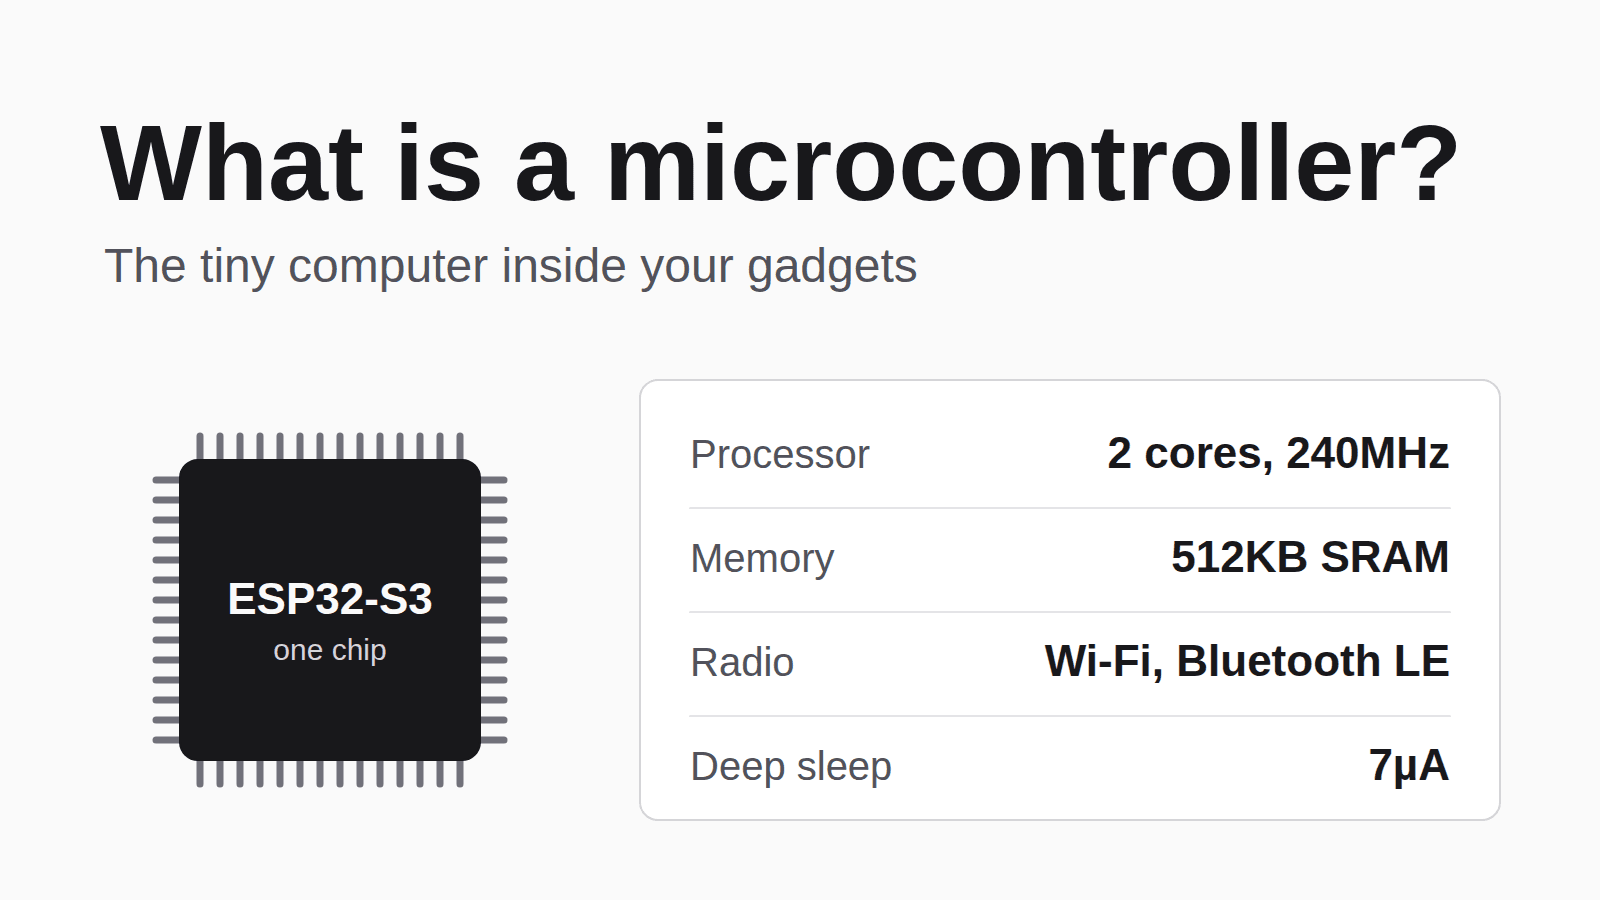
A microcontroller is a whole computer on one chip. The processor, the memory and the pins that talk to the outside world all sit in the same small square of silicon.
The one in the Schematik Starter Kit is an ESP32-S3, made by Espressif. Here's what Espressif's datasheet says is inside it:
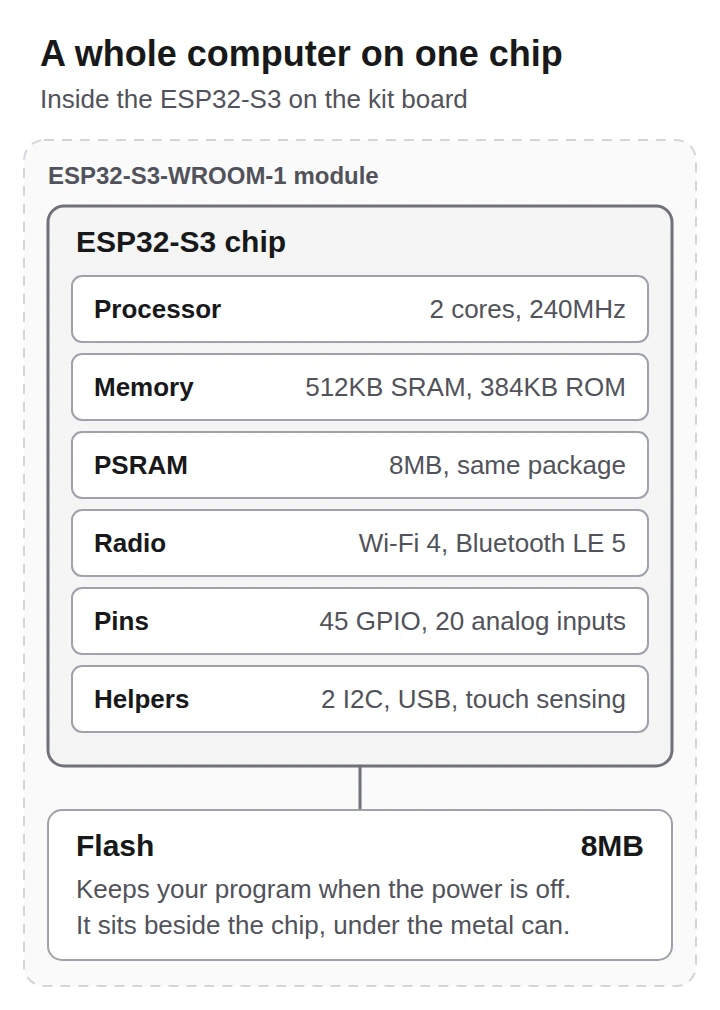
- Processor. It has 2 cores running at up to 240MHz. This is the part that runs your code.
- Memory. There's 512KB of SRAM, fast memory that holds your variables while the code runs, plus 8MB of PSRAM packed in with the chip on the kit's board. Both are wiped when the power goes off.
- Flash. The kit's board has 8MB, sitting next to the chip inside the metal module. Your program lives here, so it's still there after you unplug the board.
- Radio. Wi-Fi and Bluetooth LE, so your project can talk to your phone or the internet.
- Pins. The chip has 45 GPIO (general-purpose input/output) pins. The kit's board brings most of them out to its headers, where each one can read a button, switch an LED or talk to a sensor. GPIO35, GPIO36 and GPIO37 also reach the headers, but on this board they're wired to the PSRAM, so keep your parts off them.
- Helpers. Small built-in circuits that handle a job in hardware, like the 2 I2C controllers that talk to screens and sensors, or the ADC (analog-to-digital converter) that turns a voltage into a number your code can read.
The board around the chip adds what you need to plug it in and wire it up: 2 USB-C ports, a 3.3V regulator that powers the chip from USB and 2 rows of header pins that fit a breadboard.
How a microcontroller runs your code
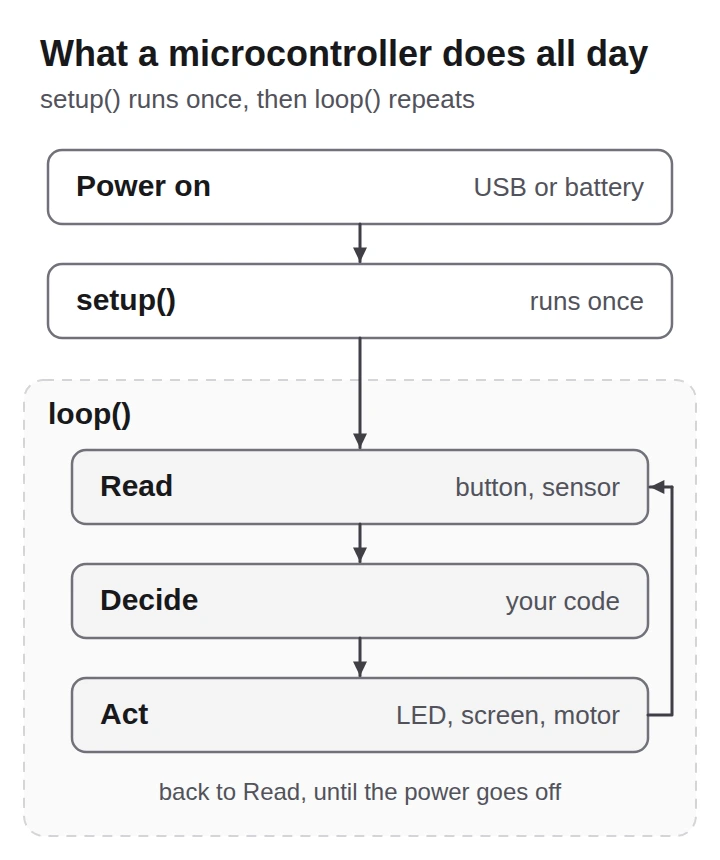
A microcontroller runs one program, the one you uploaded. It starts that program on its own a moment after it gets power.
In Arduino code that program has 2 parts:
const int LED_PIN = 2;

void setup() {
  // Runs once when the board powers up.
  pinMode(LED_PIN, OUTPUT);
}

void loop() {
  // Runs again and again until the power goes off.
  digitalWrite(LED_PIN, HIGH);
  delay(500);
  digitalWrite(LED_PIN, LOW);
  delay(500);
}
setup() gets the pins ready. loop() reads something, decides what to do and does it, then starts over. Wire GPIO2 to a 220Ω resistor, the resistor to the LED's long leg and the LED's short leg to GND. This sketch blinks the LED once a second.
That loop is the whole idea. A thermostat reads the temperature, decides if it's too cold and switches the heating. Your project does the same thing with your parts and your rules.
Microcontroller vs Raspberry Pi
A Raspberry Pi 5 looks similar on a desk: a small green board with pins. It's a different kind of machine. A Raspberry Pi 5 is a single-board computer. It runs a full operating system like your laptop does, and you can plug in a screen, keyboard and mouse. (The smaller Raspberry Pi Pico boards are microcontrollers, like the ESP32-S3.)
| ESP32-S3 (kit board) | Raspberry Pi 5 | |
|---|---|---|
| Processor | 2 cores, 240MHz | 4 cores, 2.4GHz |
| Memory | 512KB SRAM, plus 8MB PSRAM | 1GB to 16GB |
| Program storage | 8MB flash on the board | microSD card |
| Software | your one program | a full operating system |
| Power supply | 5V from USB | 5V, 5A USB-C supply |
| GPIO pins | 36 on the headers | 26 on a 40-pin header |
| Analog inputs | 20 ADC channels | none |
| HDMI output | none | 2 HDMI outputs, up to 4K |
Numbers from Espressif's datasheets, the kit board's schematic and Raspberry Pi's product brief and documentation.
The Pi does far more work per second. The ESP32-S3 wins on the things that matter for a gadget:
- It starts on its own. Plug it in and your sketch starts after a short boot. For a sketch like the blink, there's nothing to shut down before you pull the plug.
- It sips power. With Wi-Fi off and both cores busy at 240MHz, Espressif measures the bare ESP32-S3 chip at 66 to 108mA from 3.3V. A bare Raspberry Pi 5 draws around 800mA from 5V doing ordinary work. In deep sleep, with only a little memory kept awake, the chip drops to 7µA. The PSRAM, the board's regulator, LEDs and your parts add their own share, but a project that sleeps most of the time can run on a battery.
- It reads analog sensors itself. Connect the 2 outer legs of a potentiometer (a knob) to 3V3 and GND, and its middle leg to an ADC pin such as GPIO1. Then
analogRead()turns the knob's position into a number. The Pi's GPIO header has no analog inputs, so it needs an extra chip for that.
When to pick a microcontroller
Pick a microcontroller when your project:
- reads sensors, buttons or knobs and reacts to them
- drives LEDs, small screens, buzzers or motors
- runs on a battery, or has to be on all the time
- should start on its own when it gets power
Pick a Raspberry Pi when your project needs to run a full program like a web browser, play video on an HDMI screen, use a camera with heavy image processing or store a lot of data.
Plenty of projects use both: a Raspberry Pi does the heavy thinking, and a microcontroller handles the sensors and motors.
Build your first microcontroller project
The ESP32 focus timer is a good first build. Press the rotary knob to start or pause a 25-minute focus session, and an OLED counts it down. When it's time for a 5-minute break, the buzzer beeps and the LED ring turns from blue to green. It's built on a classic ESP32 board, so its pin numbers differ from the ESP32-S3's. Open it in Schematik to get the wiring, the parts list and the code, then press Deploy to send it to your board.
Want to use the Wi-Fi? The tiny OLED desk command center is a small status screen you can send messages to from your browser.
Once your first project runs, unplug the board and plug it back in. Your program starts again on its own, with no laptop needed. What would you build if every gadget in your house could run your code?
Keep building from here
Jump into a step-by-step build, or open Schematik and turn your own idea into code, wiring, and assembly instructions.
Related posts
Related builds
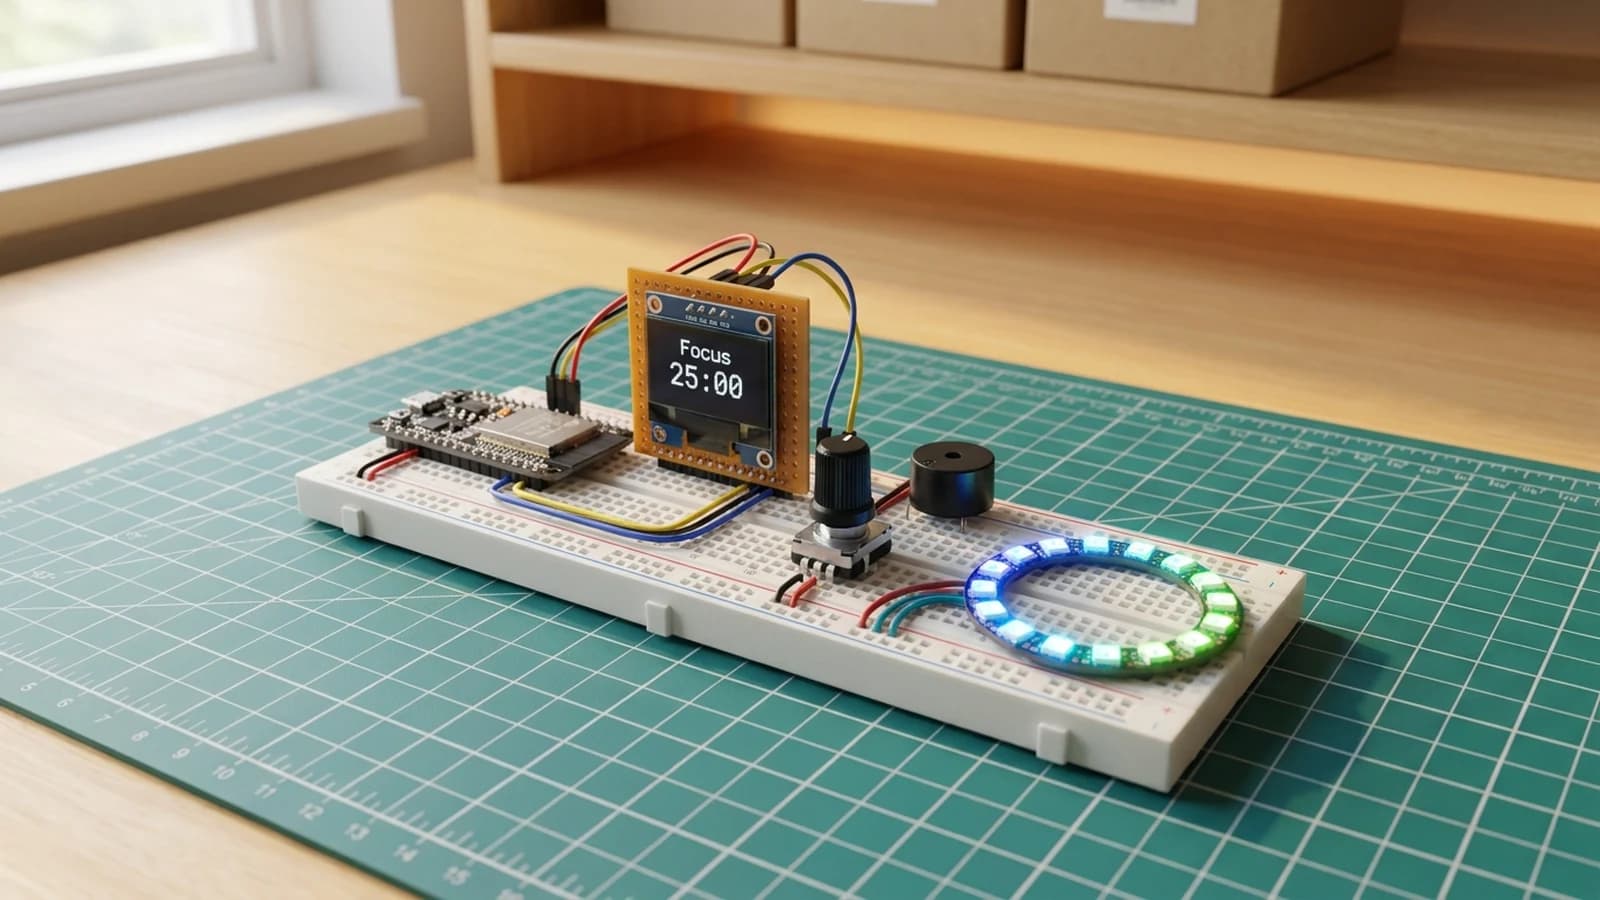
How to Build an ESP32 Pomodoro Focus Timer
Build an ESP32 Pomodoro focus timer with an SSD1306 OLED, KY-040 rotary encoder, piezo buzzer, and WS2812B LED ring. Includes complete code and wiring guide.

How to Build a Tiny OLED Desk Command Centre
Build an ESP32 OLED desk display with Wi-Fi, weather, time, local IP printing, and a browser page for sending messages to the screen.