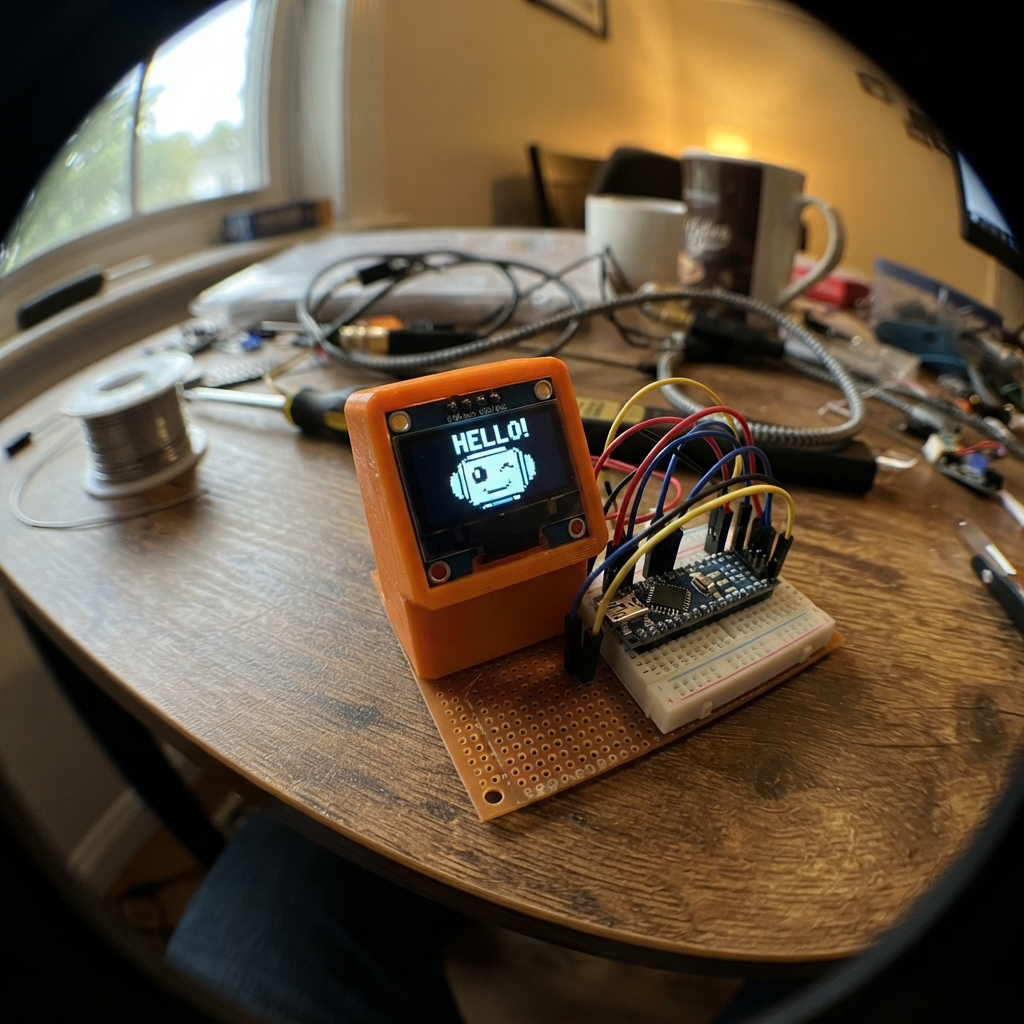
This project brings a cute animated character to life on a small OLED screen, creating a desk buddy that displays different moods and expressions. The character blinks, looks around, and cycles through curious, excited, and sleepy states, all powered by an ESP32 microcontroller.
The build is straightforward: mount the SSD1306 OLED display and ESP32 board, then connect just four wires for power and I2C communication. This guide includes a complete wiring diagram, parts list, and ready-to-upload firmware that handles all the animation logic, so the character starts performing as soon as power is applied.
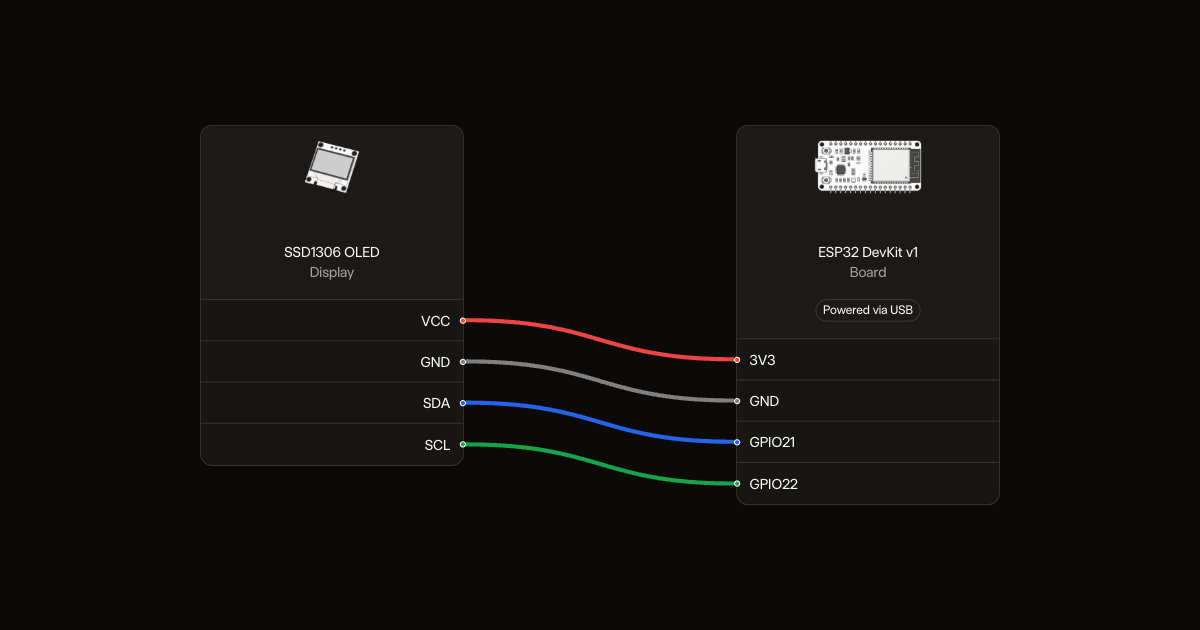
Wiring diagram
Gather all the parts
Assemble it in 2 steps
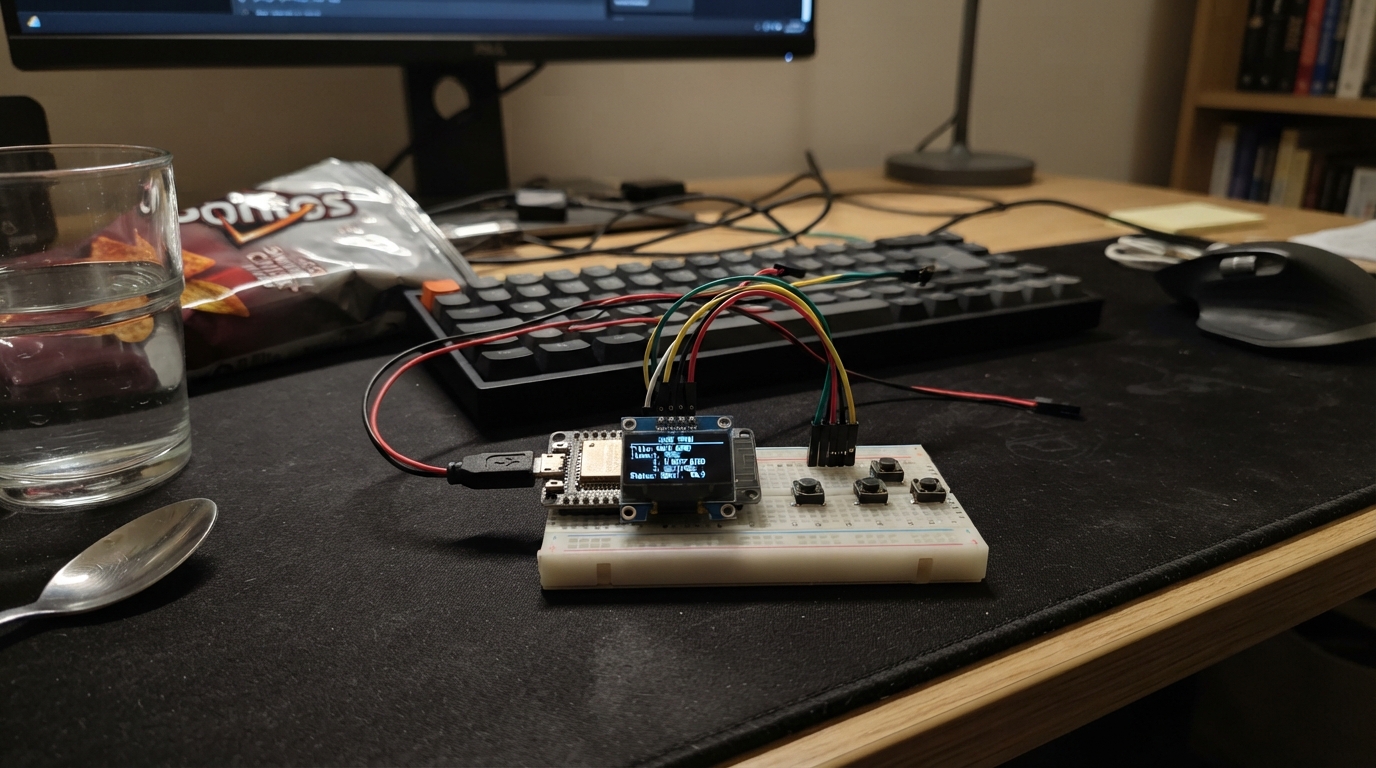
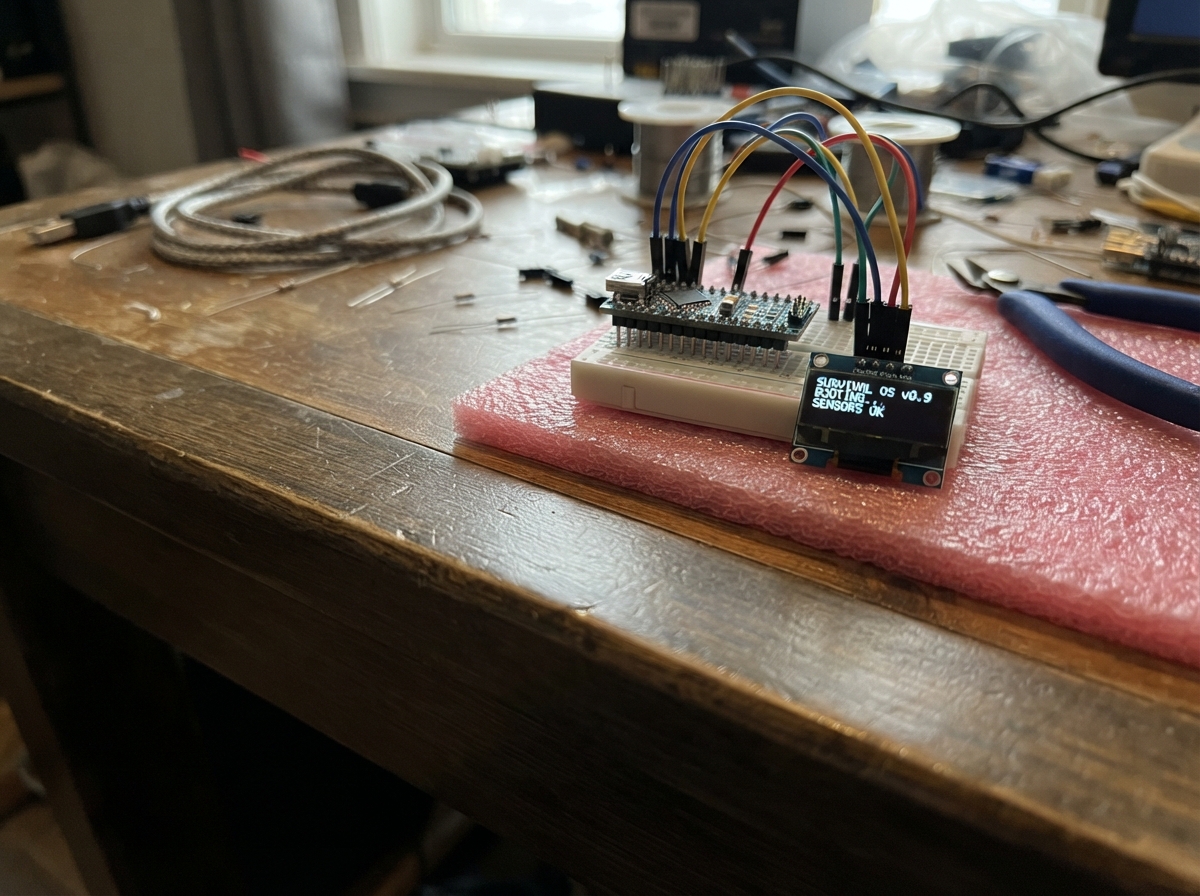
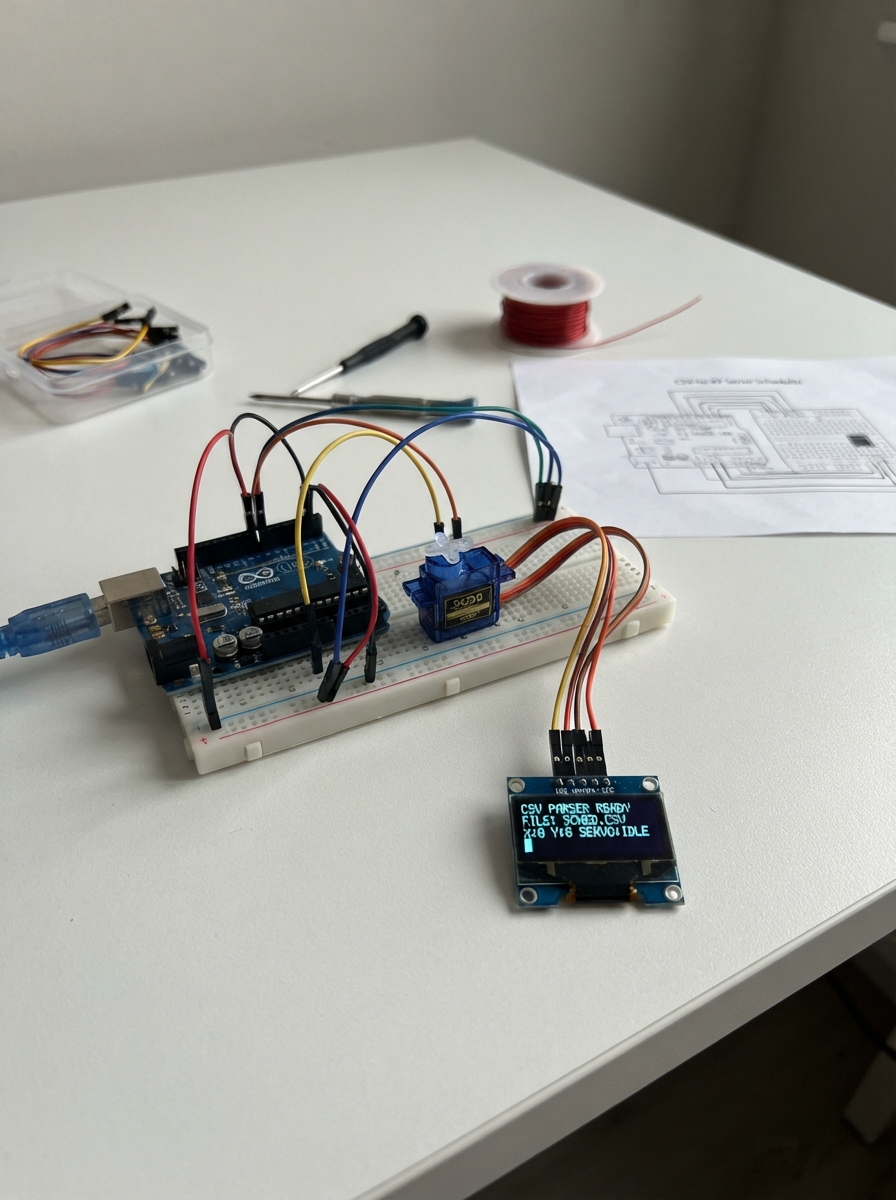
1. Place the board and screen
Unplug USB. Seat the ESP32 across the breadboard center gap and put the four OLED pins in separate rows.
2. Connect the four wires
Connect OLED VCC to 3V3, GND to GND, SDA to GPIO21, and SCL to GPIO22.
- Follow the labels on the OLED. Reversing VCC and GND can damage it.
Review all connections
1. Connections between "oled" and "ESP32"
Deploy the firmware
#include <Arduino.h>
#include <Wire.h>
#include <Adafruit_GFX.h>
#include <Adafruit_SSD1306.h>

Adafruit_SSD1306 oled(128, 64, &Wire, -1);
bool ready;

void setup() {
  Serial.begin(115200);
  Wire.begin(21, 22);
  ready = oled.begin(SSD1306_SWITCHCAPVCC, 0x3C, false, false);
  Serial.println(ESP.getFreeHeap());
}

void loop() {
  if (!ready) { delay(100); return; }
  const unsigned long now = millis();
  const int mood = (now / 4500) % 3;
  const int looks[] = {0, -8, 0, 8};
  const int look = looks[(now / 750) % 4];
  const int phase = now % 3000;
  const int openness = phase < 2820 ? 3 : phase < 2870 ? 2 : phase < 2950 ? 0 : 2;
  static int last = -1;
  const int frame = openness == 0 ? 0 : 1 + openness * 100 + mood * 20 + look + 8;
  if (frame == last) { delay(10); return; }
  last = frame;
  oled.clearDisplay();
  for (int x = 16; x <= 74; x += 58) {
    const int heights[] = {34, 42, 22}; // Curious, excited, sleepy
    const int h = openness == 0 ? 3 : heights[mood] * openness / 3;
    oled.fillRoundRect(x, 32 - h / 2, 38, h, h < 16 ? 2 : 8, SSD1306_WHITE);
    if (openness != 0) {
      oled.fillCircle(x + 19 + look, 32, h < 20 ? 4 : 7, SSD1306_BLACK);
      oled.drawPixel(x + 17 + look, 30, SSD1306_WHITE);
    }
  }
  oled.display();
}
Remix this project
Make it yours in one click
Open a full copy of this project in your own Schematik workspace, diagram, code, parts, and assembly steps included. Swap the sensor, add features, or redesign the whole thing with AI. The author's original stays untouched.