Community project
Auto-Refreshing Weather Monitor
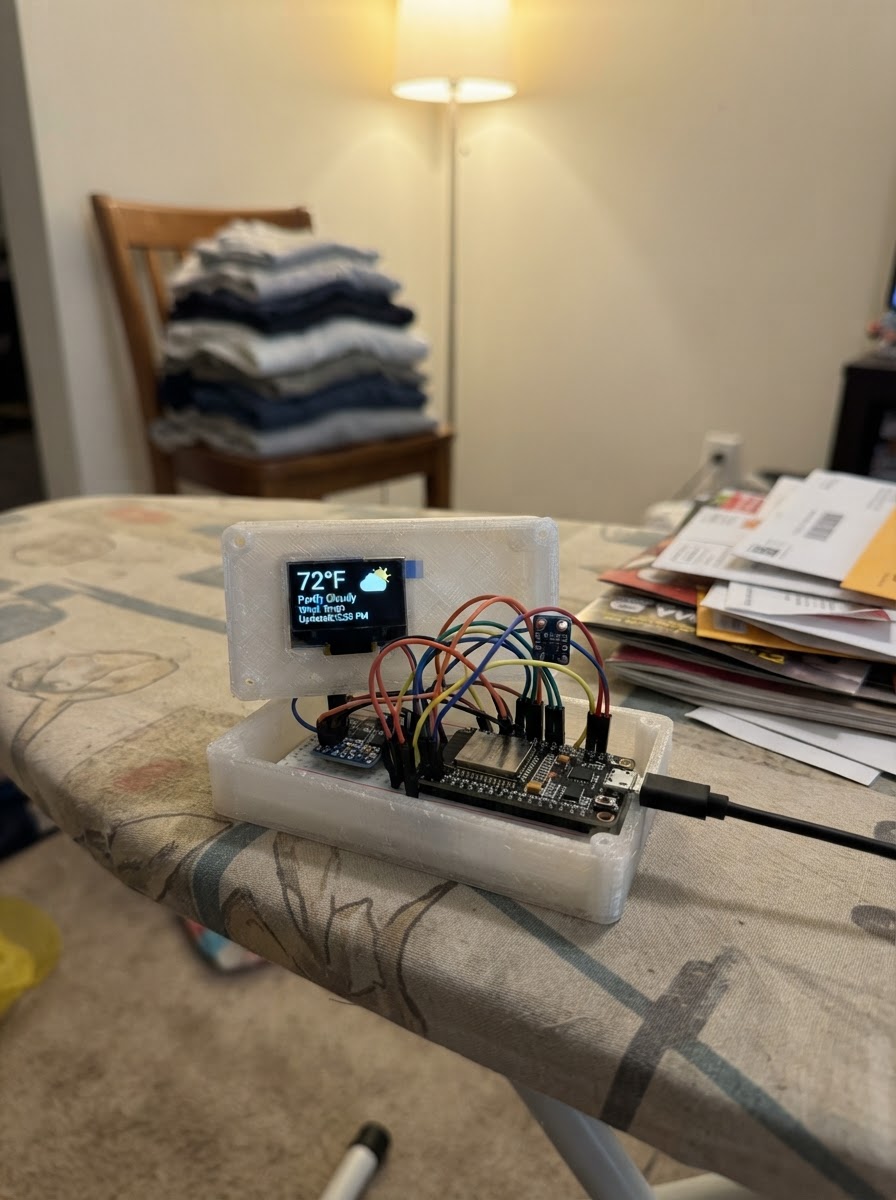
This project turns an Adafruit MagTag into a wall-mounted indoor weather display that automatically updates every minute. The e-ink screen shows current temperature in Fahrenheit and humidity percentage in large, easy-to-read text, making it perfect for a bedroom, office, or living room.
The guide includes a complete parts list, wiring diagram, and ready-to-upload firmware. Assembly is straightforward—use the MagTag as supplied, place it indoors, and power it on. The display refreshes automatically and uses minimal power thanks to the e-ink technology, so it can run for weeks on battery or indefinitely when plugged in.
Wiring diagram
Assemble it in 3 steps
1. Use the MagTag as supplied
This project uses only the AdaBox 017 MagTag’s built-in 2.9-inch e-ink screen and built-in SHTC3 temperature/humidity sensor. No breadboard or jumper wiring is required.
- Keep the sensor openings and the board clear of your hands while taking a reading so body heat does not influence it.
- Do not connect external 5 V signals to the MagTag GPIO headers; its GPIO logic is 3.3 V.
2. Place it for an indoor reading
Set the MagTag upright in a shaded, ventilated indoor location, away from windows, radiators, direct sun, and air-conditioning outlets. Give it several minutes to settle after moving it.
- The monitor is configured as an indoor temperature and humidity display; it does not use internet weather data.
- Do not enclose the board in an airtight case, because trapped heat will make the temperature reading inaccurate.
3. Power the MagTag
Connect a USB-C cable to the MagTag for power while using the monitor. The e-ink screen retains its last image if power is removed, but the sensor cannot take new readings without power.
- After deployment, the display draws immediately, then checks the sensor every minute.
- Use a known-good USB power source and cable.
Deploy the firmware
#include <Arduino.h>
#include <Adafruit_MagTag.h>
#include <math.h>


// Forward declarations
void drawMonitor(float temperatureC, float humidity);
void updateWeather(bool forceRefresh);

Adafruit_MagTag magtag;

constexpr uint32_t SENSOR_INTERVAL_MS = 60000UL;       // Read the sensor once per minute.
constexpr uint32_t HEARTBEAT_REFRESH_MS = 300000UL;    // Refresh at least every 5 minutes.

uint32_t lastSampleMs = 0;
uint32_t lastRefreshMs = 0;
int lastTemperatureTenths = INT16_MIN;
int lastHumidityTenths = INT16_MIN;

void drawMonitor(float temperatureC, float humidity) {
  const float temperatureF = temperatureC * 9.0f / 5.0f + 32.0f;

  magtag.setTextWrap(false);
  magtag.setTextColor(EPD_BLACK);
  magtag.fillScreen(EPD_WHITE);

  magtag.setTextSize(2);
  magtag.setCursor(12, 18);
  magtag.print("INDOOR WEATHER");
  magtag.drawFastHLine(12, 43, 272, EPD_BLACK);

  magtag.setTextSize(2);
  magtag.setCursor(18, 78);
  magtag.print("Temperature");
  magtag.setTextSize(4);
  magtag.setCursor(18, 125);
  magtag.print(temperatureF, 1);
  magtag.print(" F");

  magtag.setTextSize(2);
  magtag.setCursor(18, 177);
  magtag.print("Humidity");
  magtag.setTextSize(4);
  magtag.setCursor(18, 224);
  magtag.print(humidity, 1);
  magtag.print(" %");

  magtag.setTextSize(1);
  magtag.setCursor(12, 282);
  magtag.print("Updates automatically every minute");

  // This call transfers the new framebuffer to the e-ink panel. Without it,
  // drawing calls alone do not visibly update the MagTag display.
  magtag.refresh();
}

void updateWeather(bool forceRefresh) {
  const float temperatureC = magtag.peripherals.temperaturesensor.readTemperature();
  const float humidity = magtag.peripherals.humiditysensor.readHumidity();

  if (isnan(temperatureC) || isnan(humidity)) {
    return; // Retain the last valid screen if an I2C sensor read fails.
  }

  const int temperatureTenths = (int)lroundf(temperatureC * 10.0f);
  const int humidityTenths = (int)lroundf(humidity * 10.0f);
  const bool readingChanged = temperatureTenths != lastTemperatureTenths ||
                              humidityTenths != lastHumidityTenths;

  if (forceRefresh || readingChanged) {
    drawMonitor(temperatureC, humidity);
    lastTemperatureTenths = temperatureTenths;
    lastHumidityTenths = humidityTenths;
    lastRefreshMs = millis();
  }
}

void setup() {
  magtag.begin();
  updateWeather(true); // Show an initial, explicit refresh immediately after boot.
  lastSampleMs = millis();
}

void loop() {
  const uint32_t now = millis();

  if (now - lastSampleMs >= SENSOR_INTERVAL_MS) {
    lastSampleMs = now;
    const bool heartbeatDue = now - lastRefreshMs >= HEARTBEAT_REFRESH_MS;
    updateWeather(heartbeatDue);
  }
}
Remix this project
Make it yours in one click
Open a full copy of this project in your own Schematik workspace — diagram, code, parts, and assembly steps included. Swap the sensor, add features, or redesign the whole thing with AI. The author's original stays untouched.