Community project
ESP32 Display Design Lab
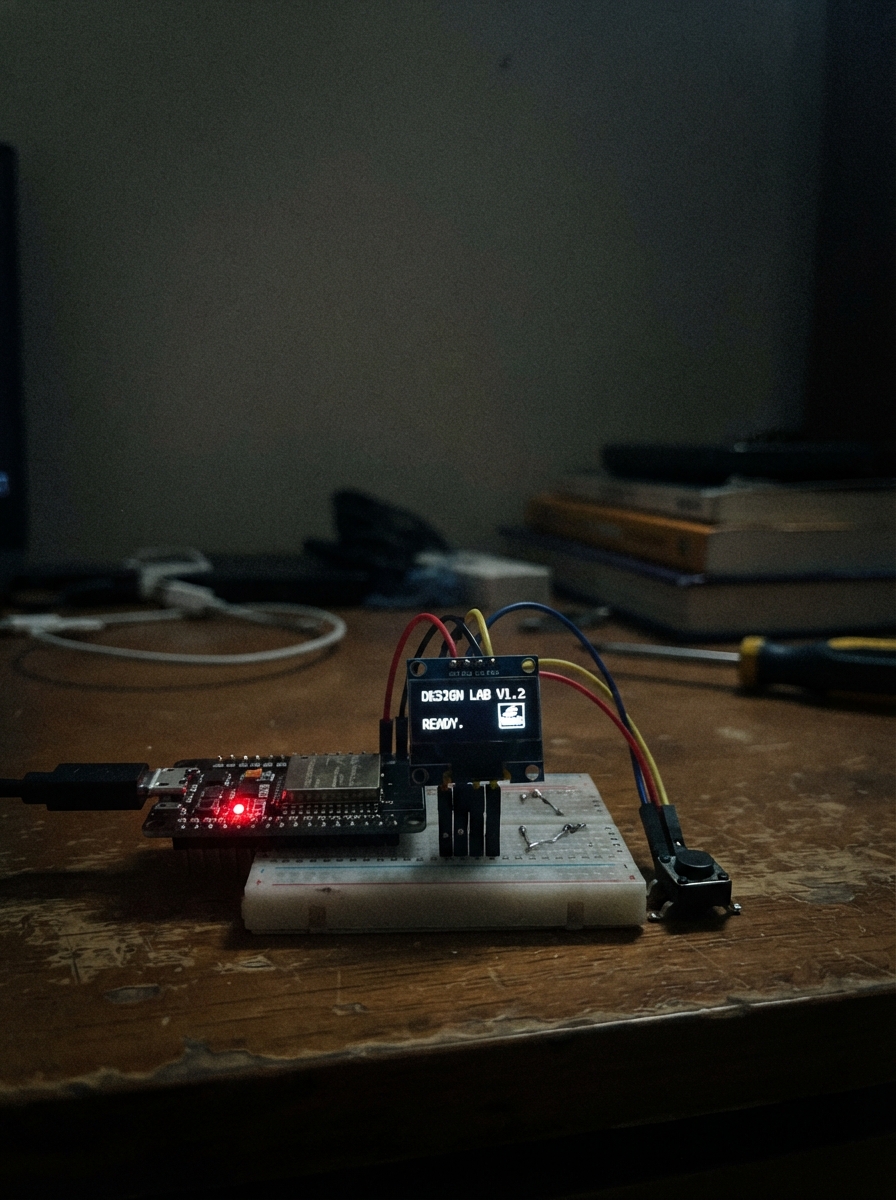
The ESP32 Display Design Lab teaches how to build an interactive display system using an ESP32 microcontroller paired with a 128x64 SSD1306 OLED screen and two push buttons. The project demonstrates responsive button handling with debouncing, tap versus hold detection, and dynamic screen updates—practical skills for any embedded display application.
This guide provides a complete wiring diagram, parts list, and step-by-step assembly instructions from board placement through final power-on inspection. The included firmware handles button events with configurable timing thresholds and manages display state transitions, giving makers a solid foundation for building their own interactive ESP32 projects.
Wiring diagram
Gather all the parts
Assemble it in 5 steps
1. Place the board and screen
Put the ESP32 DevKit V1 and the 0.96-inch OLED on the breadboard with their metal pins in separate rows. Keep the OLED label facing you so you can read the names printed beside its four pins.
- Do not assume the order of the OLED pins: read the tiny labels on your own module before connecting wires.
- Do not connect the OLED power wires until you have identified its VCC and GND labels; swapped power can damage the screen.
2. Wire the OLED screen
Use four jumper wires: OLED VCC → ESP32 3V3 (power), OLED GND → ESP32 GND (ground), OLED SDA → GPIO21 (data), and OLED SCL → GPIO22 (clock).
- Use red for VCC, black for GND, and two other colors for SDA and SCL so a loose wire is easy to find later.
- Use the 3V3 pin, not the 5V/VIN pin, for this screen in this project.
3. Add the next-expression button
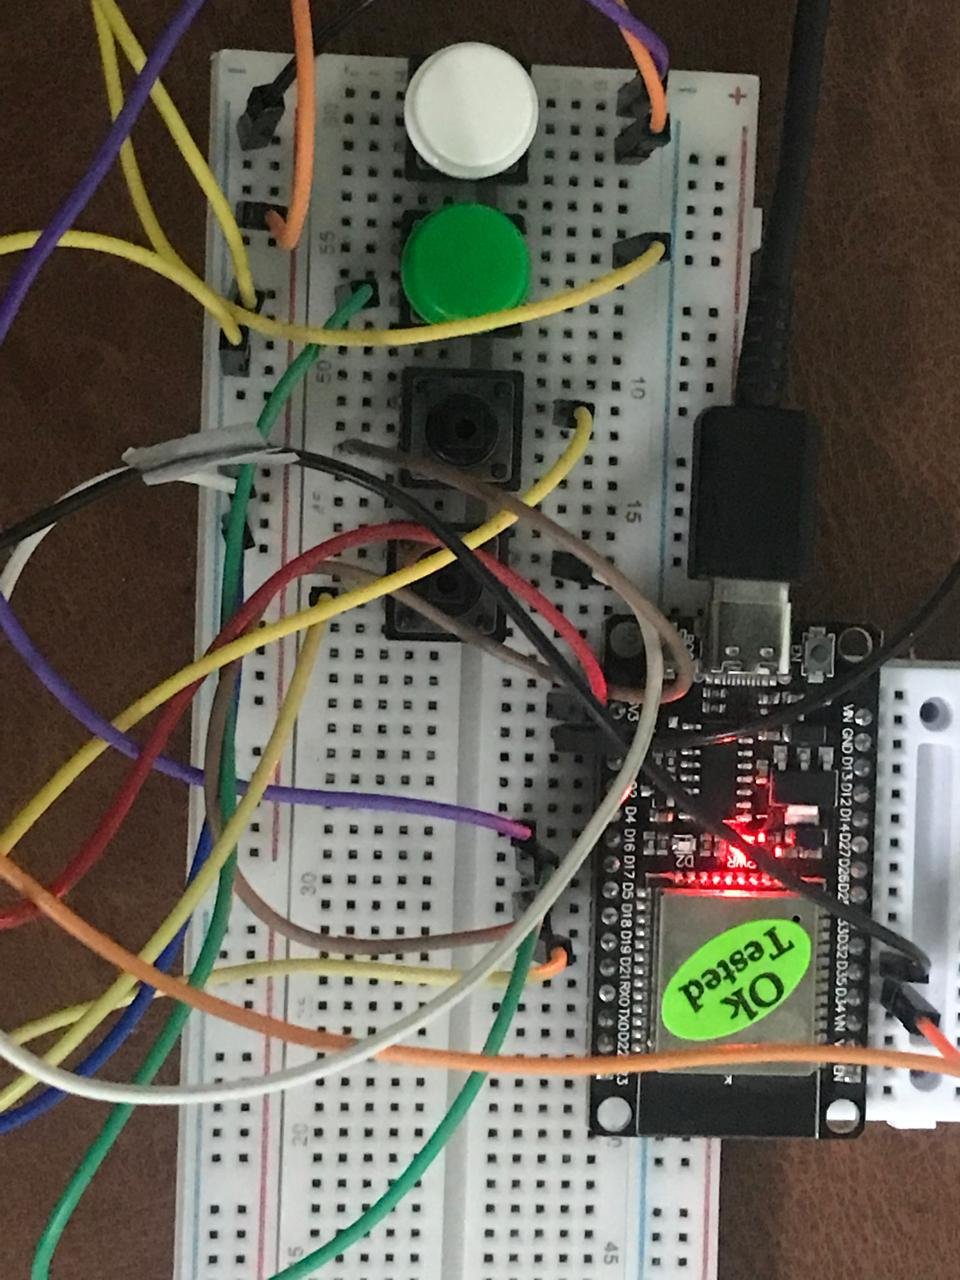
Place the first push button so its two connected legs are on opposite sides of the breadboard's center gap. Connect one side to GPIO25 (signal) and the opposite side to GND (ground). This button changes the face on the screen.
- A small four-leg tactile button has two legs already connected on each side; placing it across the center gap prevents the button from being shorted all the time.
4. Add the sleep button
Place the second push button across the breadboard center gap. Connect one side to GPIO26 (signal) and the opposite side to GND (ground). This button turns the face into a sleeping screen and wakes it again.
- The buttons do not need separate resistors because the firmware turns on the ESP32's internal pull-up resistors.
5. Inspect before power
With the USB cable unplugged, compare every wire to the list: VCC → 3V3 (power), all GND wires → GND (ground), SDA → GPIO21 (data), SCL → GPIO22 (clock), first button → GPIO25 (signal), and second button → GPIO26 (signal). Then plug the ESP32 into USB.
- If the screen stays blank later, first check whether your OLED's printed pin order differs from the common GND, VCC, SCL, SDA order.
- Never move jumper wires while the board is powered; an accidental short can damage the board or the OLED.
Review all connections
1. Connections between "oled_1" and "ESP32"
2. Connections between "button_next" and "ESP32"
3. Connections between "button_sleep" and "ESP32"
Deploy the firmware
#include <Wire.h>
#include <Adafruit_GFX.h>
#include <Adafruit_SSD1306.h>

constexpr int OLED_SDA_PIN = 21;
constexpr int OLED_SCL_PIN = 22;
constexpr int NEXT_BUTTON_PIN = 25;
constexpr int SLEEP_BUTTON_PIN = 26;
constexpr uint8_t SCREEN_WIDTH = 128;
constexpr uint8_t SCREEN_HEIGHT = 64;
constexpr uint8_t OLED_ADDRESS = 0x3C;
constexpr unsigned long DEBOUNCE_MS = 35;
constexpr unsigned long HOLD_MS = 700;
constexpr unsigned long AUTO_FACE_MS = 2500;

Adafruit_SSD1306 display(SCREEN_WIDTH, SCREEN_HEIGHT, &Wire, -1);

enum ButtonEvent { NO_EVENT, TAP_EVENT, HOLD_EVENT };

struct Button {
  uint8_t pin;
  bool rawState = HIGH;
  bool stableState = HIGH;
  bool holdReported = false;
  unsigned long changedAt = 0;
  unsigned long pressedAt = 0;
};

Button nextButton{NEXT_BUTTON_PIN};
Button sleepButton{SLEEP_BUTTON_PIN};
uint8_t faceIndex = 0;
bool isAwake = true;
bool autoFaces = false;
unsigned long lastAutoFaceAt = 0;

ButtonEvent readButton(Button &button) {
  const unsigned long now = millis();
  const bool reading = digitalRead(button.pin);
  if (reading != button.rawState) {
    button.rawState = reading;
    button.changedAt = now;
  }
  if ((now - button.changedAt) >= DEBOUNCE_MS && button.stableState != button.rawState) {
    button.stableState = button.rawState;
    if (button.stableState == LOW) {
      button.pressedAt = now;
      button.holdReported = false;
    } else if (!button.holdReported) {
      return TAP_EVENT;
    }
  }
  if (button.stableState == LOW && !button.holdReported && now - button.pressedAt >= HOLD_MS) {
    button.holdReported = true;
    return HOLD_EVENT;
  }
  return NO_EVENT;
}

void drawFooter() {
  display.setTextSize(1);
  display.setCursor(1, 55);
  if (autoFaces) {
    display.print("AUTO  HOLD SLEEP");
  } else {
    display.print("NEXT  HOLD=BACK");
  }
}

void drawFace() {
  display.clearDisplay();
  display.setTextColor(SSD1306_WHITE);
  if (faceIndex == 0) {
    display.setTextSize(1);
    display.setCursor(39, 2);
    display.print("HAPPY");
    display.fillCircle(42, 26, 7, SSD1306_WHITE);
    display.fillCircle(86, 26, 7, SSD1306_WHITE);
    display.drawCircle(42, 26, 12, SSD1306_WHITE);
    display.drawCircle(86, 26, 12, SSD1306_WHITE);
    display.drawCircle(64, 38, 20, SSD1306_WHITE);
    display.fillRect(40, 28, 48, 20, SSD1306_BLACK);
    display.drawLine(48, 46, 56, 51, SSD1306_WHITE);
    display.drawLine(56, 51, 72, 51, SSD1306_WHITE);
    display.drawLine(72, 51, 80, 46, SSD1306_WHITE);
  } else if (faceIndex == 1) {
    display.setTextSize(1);
    display.setCursor(31, 2);
    display.print("SURPRISED");
    display.drawCircle(42, 27, 12, SSD1306_WHITE);
    display.drawCircle(86, 27, 12, SSD1306_WHITE);
    display.fillCircle(42, 27, 5, SSD1306_WHITE);
    display.fillCircle(86, 27, 5, SSD1306_WHITE);
    display.drawCircle(64, 48, 10, SSD1306_WHITE);
  } else if (faceIndex == 2) {
    display.setTextSize(1);
    display.setCursor(43, 2);
    display.print("SLEEPY");
    display.drawLine(29, 28, 53, 28, SSD1306_WHITE);
    display.drawLine(75, 28, 99, 28, SSD1306_WHITE);
    display.drawLine(46, 48, 82, 48, SSD1306_WHITE);
    display.setCursor(98, 38);
    display.print("z");
    display.setCursor(107, 30);
    display.print("z");
  } else {
    display.setTextSize(1);
    display.setCursor(43, 2);
    display.print("CURIOUS");
    display.fillCircle(42, 27, 6, SSD1306_WHITE);
    display.fillCircle(86, 27, 9, SSD1306_WHITE);
    display.drawCircle(42, 27, 11, SSD1306_WHITE);
    display.drawCircle(86, 27, 14, SSD1306_WHITE);
    display.drawLine(48, 48, 80, 48, SSD1306_WHITE);
  }
  drawFooter();
  display.display();
}

void drawSleepingScreen() {
  display.clearDisplay();
  display.setTextColor(SSD1306_WHITE);
  display.setTextSize(2);
  display.setCursor(39, 20);
  display.print("Zz");
  display.setTextSize(1);
  display.setCursor(12, 50);
  display.print("Tap SLEEP to wake");
  display.display();
}

void setup() {
  pinMode(NEXT_BUTTON_PIN, INPUT_PULLUP);
  pinMode(SLEEP_BUTTON_PIN, INPUT_PULLUP);
  Wire.begin(OLED_SDA_PIN, OLED_SCL_PIN);
  if (!display.begin(SSD1306_SWITCHCAPVCC, OLED_ADDRESS)) {
    while (true) delay(1000);
  }
  drawFace();
}

void loop() {
  const ButtonEvent sleepEvent = readButton(sleepButton);
  const ButtonEvent nextEvent = readButton(nextButton);

  if (sleepEvent == TAP_EVENT) {
    isAwake = !isAwake;
    if (isAwake) drawFace();
    else drawSleepingScreen();
  }

  if (sleepEvent == HOLD_EVENT && isAwake) {
    autoFaces = !autoFaces;
    lastAutoFaceAt = millis();
    drawFace();
  }

  if (isAwake && nextEvent == TAP_EVENT) {
    autoFaces = false;
    faceIndex = (faceIndex + 1) % 4;
    drawFace();
  }

  if (isAwake && nextEvent == HOLD_EVENT) {
    autoFaces = false;
    faceIndex = (faceIndex + 3) % 4;
    drawFace();
  }

  if (isAwake && autoFaces && millis() - lastAutoFaceAt >= AUTO_FACE_MS) {
    faceIndex = (faceIndex + 1) % 4;
    lastAutoFaceAt = millis();
    drawFace();
  }
  delay(5);
}
Remix this project
Make it yours in one click
Open a full copy of this project in your own Schematik workspace, diagram, code, parts, and assembly steps included. Swap the sensor, add features, or redesign the whole thing with AI. The author's original stays untouched.