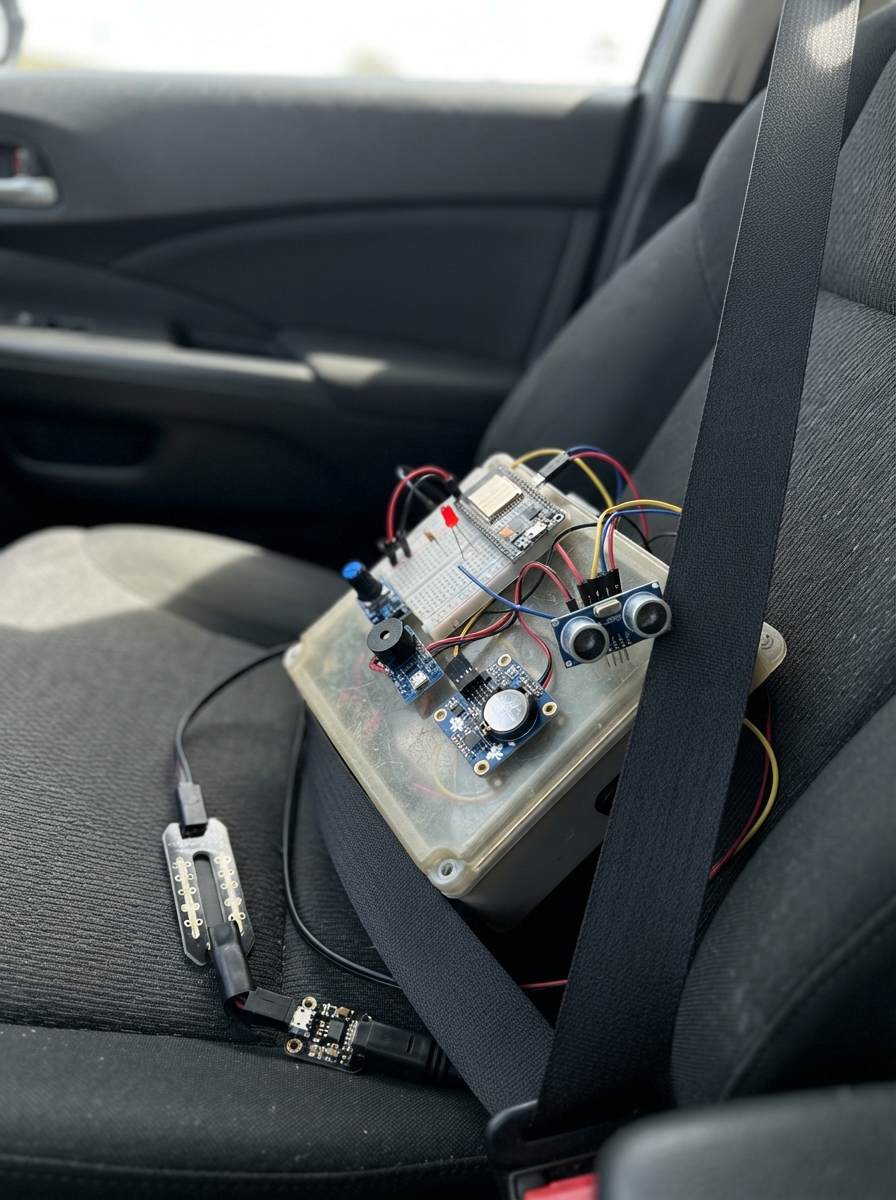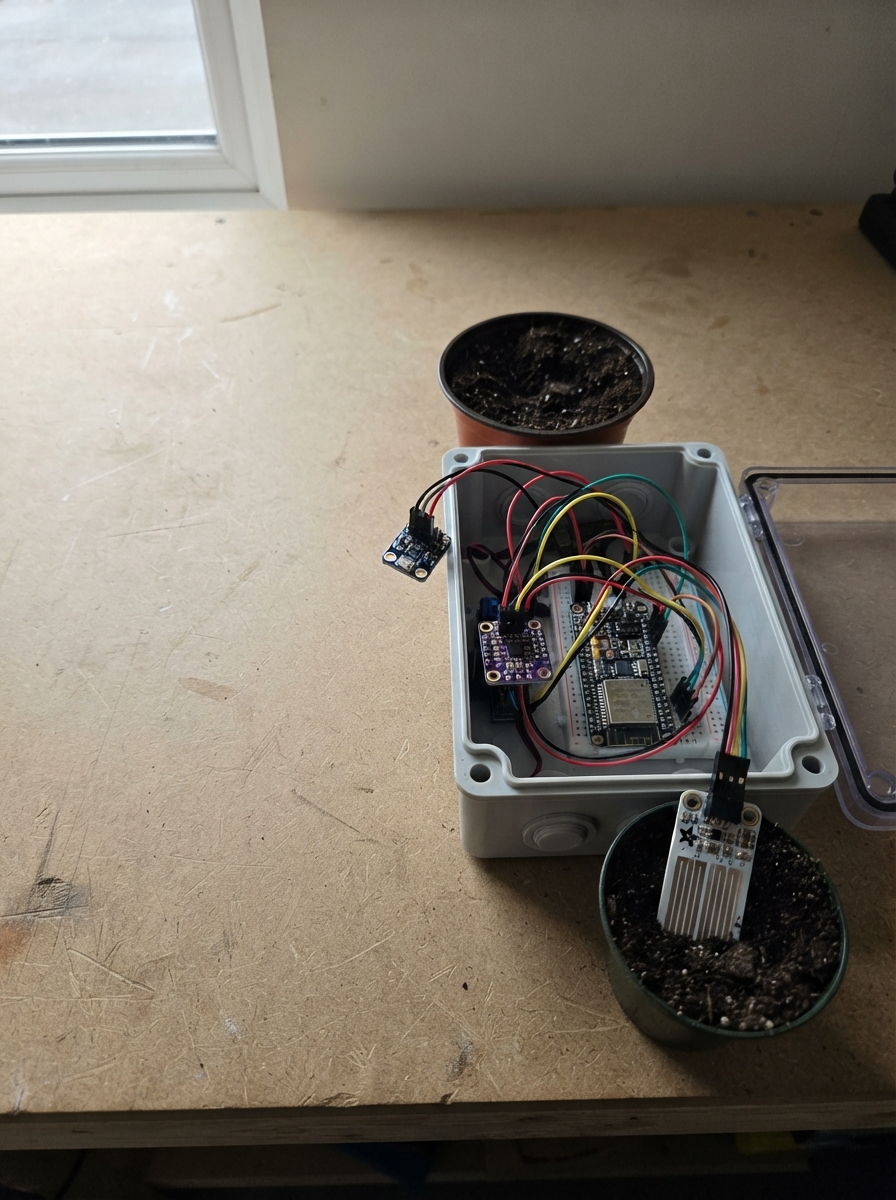
The Connected Tree Health Monitor uses an ESP32 microcontroller to continuously track the wellbeing of trees by measuring soil moisture, air temperature, humidity, atmospheric pressure, and ambient light. Three I2C sensors—an Adafruit STEMMA capacitive soil moisture sensor, a BME280 environmental sensor, and a BH1750 light sensor—feed real-time data to the ESP32, which stores readings locally and uploads them to a remote server every 15 minutes.
This guide provides a complete parts list, wiring diagram, and step-by-step assembly instructions for mounting the weatherproof IP65/IP66 enclosure directly on a tree trunk. Included is the full Arduino firmware with WiFi connectivity, a web-based setup interface, and intelligent soil condition analysis that interprets moisture levels to help growers optimize tree care.
Wiring diagram
Gather all the parts
Assemble it in 6 steps
1. Deixe a placa sem energia
Coloque o ESP32 DevKit V1 e os três módulos sobre uma mesa seca. Não conecte o cabo USB ainda; assim você não encosta fios de energia no lugar errado enquanto monta.
- Use fios curtos para os sensores que ficarão perto da placa.
- Não alimente nenhum sensor com 5 V: estes três módulos serão ligados ao pino 3V3 do ESP32.
2. Ligue o sensor de umidade do solo
No sensor soil_sensor, ligue VCC ao pino 3V3 do ESP32 (energia), GND a um pino GND (terra), SDA ao GPIO21 (dados) e SCL ao GPIO22 (relógio).
- Os pinos GPIO21 e GPIO22 podem estar impressos como 21 e 22 na placa.
- Insira somente a parte de medição do sensor na terra; deixe a placa eletrônica fora da região molhada.
- Não mergulhe a placa do sensor nem as conexões na terra molhada; água nas conexões pode causar leituras erradas ou curto-circuito.
3. Ligue o sensor de clima
No climate_sensor, ligue VIN ao 3V3 do ESP32 (energia), GND ao GND (terra), SCK ao GPIO22 (relógio) e SDI ao GPIO21 (dados). Ligue também SDO ao GND; isso faz o módulo usar o endereço correto nos fios compartilhados.
- SCK no módulo BME280 é o mesmo fio chamado SCL em outros módulos, e SDI é o mesmo fio chamado SDA.
- Deixe CS sem ligar: ele não é usado neste modo.
- Não troque VIN e GND, pois energia invertida pode danificar o módulo.
4. Ligue o sensor de luz
No light_sensor, ligue VCC ao 3V3 do ESP32 (energia), GND ao GND (terra), SDA ao GPIO21 (dados), SCL ao GPIO22 (relógio) e ADDR ao GND. Os três sensores podem usar os mesmos fios GPIO21 e GPIO22 porque cada um tem seu próprio endereço.
- Posicione este módulo onde ele receba a luz que chega à árvore, mas proteja-o de chuva direta.
- Não ligue ADDR ao 3V3 nesta montagem: ele precisa ficar no GND para coincidir com a configuração do programa.
5. Prepare a caixa que fica no tronco
Coloque o ESP32 e as emendas de fios dentro da weatherproof_box. Faça as passagens dos cabos pela parte de baixo e use prensa-cabos ou vedação própria para que a água não entre. Antes de cada cabo entrar na caixa, deixe uma pequena volta voltada para baixo; a chuva pinga ali em vez de correr pelo fio para dentro.
- Uma caixa de aproximadamente 160 × 120 × 75 mm costuma comportar a placa e as conexões.
- Mantenha a porta USB acessível para poder ligar o cabo quando precisar atualizar o ESP32.
- Não coloque o BME280 dentro da caixa fechada: o calor da placa faria a temperatura medida parecer maior que a temperatura do ar.
6. Prenda a caixa e posicione os sensores
Prenda a weatherproof_box em uma estaca ou no lado sombreado do tronco, a 30–80 cm do chão, usando uma cinta larga ajustável. Não aperte a cinta: a árvore cresce. Enterre a parte de medição do soil_sensor a 10–20 cm de profundidade, longe de raízes grossas. Deixe climate_sensor do lado de fora, sob uma pequena cobertura ventilada que bloqueie sol e chuva. Fixe light_sensor voltado para cima, sob uma proteção transparente inclinada para a água escorrer.
- Em árvores maiores, coloque o sensor de solo aproximadamente sob a borda da copa, onde há raízes que absorvem água.
- Faça os cabos descerem pelo lado de trás da caixa para ficarem menos visíveis e receberem menos chuva direta.
- Não use arame, pregos ou abraçadeiras finas no tronco; eles podem cortar a casca conforme a árvore cresce.
- Não deixe água acumulada ao redor do sensor de solo, pois isso mostra uma umidade que não representa o restante da terra.
Review all connections
1. Connections between "soil_sensor" and "ESP32"
2. Connections between "climate_sensor" and "ESP32"
3. Connections between "light_sensor" and "ESP32"
Deploy the firmware
#include <WiFi.h>
#include <WebServer.h>
#include <Preferences.h>
#include <HTTPClient.h>
#include <Wire.h>
#include <Adafruit_BME280.h>
#include <Adafruit_seesaw.h>
#include <BH1750.h>
#define I2C_SDA_PIN 21
#define I2C_SCL_PIN 22
const char *AP_NAME = "SaudeArvore-Setup";
const char *AP_PASSWORD = "Arvore2026";
const unsigned long READ_INTERVAL_MS = 10000UL;
const unsigned long UPLOAD_INTERVAL_MS = 900000UL;
WebServer server(80);
Preferences preferences;
Adafruit_BME280 bme;
Adafruit_seesaw soil;
BH1750 luxMeter;
bool bmeReady = false;
bool soilReady = false;
bool lightReady = false;
float airTemperature = NAN;
float airHumidity = NAN;
float airPressure = NAN;
float lightLux = NAN;
uint16_t soilRaw = 0;
unsigned long lastReadMs = 0;
unsigned long lastUploadMs = 0;
String htmlEscape(const String &text) {
String out;
for (size_t i = 0; i < text.length(); i++) {
char c = text[i];
if (c == '&') out += "&";
else if (c == '<') out += "<";
else if (c == '>') out += ">";
else if (c == '\"') out += """;
else out += c;
}
return out;
}
String numberOrDash(float value, uint8_t decimals) {
return isnan(value) ? "--" : String(value, static_cast<unsigned int>(decimals));
}
String conditionText() {
if (!soilReady || soilRaw == 0) return "Sensor de solo indisponivel";
if (soilRaw < 350) return "Solo provavelmente muito seco";
if (soilRaw > 900) return "Solo provavelmente muito umido";
return "Umidade do solo em faixa intermediaria";
}
void readSensors() {
if (bmeReady) {
airTemperature = bme.readTemperature();
airHumidity = bme.readHumidity();
airPressure = bme.readPressure() / 100.0F;
}
if (soilReady) soilRaw = soil.touchRead(0);
if (lightReady) lightLux = luxMeter.readLightLevel();
Serial.printf("Solo:%u Temp:%.1fC Umidade:%.1f%% Pressao:%.1fhPa Luz:%.1flux\n", soilRaw, airTemperature, airHumidity, airPressure, lightLux);
}
String jsonPayload() {
String body = "{";
body += "\"soil_raw\":" + String(soilRaw) + ",";
body += "\"air_temperature_c\":" + numberOrDash(airTemperature, 2) + ",";
body += "\"air_humidity_percent\":" + numberOrDash(airHumidity, 2) + ",";
body += "\"air_pressure_hpa\":" + numberOrDash(airPressure, 2) + ",";
body += "\"light_lux\":" + numberOrDash(lightLux, 1);
body += "}";
return body;
}
void uploadIfConfigured() {
String endpoint = preferences.getString("endpoint", "");
if (WiFi.status() != WL_CONNECTED || endpoint.length() == 0) return;
HTTPClient http;
http.setTimeout(8000);
http.begin(endpoint);
http.addHeader("Content-Type", "application/json");
int status = http.POST(jsonPayload());
Serial.printf("Envio HTTP: %d\n", status);
http.end();
}
void handleRoot() {
String ssid = preferences.getString("ssid", "");
String endpoint = preferences.getString("endpoint", "");
String page = "<!doctype html><html><head><meta charset='utf-8'><meta name='viewport' content='width=device-width,initial-scale=1'>";
page += "<style>body{font-family:Arial;max-width:680px;margin:24px auto;padding:0 16px;color:#173b22}h1{color:#27713a}.card{background:#eef8ef;padding:14px;margin:10px 0;border-radius:8px}input{width:100%;padding:9px;margin:5px 0 12px;box-sizing:border-box}button{padding:10px;background:#27713a;color:white;border:0;border-radius:5px}</style></head><body>";
page += "<h1>Monitor da arvore</h1><div class='card'><b>Leitura atual</b><br>Solo (valor bruto): " + String(soilRaw) + "<br>Temperatura: " + numberOrDash(airTemperature, 1) + " C<br>Umidade do ar: " + numberOrDash(airHumidity, 1) + " %<br>Pressao: " + numberOrDash(airPressure, 1) + " hPa<br>Luz: " + numberOrDash(lightLux, 1) + " lux<br><b>Interpretacao:</b> " + conditionText() + "</div>";
page += "<div class='card'><b>Configuracao de rede e envio</b><p>Deixe o endereco de envio vazio para usar somente esta pagina local.</p><form method='post' action='/save'>";
page += "Nome da rede Wi-Fi<input name='ssid' value='" + htmlEscape(ssid) + "'>Senha Wi-Fi<input type='password' name='pass' placeholder='digite para alterar'>";
page += "Endereco para receber JSON (HTTP/HTTPS)<input name='endpoint' value='" + htmlEscape(endpoint) + "' placeholder='https://seu-servidor/exemplo'>";
page += "<button type='submit'>Salvar e reiniciar</button></form></div></body></html>";
server.send(200, "text/html; charset=utf-8", page);
}
void handleSave() {
if (server.hasArg("ssid")) preferences.putString("ssid", server.arg("ssid"));
if (server.hasArg("pass") && server.arg("pass").length() > 0) preferences.putString("pass", server.arg("pass"));
if (server.hasArg("endpoint")) preferences.putString("endpoint", server.arg("endpoint"));
server.send(200, "text/html; charset=utf-8", "<p>Configuracao salva. O monitor vai reiniciar.</p>");
delay(1000);
ESP.restart();
}
void startNetwork() {
String ssid = preferences.getString("ssid", "");
String pass = preferences.getString("pass", "");
if (ssid.length() > 0) {
WiFi.mode(WIFI_STA);
WiFi.begin(ssid.c_str(), pass.c_str());
unsigned long started = millis();
while (WiFi.status() != WL_CONNECTED && millis() - started < 20000UL) delay(250);
}
if (WiFi.status() == WL_CONNECTED) {
Serial.print("Conectado em: http://");
Serial.println(WiFi.localIP());
} else {
WiFi.mode(WIFI_AP);
WiFi.softAP(AP_NAME, AP_PASSWORD);
Serial.print("Modo de configuracao: http://");
Serial.println(WiFi.softAPIP());
}
}
void setup() {
Serial.begin(115200);
preferences.begin("tree-monitor", false);
Wire.begin(I2C_SDA_PIN, I2C_SCL_PIN);
bmeReady = bme.begin(0x76);
soilReady = soil.begin(0x36);
lightReady = luxMeter.begin(BH1750::CONTINUOUS_HIGH_RES_MODE, 0x23, &Wire);
startNetwork();
server.on("/", HTTP_GET, handleRoot);
server.on("/save", HTTP_POST, handleSave);
server.begin();
readSensors();
}
void loop() {
server.handleClient();
unsigned long now = millis();
if (now - lastReadMs >= READ_INTERVAL_MS) {
lastReadMs = now;
readSensors();
}
if (now - lastUploadMs >= UPLOAD_INTERVAL_MS) {
lastUploadMs = now;
uploadIfConfigured();
}
delay(10);
}Remix this project
Make it yours in one click
Open a full copy of this project in your own Schematik workspace, diagram, code, parts, and assembly steps included. Swap the sensor, add features, or redesign the whole thing with AI. The author's original stays untouched.