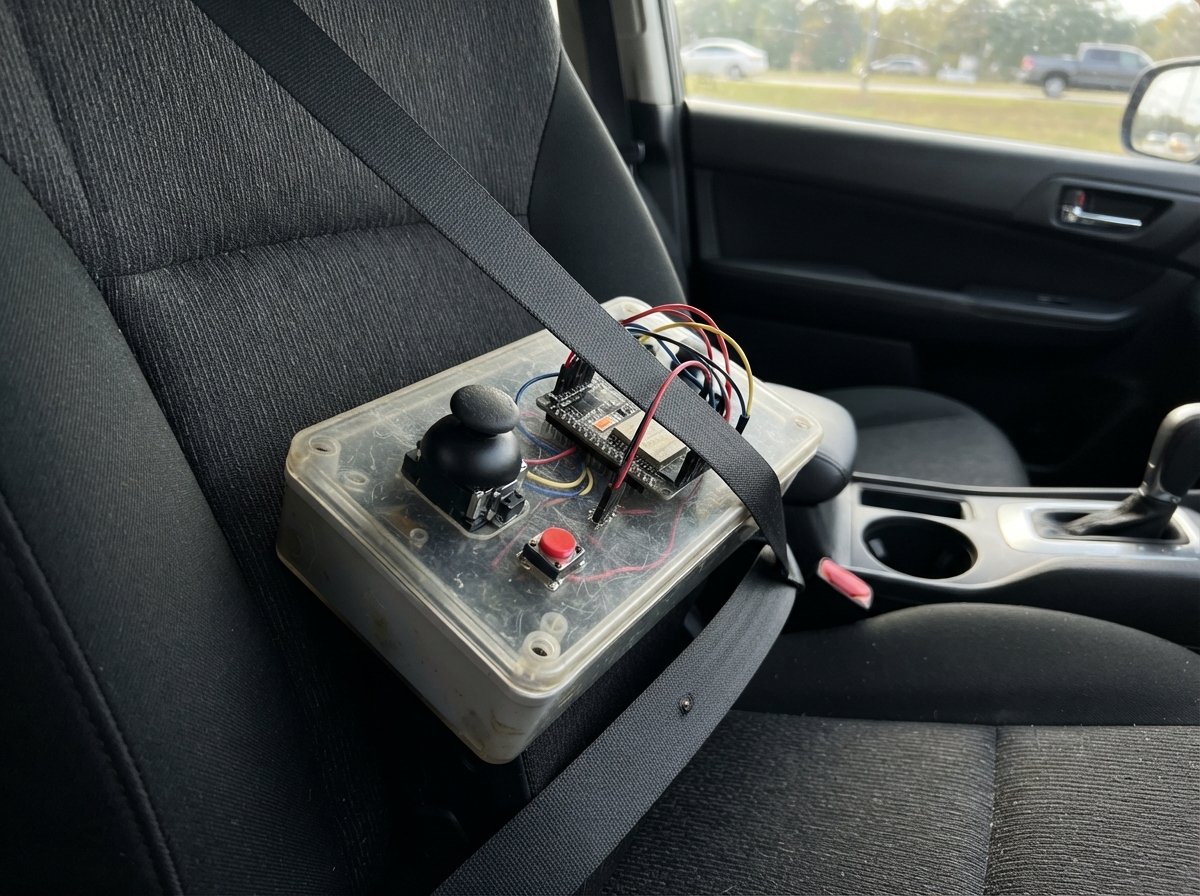
Build a wireless Bluetooth gamepad using an ESP32 microcontroller, a PS2 joystick module, and four push buttons. This project transforms the ESP32 into a fully functional game controller that connects to PCs, phones, and gaming devices over Bluetooth, with analog stick support and four action buttons.
This guide provides a complete wiring diagram showing how to connect the joystick's X and Y axes to the ESP32's analog inputs, wire the four buttons to digital pins, and set up power delivery. Assembly takes about 30 minutes, and the included firmware handles joystick calibration, dead zones, and Bluetooth HID gamepad communication so the controller works immediately with most games and applications.
Wiring diagram
Gather all the parts
Assemble it in 5 steps
1. Place the ESP32 and joystick
Put the ESP32 DevKit V1 and the KY-023 joystick module on the breadboard with their pins in separate rows. Connect the joystick GND pin to an ESP32 GND pin (ground), and connect its pin marked +5V or VCC to ESP32 3V3 (power).
- The joystick header is usually printed GND, +5V, VRX, VRY, SW in order.
- Use 3V3 even if the joystick pin says +5V; this makes its axis voltages safe for the ESP32.
- Do not connect the joystick supply to 5V: its VRX and VRY pins can then output 5V and damage the ESP32 analog inputs.
2. Connect the joystick signals
Run a wire from VRX to GPIO34 (X-axis signal), VRY to GPIO35 (Y-axis signal), and SW to GPIO23 (stick-press signal).
- GPIO34 and GPIO35 are input-only pins, which is exactly what the two joystick axis signals need.
- Pressing the stick down becomes gamepad button 5.
3. Wire the A and B buttons
For the A button, connect one leg to GPIO16 (signal) and the other leg to GND (ground). For the B button, connect one leg to GPIO17 (signal) and the other leg to GND (ground).
- On a four-leg breadboard button, use two legs on opposite sides of the button; the two legs on each same side are already connected together.
- The ESP32 enables an internal pull-up resistor, so no separate resistor is needed for these buttons.
4. Wire the X and Y buttons
For the X button, connect one leg to GPIO18 (signal) and the other leg to GND (ground). For the Y button, connect one leg to GPIO19 (signal) and the other leg to GND (ground).
- Keep each button's signal wire in a separate breadboard row so two button signals never touch each other.
- A button connected to 3V3 instead of GND will read backwards and can make the controller appear to hold a button down.
5. Power and deploy the controller
Inspect that every button has one side connected to a GPIO and the other side connected to GND, then plug the ESP32 into your computer with USB. The USB cable powers the board and is also used when you press Deploy in Schematik.
- Use a USB cable that carries data, not a charge-only cable.
Review all connections
1. Connections between "joystick_1" and "ESP32"
2. Connections between "button_a" and "ESP32"
3. Connections between "button_b" and "ESP32"
4. Connections between "button_x" and "ESP32"
5. Connections between "button_y" and "ESP32"
Deploy the firmware
#include <Arduino.h>
#include <BleGamepad.h>

constexpr int JOY_X_PIN = 34;
constexpr int JOY_Y_PIN = 35;
constexpr int JOY_SW_PIN = 23;
constexpr int BUTTON_A_PIN = 16;
constexpr int BUTTON_B_PIN = 17;
constexpr int BUTTON_X_PIN = 18;
constexpr int BUTTON_Y_PIN = 19;

constexpr int ADC_MAX = 4095;
constexpr int DEAD_ZONE = 110;
constexpr uint32_t REPORT_INTERVAL_MS = 20;

BleGamepad bleGamepad("ESP32 Simple Gamepad", "Schematik", 100);

int16_t previousX = 0;
int16_t previousY = 0;
bool previousButtons[5] = {false, false, false, false, false};
uint32_t lastReportMs = 0;

int16_t readAxis(int pin, bool invert) {
  const int raw = analogRead(pin);
  int centered = raw - (ADC_MAX / 2);

  if (abs(centered) < DEAD_ZONE) {
    centered = 0;
  }

  long value = map(centered, -(ADC_MAX / 2), ADC_MAX / 2, -32767, 32767);
  value = constrain(value, -32767, 32767);
  return invert ? -value : value;
}

bool readPressed(int pin) {
  return digitalRead(pin) == LOW;
}

void setButton(uint8_t number, bool pressed) {
  if (pressed) {
    bleGamepad.press(number);
  } else {
    bleGamepad.release(number);
  }
}

void setup() {
  pinMode(JOY_SW_PIN, INPUT_PULLUP);
  pinMode(BUTTON_A_PIN, INPUT_PULLUP);
  pinMode(BUTTON_B_PIN, INPUT_PULLUP);
  pinMode(BUTTON_X_PIN, INPUT_PULLUP);
  pinMode(BUTTON_Y_PIN, INPUT_PULLUP);

  analogReadResolution(12);
  bleGamepad.begin();
}

void loop() {
  const uint32_t now = millis();
  const uint32_t elapsed = now - lastReportMs;
  if (elapsed < REPORT_INTERVAL_MS) {
    delay(REPORT_INTERVAL_MS - elapsed);
    return;
  }
  lastReportMs = millis();

  const int16_t x = readAxis(JOY_X_PIN, false);
  const int16_t y = readAxis(JOY_Y_PIN, false);
  const bool buttons[5] = {
    readPressed(BUTTON_A_PIN),
    readPressed(BUTTON_B_PIN),
    readPressed(BUTTON_X_PIN),
    readPressed(BUTTON_Y_PIN),
    readPressed(JOY_SW_PIN)
  };

  if (!bleGamepad.isConnected()) {
    delay(1);
    return;
  }

  bool changed = (x != previousX) || (y != previousY);
  for (uint8_t i = 0; i < 5; ++i) {
    if (buttons[i] != previousButtons[i]) {
      changed = true;
    }
  }

  if (!changed) {
    delay(1);
    return;
  }

  bleGamepad.setLeftThumb(x, y);
  for (uint8_t i = 0; i < 5; ++i) {
    setButton(i + 1, buttons[i]);
    previousButtons[i] = buttons[i];
  }
  previousX = x;
  previousY = y;
  bleGamepad.sendReport();
  delay(1);
}
Remix this project
Make it yours in one click
Open a full copy of this project in your own Schematik workspace, diagram, code, parts, and assembly steps included. Swap the sensor, add features, or redesign the whole thing with AI. The author's original stays untouched.