Community project
ESP32 Smartphone Schematic
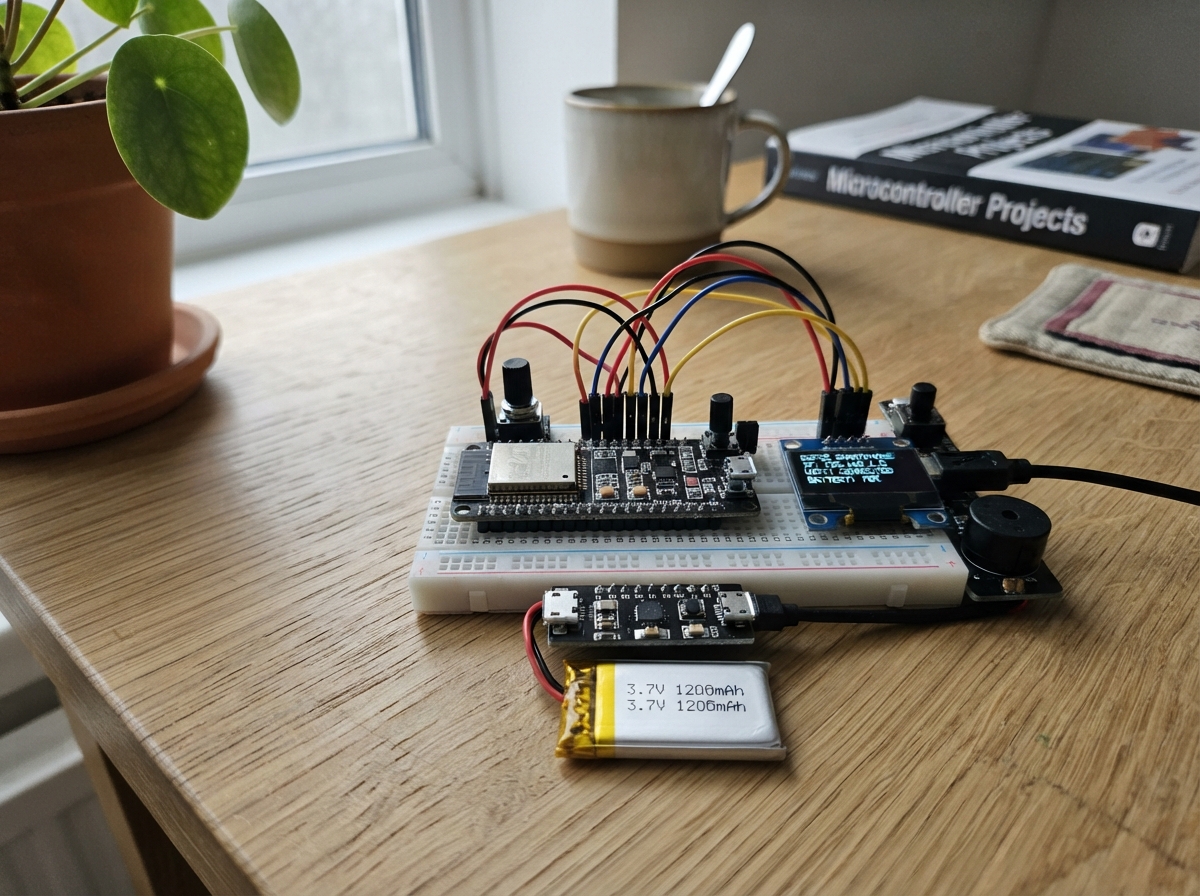
This project turns an ESP32 microcontroller into a smartphone-style interface with a touchscreen display and app launcher. The build uses the ESP32's built-in display capabilities, LVGL graphics library, and a phone-shaped enclosure to create an interactive device that demonstrates touch UI concepts and can be extended with additional hardware like cameras, microphones, or speakers.
The guide includes a complete wiring diagram showing how to connect the display to the ESP32, a full parts list with the phone case and optional speaker, step-by-step assembly instructions for housing the board, and ready-to-flash firmware that creates an app launcher interface. Builders will learn how to work with LVGL on the ESP32, handle touch input, and structure a multi-screen mobile-style application.
Wiring diagram
Assemble it in 4 steps
1. Place the board in a phone-shaped case
Fit the Waveshare ESP32-P4-WIFI6-Touch-LCD-4.3 board behind a 4.3-inch front opening, with the glass touch screen facing outward. Use plastic standoffs through the board mounting holes so the metal case hardware cannot touch the board.
- Leave access to the USB programming connector, reset button, and the microSD-card slot.
- A shallow 3D-printed or plastic project box makes the display feel more like a small smartphone.
- Do not let bare metal screws, standoffs, or the case touch the underside of the board — this can create a short circuit and damage it.
2. Keep the screen connection as supplied
Do not remove or rewire the display or touch-screen flex connections. They are already connected inside this board and the firmware uses those built-in connections.
- Remove the protective film from the front glass only after the board is mounted, so dust does not get trapped underneath.
- Do not pull on the thin display cables — they can tear or pull out of their tiny connectors.
3. Optionally connect the supplied speaker
If you have the included 8-ohm speaker, plug its small two-wire connector into the board’s matching speaker socket. The connector is keyed, so it should slide in without force. This starter interface does not play sound yet, but the speaker is ready for later features.
- Keep the speaker facing a row of small holes in the case so sound can escape.
- Do not force the speaker plug into another connector — forcing it can bend pins or damage the board.
4. Power the phone-style interface
Use a USB-C cable connected to the board’s programming and power USB connector. The board powers the display and touch screen from that cable, so no loose power wiring is needed.
- Use a good-quality USB cable that carries both power and data.
- The project uses the board’s own USB power, not a separate battery pack.
- Use only the USB connector intended for programming and power when flashing — plugging power into the wrong place can prevent the board from starting.
Deploy the firmware
#include <Arduino.h>
#include <lvgl.h>
#include <esp_panel_board.hpp>

using namespace esp_panel::board;


// Forward declarations
static void show_page(const char *title, const char *message);
static void app_pressed(lv_event_t *event);
static void add_app(lv_obj_t *parent, const char *symbol, const char *name, uint32_t color);
static void build_interface();

static Board *board = nullptr;
static lv_obj_t *page_title = nullptr;
static lv_obj_t *page_body = nullptr;

static void show_page(const char *title, const char *message) {
  lv_label_set_text(page_title, title);
  lv_label_set_text(page_body, message);
}

static void app_pressed(lv_event_t *event) {
  const char *app = static_cast<const char *>(lv_event_get_user_data(event));
  if (strcmp(app, "Phone") == 0) {
    show_page("Phone", "Local phone-style demo\n\nReal calls need a cellular modem, SIM card, microphone, and telephone service.");
  } else if (strcmp(app, "Messages") == 0) {
    show_page("Messages", "No new messages\n\nThis launcher does not send SMS or iMessage.");
  } else if (strcmp(app, "Camera") == 0) {
    show_page("Camera", "Add a supported camera module later to make a camera preview.");
  } else if (strcmp(app, "Music") == 0) {
    show_page("Music", "Connect the included 8-ohm speaker to the board speaker connector for audio projects.");
  } else {
    show_page("Settings", "Pocket UI\nESP32-P4 touch launcher\n\nTouch a tile to open an app page.");
  }
}

static void add_app(lv_obj_t *parent, const char *symbol, const char *name, uint32_t color) {
  lv_obj_t *button = lv_button_create(parent);
  lv_obj_set_size(button, 175, 150);
  lv_obj_set_style_radius(button, 26, LV_PART_MAIN);
  lv_obj_set_style_bg_color(button, lv_color_hex(color), LV_PART_MAIN);
  lv_obj_set_style_border_width(button, 0, LV_PART_MAIN);
  lv_obj_add_event_cb(button, app_pressed, LV_EVENT_CLICKED, (void *)name);

  lv_obj_t *icon = lv_label_create(button);
  lv_label_set_text(icon, symbol);
  lv_obj_set_style_text_font(icon, &lv_font_montserrat_48, LV_PART_MAIN);
  lv_obj_align(icon, LV_ALIGN_CENTER, 0, -20);

  lv_obj_t *caption = lv_label_create(button);
  lv_label_set_text(caption, name);
  lv_obj_set_style_text_font(caption, &lv_font_montserrat_16, LV_PART_MAIN);
  lv_obj_align(caption, LV_ALIGN_CENTER, 0, 48);
}

static void build_interface() {
  lv_obj_t *screen = lv_screen_active();
  lv_obj_set_style_bg_color(screen, lv_color_hex(0x0B1424), LV_PART_MAIN);
  lv_obj_set_style_bg_grad_color(screen, lv_color_hex(0x29477B), LV_PART_MAIN);
  lv_obj_set_style_bg_grad_dir(screen, LV_GRAD_DIR_VER, LV_PART_MAIN);

  lv_obj_t *status = lv_label_create(screen);
  lv_label_set_text(status, "09:41                       Wi-Fi  100%");
  lv_obj_set_style_text_color(status, lv_color_hex(0xE9F1FF), LV_PART_MAIN);
  lv_obj_align(status, LV_ALIGN_TOP_MID, 0, 10);

  page_title = lv_label_create(screen);
  lv_label_set_text(page_title, "Pocket UI");
  lv_obj_set_style_text_font(page_title, &lv_font_montserrat_28, LV_PART_MAIN);
  lv_obj_set_style_text_color(page_title, lv_color_white(), LV_PART_MAIN);
  lv_obj_align(page_title, LV_ALIGN_TOP_MID, 0, 42);

  lv_obj_t *grid = lv_obj_create(screen);
  lv_obj_set_size(grid, 440, 620);
  lv_obj_align(grid, LV_ALIGN_BOTTOM_MID, 0, -18);
  lv_obj_set_style_bg_opa(grid, LV_OPA_TRANSP, LV_PART_MAIN);
  lv_obj_set_style_border_width(grid, 0, LV_PART_MAIN);
  lv_obj_set_style_pad_all(grid, 16, LV_PART_MAIN);
  lv_obj_set_layout(grid, LV_LAYOUT_FLEX);
  lv_obj_set_flex_flow(grid, LV_FLEX_FLOW_ROW_WRAP);
  lv_obj_set_flex_align(grid, LV_FLEX_ALIGN_SPACE_EVENLY, LV_FLEX_ALIGN_CENTER, LV_FLEX_ALIGN_CENTER);

  add_app(grid, LV_SYMBOL_CALL, "Phone", 0x35B968);
  add_app(grid, LV_SYMBOL_EDIT, "Messages", 0x3D8BFF);
  add_app(grid, LV_SYMBOL_IMAGE, "Camera", 0x8E6BFF);
  add_app(grid, LV_SYMBOL_AUDIO, "Music", 0xF15B8A);
  add_app(grid, LV_SYMBOL_SETTINGS, "Settings", 0x66758E);

  page_body = lv_label_create(screen);
  lv_obj_set_size(page_body, 360, 100);
  lv_label_set_long_mode(page_body, LV_LABEL_LONG_WRAP);
  lv_obj_set_style_text_align(page_body, LV_TEXT_ALIGN_CENTER, LV_PART_MAIN);
  lv_obj_set_style_text_color(page_body, lv_color_hex(0xE9F1FF), LV_PART_MAIN);
  lv_obj_align(page_body, LV_ALIGN_BOTTOM_MID, 0, 12);
  lv_label_set_text(page_body, "Touch an app tile to open it.");
}

void setup() {
  Serial.begin(115200);
  board = new Board();
  board->init();
  board->begin();

  lvgl_port_lock(-1);
  build_interface();
  lvgl_port_unlock();
}

void loop() {
  delay(20);
}
Remix this project
Make it yours in one click
Open a full copy of this project in your own Schematik workspace — diagram, code, parts, and assembly steps included. Swap the sensor, add features, or redesign the whole thing with AI. The author's original stays untouched.
Related projects

Create A Complete Electrical Schematic Esp32 Sma
ESP32 · September 17, 2026Ayansh Agrawal
ESP32 Kare Ekran Projeleri
ESP32 · September 16, 2026Seref Ai
Component Qty --------------------------- ------
ESP32 · September 16, 2026Yathartha Chakrawal