Community project
Finance Dashboard Display
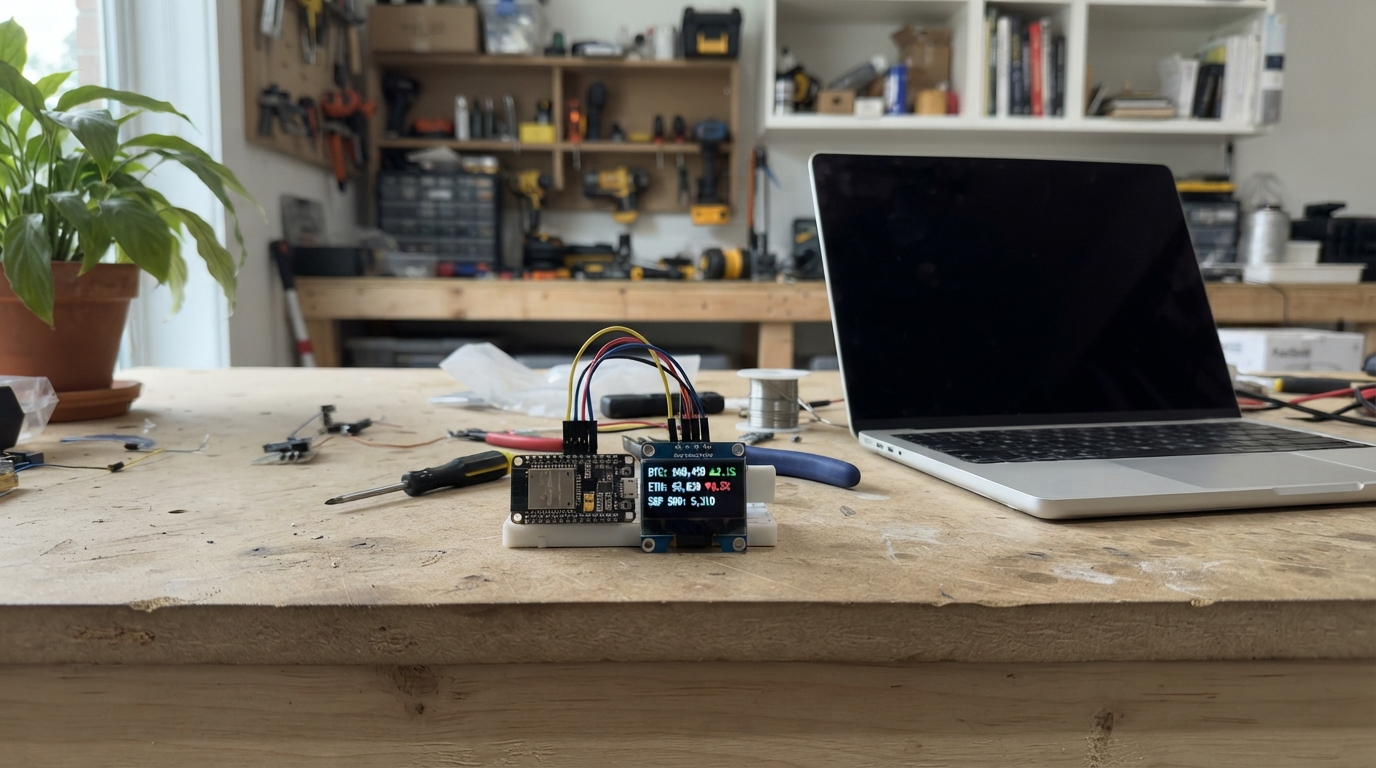
This project builds a personal savings tracker that displays your progress toward a financial goal on a compact OLED screen. The ESP32 microcontroller drives a 128x64 SSD1306 display to show your current savings amount, target goal, completion percentage, and a visual progress bar that fills as you get closer to your target.
The guide includes a complete parts list, wiring diagram showing how to connect the OLED display to the ESP32, and ready-to-use firmware that calculates and renders your savings dashboard. Assembly takes just a few minutes: mount the components, wire the display's power and I2C data lines, and power it up to see your financial progress at a glance.
Wiring diagram

Gather all the parts
Assemble it in 4 steps
1. Place the board and screen
Put the ESP32 DevKit V1 and the small OLED screen on a non-metal table or breadboard with their labels facing up. Leave the ESP32 USB socket easy to reach.
- Use four short jumper wires; red for power, black for ground, and two other colors for the data wires.
- Do not rest the powered board on loose metal parts because they can make a short circuit.
2. Connect screen power
Connect OLED VCC to the ESP32 pin marked 3V3 (power). Connect OLED GND to an ESP32 pin marked GND (ground).
- The OLED needs both of these wires before it can show anything.
- Make sure VCC and GND are not swapped — swapped power can damage the screen.
3. Connect the two screen data wires
Connect OLED SDA to ESP32 GPIO21 (data). Connect OLED SCL to ESP32 GPIO22 (clock/data timing). These two wires carry the information that is drawn on the screen.
- GPIO21 and GPIO22 may be printed simply as 21 and 22 on the board.
- Keep SDA and SCL on their named pins; swapping them normally leaves the screen blank.
4. Power the finished dashboard
Look over all four wires, then plug the ESP32 into your computer with its USB cable. The board receives power from USB and the screen should light after the firmware is deployed.
- The screen shows $3,000 saved toward a $5,000 goal in this first version.
- Use only the ESP32 3V3 pin for the OLED VCC connection in this build.
Review all connections
1. Connections between "oled_1" and "ESP32"
Deploy the firmware
#include <Arduino.h>
#include <Wire.h>
#include <Adafruit_GFX.h>
#include <Adafruit_SSD1306.h>


// Forward declarations
void drawDashboard();

constexpr int OLED_SDA = 21;
constexpr int OLED_SCL = 22;
constexpr int SCREEN_WIDTH = 128;
constexpr int SCREEN_HEIGHT = 64;
constexpr uint8_t OLED_ADDRESS = 0x3C;

const float SAVED_AMOUNT = 3000.00f;
const float GOAL_AMOUNT = 5000.00f;

Adafruit_SSD1306 display(SCREEN_WIDTH, SCREEN_HEIGHT, &Wire, -1);

void drawDashboard() {
  float progress = SAVED_AMOUNT / GOAL_AMOUNT;
  if (progress < 0.0f) progress = 0.0f;
  if (progress > 1.0f) progress = 1.0f;
  int percent = (int)(progress * 100.0f + 0.5f);
  int remaining = (int)(GOAL_AMOUNT - SAVED_AMOUNT + 0.5f);
  if (remaining < 0) remaining = 0;

  display.clearDisplay();
  display.setTextColor(SSD1306_WHITE);

  display.setTextSize(1);
  display.setCursor(0, 0);
  display.print("SAVINGS GOAL");
  display.drawLine(0, 10, 127, 10, SSD1306_WHITE);

  display.setTextSize(2);
  display.setCursor(0, 15);
  display.print("$");
  display.print((int)SAVED_AMOUNT);

  display.setTextSize(1);
  display.setCursor(0, 34);
  display.print("Goal: $");
  display.print((int)GOAL_AMOUNT);
  display.setCursor(78, 34);
  display.print(percent);
  display.print("%");

  display.drawRect(0, 46, 128, 10, SSD1306_WHITE);
  int barWidth = (int)(124 * progress + 0.5f);
  if (barWidth > 0) display.fillRect(2, 48, barWidth, 6, SSD1306_WHITE);

  display.setCursor(0, 57);
  display.print("Left: $");
  display.print(remaining);
  display.display();
}

void setup() {
  Wire.begin(OLED_SDA, OLED_SCL);
  if (!display.begin(SSD1306_SWITCHCAPVCC, OLED_ADDRESS)) {
    for (;;) delay(1000);
  }
  drawDashboard();
}

void loop() {
  delay(1000);
}
Remix this project
Make it yours in one click
Open a full copy of this project in your own Schematik workspace — diagram, code, parts, and assembly steps included. Swap the sensor, add features, or redesign the whole thing with AI. The author's original stays untouched.