Community project
K10 Video Options Viewer
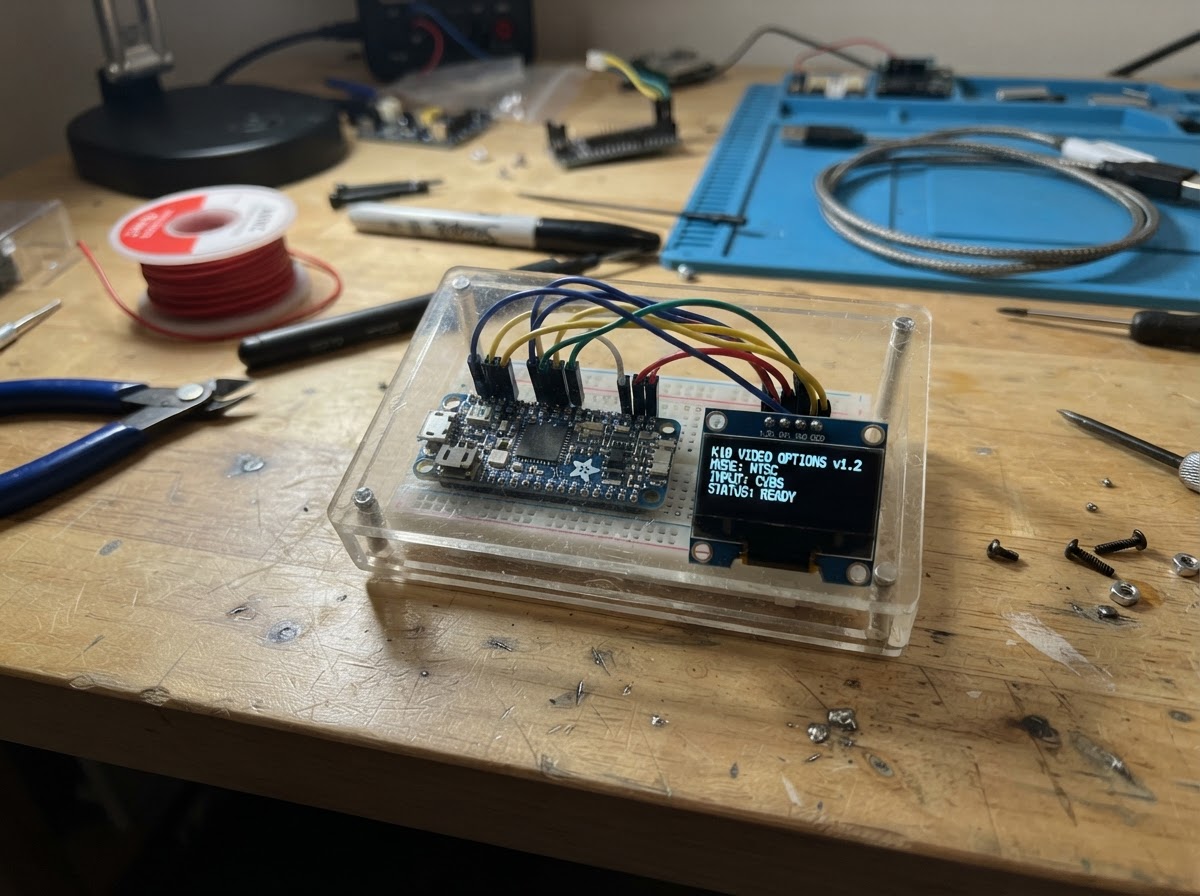
The K10 Video Options Viewer demonstrates live face detection on the UNIHIKER K10 board. The project uses the board's built-in GC2145 camera and AI recognition engine to detect faces in real time and overlay colored rectangles on the live camera preview displayed on the K10's LCD screen.
This guide provides a wiring diagram, complete parts list, and step-by-step assembly instructions to get the face detection preview running. Readers will learn how to initialize the K10's camera and vision service, configure the display orientation, and use the AI recognition framework to switch between detection modes.
Wiring diagram
Assemble it in 3 steps
1. Position the UNIHIKER K10
Place the K10 where its built-in camera has an unobstructed view of the area. Point the camera toward faces, ideally in even indoor light.
- Keep faces roughly centered and avoid strong backlighting from a window or lamp behind the person.
- This project performs face detection only; it does not enroll, identify, store, or transmit faces.
2. Power the board
Connect the K10 to a stable USB-C power source or to the computer USB port used for deployment. No external camera, display, or jumper wires are required.
- The built-in GC2145 camera and LCD are already wired inside the K10.
- Use a known-good USB-C cable and avoid powering the board from an unregulated supply.
3. Run the face preview
Use Schematik's Deploy button to build and flash the project. After boot, point the K10 camera at a face; the live preview should show the K10 vision system's green detection rectangle around a detected face.
- Stand about an arm's length away first, then adjust distance and lighting if detection is slow.
- Do not use this as a safety, security, access-control, or identity-verification system.
Deploy the firmware
#include <Arduino.h>
#include "unihiker_k10.h"
#include "AIRecognition.h"

// The K10 framework owns the built-in GC2145 camera and LCD.
UNIHIKER_K10 k10;
AIRecognition ai;

static const uint8_t SCREEN_DIRECTION = 2;

void setup() {
  Serial.begin(115200);

  k10.begin();
  k10.initScreen(SCREEN_DIRECTION);

  // Start the K10's built-in vision service before enabling the camera view.
  ai.initAi();
  k10.initBgCamerImage();

  // Keep the preview hidden while the drawing layer is created.
  k10.setBgCamerImage(false);
  k10.creatCanvas();

  // The board's Face mode performs live face detection and draws its
  // colored (normally green) detection rectangle on the camera preview.
  ai.switchAiMode(ai.Face);
  k10.setBgCamerImage(true);

  Serial.println("Live face detection started.");
}

void loop() {
  // The K10 framework delivers camera/AI overlay updates through its LVGL
  // event loop. This services only invalidated screen regions; it does not
  // clear or redraw the live camera image ourselves.
  lv_timer_handler();
  delay(5);
}
Remix this project
Make it yours in one click
Open a full copy of this project in your own Schematik workspace — diagram, code, parts, and assembly steps included. Swap the sensor, add features, or redesign the whole thing with AI. The author's original stays untouched.
Related projects

Create A Complete Electrical Schematic Esp32 Sma
ESP32 · September 17, 2026Ayansh Agrawal
ESP32 Kare Ekran Projeleri
ESP32 · September 16, 2026Seref Ai
Component Qty --------------------------- ------
ESP32 · September 16, 2026Yathartha Chakrawal