Community project
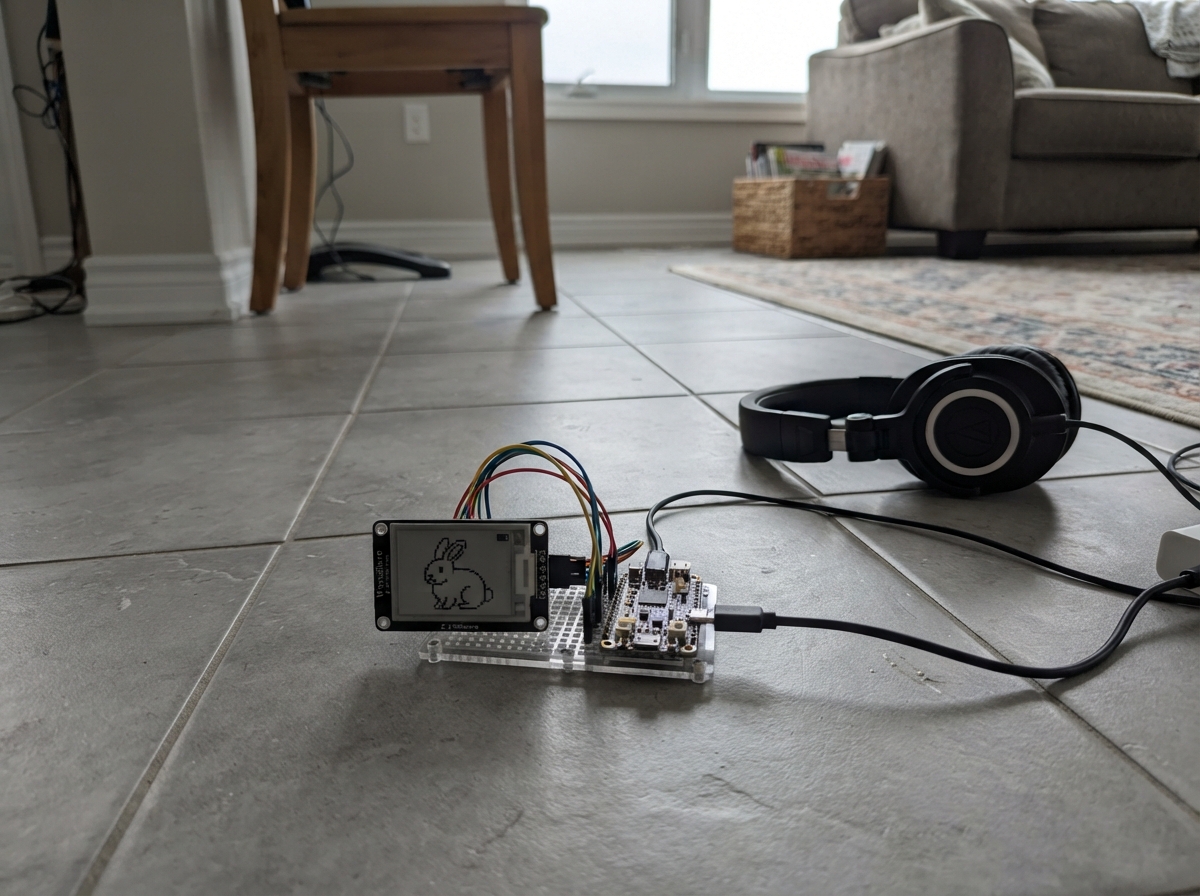
OLED Rabbit Drawing
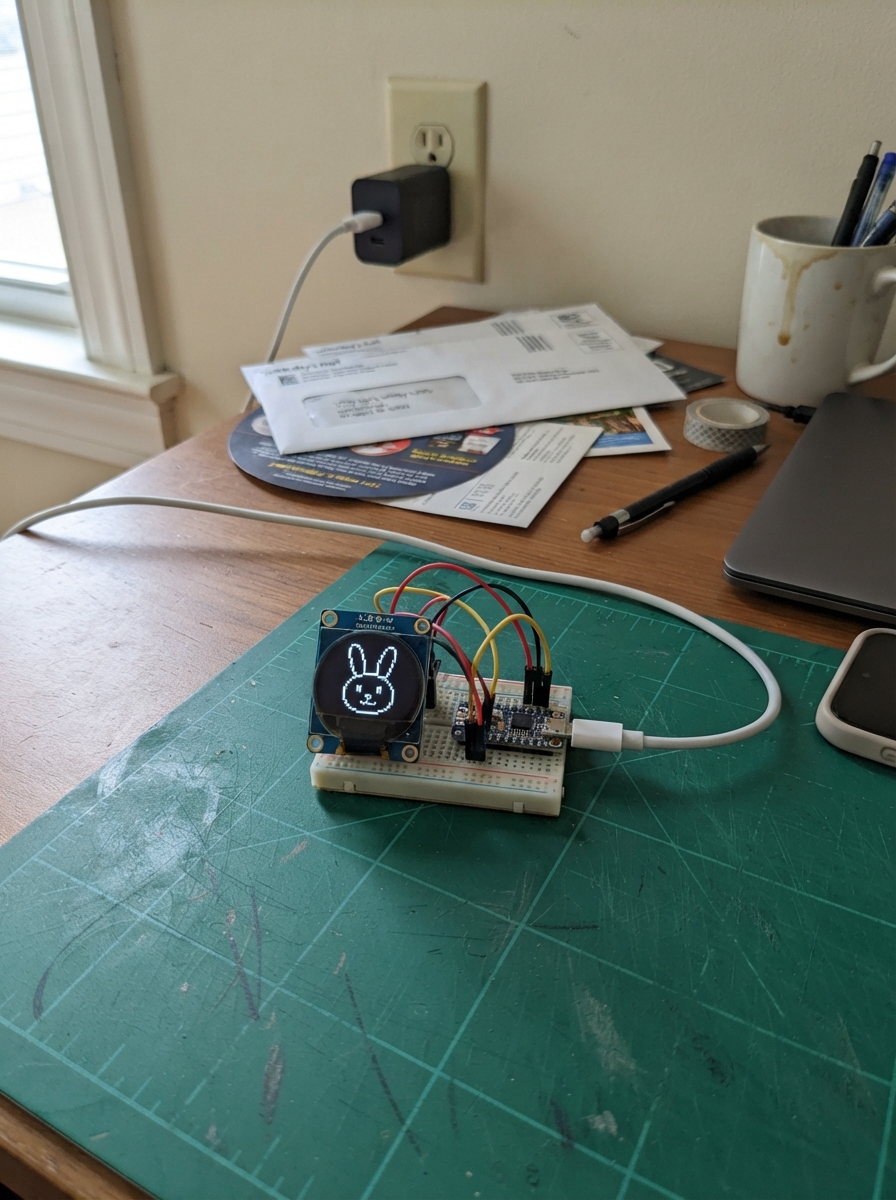
This project displays an animated drawing of a student working at a laptop on the ESP32's built-in OLED screen. The guide provides a complete wiring diagram, parts list, and step-by-step assembly instructions to get the project running with just a USB-C power connection.
The firmware uses simple geometric shapes—circles, rectangles, and lines—to render the character and scene. Builders will learn how to work with the ESP32's display capabilities and customize the drawing code to create their own pixel art animations.
Wiring diagram
Gather all the parts
Assemble it in 2 steps
1. Use the built-in screen
No separate screen or jumper wires are needed. The student using a laptop is drawn on the UNIHIKER K10's own 2.8-inch screen.
- Keep the screen surface clear so you can see the drawing.
- Do not connect extra screen wires to the board; the picture uses the screen already built into the UNIHIKER.
2. Connect the board by USB
Plug a USB data cable into the UNIHIKER K10 and your computer. This powers the board and lets Schematik send the drawing program.
- Use a cable that can transfer data; some phone charging cables only provide power.
- Do not force the plug. If it does not fit easily, turn it over and try again.
Review all connections
1. Connections between "power_usb_c_5v_adapter" and "ESP32"
Deploy the firmware
#include <Arduino.h>
#include <unihiker_k10.h>


// Forward declarations
static void drawStudentUsingLaptop();

UNIHIKER_K10 k10;

static const uint32_t BACKGROUND = 0xFFF7E6;
static const uint32_t INK = 0x293241;
static const uint32_t SHIRT = 0x4D96FF;
static const uint32_t SKIN = 0xF4B183;
static const uint32_t HAIR = 0x5A3A22;
static const uint32_t LAPTOP = 0x7B8794;
static const uint32_t SCREEN = 0xD9F0FF;
static const uint32_t DESK = 0xB9784A;

static void drawStudentUsingLaptop() {
  // Desk across the lower part of the screen.
  k10.canvas->canvasRectangle(18, 262, 204, 22, INK, DESK, true);
  k10.canvas->canvasRectangle(35, 284, 12, 30, INK, DESK, true);
  k10.canvas->canvasRectangle(193, 284, 12, 30, INK, DESK, true);

  // Student's head, hair, and face.
  k10.canvas->canvasCircle(120, 83, 43, INK, SKIN, true);
  k10.canvas->canvasCircle(120, 66, 44, INK, HAIR, true);
  k10.canvas->canvasCircle(120, 86, 38, SKIN, SKIN, true);
  k10.canvas->canvasCircle(105, 82, 4, INK, INK, true);
  k10.canvas->canvasCircle(135, 82, 4, INK, INK, true);
  k10.canvas->canvasLine(108, 104, 132, 104, INK);

  // Neck, shirt, and seated body.
  k10.canvas->canvasRectangle(110, 120, 20, 18, INK, SKIN, true);
  k10.canvas->canvasRectangle(73, 135, 94, 105, INK, SHIRT, true);
  k10.canvas->canvasLine(73, 238, 58, 262, INK);
  k10.canvas->canvasLine(167, 238, 182, 262, INK);

  // Arms reach forward to the keyboard.
  k10.canvas->canvasLine(82, 158, 63, 214, SKIN);
  k10.canvas->canvasLine(158, 158, 177, 214, SKIN);
  k10.canvas->canvasCircle(61, 216, 10, INK, SKIN, true);
  k10.canvas->canvasCircle(179, 216, 10, INK, SKIN, true);

  // Laptop screen and keyboard sit on the desk in front of the student.
  k10.canvas->canvasRectangle(48, 185, 144, 72, INK, LAPTOP, true);
  k10.canvas->canvasRectangle(57, 194, 126, 52, INK, SCREEN, true);
  k10.canvas->canvasLine(73, 210, 165, 210, INK);
  k10.canvas->canvasLine(73, 225, 145, 225, INK);
  k10.canvas->canvasRectangle(38, 257, 164, 9, INK, LAPTOP, true);
}

void setup() {
  k10.begin();
  k10.initScreen();
  k10.creatCanvas();
  k10.setScreenBackground(BACKGROUND);
  k10.canvas->canvasSetLineWidth(3);
  drawStudentUsingLaptop();
  k10.canvas->updateCanvas();
}

void loop() {
  delay(100);
}
Remix this project
Make it yours in one click
Open a full copy of this project in your own Schematik workspace — diagram, code, parts, and assembly steps included. Swap the sensor, add features, or redesign the whole thing with AI. The author's original stays untouched.