Schematik build
Portable RGB Animation Display
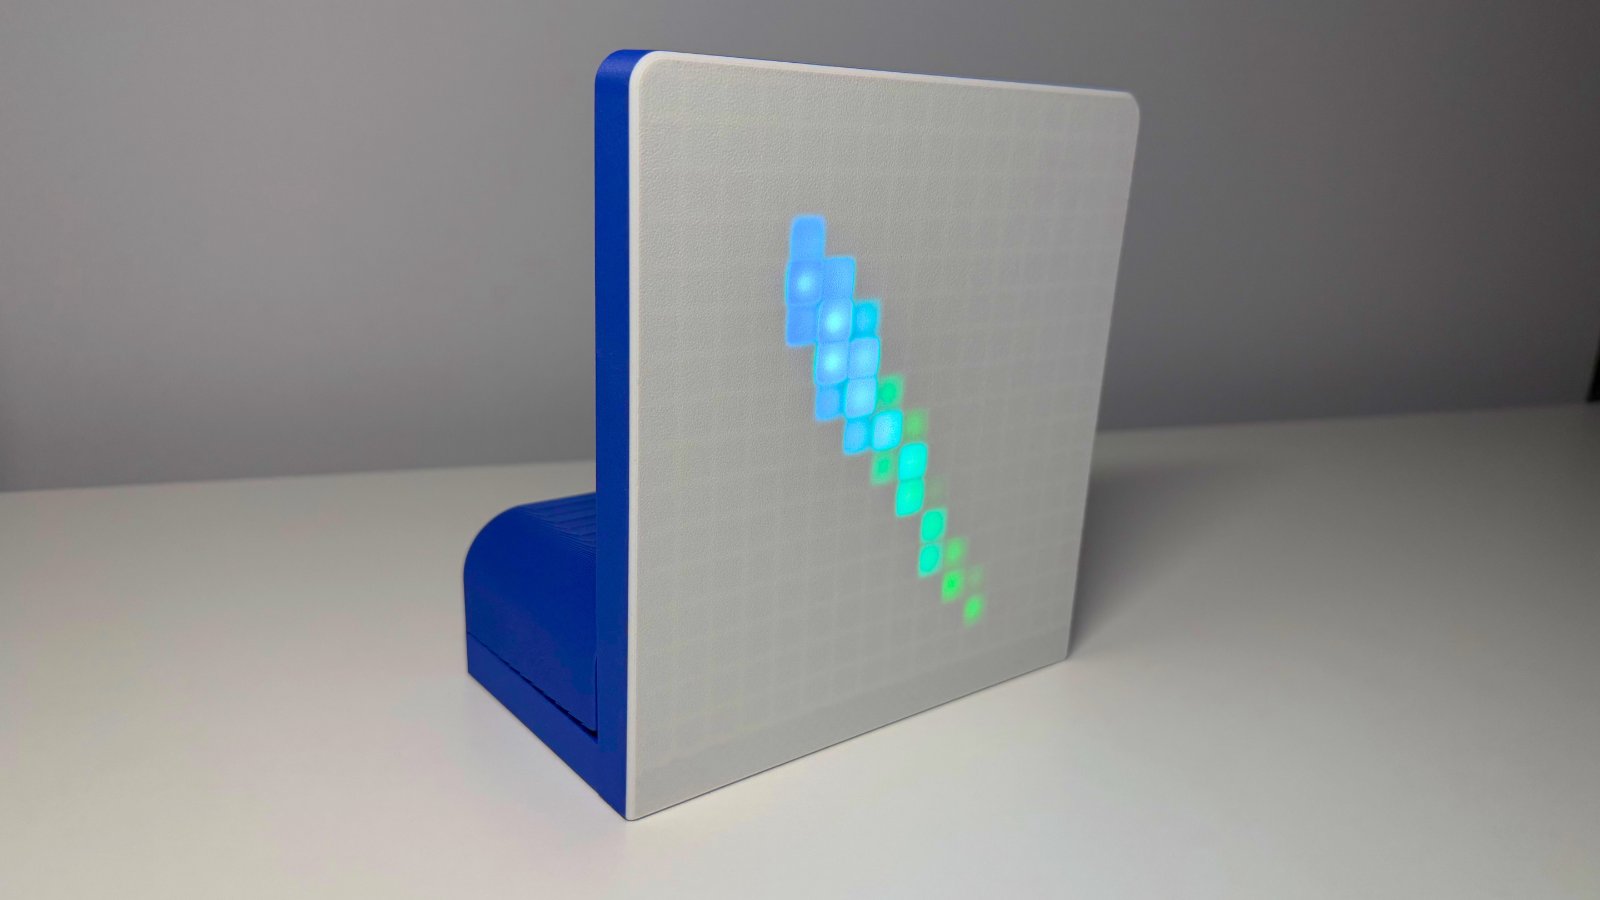
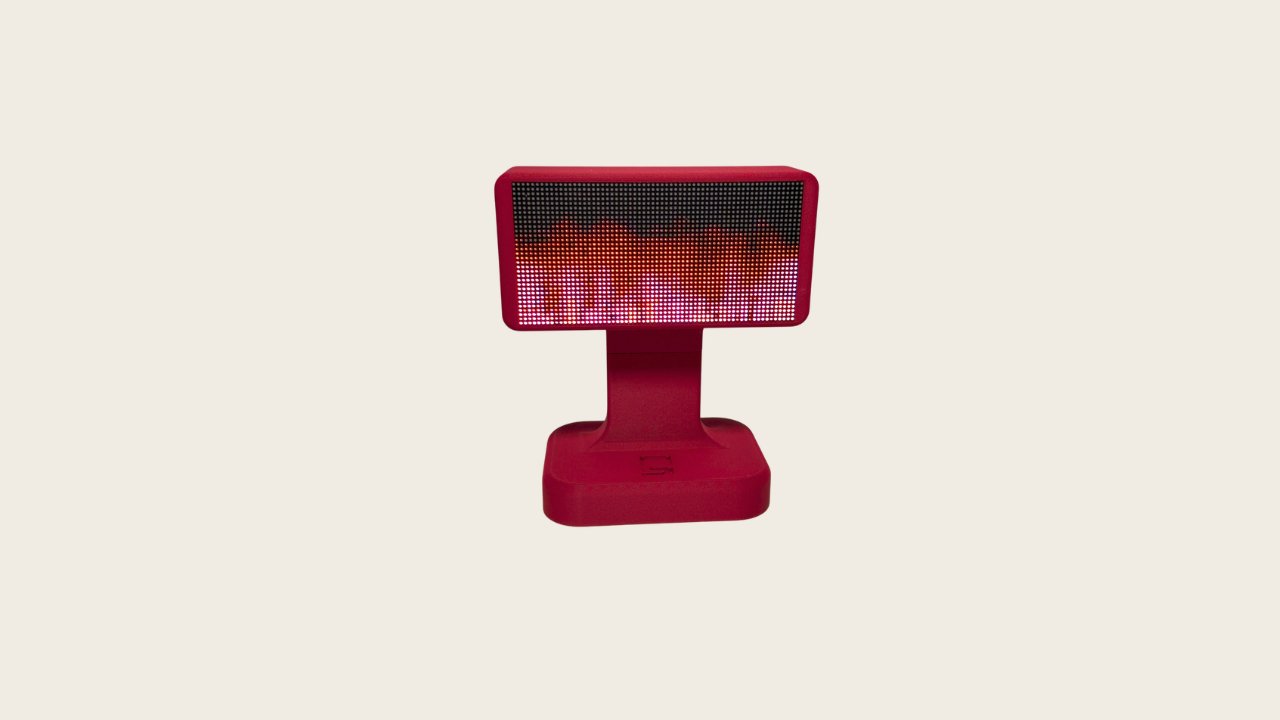
This guide builds a portable 16×16 RGB LED matrix display powered by a rechargeable lithium-ion battery. The ESP32 microcontroller drives 256 individually addressable WS2812B pixels, while a PowerBoost charger manages power delivery and USB recharging. Readers will receive a complete wiring diagram, parts list with sourcing notes, step-by-step assembly instructions, and firmware with multiple animation modes including plasma, fire, comet, and ripple effects.
The project is designed for makers who want a compact, battery-powered display for art installations, wearables, or interactive props. Power management is carefully tuned to keep the 1A boost converter safe while delivering colorful, smooth animations. The guide covers soldering, power rail construction, data-line protection, and firmware configuration for common serpentine-scan LED panels.
Wiring diagram

Gather all the parts
Assemble it in 7 steps
1. Gather parts and confirm the panel's data-in end
Lay out the ESP32 DevKit v1, the 16x16 WS2812B matrix, the PowerBoost 1000, the 3.7V 2500mAh LiPo, the 330 ohm resistor, and the 1000uF capacitor. On the matrix, find the arrow on the back that points AWAY from a corner pixel — that arrow shows data flow. The three pads/wires at the arrow's TAIL are the input: 5V, GND, and DIN. Only use the input end.
- WS2812B panels have an input and an output side. Wiring to the output side means nothing lights up.
2. Prepare the bulk capacitor (mind polarity)
The 1000uF electrolytic capacitor has a long leg (+) and a short leg (-) marked with a stripe. It goes across the matrix's 5V (+) and GND (-) input pads to smooth inrush current. Keep it close to the matrix input.
- Electrolytic capacitors are polarized. Connecting + and - backwards can make them fail. The striped side is negative (GND).
3. Wire the power source: LiPo into the PowerBoost
Plug the LiPo's JST connector into the PowerBoost's battery input, or solder BAT+ to the BAT pad and BAT- to the GND pad. Do NOT connect the battery to the ESP32 or the matrix directly — everything 5V comes from the PowerBoost's 5V output.
- Never reverse LiPo polarity. Double-check + and - before the first connection.
- Keep the LiPo away from sharp edges and heat; do not puncture it.
4. Build the 5V rail
Run the PowerBoost 5V output to a common 5V rail (breadboard + rail or a solder junction). Run the PowerBoost GND to a common GND rail. Connect the matrix 5V pad to the 5V rail and the matrix GND pad to the GND rail. Also connect the ESP32's 5V/VIN pin to this same 5V rail so the board runs off the battery too.
- Use thick wire (or double up) for the 5V and GND lines to the matrix — they carry the most current.
5. Tie all grounds together
The ESP32 GND, the PowerBoost GND, the capacitor -, and the matrix GND must all share one common ground. This is what lets the ESP32's data signal be understood by the matrix.
- A missing common ground is the most common reason a WS2812B panel shows garbage or nothing.
6. Wire the data line through the resistor
Connect ESP32 GPIO4 to one leg of the 330 ohm resistor. Connect the other leg of the resistor to the matrix DIN (data input) pad. The resistor protects the first pixel and cleans up the signal.
- Keep this data wire short. Long unshielded data runs can cause flicker.
7. Power on and verify
Flip the PowerBoost's switch on (or connect the battery). The ESP32 should boot and the matrix should start cycling through plasma, fire, comet, and ripple animations. To recharge, plug a USB cable into the PowerBoost — it charges the LiPo and can run the project at the same time.
- If colors look swapped (e.g. red shows as green), your panel uses a different color order; tell me and I'll switch GRB to RGB.
- If only the first row lights or the image is scrambled, your panel isn't serpentine — tell me and I'll flip the SERPENTINE setting.
Review all connections
1. Connections between "battery" and "ESP32"
2. Connections between "powerboost" and "ESP32"
3. Connections between "matrix" and "ESP32"
4. Connections between "rdin" and "ESP32"
5. Connections between "capacitor" and "ESP32"
Deploy the firmware
#include <Arduino.h>
#include <FastLED.h>

// ---------------------------------------------------------------------------
// 16x16 WS2812B RGB Matrix animation driver for ESP32 DevKit v1
//
// Power: single-cell LiPo -> PowerBoost 1000 -> 5V rail. The boost delivers
// ~1A, so software brightness is capped and FastLED's power manager keeps the
// panel under a safe current budget. Data goes out GPIO4 through a 330 ohm
// series resistor into DIN.
// ---------------------------------------------------------------------------

#define LED_DATA_PIN   4
#define MATRIX_WIDTH   16
#define MATRIX_HEIGHT  16
#define NUM_LEDS       (MATRIX_WIDTH * MATRIX_HEIGHT)

// Global brightness cap. Full white on 256 pixels could pull ~15A; we never go
// there. 40/255 keeps colorful animations well under the PowerBoost 1A budget.
#define BRIGHTNESS         40

// Hard current ceiling handed to FastLED's power manager (mA). Keeps the
// PowerBoost 1000 (1A) safe with margin for the ESP32 itself.
#define MAX_POWER_MA       850
#define SUPPLY_VOLTAGE     5


// Forward declarations
uint16_t xyToIndex(uint8_t x, uint8_t y);
inline void setPixel(uint8_t x, uint8_t y, const CRGB &c);
void animPlasma(uint32_t t);
void animFire();
void animComet(uint32_t t);
void animRipple(uint32_t t);

CRGB leds[NUM_LEDS];

// Serpentine mapping: row 0 left->right, row 1 right->left, ...
// Matches common WS2812B 16x16 flexible panels. If your panel scans straight
// (progressive) rows, set SERPENTINE to false.
#define SERPENTINE true

uint16_t xyToIndex(uint8_t x, uint8_t y) {
  if (x >= MATRIX_WIDTH || y >= MATRIX_HEIGHT) return 0;
  uint16_t i;
  if (SERPENTINE && (y & 0x01)) {
    uint8_t reverseX = (MATRIX_WIDTH - 1) - x;
    i = (uint16_t)y * MATRIX_WIDTH + reverseX;
  } else {
    i = (uint16_t)y * MATRIX_WIDTH + x;
  }
  return i;
}

inline void setPixel(uint8_t x, uint8_t y, const CRGB &c) {
  leds[xyToIndex(x, y)] = c;
}

// ---------------------------------------------------------------------------
// Animations
// ---------------------------------------------------------------------------

// 1) Flowing rainbow plasma — smooth, full-panel color field.
void animPlasma(uint32_t t) {
  for (uint8_t y = 0; y < MATRIX_HEIGHT; y++) {
    for (uint8_t x = 0; x < MATRIX_WIDTH; x++) {
      uint8_t v = sin8(x * 16 + (t >> 3))
                + sin8(y * 16 - (t >> 4))
                + sin8((x + y) * 12 + (t >> 2));
      uint8_t hue = v + (t >> 4);
      setPixel(x, y, CHSV(hue, 220, 255));
    }
  }
}

// 2) Fire — heat-diffusion fire rising from the bottom edge.
static uint8_t heat[MATRIX_WIDTH][MATRIX_HEIGHT];
void animFire() {
  for (uint8_t x = 0; x < MATRIX_WIDTH; x++) {
    for (uint8_t y = 0; y < MATRIX_HEIGHT; y++) {
      uint8_t cooldown = random8(0, 40);
      heat[x][y] = (heat[x][y] > cooldown) ? heat[x][y] - cooldown : 0;
    }
    // Drift heat upward (y is unsigned, so iterate downward carefully).
    for (uint8_t y = MATRIX_HEIGHT - 1; y >= 1; y--) {
      uint8_t below2 = (y >= 2) ? heat[x][y - 2] : heat[x][y - 1];
      heat[x][y] = (heat[x][y - 1] + below2) / 2;
      if (y == 1) break; // guard against unsigned wrap-around
    }
    if (random8() < 120) {
      heat[x][0] = qadd8(heat[x][0], random8(160, 255));
    }
    for (uint8_t y = 0; y < MATRIX_HEIGHT; y++) {
      CRGB color = HeatColor(heat[x][MATRIX_HEIGHT - 1 - y]);
      setPixel(x, y, color);
    }
  }
}

// 3) Bouncing color comet with fading trails.
void animComet(uint32_t t) {
  fadeToBlackBy(leds, NUM_LEDS, 40);
  uint8_t x = beatsin8(20, 0, MATRIX_WIDTH - 1, 0, 0);
  uint8_t y = beatsin8(14, 0, MATRIX_HEIGHT - 1, 0, 64);
  setPixel(x, y, CHSV((t >> 3), 255, 255));
  if (x > 0) setPixel(x - 1, y, CHSV((t >> 3), 255, 120));
  if (x < MATRIX_WIDTH - 1) setPixel(x + 1, y, CHSV((t >> 3), 255, 120));
  if (y > 0) setPixel(x, y - 1, CHSV((t >> 3), 255, 120));
  if (y < MATRIX_HEIGHT - 1) setPixel(x, y + 1, CHSV((t >> 3), 255, 120));
}

// 4) Expanding concentric rings from the center.
void animRipple(uint32_t t) {
  fadeToBlackBy(leds, NUM_LEDS, 60);
  const float cx = (MATRIX_WIDTH - 1) / 2.0f;
  const float cy = (MATRIX_HEIGHT - 1) / 2.0f;
  float phase = (t % 3000) / 3000.0f * 10.0f;
  for (uint8_t y = 0; y < MATRIX_HEIGHT; y++) {
    for (uint8_t x = 0; x < MATRIX_WIDTH; x++) {
      float dx = x - cx;
      float dy = y - cy;
      float dist = sqrtf(dx * dx + dy * dy);
      float wave = sinf(dist - phase);
      if (wave > 0.6f) {
        uint8_t hue = (uint8_t)(dist * 20) + (t >> 4);
        uint8_t val = (uint8_t)(wave * 255);
        setPixel(x, y, CHSV(hue, 255, val));
      }
    }
  }
}

// Scene scheduler.
#define SCENE_COUNT   4
#define SCENE_MS      9000UL

void setup() {
  Serial.begin(115200);
  delay(200);
  Serial.println(F("16x16 WS2812B matrix starting..."));

  FastLED.addLeds<WS2812B, LED_DATA_PIN, GRB>(leds, NUM_LEDS)
         .setCorrection(TypicalLEDStrip);
  FastLED.setBrightness(BRIGHTNESS);
  FastLED.setMaxPowerInVoltsAndMilliamps(SUPPLY_VOLTAGE, MAX_POWER_MA);
  FastLED.clear(true);
}

void loop() {
  uint32_t now = millis();
  uint8_t scene = (now / SCENE_MS) % SCENE_COUNT;

  switch (scene) {
    case 0: animPlasma(now); break;
    case 1: animFire();      break;
    case 2: animComet(now);  break;
    case 3: animRipple(now); break;
  }

  FastLED.show();
  // ~62 FPS animation cadence.
  FastLED.delay(16);
}
Download project files
Remix this project
Make it yours in one click
Open a full copy of this project in your own Schematik workspace — diagram, code, parts, and assembly steps included. Swap the sensor, add features, or redesign the whole thing with AI. The author's original stays untouched.
Related projects
WiFi LED Matrix Billboard
ESP32 · Beginner · 45 minutes · July 18, 2026Schematik
How to Build a Scrolling LED Matrix Message Board with ESP32
ESP32 · Beginner · 30 minutes · June 12, 2026Schematik
How to Build a Gesture-Controlled Mood Lamp with ESP32
ESP32 · Beginner · 45 minutes · July 22, 2026Schematik