Community project
Rabbit Drawing Display
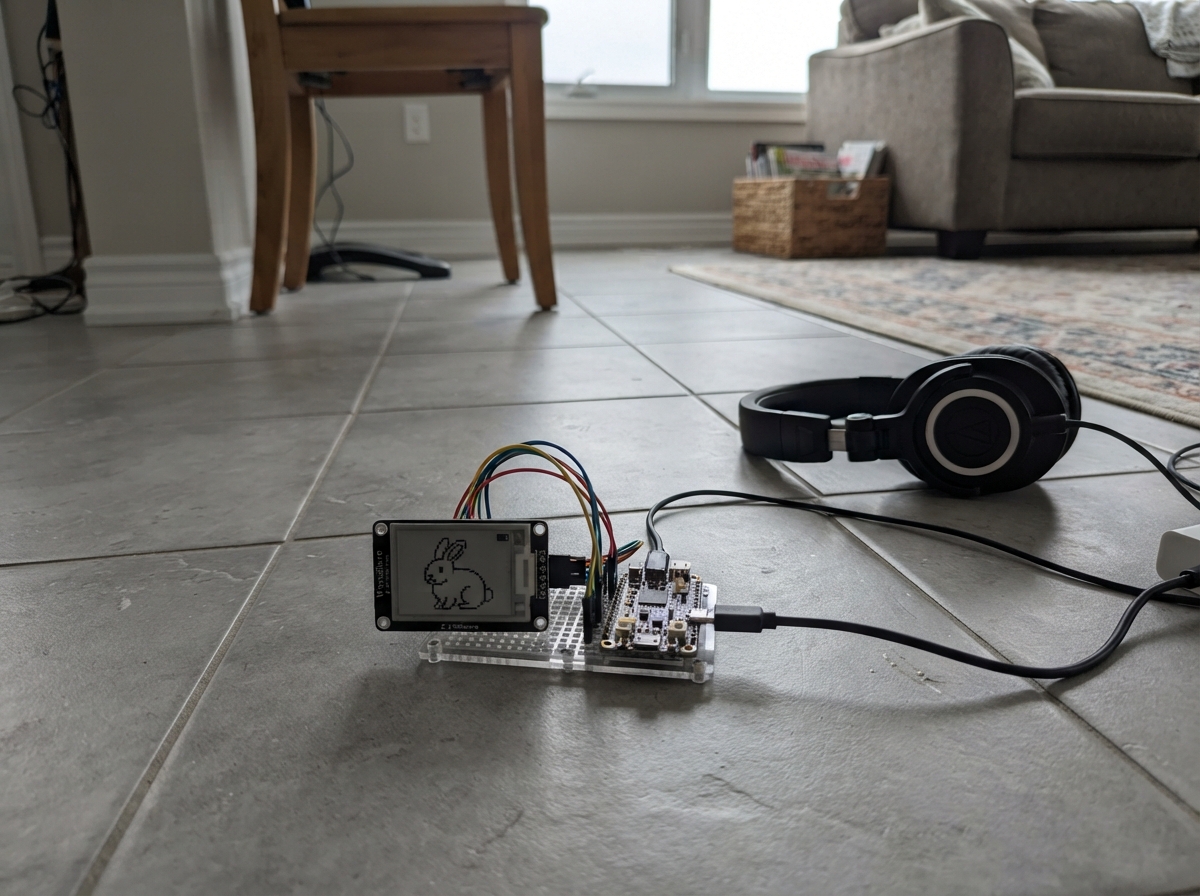
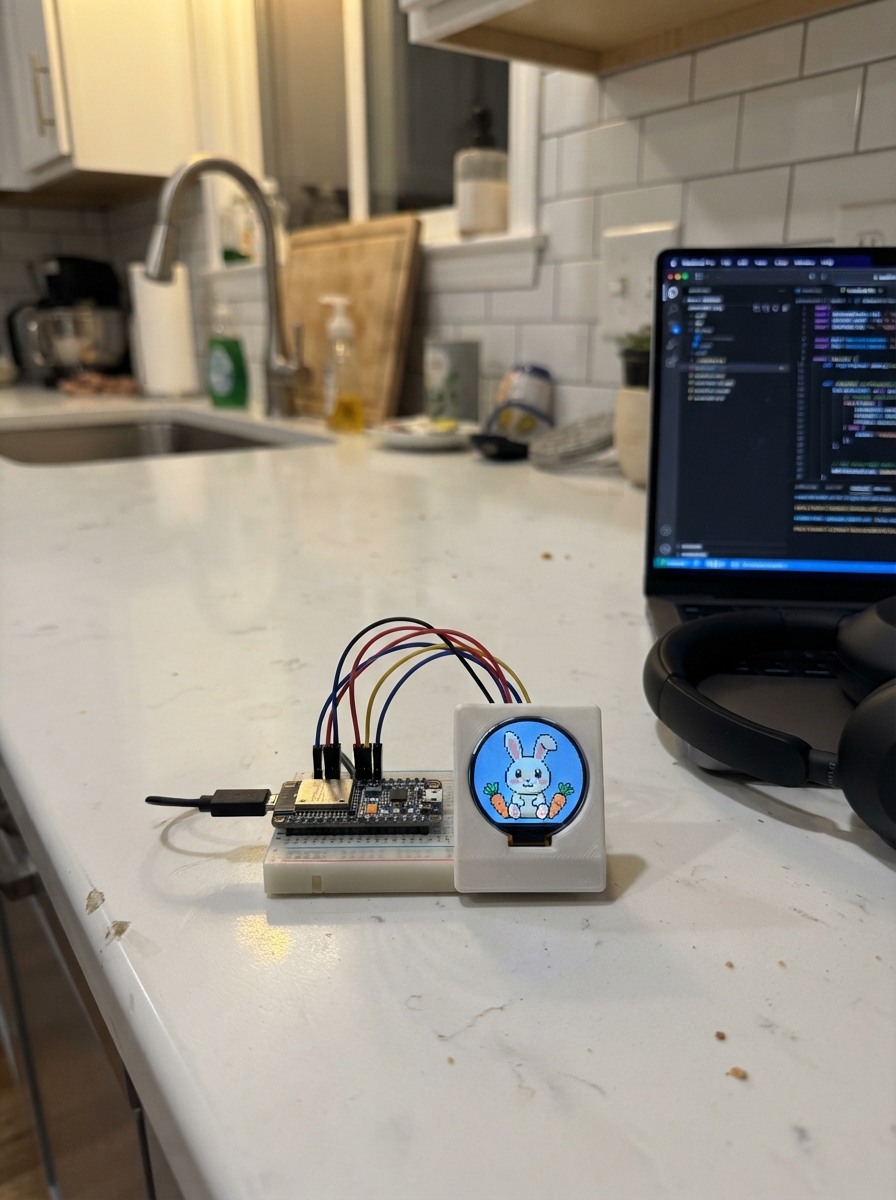
This project brings a cute animated rabbit to life on a display screen using an ESP32 microcontroller. The guide provides a complete wiring diagram, parts list, and step-by-step assembly instructions to get the display connected and running.
The firmware draws a charming rabbit character with detailed features like pink ears, a curled tail, and tiny feet, all rendered with smooth animations. Builders will learn how to work with graphics libraries, manage display updates, and create sprite-based animations on embedded systems.
Wiring diagram
Assemble it in 1 step
1. Set up the board
Place the UNIHIKER K10 on a dry, non-metal surface. This project uses its built-in screen, so do not attach any extra wires or parts.
- Keep the screen facing upward so you can see the animated rat clearly.
- Do not place loose metal objects across the board while it is powered; they can short the board and damage it.
Deploy the firmware
#include <Arduino.h>
#include <unihiker_k10.h>


// Forward declarations
void drawRat(int x);

UNIHIKER_K10 k10;

const uint16_t SKY = 0x87CEEB;
const uint16_t GRASS = 0x4CAF50;
const uint16_t RAT_GRAY = 0x8E99A4;
const uint16_t RAT_DARK = 0x59636E;
const uint16_t PINK = 0xF48FB1;
const uint16_t BLACK = 0x212121;
const uint16_t WHITE = 0xFFFFFF;

unsigned long lastFrame = 0;
int shakeOffset = 0;

void drawRat(int x) {
  // This display canvas is the complete frame, so redraw the scene each time it moves.
  k10.canvas->canvasRectangle(0, 0, 240, 320, SKY, SKY, true);
  k10.canvas->canvasRectangle(0, 270, 240, 50, GRASS, GRASS, true);

  // Curled pink tail behind the body.
  k10.canvas->canvasSetLineWidth(7);
  k10.canvas->canvasLine(x + 164, 238, x + 194, 246, PINK);
  k10.canvas->canvasLine(x + 194, 246, x + 204, 232, PINK);
  k10.canvas->canvasLine(x + 204, 232, x + 195, 220, PINK);

  // Oval body and small feet.
  k10.canvas->canvasCircle(x + 124, 225, 52, RAT_GRAY, RAT_GRAY, true);
  k10.canvas->canvasCircle(x + 91, 257, 20, RAT_GRAY, RAT_GRAY, true);
  k10.canvas->canvasCircle(x + 151, 257, 20, RAT_GRAY, RAT_GRAY, true);
  k10.canvas->canvasCircle(x + 87, 266, 12, PINK, PINK, true);
  k10.canvas->canvasCircle(x + 155, 266, 12, PINK, PINK, true);

  // Ears and head.
  k10.canvas->canvasCircle(x + 83, 119, 27, RAT_DARK, RAT_DARK, true);
  k10.canvas->canvasCircle(x + 156, 119, 27, RAT_DARK, RAT_DARK, true);
  k10.canvas->canvasCircle(x + 83, 119, 18, PINK, PINK, true);
  k10.canvas->canvasCircle(x + 156, 119, 18, PINK, PINK, true);
  k10.canvas->canvasCircle(x + 120, 162, 57, RAT_GRAY, RAT_GRAY, true);

  // Bright eyes, pointed nose, and little mouth.
  k10.canvas->canvasCircle(x + 99, 155, 10, WHITE, WHITE, true);
  k10.canvas->canvasCircle(x + 141, 155, 10, WHITE, WHITE, true);
  k10.canvas->canvasCircle(x + 101, 157, 5, BLACK, BLACK, true);
  k10.canvas->canvasCircle(x + 139, 157, 5, BLACK, BLACK, true);
  k10.canvas->canvasCircle(x + 120, 179, 9, PINK, PINK, true);
  k10.canvas->canvasSetLineWidth(3);
  k10.canvas->canvasLine(x + 120, 187, x + 120, 197, BLACK);
  k10.canvas->canvasLine(x + 120, 197, x + 110, 202, BLACK);
  k10.canvas->canvasLine(x + 120, 197, x + 130, 202, BLACK);

  // Whiskers and toes.
  k10.canvas->canvasSetLineWidth(2);
  k10.canvas->canvasLine(x + 103, 179, x + 66, 171, BLACK);
  k10.canvas->canvasLine(x + 103, 185, x + 65, 187, BLACK);
  k10.canvas->canvasLine(x + 137, 179, x + 174, 171, BLACK);
  k10.canvas->canvasLine(x + 137, 185, x + 175, 187, BLACK);
  k10.canvas->canvasLine(x + 82, 260, x + 82, 270, RAT_DARK);
  k10.canvas->canvasLine(x + 92, 260, x + 92, 270, RAT_DARK);
  k10.canvas->canvasLine(x + 150, 260, x + 150, 270, RAT_DARK);
  k10.canvas->canvasLine(x + 160, 260, x + 160, 270, RAT_DARK);

  k10.canvas->updateCanvas();
}

void setup() {
  k10.begin();
  k10.initScreen();
  k10.setScreenBackground(SKY);
  k10.creatCanvas();
  drawRat(0);
}

void loop() {
  unsigned long now = millis();
  if (now - lastFrame < 50) {
    return;
  }
  lastFrame = now;

  // Alternate by three pixels to make the rat gently shake.
  shakeOffset = (shakeOffset == 0) ? 3 : 0;
  drawRat(shakeOffset);
}
Remix this project
Make it yours in one click
Open a full copy of this project in your own Schematik workspace — diagram, code, parts, and assembly steps included. Swap the sensor, add features, or redesign the whole thing with AI. The author's original stays untouched.