Community project
Rabbit Drawing Display
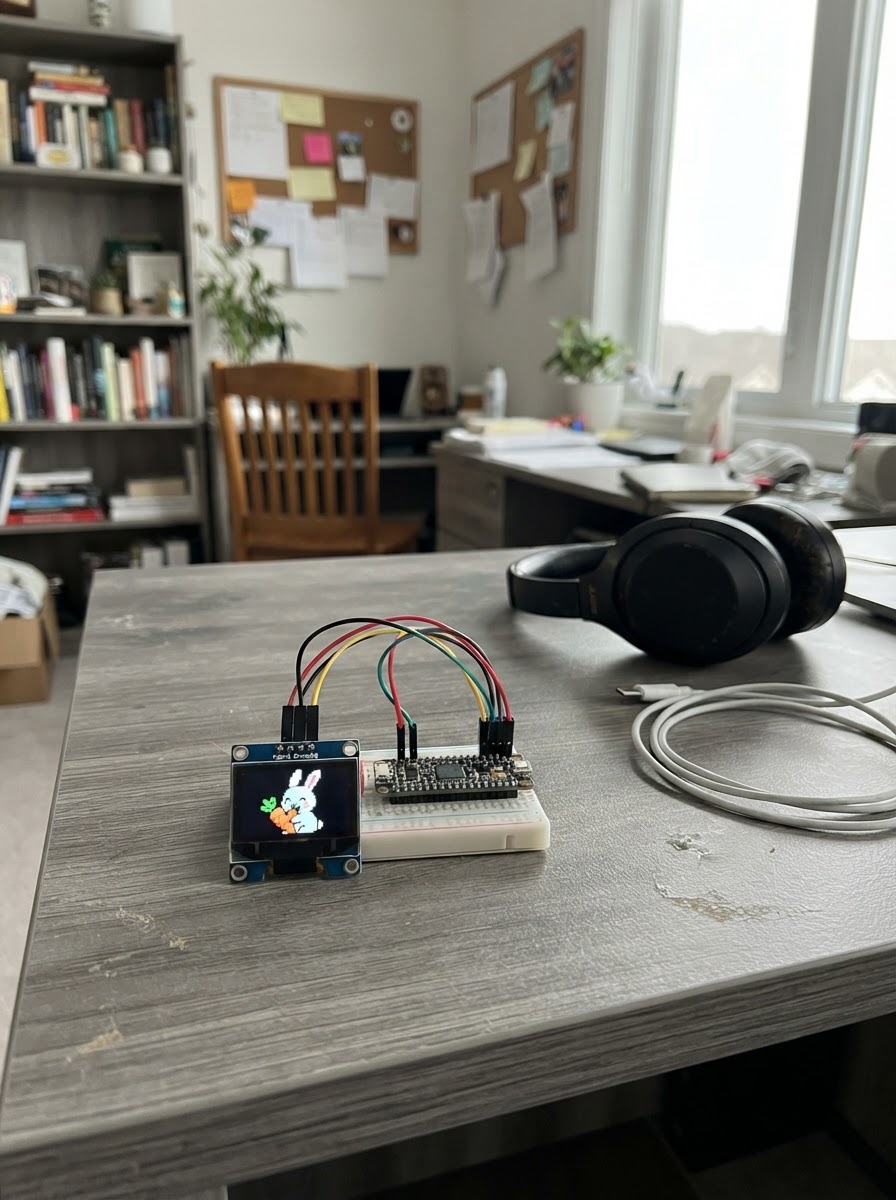
This guide shows how to draw a cute rabbit illustration on the UNIHIKER K10's built-in 240x320 LCD display. The project uses the K10's Canvas API to render filled circles, rectangles, and outlines in RGB565 colors, creating a complete scene with a rabbit, grass, and sky background.
You'll unbox the UNIHIKER K10, connect it to your computer, and deploy the provided firmware to see the rabbit drawing appear on the display. This guide includes the complete wiring setup (minimal, since the K10 is all-in-one), a full parts list, and step-by-step assembly instructions to get your display running.
Wiring diagram
Assemble it in 3 steps
1. Unbox the UNIHIKER K10
Take out the UNIHIKER K10. Everything this project needs — the 2.8-inch color LCD, the processor, and USB power — is built into the board, so no extra parts or wiring are required.
- Handle the board by its edges to avoid touching the screen.
2. Connect the board to your computer
Plug the UNIHIKER K10 into your computer with its USB-C cable. This powers the board and lets Schematik flash the firmware.
- Use a USB-C data cable, not a charge-only cable, so the board can be programmed.
3. Deploy and view the rabbit
Click Deploy in Schematik to compile and flash the firmware. After it uploads, the built-in LCD shows a cartoon rabbit on a blue background with a green grass strip and a 'Bunny' label.
- The image is drawn once and stays on screen; nothing else needs to happen.
Deploy the firmware
#include <Arduino.h>
#include "unihiker_k10.h"

// UNIHIKER K10 — draw a rabbit on the built-in 240x320 LCD.
// All drawing goes through the framework-bundled unihiker_k10 Canvas API.


// Forward declarations
static void furCircle(int x, int y, int r);
static void drawRabbit();

UNIHIKER_K10 k10;

// ---- Colors (RGB565) ----
static const uint16_t COL_BG      = 0x9EFF;  // soft sky blue
static const uint16_t COL_BODY    = 0xFFFF;  // white fur
static const uint16_t COL_OUTLINE = 0x4208;  // dark grey outline
static const uint16_t COL_INNEREAR= 0xFDB8;  // pink inner ear
static const uint16_t COL_EYE     = 0x2124;  // near-black eye
static const uint16_t COL_NOSE    = 0xF9A8;  // pink nose
static const uint16_t COL_GRASS   = 0x5605;  // green grass strip

// Helper: filled circle with a thin outline drawn on top.
static void furCircle(int x, int y, int r) {
  k10.canvas->canvasCircle(x, y, r, COL_OUTLINE, COL_BODY, true);
}

static void drawRabbit() {
  // Line width is stateful; keep strokes thin for clean shapes.
  k10.canvas->canvasSetLineWidth(1);

  // Fill the whole screen background (240 wide x 320 tall).
  k10.canvas->canvasRectangle(0, 0, 240, 320, COL_BG, COL_BG, true);

  // Grass strip along the bottom.
  k10.canvas->canvasRectangle(0, 285, 240, 35, COL_GRASS, COL_GRASS, true);

  int cx = 120;          // horizontal center

  // ---- Ears ----
  // Left ear (outer white)
  k10.canvas->canvasCircle(98,  70, 16, COL_OUTLINE, COL_BODY, true);
  k10.canvas->canvasRectangle(82, 70, 32, 60, COL_BODY, COL_BODY, true);
  // Right ear (outer white)
  k10.canvas->canvasCircle(142, 70, 16, COL_OUTLINE, COL_BODY, true);
  k10.canvas->canvasRectangle(126, 70, 32, 60, COL_BODY, COL_BODY, true);
  // Inner ears (pink)
  k10.canvas->canvasCircle(98,  80, 8, COL_INNEREAR, COL_INNEREAR, true);
  k10.canvas->canvasRectangle(92,  80, 12, 45, COL_INNEREAR, COL_INNEREAR, true);
  k10.canvas->canvasCircle(142, 80, 8, COL_INNEREAR, COL_INNEREAR, true);
  k10.canvas->canvasRectangle(136, 80, 12, 45, COL_INNEREAR, COL_INNEREAR, true);

  // ---- Head ----
  furCircle(cx, 150, 52);

  // ---- Body ----
  furCircle(cx, 245, 60);

  // ---- Feet ----
  k10.canvas->canvasCircle(cx - 34, 292, 16, COL_OUTLINE, COL_BODY, true);
  k10.canvas->canvasCircle(cx + 34, 292, 16, COL_OUTLINE, COL_BODY, true);

  // ---- Cheeks (light pink) ----
  k10.canvas->canvasCircle(cx - 30, 165, 8, COL_INNEREAR, COL_INNEREAR, true);
  k10.canvas->canvasCircle(cx + 30, 165, 8, COL_INNEREAR, COL_INNEREAR, true);

  // ---- Eyes ----
  k10.canvas->canvasCircle(cx - 20, 142, 8, COL_EYE, COL_EYE, true);
  k10.canvas->canvasCircle(cx + 20, 142, 8, COL_EYE, COL_EYE, true);
  // Eye highlights
  k10.canvas->canvasCircle(cx - 22, 139, 3, COL_BODY, COL_BODY, true);
  k10.canvas->canvasCircle(cx + 18, 139, 3, COL_BODY, COL_BODY, true);

  // ---- Nose ----
  k10.canvas->canvasCircle(cx, 160, 5, COL_NOSE, COL_NOSE, true);
  // Mouth (simple lines from nose)
  k10.canvas->canvasLine(cx, 165, cx - 10, 172, COL_OUTLINE);
  k10.canvas->canvasLine(cx, 165, cx + 10, 172, COL_OUTLINE);

  // ---- Whiskers ----
  k10.canvas->canvasLine(cx - 8,  160, cx - 45, 152, COL_OUTLINE);
  k10.canvas->canvasLine(cx - 8,  164, cx - 45, 164, COL_OUTLINE);
  k10.canvas->canvasLine(cx - 8,  168, cx - 45, 176, COL_OUTLINE);
  k10.canvas->canvasLine(cx + 8,  160, cx + 45, 152, COL_OUTLINE);
  k10.canvas->canvasLine(cx + 8,  164, cx + 45, 164, COL_OUTLINE);
  k10.canvas->canvasLine(cx + 8,  168, cx + 45, 176, COL_OUTLINE);

  // ---- Tummy patch ----
  k10.canvas->canvasCircle(cx, 255, 30, COL_INNEREAR, COL_INNEREAR, true);

  // ---- Label ----
  k10.canvas->canvasText("Bunny", 1, COL_OUTLINE);

  k10.canvas->updateCanvas();
}

void setup() {
  k10.begin();
  k10.initScreen(2);        // landscape/portrait orientation per board
  k10.creatCanvas();        // DFRobot spelling; takes no arguments
  k10.setScreenBackground(COL_BG);

  drawRabbit();             // static scene, drawn once
}

void loop() {
  // Static picture — nothing to redraw. Keep the loop idle.
  delay(100);
}
Remix this project
Make it yours in one click
Open a full copy of this project in your own Schematik workspace — diagram, code, parts, and assembly steps included. Swap the sensor, add features, or redesign the whole thing with AI. The author's original stays untouched.