Community project
Rabbit Drawing Display
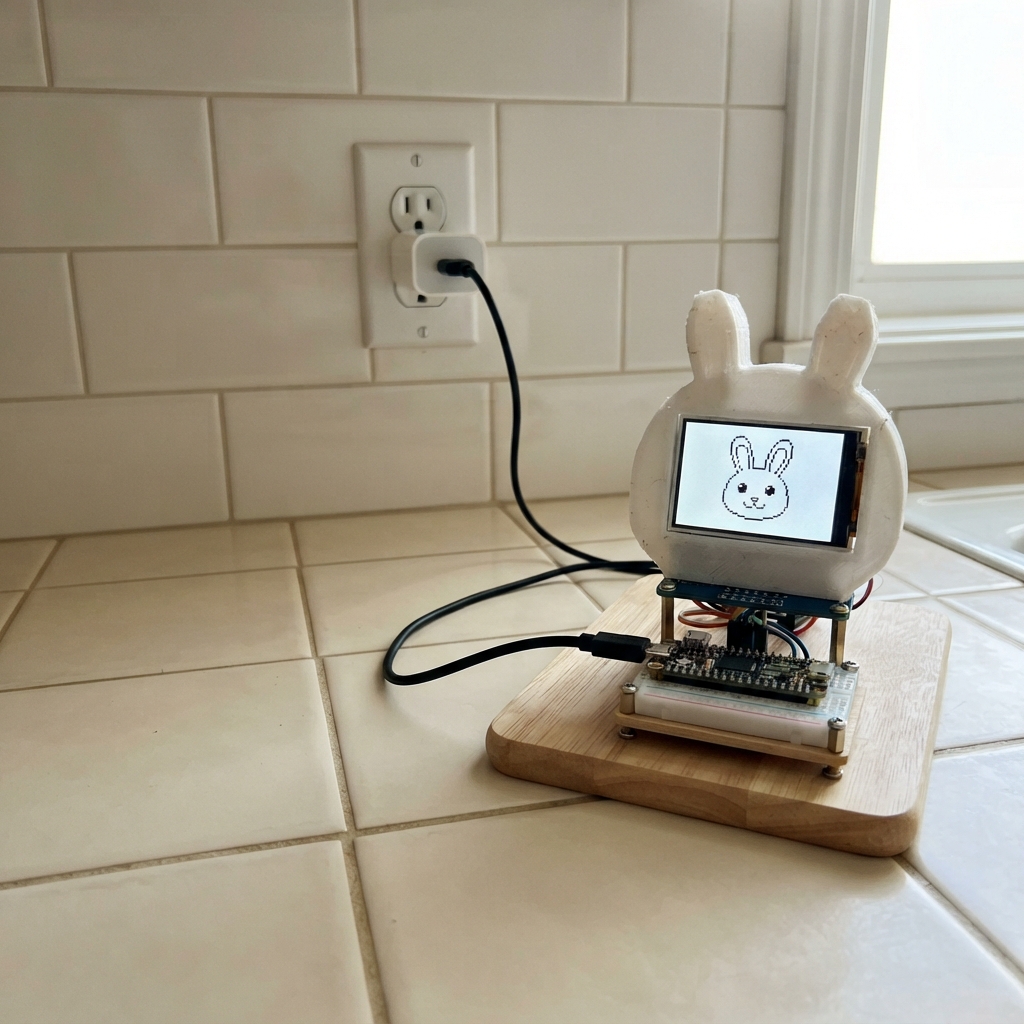
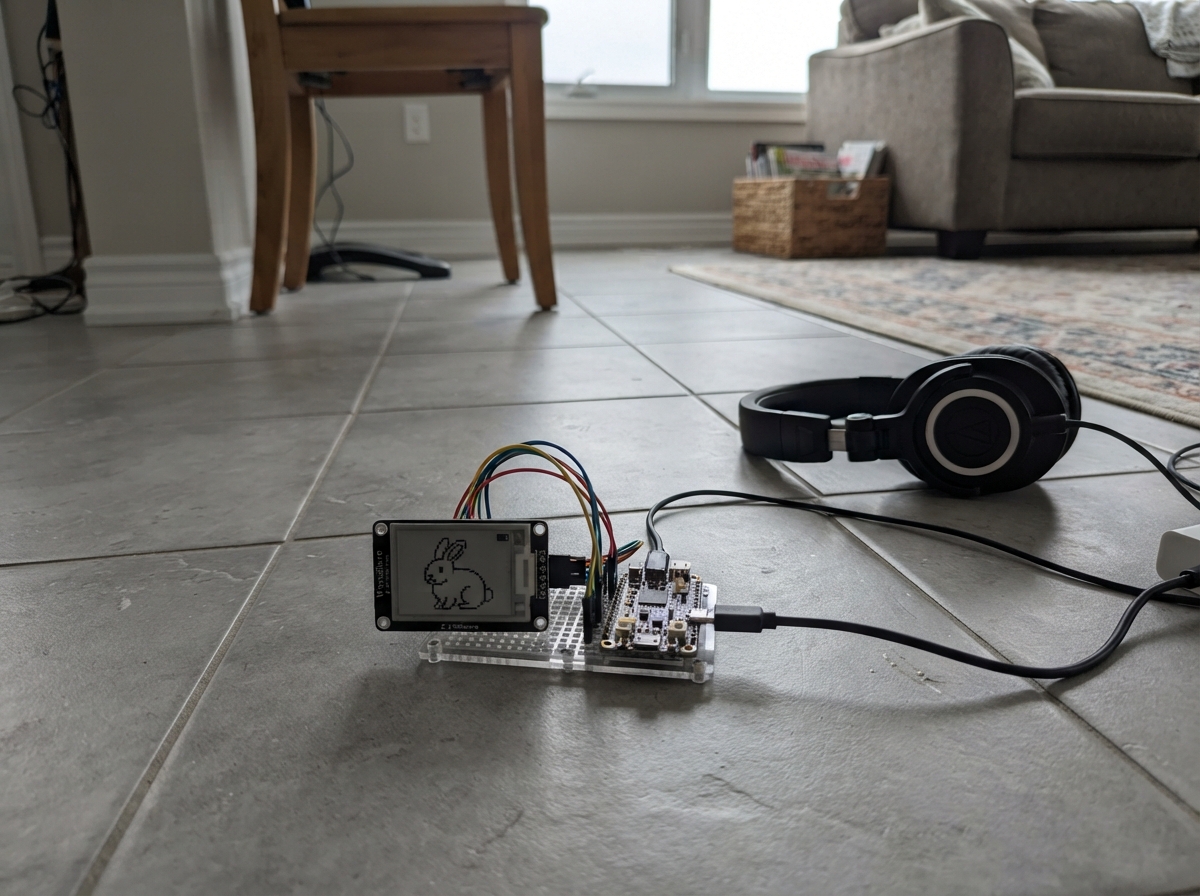
This project displays an animated laughing rabbit on a K10 display module powered by an ESP32. The guide includes a wiring diagram, parts list, and step-by-step assembly instructions to get the display up and running.
The firmware draws a cheerful rabbit character with detailed features like pink inner ears, a white body, and an expressive laughing face, set against a scenic background with grass and a food bowl. Builders will learn how to interface the K10 display with the ESP32 and customize the graphics rendering.
Wiring diagram
Gather all the parts
Assemble it in 2 steps
1. Place the K10 safely
Put the UNIHIKER K10 on a clean, dry desk with its screen facing up. It already contains the screen used for the rabbit, so do not attach any display wires or other electronic parts.
- Keep the screen surface away from loose metal parts, drinks, and static-prone fabric.
- Do not press hard on the screen or place the board on a metal surface, because that can scratch the display or short exposed contacts.
2. Connect USB power
Plug a USB-C cable into the K10’s USB-C connector, then plug the other end into the listed 5 V USB-C adapter or a powered computer USB port. This cable powers the board and is also used by Schematik when you press Deploy.
- Use a data-capable USB-C cable if Schematik needs to flash the board; some charging-only cables supply power but cannot transfer the drawing program.
- Use only normal 5 V USB power. Do not connect bare wires, 9 V batteries, or another power supply to the K10 USB connector.
Review all connections
1. Connections between "power_usb_c_5v_adapter" and "ESP32"
Deploy the firmware
#include "unihiker_k10.h"


// Forward declarations
void drawLaughingRabbit(int x, int y);
void drawFoodBowl();
void drawScene();

UNIHIKER_K10 k10;

constexpr uint8_t SCREEN_DIRECTION = 2;
constexpr uint32_t SKY_BLUE = 0xBDEFFF;
constexpr uint32_t GRASS_GREEN = 0x63B64B;
constexpr uint32_t RABBIT_WHITE = 0xFFFDF7;
constexpr uint32_t RABBIT_SHADOW = 0xE3E1DB;
constexpr uint32_t PINK = 0xF7A8B8;
constexpr uint32_t DARK_BROWN = 0x553C32;
constexpr uint32_t BOWL_BLUE = 0x5B9BD5;
constexpr uint32_t FISH_ORANGE = 0xF28C28;
constexpr uint32_t LEAF_GREEN = 0x3C8D42;

void drawLaughingRabbit(int x, int y) {
  // Ears.
  k10.canvas->canvasCircle(x - 22, y - 42, 17, RABBIT_WHITE, RABBIT_WHITE, true);
  k10.canvas->canvasCircle(x - 22, y - 42, 8, PINK, PINK, true);
  k10.canvas->canvasCircle(x + 22, y - 42, 17, RABBIT_WHITE, RABBIT_WHITE, true);
  k10.canvas->canvasCircle(x + 22, y - 42, 8, PINK, PINK, true);

  // Body, feet, and head.
  k10.canvas->canvasCircle(x, y + 47, 40, RABBIT_SHADOW, RABBIT_SHADOW, true);
  k10.canvas->canvasCircle(x, y + 43, 40, RABBIT_WHITE, RABBIT_WHITE, true);
  k10.canvas->canvasCircle(x - 28, y + 75, 17, RABBIT_WHITE, RABBIT_WHITE, true);
  k10.canvas->canvasCircle(x + 28, y + 75, 17, RABBIT_WHITE, RABBIT_WHITE, true);
  k10.canvas->canvasCircle(x, y, 42, RABBIT_WHITE, RABBIT_WHITE, true);

  // Laughing face.
  k10.canvas->canvasCircle(x - 15, y - 7, 5, DARK_BROWN, DARK_BROWN, true);
  k10.canvas->canvasCircle(x + 15, y - 7, 5, DARK_BROWN, DARK_BROWN, true);
  k10.canvas->canvasCircle(x - 16, y - 8, 1, RABBIT_WHITE, RABBIT_WHITE, true);
  k10.canvas->canvasCircle(x + 14, y - 8, 1, RABBIT_WHITE, RABBIT_WHITE, true);
  k10.canvas->canvasCircle(x, y + 8, 5, PINK, PINK, true);
  k10.canvas->canvasCircle(x, y + 23, 14, DARK_BROWN, DARK_BROWN, true);
  k10.canvas->canvasRectangle(x - 9, y + 15, 18, 7, RABBIT_WHITE, RABBIT_WHITE, true);
  k10.canvas->canvasSetLineWidth(2);
  k10.canvas->canvasLine(x, y + 15, x, y + 22, DARK_BROWN);
  k10.canvas->canvasLine(x - 22, y + 7, x - 29, y + 3, PINK);
  k10.canvas->canvasLine(x + 22, y + 7, x + 29, y + 3, PINK);
  k10.canvas->canvasLine(x - 8, y + 14, x - 35, y + 9, DARK_BROWN);
  k10.canvas->canvasLine(x - 8, y + 19, x - 36, y + 21, DARK_BROWN);
  k10.canvas->canvasLine(x + 8, y + 14, x + 35, y + 9, DARK_BROWN);
  k10.canvas->canvasLine(x + 8, y + 19, x + 36, y + 21, DARK_BROWN);

  // Pink paw pads.
  k10.canvas->canvasCircle(x - 28, y + 76, 6, PINK, PINK, true);
  k10.canvas->canvasCircle(x + 28, y + 76, 6, PINK, PINK, true);
}

void drawFoodBowl() {
  // Fish and three leafy vegetables above the container.
  k10.canvas->canvasCircle(120, 242, 11, FISH_ORANGE, FISH_ORANGE, true);
  k10.canvas->canvasCircle(124, 239, 2, DARK_BROWN, DARK_BROWN, true);
  k10.canvas->canvasSetLineWidth(6);
  k10.canvas->canvasLine(110, 242, 101, 234, FISH_ORANGE);
  k10.canvas->canvasLine(110, 242, 101, 250, FISH_ORANGE);
  k10.canvas->canvasCircle(139, 231, 7, LEAF_GREEN, LEAF_GREEN, true);
  k10.canvas->canvasCircle(151, 229, 7, LEAF_GREEN, LEAF_GREEN, true);
  k10.canvas->canvasCircle(163, 232, 7, LEAF_GREEN, LEAF_GREEN, true);
  k10.canvas->canvasSetLineWidth(2);
  k10.canvas->canvasLine(139, 231, 143, 240, DARK_BROWN);
  k10.canvas->canvasLine(151, 229, 151, 240, DARK_BROWN);
  k10.canvas->canvasLine(163, 232, 158, 240, DARK_BROWN);
  k10.canvas->canvasRectangle(82, 252, 86, 37, DARK_BROWN, DARK_BROWN, true);
  k10.canvas->canvasRectangle(86, 256, 78, 29, BOWL_BLUE, BOWL_BLUE, true);
  k10.canvas->canvasRectangle(80, 248, 90, 10, DARK_BROWN, DARK_BROWN, true);
  k10.canvas->canvasRectangle(85, 250, 80, 6, BOWL_BLUE, BOWL_BLUE, true);
}

void drawScene() {
  k10.canvas->canvasRectangle(0, 0, 240, 320, SKY_BLUE, SKY_BLUE, true);
  k10.canvas->canvasRectangle(0, 225, 240, 95, GRASS_GREEN, GRASS_GREEN, true);
  drawLaughingRabbit(62, 112);
  drawLaughingRabbit(178, 112);
  drawFoodBowl();
  k10.canvas->updateCanvas();
}

void setup() {
  k10.begin();
  k10.initScreen(SCREEN_DIRECTION);
  k10.creatCanvas();
  drawScene();
}

void loop() {
  // Static illustration: do not redraw when nothing changes.
}
Remix this project
Make it yours in one click
Open a full copy of this project in your own Schematik workspace — diagram, code, parts, and assembly steps included. Swap the sensor, add features, or redesign the whole thing with AI. The author's original stays untouched.