Community project
UniHiker Rabbit Drawing
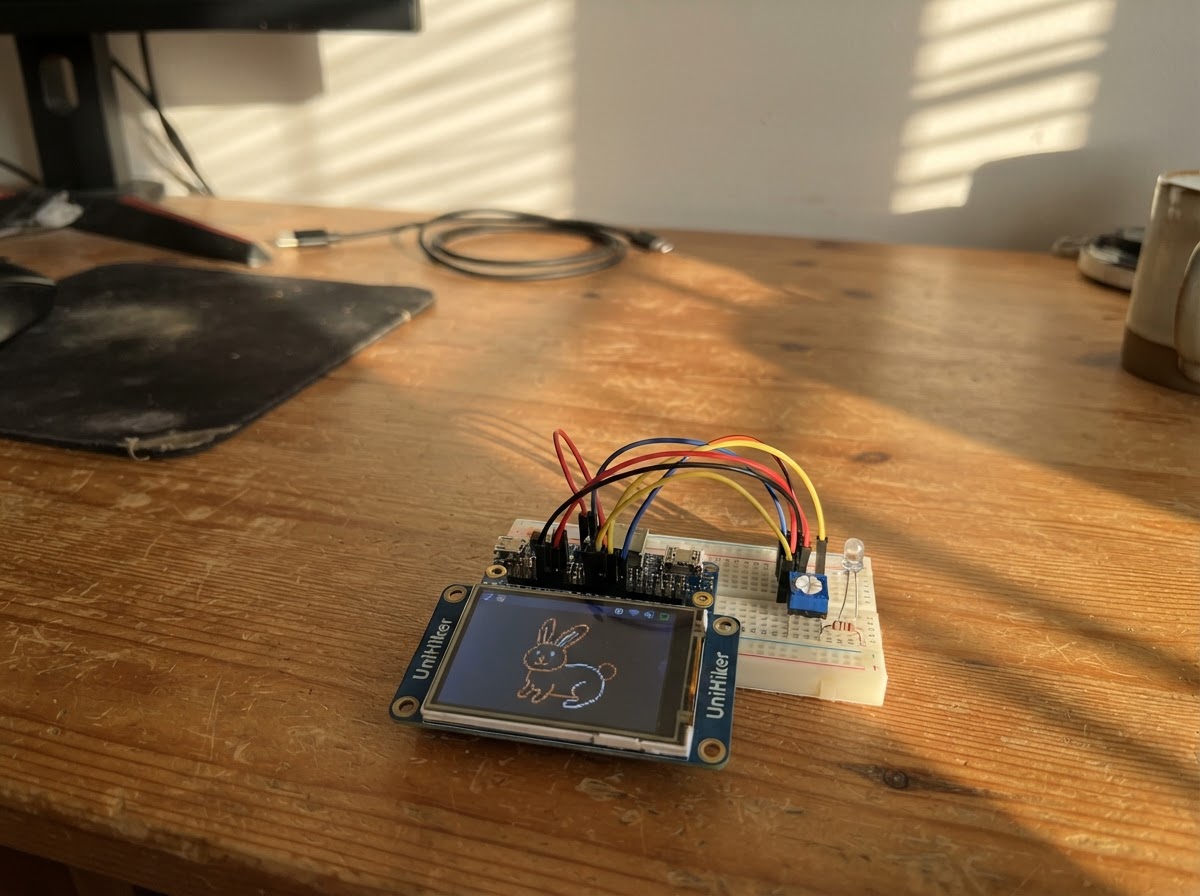
This project draws a cute rabbit character on the UniHiker K10's built-in display using simple geometric shapes and color fills. The guide includes a complete wiring diagram, parts list, and step-by-step assembly instructions for powering the K10 and loading the firmware.
Builders will learn how to use the K10's canvas drawing functions to create graphics with circles, rectangles, and lines. The firmware uses color constants and layered shapes to construct the rabbit's features—from its pink inner ears to its expressive eyes and whiskers—making it a great introduction to embedded graphics programming on the ESP32 platform.
Wiring diagram
Assemble it in 2 steps
1. Use the built-in screen
No extra parts or jumper wires are needed. The rabbit is drawn on the UNIHIKER K10's built-in 2.8-inch LCD.
- Keep the board on a non-conductive surface while powered.
- Do not connect anything to GPIO 12; it is used internally by the built-in LCD.
2. Power the K10
Connect the UNIHIKER K10 using its normal USB connection. The project uses the board's integrated display only.
- After deploying, the rabbit remains visible as a static picture.
Deploy the firmware
#include <Arduino.h>
#include <unihiker_k10.h>


// Forward declarations
void drawRabbit();

UNIHIKER_K10 k10;

static const uint16_t SKY = 0xBDF7;
static const uint16_t GRASS = 0x7E0E;
static const uint16_t WHITE = 0xFFFF;
static const uint16_t PINK = 0xF97F;
static const uint16_t DARK = 0x2945;

void drawRabbit() {
  k10.creatCanvas();
  k10.canvasSetLineWidth(1);

  // Simple outdoor background.
  k10.canvasRectangle(0, 0, 240, 320, SKY, true);
  k10.canvasRectangle(0, 242, 240, 78, GRASS, true);

  // Ears: outer white shape with pink inner ear.
  k10.canvasCircle(86, 104, 27, WHITE, true);
  k10.canvasCircle(154, 104, 27, WHITE, true);
  k10.canvasRectangle(59, 102, 54, 44, WHITE, true);
  k10.canvasRectangle(127, 102, 54, 44, WHITE, true);
  k10.canvasCircle(86, 104, 15, PINK, true);
  k10.canvasCircle(154, 104, 15, PINK, true);
  k10.canvasRectangle(71, 102, 30, 40, PINK, true);
  k10.canvasRectangle(139, 102, 30, 40, PINK, true);

  // Head and cheeks.
  k10.canvasCircle(120, 180, 68, WHITE, true);
  k10.canvasCircle(78, 202, 34, WHITE, true);
  k10.canvasCircle(162, 202, 34, WHITE, true);

  // Eyes.
  k10.canvasCircle(96, 170, 10, DARK, true);
  k10.canvasCircle(144, 170, 10, DARK, true);
  k10.canvasCircle(93, 167, 3, WHITE, true);
  k10.canvasCircle(141, 167, 3, WHITE, true);

  // Nose and mouth.
  k10.canvasCircle(120, 195, 9, PINK, true);
  k10.canvasLine(120, 204, 120, 216, DARK);
  k10.canvasLine(120, 216, 107, 222, DARK);
  k10.canvasLine(120, 216, 133, 222, DARK);

  // Whiskers.
  k10.canvasLine(88, 204, 48, 196, DARK);
  k10.canvasLine(88, 212, 46, 216, DARK);
  k10.canvasLine(152, 204, 192, 196, DARK);
  k10.canvasLine(152, 212, 194, 216, DARK);

  // Paws.
  k10.canvasCircle(78, 260, 24, WHITE, true);
  k10.canvasCircle(162, 260, 24, WHITE, true);
  k10.canvasCircle(78, 260, 8, PINK, true);
  k10.canvasCircle(162, 260, 8, PINK, true);

  k10.canvas->updateCanvas();
}

void setup() {
  k10.begin();
  k10.initScreen();
  drawRabbit();
}

void loop() {
  delay(1000);
}
Remix this project
Make it yours in one click
Open a full copy of this project in your own Schematik workspace — diagram, code, parts, and assembly steps included. Swap the sensor, add features, or redesign the whole thing with AI. The author's original stays untouched.
Related projects

Create A Complete Electrical Schematic Esp32 Sma
ESP32 · September 17, 2026Ayansh Agrawal
ESP32 Kare Ekran Projeleri
ESP32 · September 16, 2026Seref Ai
Component Qty --------------------------- ------
ESP32 · September 16, 2026Yathartha Chakrawal