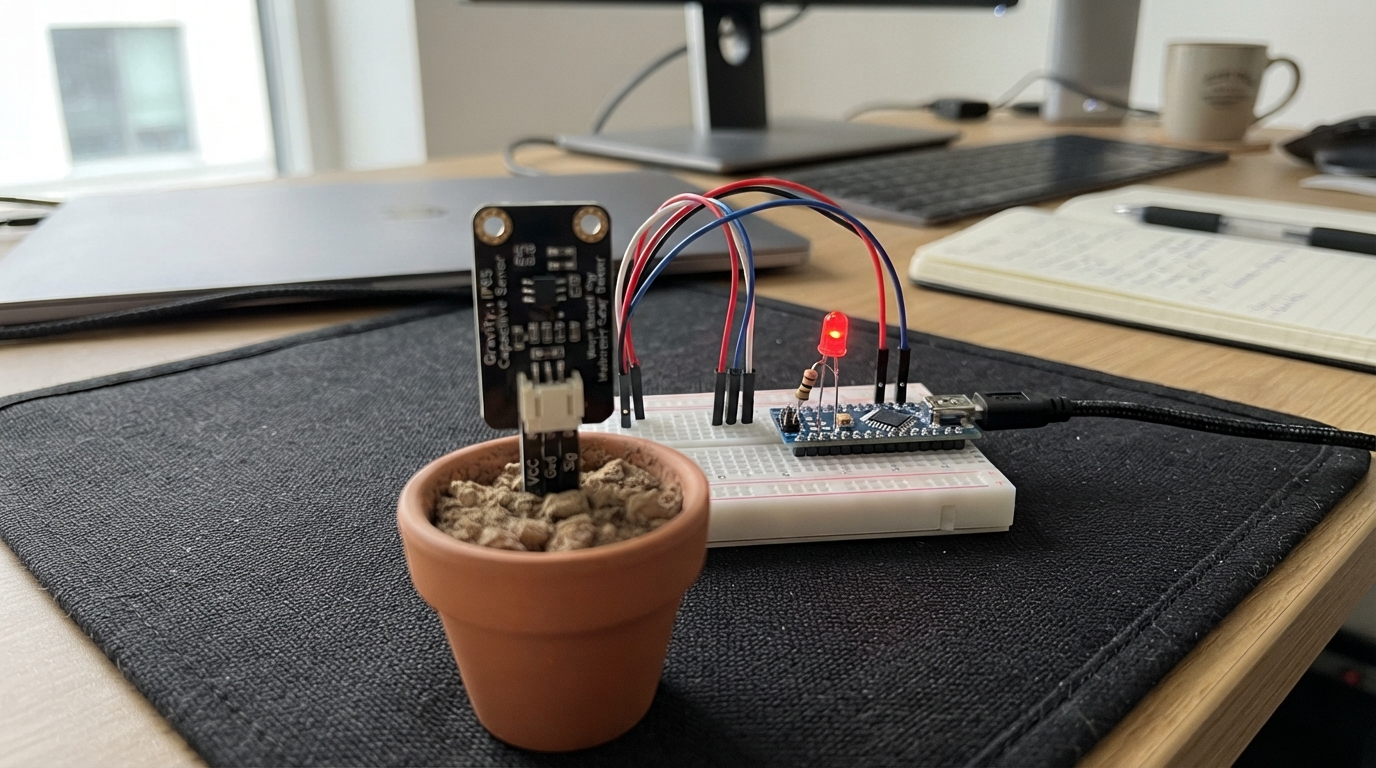
This project builds a simple plant watering reminder that lights up an LED when soil gets too dry. It uses an Arduino Uno paired with a capacitive soil moisture sensor to continuously monitor soil conditions and trigger a visual alert, making it easy to know when to water potted plants.
The guide includes a complete wiring diagram, parts list, and ready-to-upload firmware. Assembly takes just a few minutes: connect the sensor and LED to the Arduino, insert the sensor probe into soil, and power it up. The firmware includes adjustable thresholds and hysteresis to prevent LED flickering, plus serial output for tuning the dry-soil trigger point to match specific plants and soil types.
Wiring diagram
Gather all the parts
Assemble it in 5 steps
1. Place the parts safely
Leave the Arduino Uno unplugged. Push the red LED into the breadboard with its longer leg in a different row from its shorter leg. Put the 220 Ω resistor so one lead shares the row with the LED’s long leg; the resistor has no direction.
- The long LED leg is the positive leg. If both legs were trimmed, the flat edge on the LED body marks the negative side.
- Do not connect the LED straight to the Arduino pin: without the resistor it can be damaged.
2. Wire the watering light
Run a wire from Arduino D8 to the free lead of the 220 Ω resistor (signal). Run a wire from the LED’s short leg to an Arduino GND pin (ground). The resistor and LED are now in one line between D8 and GND.
- The resistor can go on either side of the LED, but it must remain in series with it.
3. Wire the soil sensor
Connect the sensor red wire, marked VCC, to Arduino 5V (power). Connect its black wire, marked GND, to Arduino GND (ground). Connect its yellow wire, marked AOUT, to Arduino A0 (signal).
- Use the labels or wire colours on the sensor cable rather than guessing from its connector position.
- Do not swap VCC and GND: swapped power can damage the sensor.
4. Put the sensor in the pot
Insert only the flat sensing blade into the soil, away from the plant stem and not directly beside the pot wall. Keep the cable connection above wet soil and water.
- For a fair reading, place the blade around halfway between the stem and the pot edge.
5. Power and test it
Check every wire once, then connect the Arduino Uno to your computer with USB. The light should be off in moist soil and come on when the measured soil becomes dry.
- The program also prints a number over USB, which is useful if you later want to fine-tune when the light comes on.
Review all connections
1. Connections between "soil_sensor" and "Arduino"
2. Connections between "led_resistor" and "Arduino"
3. Connections between "dry_led" and "Arduino"
Deploy the firmware
// Soil-moisture reminder for an Arduino Uno.
// With the SEN0308 sensor at 5 V, larger readings normally mean drier soil.
const uint8_t SOIL_SENSOR_PIN = A0;
const uint8_t DRY_LED_PIN = 8;

// Adjust after observing the Serial Monitor: raise it if the LED stays off
// in dry soil; lower it if the LED stays on in damp soil.
const int DRY_THRESHOLD = 600;
const int HYSTERESIS = 20;
const unsigned long SAMPLE_INTERVAL_MS = 500;

bool soilIsDry = false;
unsigned long lastSampleMs = 0;

int readAverageMoisture() {
  long total = 0;
  for (uint8_t i = 0; i < 8; ++i) {
    total += analogRead(SOIL_SENSOR_PIN);
    delay(5);
  }
  return total / 8;
}

void setup() {
  pinMode(DRY_LED_PIN, OUTPUT);
  digitalWrite(DRY_LED_PIN, LOW);
  Serial.begin(9600);
  Serial.println(F("Soil moisture reminder ready"));
}

void loop() {
  const unsigned long now = millis();
  if (now - lastSampleMs >= SAMPLE_INTERVAL_MS) {
    lastSampleMs = now;
    const int reading = readAverageMoisture();

    // Hysteresis stops the LED flickering near the chosen limit.
    if (!soilIsDry && reading >= DRY_THRESHOLD + HYSTERESIS) {
      soilIsDry = true;
    } else if (soilIsDry && reading <= DRY_THRESHOLD - HYSTERESIS) {
      soilIsDry = false;
    }

    digitalWrite(DRY_LED_PIN, soilIsDry ? HIGH : LOW);
    Serial.print(F("Soil reading: "));
    Serial.print(reading);
    Serial.print(F(" - "));
    Serial.println(soilIsDry ? F("DRY: water the plant") : F("moist enough"));
  }

  delay(10);
}
Remix this project
Make it yours in one click
Open a full copy of this project in your own Schematik workspace, diagram, code, parts, and assembly steps included. Swap the sensor, add features, or redesign the whole thing with AI. The author's original stays untouched.