Community project
ESP32 HTML Display
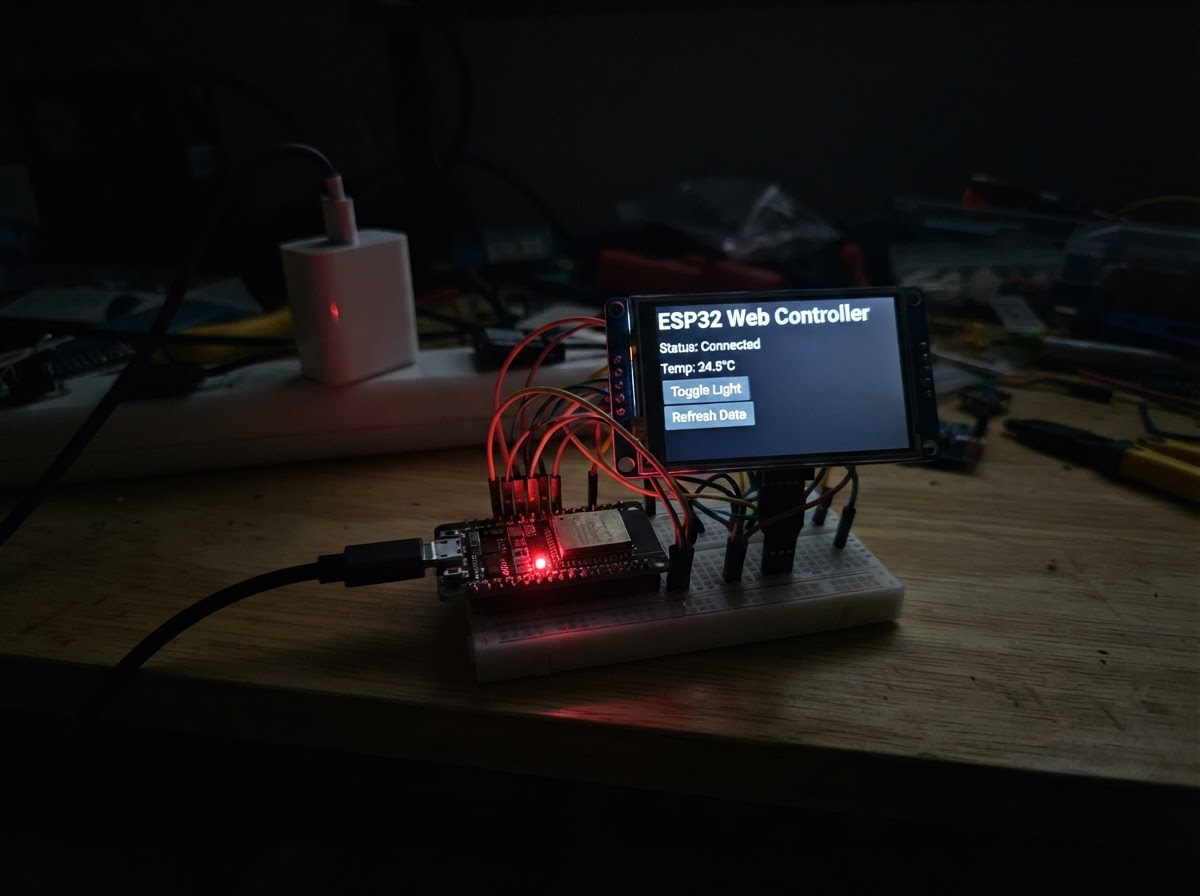
This project turns an ESP32 microcontroller into a web server that displays a styled HTML page accessible from any device on the same network. The ESP32 creates its own Wi-Fi access point and serves a responsive web interface that shows the board's status and IP address, refreshing automatically every five seconds.
The guide includes a complete wiring diagram, parts list, and ready-to-use firmware code. Assembly is straightforward—just connect the ESP32 to power via USB-C, then join the Wi-Fi network and visit the board's IP address in a web browser to see the live page.
Wiring diagram
Gather all the parts
Assemble it in 2 steps
1. Use the ESP32 by itself
Leave the ESP32 DevKit v1 on its own for this project; the web page uses its built-in Wi-Fi, so no sensor, screen, or breadboard wires are needed.
- Place the board on a non-metal surface so its pins cannot touch each other.
- Do not rest the powered board on metal or loose wires, because a short circuit can damage it.
2. Connect the USB cable
Plug a data-capable USB cable from your computer into the ESP32. This supplies power and lets Schematik place the web-page program on the board.
- If the board does not appear to power up, try another USB cable; some cables charge devices but cannot transfer data.
- Use the board's USB connector only; do not connect a separate power source while USB is attached.
Review all connections
1. Connections between "usb_power_1" and "ESP32"
Deploy the firmware
#include <WiFi.h>
#include <WebServer.h>


// Forward declarations
void handleHome();
void handleNotFound();

const char *AP_NAME = "ESP32-Web-Page";
const char *AP_PASSWORD = "schematik";

WebServer server(80);

void handleHome() {
  const String page = R"HTML(<!doctype html>
<html lang="en">
<head>
  <meta charset="utf-8">
  <meta name="viewport" content="width=device-width, initial-scale=1">
  <meta http-equiv="refresh" content="5">
  <title>ESP32 Web Page</title>
  <style>
    body { margin: 0; min-height: 100vh; display: grid; place-items: center; background: #101827; color: #eaf2ff; font-family: Arial, sans-serif; }
    main { width: min(88vw, 440px); padding: 28px; border-radius: 18px; background: #1d2a42; box-shadow: 0 12px 36px #0008; }
    h1 { margin-top: 0; color: #67e8f9; }
    .ok { color: #86efac; font-weight: bold; }
    code { display: inline-block; padding: 4px 7px; border-radius: 6px; background: #0f172a; color: #fde68a; }
    small { color: #b7c4d9; }
  </style>
</head>
<body>
  <main>
    <h1>ESP32 is online</h1>
    <p class="ok">The web page is being served by your ESP32.</p>
    <p>Wi-Fi network: <code>)HTML" + String(AP_NAME) + R"HTML(</code></p>
    <p>Board IP address: <code>)HTML" + WiFi.softAPIP().toString() + R"HTML(</code></p>
    <small>This page refreshes every five seconds.</small>
  </main>
</body>
</html>)HTML";
  server.send(200, "text/html", page);
}

void handleNotFound() {
  server.send(404, "text/plain", "Page not found");
}

void setup() {
  WiFi.mode(WIFI_AP);
  WiFi.softAP(AP_NAME, AP_PASSWORD);
  server.on("/", HTTP_GET, handleHome);
  server.onNotFound(handleNotFound);
  server.begin();
}

void loop() {
  server.handleClient();
}
Remix this project
Make it yours in one click
Open a full copy of this project in your own Schematik workspace — diagram, code, parts, and assembly steps included. Swap the sensor, add features, or redesign the whole thing with AI. The author's original stays untouched.