Community project
Soil Health Monitor
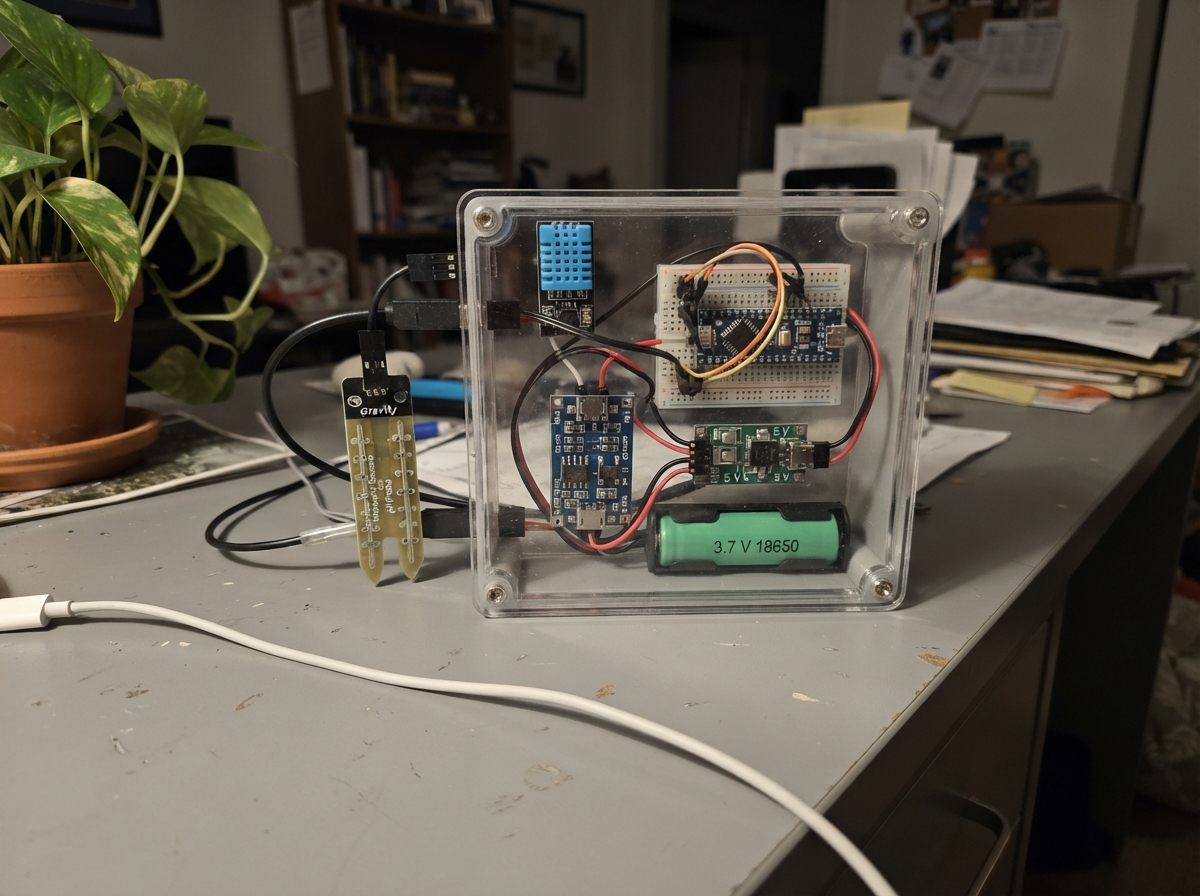
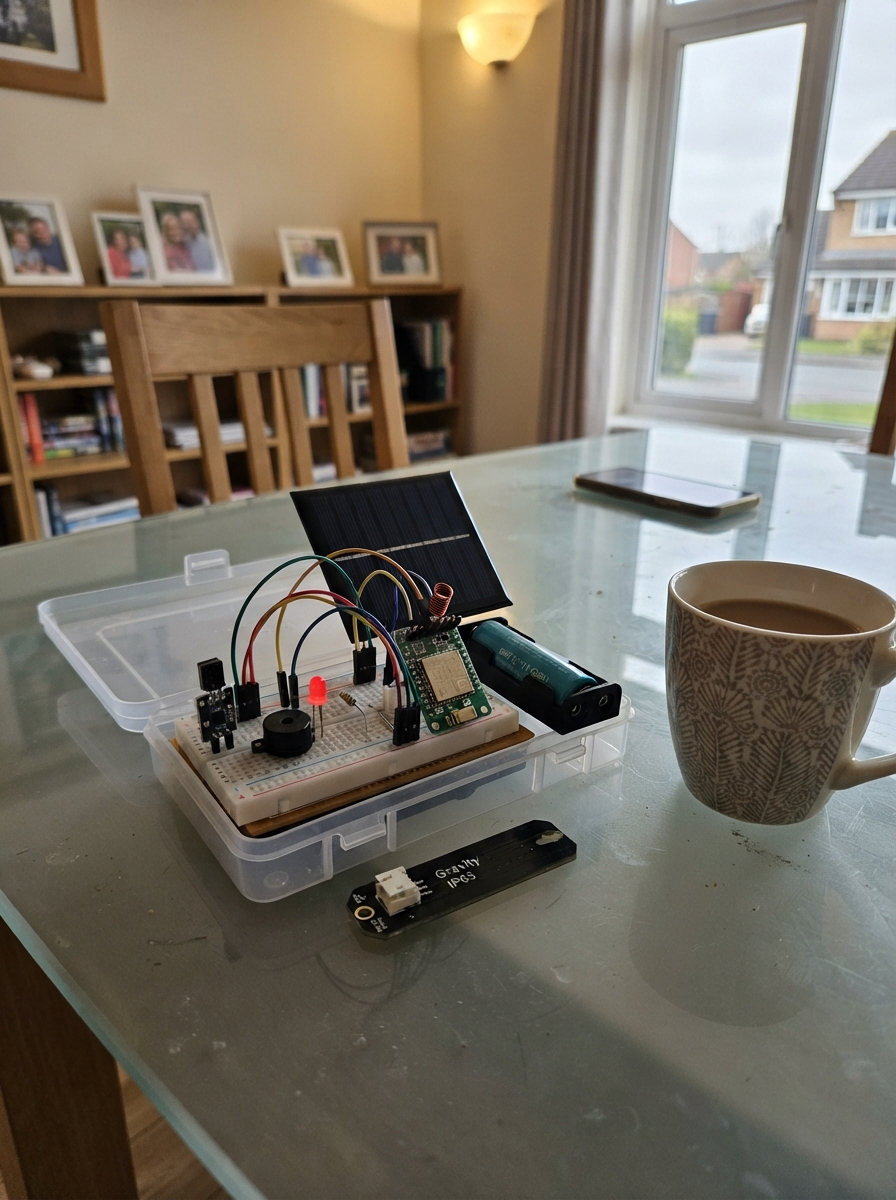
This soil health monitor uses an ESP32 microcontroller to track moisture, temperature, humidity, and pH levels in garden soil or potted plants. The capacitive soil moisture sensor provides accurate readings without corrosion, while the DHT11 captures ambient conditions and the pH probe measures soil acidity—all powered by a rechargeable 18650 battery with charging protection and boost conversion.
The guide includes a complete wiring diagram, parts list, and Arduino firmware with calibration instructions for the pH and moisture sensors. Assembly steps cover battery setup, sensor connections, and the calibration process needed before taking reliable measurements. Makers will learn how to read analog sensors on the ESP32, average voltage readings for stability, and map raw sensor values to meaningful percentages and pH numbers.
Wiring diagram

Gather all the parts
Assemble it in 6 steps
1. Prepare the rechargeable power parts
Put the 18650 lithium-ion battery in a protected holder. Connect its positive lead to BAT+ on charger_1 and its negative lead to BAT− on charger_1. Connect OUT+ on charger_1 to IN+ on boost_5v_1, then OUT− to IN−. Set the boost converter output to exactly 5.0 V with a multimeter before it touches the ESP32.
- Use a battery holder rather than soldering directly to a bare lithium cell.
- The TP4056 board charges from its USB input; keep that USB lead separate from the ESP32 programming USB lead.
- Do not swap the battery wires or bypass the TP4056 board — a shorted lithium battery can become dangerously hot.
- Do not connect the boost converter to the ESP32 until its output measures 5.0 V; excess voltage can damage the board.
2. Power the ESP32 and make one shared ground
Connect OUT+ on boost_5v_1 to the ESP32 VIN or 5V pin. Connect OUT− on boost_5v_1 to an ESP32 GND pin. Use this same ESP32 GND rail for every sensor ground so all readings have the same reference.
- Only use the ESP32 VIN/5V pin for the boost output; do not put 5 V on the 3V3 pin.
- Putting 5 V into the ESP32 3V3 pin can damage the board.
3. Wire the soil-moisture probe
Connect VCC on soil_moisture_1 to ESP32 3V3 (power), GND to ESP32 GND (ground), and AOUT to GPIO34 (signal). Place only the sealed probe end in the soil; keep its small circuit board dry.
- GPIO34 is an input-only pin, which is exactly what this analog sensor needs.
- Record the raw dry and wet values printed by the monitor later so you can tune its 0–100% estimate.
- Do not feed this sensor from 5 V because its analog output could exceed the ESP32’s safe 3.3 V input range.
4. Wire the temperature and humidity sensor
Connect VCC on dht11_1 to ESP32 3V3 (power), GND to ESP32 GND (ground), and DATA to GPIO4 (signal). Keep the blue sensor above the soil where air can flow around it.
- If you have a bare four-pin DHT11 rather than a three-pin module, add a 10 kΩ resistor between its VCC and DATA pins so the data wire rests high.
- Keep the DHT11 dry; water splashes can make its readings fail or damage it.
5. Wire the pH module and probe
Connect VCC on ph_sensor_1 to the 5V rail (power), GND to ESP32 GND (ground), and PO to GPIO35 (signal). Plug the glass pH probe into the module’s BNC socket, then put only the probe tip into moist soil slurry or the liquid sample.
- GPIO35 is an analog input, and the pH module’s PO signal stays below the ESP32’s 3.3 V limit.
- Rinse the probe with clean water between samples and store it as its probe instructions require.
- Do not let the glass pH bulb dry out or strike the pot edge — the probe is fragile and can give unreliable readings if damaged.
6. Calibrate before using the pH number
After the monitor is running, place the pH probe in pH 7 buffer liquid and note the displayed probe voltage. Then rinse it, place it in pH 4 buffer liquid, and note that voltage. Update the two pH calibration numbers in the firmware to match your readings before relying on the pH value.
- The displayed pH voltage is printed every five seconds in the monitor output.
- Test the soil sensor in dry air and fully wet soil too, then adjust its dry and wet raw values if needed.
- Without calibration liquids, the pH number is only a rough starting estimate and should not guide fertilizer dosing.
Review all connections
1. Connections between "soil_moisture_1" and "ESP32"
2. Connections between "dht11_1" and "ESP32"
3. Connections between "ph_sensor_1" and "ESP32"
4. Connections between "lipo_1" and "ESP32"
5. Connections between "charger_1" and "ESP32"
6. Connections between "boost_5v_1" and "ESP32"
Deploy the firmware
#include <Arduino.h>
#include <DHT.h>

constexpr int DHT_PIN = 4;
constexpr int SOIL_PIN = 34;
constexpr int PH_PIN = 35;
constexpr uint8_t DHT_TYPE = DHT11;
constexpr unsigned long SAMPLE_INTERVAL_MS = 5000;

// Adjust these after measuring the voltage in pH 7 and pH 4 buffer solutions.
constexpr float PH7_VOLTAGE = 2.50f;
constexpr float PH_SLOPE = -5.70f;
// Adjust these after recording readings with the probe in dry air and wet soil.
constexpr int SOIL_DRY_RAW = 3000;
constexpr int SOIL_WET_RAW = 1400;

DHT dht(DHT_PIN, DHT_TYPE);
unsigned long lastSampleMs = 0;

float readAveragedVoltage(int pin) {
  const int samples = 20;
  uint32_t total = 0;
  for (int i = 0; i < samples; ++i) {
    total += analogRead(pin);
    delay(5);
  }
  return (total / static_cast<float>(samples)) * 3.3f / 4095.0f;
}

int moisturePercent(int raw) {
  int percent = map(raw, SOIL_DRY_RAW, SOIL_WET_RAW, 0, 100);
  return constrain(percent, 0, 100);
}

void setup() {
  Serial.begin(115200);
  analogReadResolution(12);
  analogSetPinAttenuation(SOIL_PIN, ADC_11db);
  analogSetPinAttenuation(PH_PIN, ADC_11db);
  dht.begin();
  Serial.println("Soil monitor started");
}

void loop() {
  if (millis() - lastSampleMs < SAMPLE_INTERVAL_MS) {
    return;
  }
  lastSampleMs = millis();

  float humidity = dht.readHumidity();
  float temperatureC = dht.readTemperature();
  int soilRaw = analogRead(SOIL_PIN);
  int soilPercent = moisturePercent(soilRaw);
  float phVoltage = readAveragedVoltage(PH_PIN);
  float ph = 7.0f + (phVoltage - PH7_VOLTAGE) * PH_SLOPE;

  Serial.println("--- Soil monitor ---");
  Serial.printf("Soil moisture: %d %% (raw: %d)\n", soilPercent, soilRaw);
  Serial.printf("pH: %.2f (probe voltage: %.3f V)\n", ph, phVoltage);
  if (isnan(temperatureC) || isnan(humidity)) {
    Serial.println("Air temperature/humidity: DHT11 read failed");
  } else {
    Serial.printf("Air temperature: %.1f C\n", temperatureC);
    Serial.printf("Air humidity: %.0f %%\n", humidity);
  }
}
Remix this project
Make it yours in one click
Open a full copy of this project in your own Schematik workspace — diagram, code, parts, and assembly steps included. Swap the sensor, add features, or redesign the whole thing with AI. The author's original stays untouched.