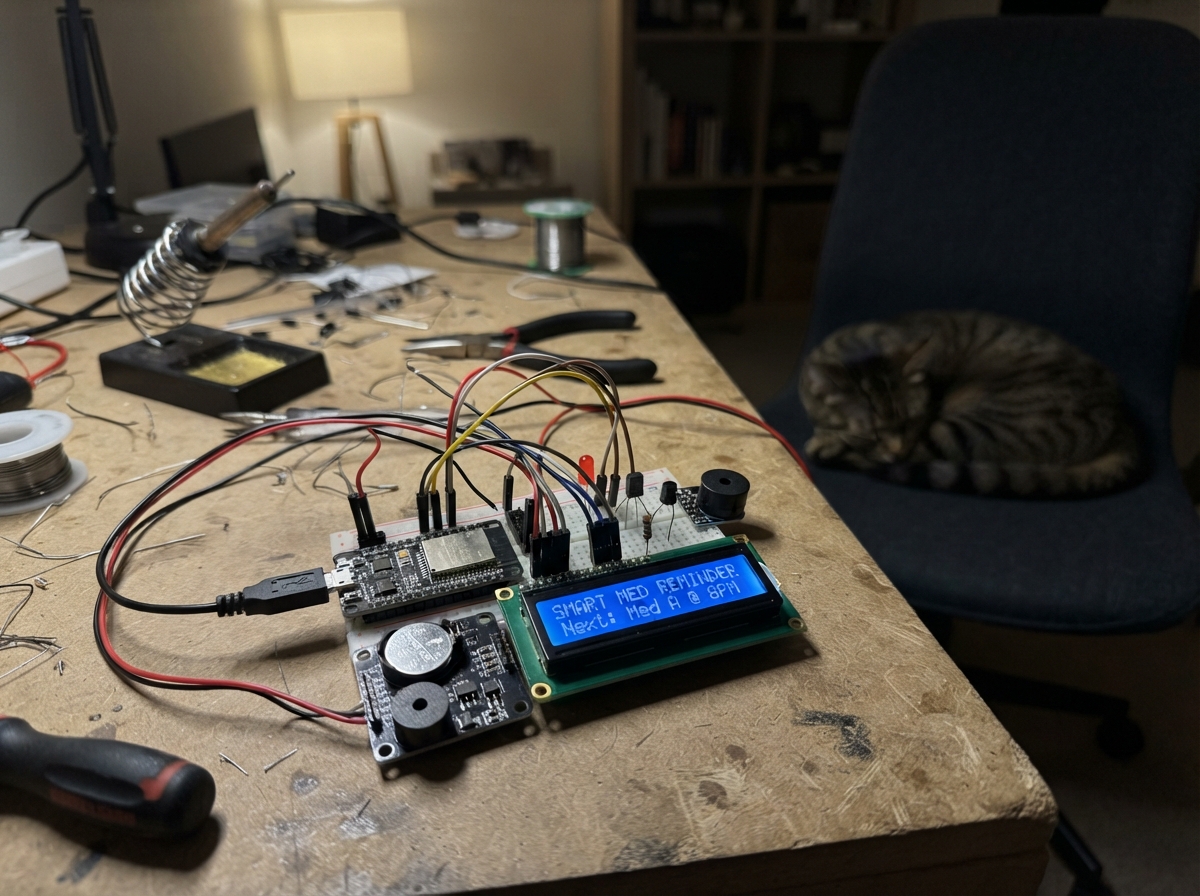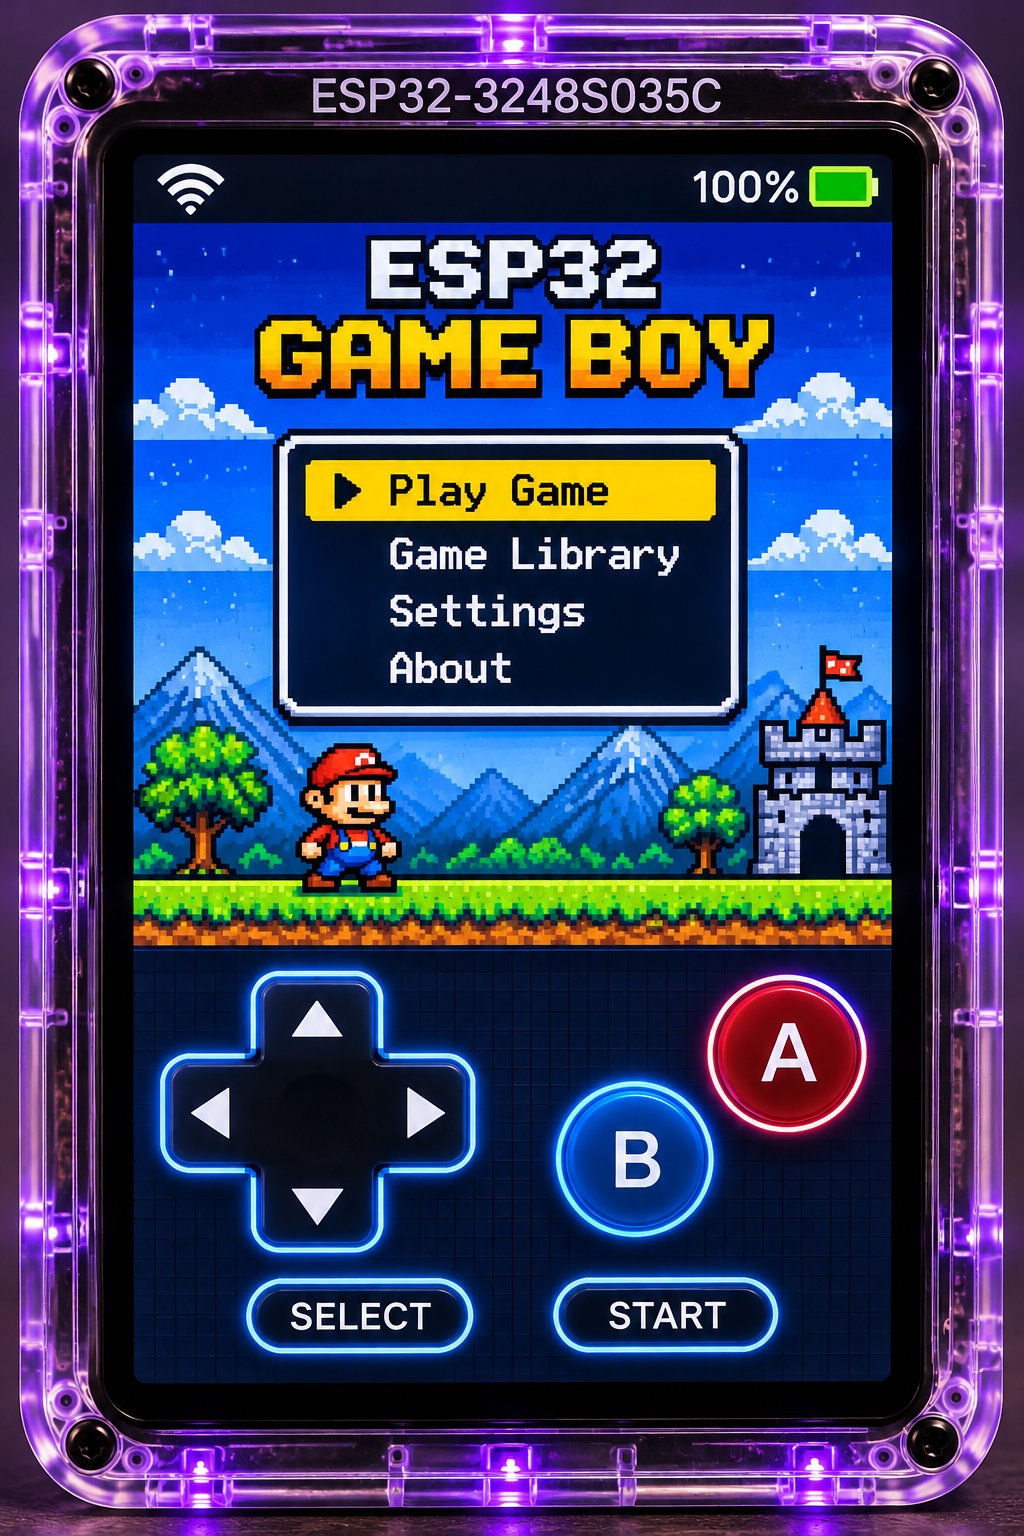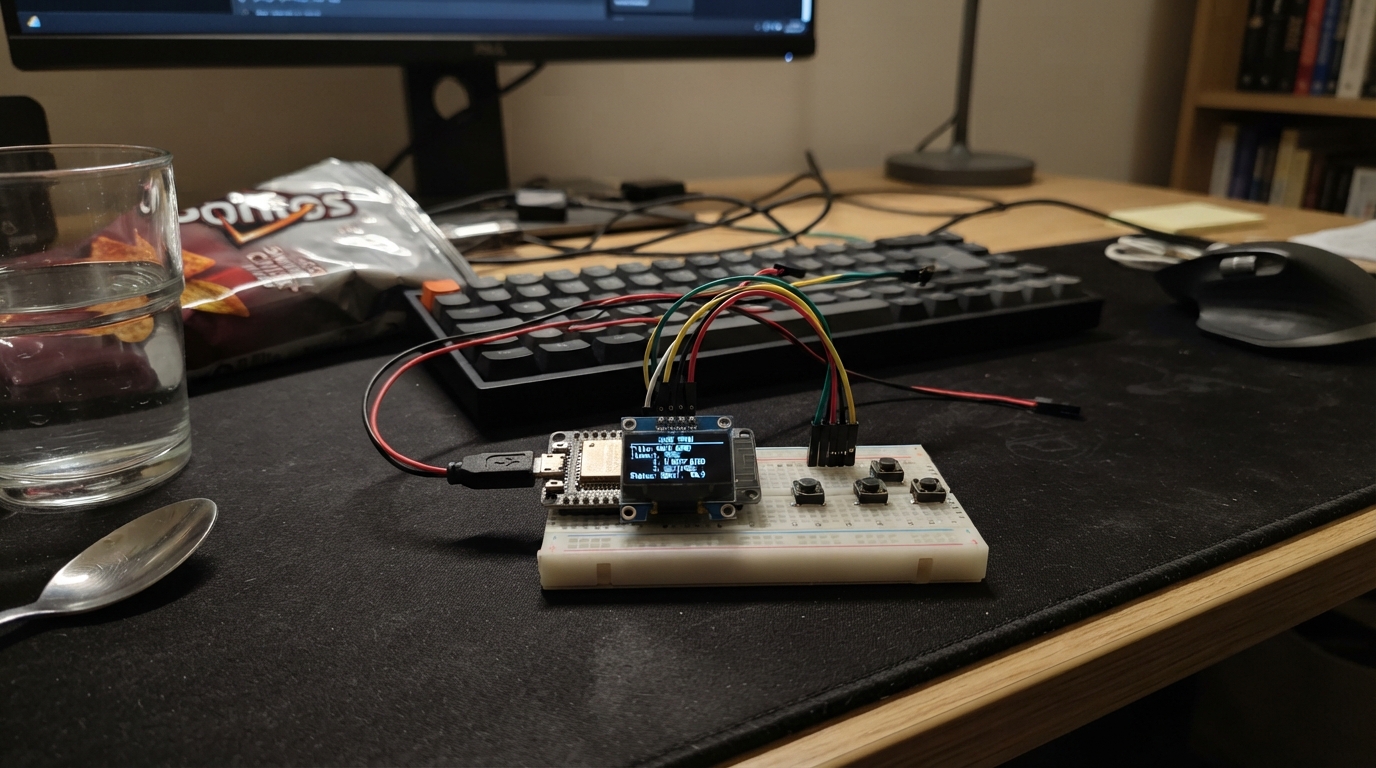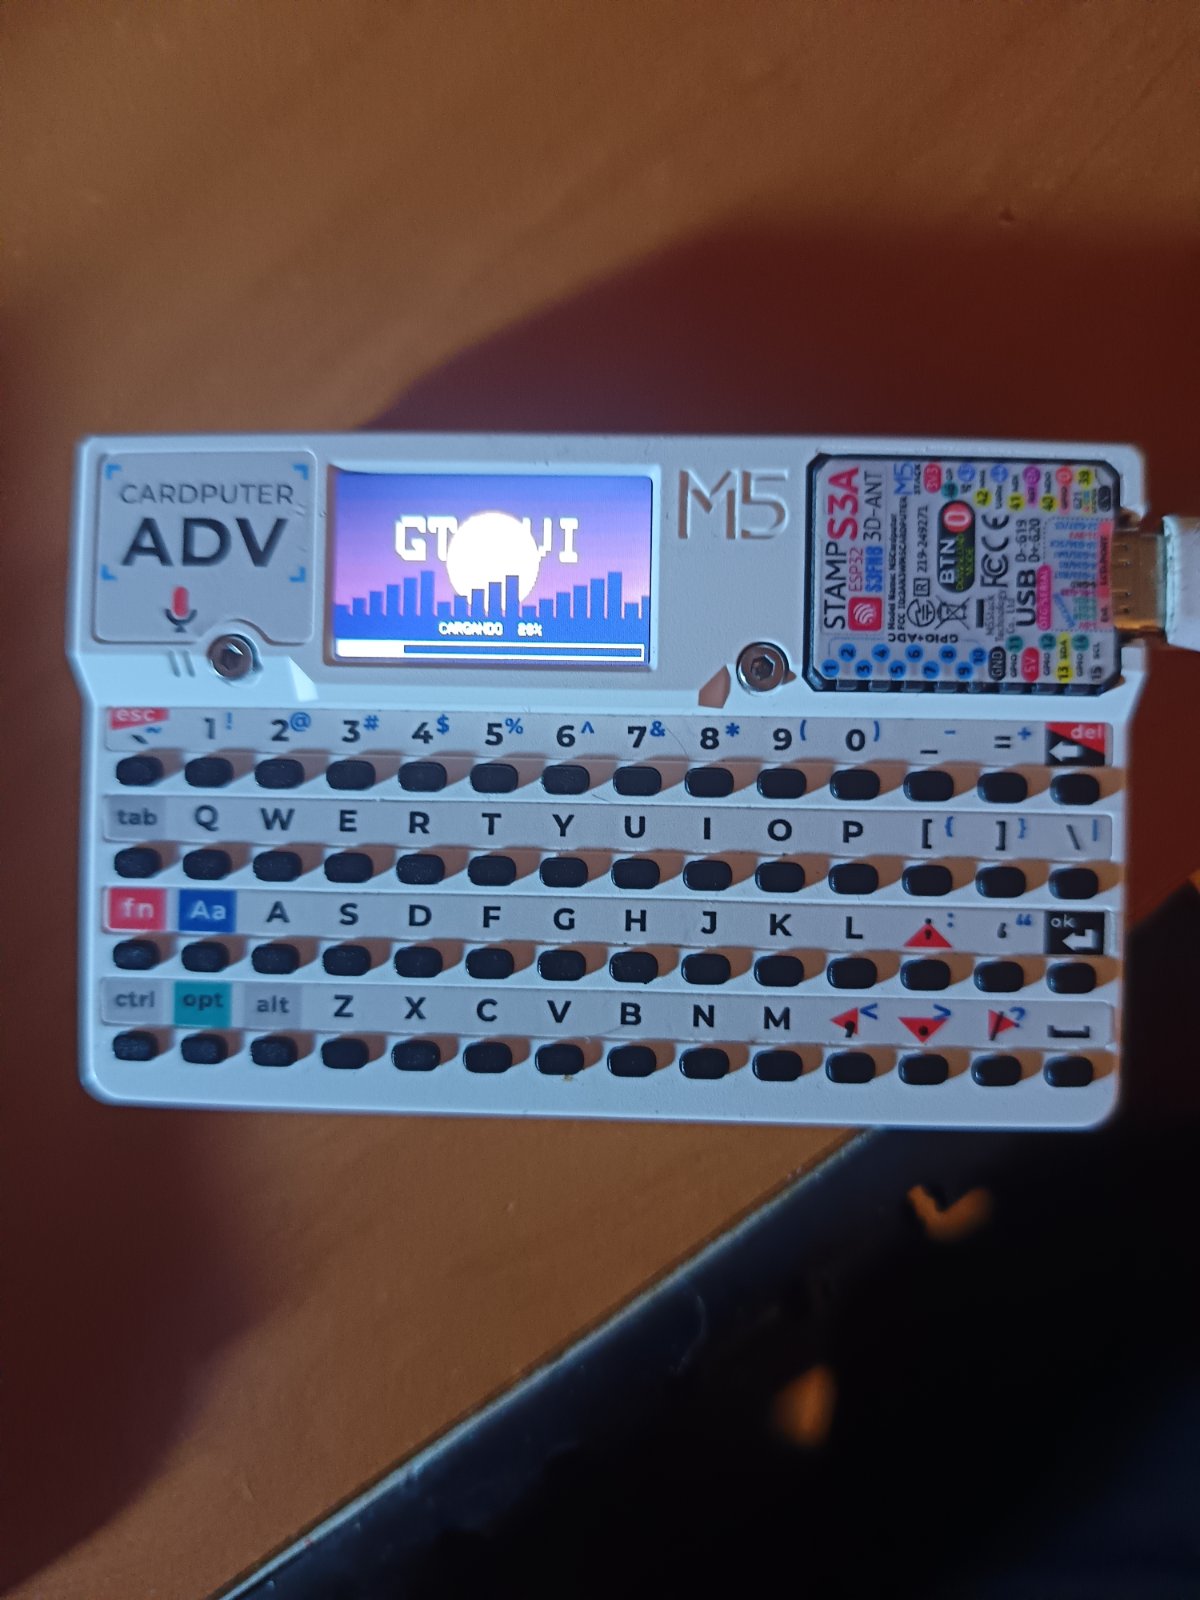
This project recreates the iconic GTA VI loading screen on an M5 Cardputer, complete with animated progress bar, themed graphics, and the game's signature audio cues. The guide includes a wiring diagram for connecting the Cardputer ADV, a complete parts list, and the Arduino firmware needed to display the animated intro sequence with sound effects.
Builders will learn how to work with the M5Cardputer's display and speaker capabilities, implement timed animations and state transitions, and create custom graphics using color manipulation. The project demonstrates practical techniques for building interactive loading screens and menu systems on compact embedded platforms.
Wiring diagram
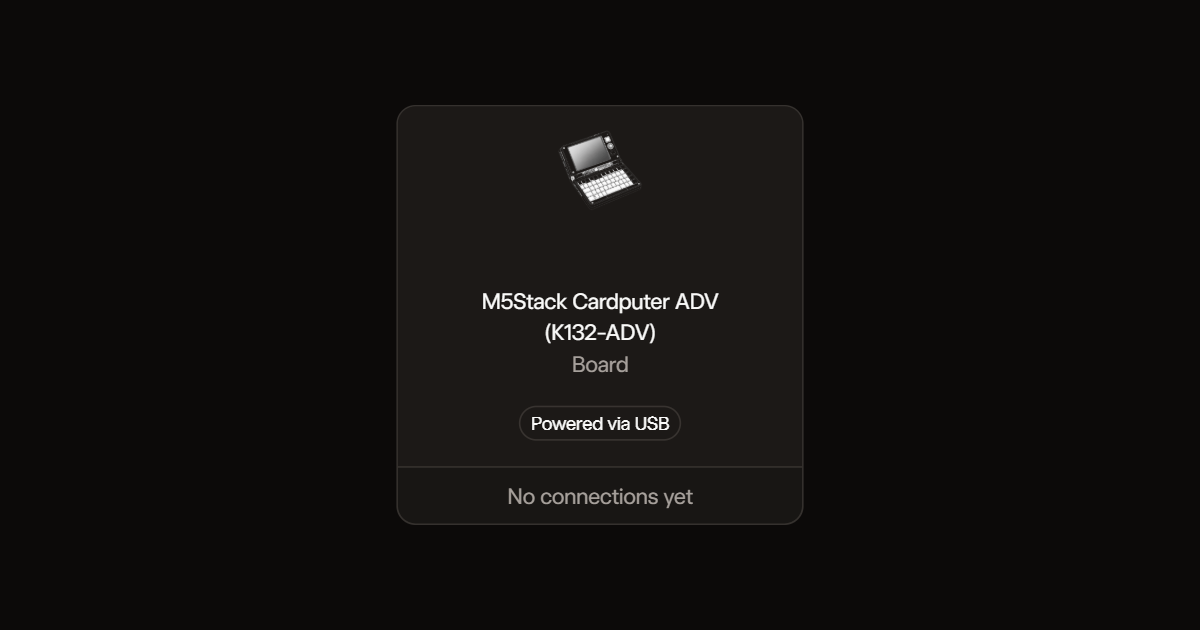
Assemble it in 1 step
1. Conecta la Cardputer ADV
Usa un cable USB-C de datos. La pantalla y el altavoz ya vienen integrados; no necesitas cables adicionales ni tarjeta microSD.
Deploy the firmware
#include <Arduino.h>
#include <M5Cardputer.h>

uint32_t start;
int last = -1, beat = -1;
const uint16_t melody[] = {220,330,440,392,196,294,392,330,175,262,349,330,196,294,392,440};
void setup() {
  auto cfg = M5.config();
  M5Cardputer.begin(cfg, false);
  auto &d = M5Cardputer.Display;
  d.setRotation(1);
  if (d.width() < d.height()) d.setRotation(0);
  d.setTextDatum(textdatum_t::middle_center);
  for (int y=0;y<135;++y)
    d.drawFastHLine(0,y,240,d.color565(30+y,8+y/5,78+y/3));
  d.fillCircle(120,62,34,d.color565(255,145,105));
  for(int x=0;x<240;x+=13){
    int h=7+(x*17)%27;
    d.fillRect(x,101-h,11,h,0x180C);
  }
  d.setTextColor(TFT_WHITE);
  d.setTextSize(4);
  d.drawString("GTA VI",120,49);
  d.fillRect(0,101,240,34,0x180C);
  d.drawRect(4,121,232,10,TFT_WHITE);
  M5Cardputer.Speaker.setVolume(80);
  start=millis();
}
void loop(){
  constexpr unsigned long loadMs = 15000;
  auto &d = M5Cardputer.Display;
  if(last==100){
    static int screen=0;
    static unsigned long changed=millis();
    unsigned long elapsed=millis()-changed;
    if(screen==0 && elapsed>=350){
      d.fillScreen(TFT_BLACK);
      d.setTextSize(2);
      d.setTextColor(TFT_RED);
      d.drawString("ERROR CRITICO",120,52);
      d.drawString("DE MEMORIA",120,82);
      screen=1;
      changed=millis();
    } else if(screen==1 && elapsed>=2500){
      d.fillScreen(TFT_BLACK);
      d.setTextColor(TFT_WHITE);
      d.drawString("TRABAJA DURO,",120,36);
      d.drawString("COMPRA PS5,",120,67);
      d.drawString("JUEGALO!",120,98);
      screen=2;
    }
    delay(20);
    return;
  }
  unsigned long t=millis()-start;
  int p=t>=loadMs?100:t/(loadMs/100);
  int b=t/300;
  if(p<100 && b!=beat){beat=b; M5Cardputer.Speaker.tone(melody[b%16],190);}
  if(p!=last){
    last=p;
    int w=230*p/100;
    if(w) d.fillRect(5,122,w,8,0xFF38);
    d.fillRect(0,102,240,18,0x180C);
    d.setTextSize(1);
    if(p==100) d.drawString("100%",120,111);
    else d.drawString(String("CARGANDO  ")+p+"%",120,111);
  }
  delay(8);
}
Remix this project
Make it yours in one click
Open a full copy of this project in your own Schematik workspace, diagram, code, parts, and assembly steps included. Swap the sensor, add features, or redesign the whole thing with AI. The author's original stays untouched.