Community project
人脸识别门锁
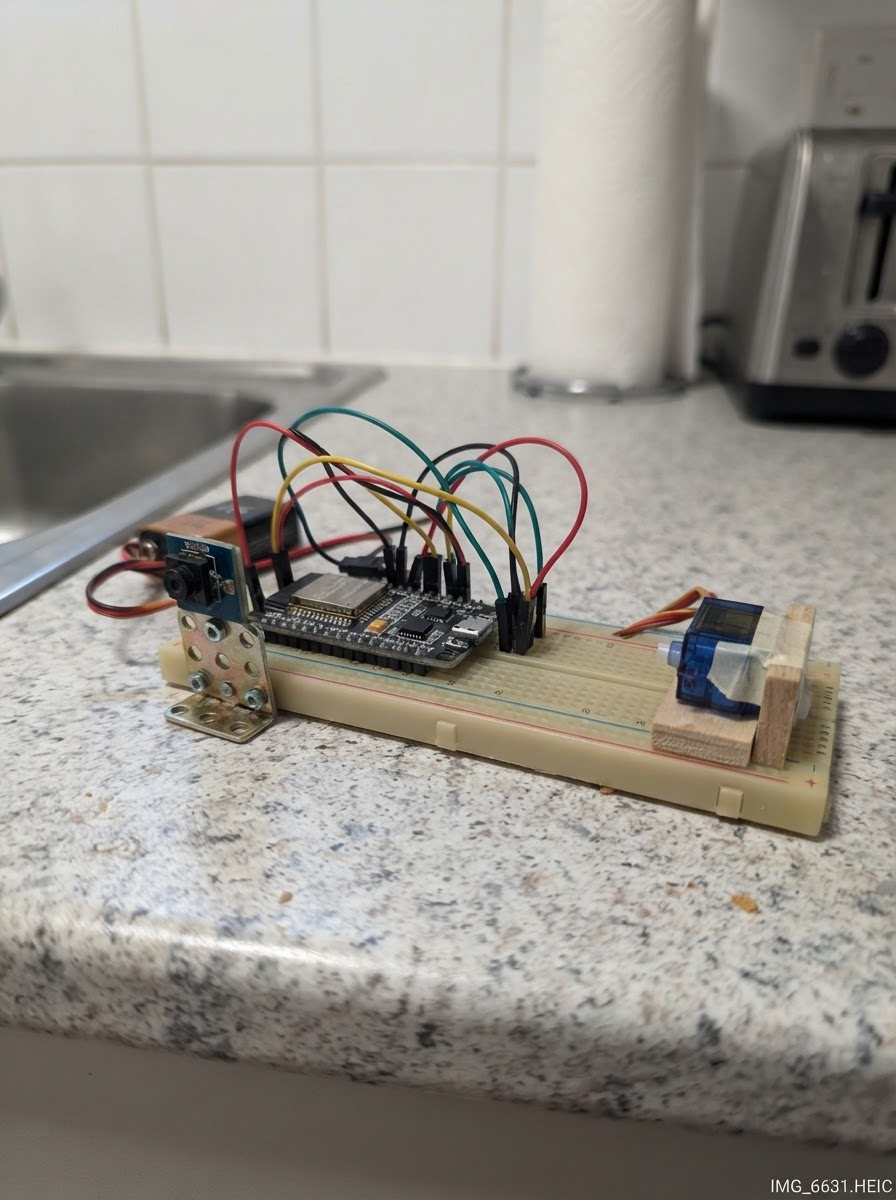
This project builds a face recognition door lock using an ESP32 microcontroller paired with AI-powered facial recognition. The system can enroll authorized faces and then verify visitors in real-time, triggering a simulated unlock when a recognized face is detected. The guide includes a wiring diagram, complete parts list, pre-loaded firmware, and step-by-step assembly instructions to get the smart lock operational.
Builders will learn how to set up the ESP32 with a camera module and display interface, enroll face data through a simple button interface, and test the recognition system with visual feedback via RGB status indicators. The firmware handles enrollment, verification, and access control logic, making this an ideal project for exploring computer vision and IoT security applications.
Wiring diagram
Assemble it in 3 steps
1. 放置并供电
将 UNIHIKER K10 放在稳定的桌面或门锁模型正前方,使板载摄像头正对使用者脸部;使用数据 USB 线连接电脑或稳定的 USB 电源。此项目只使用 K10 板载摄像头、按键、显示屏和 3 颗 RGB 灯,不连接任何外部元件。
- 拍摄时避免强烈背光,脸部距离摄像头约 30–80 cm。
- 部署固件后,屏幕会显示实时摄像头画面与当前状态。
- 本项目仅用 RGB 灯模拟开锁;请勿将 K10 的 GPIO 直接接到电锁、电磁锁或市电设备。真实门锁必须使用额定隔离驱动和独立电源。
2. 录入授权人脸
固件运行后,让准备授权的人正对摄像头,按一下板载 A 键。RGB 灯变蓝表示已发送录入命令;保持脸部稳定,等待约 3 秒后系统回到待机状态。首次录入的人脸通常获得 ID 1,正好与固件中的授权 ID 相符。
- 一次只让一张脸出现在画面内。
- 若要授权另一位使用者,需要在固件中把 AUTHORIZED_FACE_ID 改为该人录入后获得的 ID。
- 人脸数据是本地识别数据;在共享设备上仅录入已获同意的人员。
3. 验证并观察模拟开锁
让已录入的授权人脸对准摄像头并按板载 B 键。RGB 灯蓝色表示正在识别;识别到 ID 1 时,3 颗灯变绿并维持约 3 秒,表示“门已打开”。未授权或未识别的人脸会使灯变红约 3 秒,表示拒绝访问。
- 每次测试前等灯恢复熄灭和屏幕显示“Door locked”。
- 保持正面、光线均匀可提高识别稳定性。
- 人脸识别适合教学演示,不能作为高安全性门禁的唯一认证方式。
Deploy the firmware
#include <Arduino.h>
#include "unihiker_k10.h"
#include "AIRecognition.h"


enum DoorState {
  READY,
  ENROLLING,
  RECOGNIZING,
  GRANTED,
  DENIED
};


// Forward declarations
void setRgb(uint8_t red, uint8_t green, uint8_t blue);
void showStatus(const String &text);
void setReady();
void startEnrollment();
void startRecognition();
void onButtonAPressed();
void onButtonBPressed();
void handleRecognitionResult();

UNIHIKER_K10 k10;
AIRecognition ai;

// Face IDs are assigned from 1 upward as faces are enrolled.
// Change this only after enrolling the intended user and checking their ID.
const int AUTHORIZED_FACE_ID = 1;
const unsigned long RESULT_SHOW_MS = 3000;
const unsigned long BUTTON_DEBOUNCE_MS = 250;


DoorState doorState = READY;
unsigned long stateStartedMs = 0;
String lastStatus = "";

void setRgb(uint8_t red, uint8_t green, uint8_t blue) {
  k10.rgb->write(-1, red, green, blue);
}

void showStatus(const String &text) {
  if (text == lastStatus) {
    return;
  }
  lastStatus = text;
  // The K10 canvas is updated only when the visible status changes.
  k10.canvas->canvasClear();
  k10.canvas->canvasText(text.c_str(), 1, 0xFFFFFF);
  k10.canvas->canvasText("A: enroll   B: verify", 8, 0xFFFFFF);
  k10.canvas->updateCanvas();
}

void setReady() {
  doorState = READY;
  setRgb(0, 0, 0);
  showStatus("Door locked - show face");
}

void startEnrollment() {
  doorState = ENROLLING;
  stateStartedMs = millis();
  setRgb(0, 0, 255);  // Blue: enrollment command sent
  showStatus("Enrolling face... please wait");
  ai.sendFaceCmd(ENROLL);
}

void startRecognition() {
  doorState = RECOGNIZING;
  stateStartedMs = millis();
  setRgb(0, 0, 255);  // Blue: recognition in progress
  showStatus("Recognizing...");
  ai.sendFaceCmd(RECOGNIZE);
}

// Camera/AI operation uses the K10's button callbacks.  Keep these
// handlers brief; the actual face commands are supported by the K10 API.
void onButtonAPressed() {
  startEnrollment();
}

void onButtonBPressed() {
  startRecognition();
}

void handleRecognitionResult() {
  if (!ai.isRecognized()) {
    return;
  }

  // Read immediately: the API's recognition ID is a one-shot result.
  const int recognizedId = ai.getRecognitionID();
  stateStartedMs = millis();

  if (recognizedId == AUTHORIZED_FACE_ID) {
    doorState = GRANTED;
    setRgb(0, 255, 0);  // Green: simulated door unlocked
    showStatus("Access granted - door open");
  } else {
    doorState = DENIED;
    setRgb(255, 0, 0);  // Red: unknown or unauthorized face
    showStatus("Access denied");
  }
}

void setup() {
  k10.begin();
  k10.initScreen(2);

  ai.initAi();
  k10.initBgCamerImage();
  k10.setBgCamerImage(false);
  k10.creatCanvas();
  ai.switchAiMode(ai.NoMode);

  // Register callbacks before enabling camera/face mode, as required by
  // the K10 face-recognition example.
  k10.buttonA->setPressedCallback(onButtonAPressed);
  k10.buttonB->setPressedCallback(onButtonBPressed);

  k10.setBgCamerImage(true);
  ai.switchAiMode(ai.Face);

  k10.rgb->brightness(40);
  setReady();
}

void loop() {
  handleRecognitionResult();

  const unsigned long now = millis();
  if ((doorState == GRANTED || doorState == DENIED || doorState == ENROLLING) &&
      now - stateStartedMs >= RESULT_SHOW_MS) {
    setReady();
  }

  delay(20);
}
Remix this project
Make it yours in one click
Open a full copy of this project in your own Schematik workspace — diagram, code, parts, and assembly steps included. Swap the sensor, add features, or redesign the whole thing with AI. The author's original stays untouched.