Community project
Quantum Asset Tracker
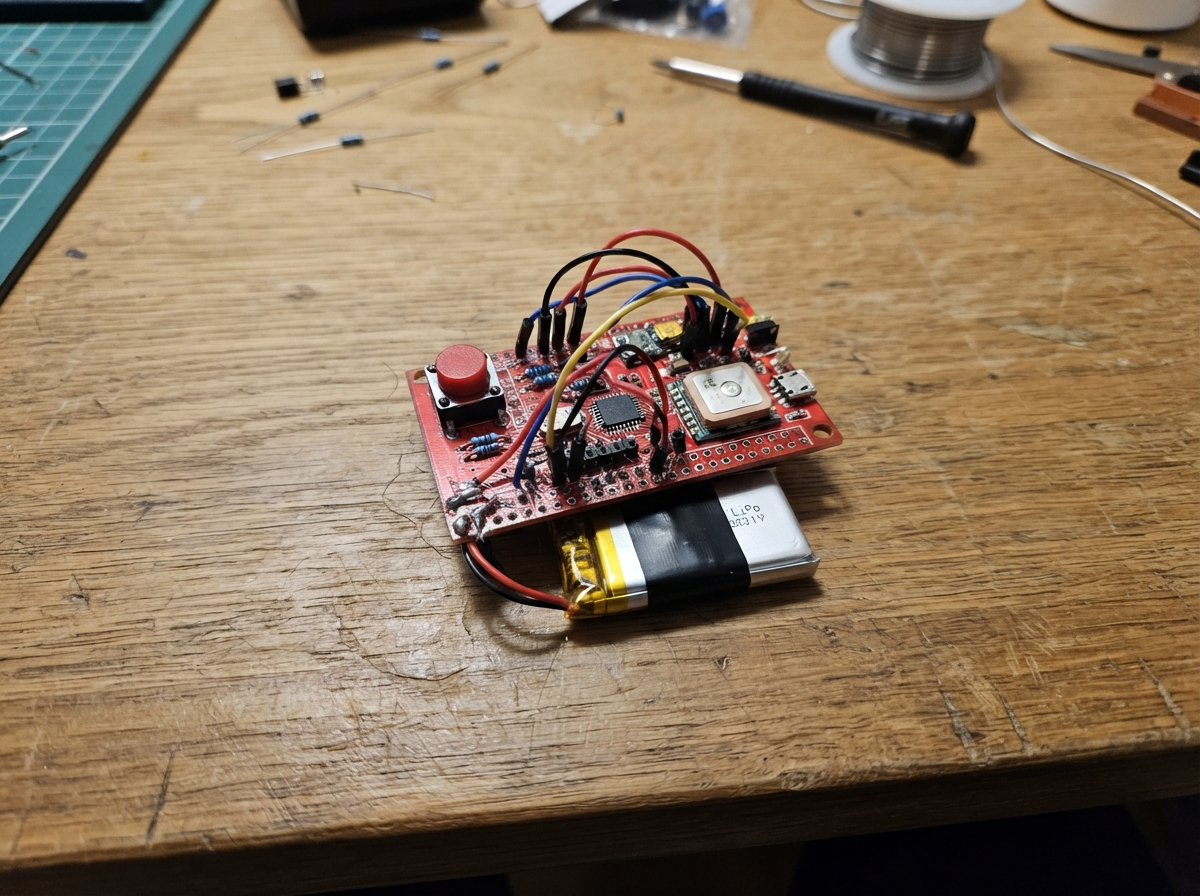
The Quantum Asset Tracker uses an ESP32-CAM to capture and analyze dust samples on prepared cards. A push button triggers image capture, which is processed to count particles and estimate coverage area. The guide provides a complete wiring diagram, parts list, and step-by-step assembly instructions to get the system running.
This project stores captured images and analysis data on a microSD card, accessible via a web interface served by the ESP32. Readers will learn how to wire the camera module, configure the push-button input, set up Wi-Fi connectivity, and deploy the firmware that powers real-time particle counting and logging.
Wiring diagram

Gather all the parts
Assemble it in 4 steps
1. Prepare a dust sample card
Cut a flat piece of matte-black card about the size of a postcard and place it under the ESP32-CAM. Put a small amount of dry, light-colored dust on the card and spread it into separate specks with a clean soft brush; this gives the camera a dark background so the visible specks stand out.
- Keep a clean, unused black card nearby so you can make a zero-dust comparison scan.
- Use only dry, non-hazardous household dust for this first version.
- Do not scan unknown powder, mould, ash, silica, or other material that could be harmful if disturbed; do not blow dust toward your face or the camera.
2. Set the camera close and focus it
Mount the ESP32-CAM directly above the black card, with the lens facing straight down. Start about 8 to 12 cm above the card, shine an even room light onto the card, and carefully turn the small lens ring a tiny amount until dust specks look sharp in the saved scan image.
- Keep this height, focus setting, and lighting unchanged when comparing measurements.
- The built-in white light flashes during each scan, but extra even side lighting makes faint specks easier to see.
- Do not force the lens ring or touch the camera sensor behind the lens; either can damage the camera.
3. Wire the capture button
Connect one leg of the momentary push button (capture_button) to an ESP32-CAM GND pin (ground). Connect the opposite leg to GPIO3/U0R (scan signal). A short press takes one dust scan.
- Use opposite legs of a four-leg tactile button; two legs on the same side are already connected.
- A quick tap counts once; holding the button does not create repeated scans.
- GPIO3 is used while the board is programmed. If the button prevents deployment, unplug its GPIO3 wire while deploying and reconnect it afterward.
4. Insert the data card and scan with your phone
With USB power unplugged, insert a FAT32-formatted microSD card into the ESP32-CAM’s built-in card socket. Power the board, join the CountStation Wi-Fi network on your phone, then open http://192.168.4.1 in the phone browser. Choose Visible dust specks and press Take picture and count; the phone shows the count and the station saves it in records.csv.
- The station Wi-Fi password is count1234.
- Download records.csv from the page when you want to keep the measurements elsewhere.
- This counts only separate dust specks that are visible to this camera at the chosen focus and distance; it cannot count microscopic particles or identify what the dust is made of.
Review all connections
1. Connections between "capture_button" and "ESP32"
Deploy the firmware
#include <Arduino.h>

// The physical ESP32-CAM build uses Wi-Fi, camera, and microSD storage.
// The browser simulator builds a minimal placeholder only; it does not emulate these peripherals.
#if defined(ARDUINO_ARCH_ESP32)
#include <WiFi.h>
#include <WebServer.h>
#include "esp_camera.h"
#include "FS.h"
#include "SD_MMC.h"

// AI Thinker ESP32-CAM's built-in OV2640 camera wiring.
#define PWDN_GPIO_NUM 32
#define RESET_GPIO_NUM -1
#define XCLK_GPIO_NUM 0
#define SIOD_GPIO_NUM 26
#define SIOC_GPIO_NUM 27
#define Y9_GPIO_NUM 35
#define Y8_GPIO_NUM 34
#define Y7_GPIO_NUM 39
#define Y6_GPIO_NUM 36
#define Y5_GPIO_NUM 21
#define Y4_GPIO_NUM 19
#define Y3_GPIO_NUM 18
#define Y2_GPIO_NUM 5
#define VSYNC_GPIO_NUM 25
#define HREF_GPIO_NUM 23
#define PCLK_GPIO_NUM 22


// Forward declarations
bool startCamera();
void appendRecord(int count, int coverage, const String &kind);
int countObjects(camera_fb_t *fb, int &coverage);
String captureAndCount();

const int CAPTURE_BUTTON_PIN = 3;
// GPIO4 drives the AI Thinker board's built-in white flash LED.
const int FLASH_LED_PIN = 4;
const char *AP_NAME = "CountStation";
const char *AP_PASSWORD = "count1234";

WebServer server(80);
String selectedType = "nuts";
volatile bool scanRequested = false;
bool sdReady = false;
unsigned long lastButtonChange = 0;
bool previousButton = HIGH;
int lastCount = 0;
int lastCoverage = 0;
String lastType = "none";
String lastFile = "";

const char PAGE[] PROGMEM = R"HTML(
<!doctype html><html><head><meta name="viewport" content="width=device-width,initial-scale=1"><style>
body{font-family:Arial;margin:24px;background:#f3f5f7;color:#17212b}main{max-width:560px;background:white;padding:22px;border-radius:12px;box-shadow:0 2px 12px #bbc}button,select{font-size:18px;padding:10px;margin:8px 0;width:100%}.result{font-size:22px;background:#e8f4ea;padding:14px;border-radius:8px}small{color:#52606d}</style></head><body><main>
<h1>Camera Count Station</h1><p>Use your phone as the screen: join the station Wi-Fi, open this page, and view each scan. Put one item type at a time on a matte black tray.</p>
<label>What is on the tray?</label><select id="kind"><option value="nuts">Nuts</option><option value="bolts">Bolts</option><option value="matchsticks">Matchsticks</option><option value="dust">Visible dust specks</option></select>
<button onclick="setType()">Set item type</button><button onclick="scan()">Take picture and count</button>
<div class="result" id="r">Waiting for a scan.</div><p><a href="/records.csv">Download saved CSV records</a></p><small>For dust, this counts separate visible specks on the black sample card and also records their visible coverage. It cannot count particles smaller than the camera can resolve.</small>
<script>async function setType(){await fetch('/type?value='+encodeURIComponent(kind.value));show('Item type set to '+kind.value+'.');}async function scan(){show('Taking picture...');let x=await fetch('/scan');show(await x.text());}function show(t){document.getElementById('r').textContent=t;}</script>
</main></body></html>
)HTML";

bool startCamera() {
  camera_config_t c = {};
  c.ledc_channel = LEDC_CHANNEL_0; c.ledc_timer = LEDC_TIMER_0;
  c.pin_d0 = Y2_GPIO_NUM; c.pin_d1 = Y3_GPIO_NUM; c.pin_d2 = Y4_GPIO_NUM; c.pin_d3 = Y5_GPIO_NUM;
  c.pin_d4 = Y6_GPIO_NUM; c.pin_d5 = Y7_GPIO_NUM; c.pin_d6 = Y8_GPIO_NUM; c.pin_d7 = Y9_GPIO_NUM;
  c.pin_xclk = XCLK_GPIO_NUM; c.pin_pclk = PCLK_GPIO_NUM; c.pin_vsync = VSYNC_GPIO_NUM; c.pin_href = HREF_GPIO_NUM;
  c.pin_sccb_sda = SIOD_GPIO_NUM; c.pin_sccb_scl = SIOC_GPIO_NUM; c.pin_pwdn = PWDN_GPIO_NUM; c.pin_reset = RESET_GPIO_NUM;
  c.xclk_freq_hz = 20000000; c.pixel_format = PIXFORMAT_GRAYSCALE;
  c.frame_size = FRAMESIZE_QQVGA; c.jpeg_quality = 12; c.fb_count = 1;
  c.fb_location = CAMERA_FB_IN_PSRAM;
  return esp_camera_init(&c) == ESP_OK;
}

void appendRecord(int count, int coverage, const String &kind) {
  if (!sdReady) return;
  File file = SD_MMC.open("/records.csv", FILE_APPEND);
  if (!file) return;
  file.printf("%lu,%s,%d,%d,%s\n", millis(), kind.c_str(), count, coverage, lastFile.c_str());
  file.close();
}

int countObjects(camera_fb_t *fb, int &coverage) {
  const int w = fb->width, h = fb->height;
  const int pixels = w * h;
  uint8_t *mask = (uint8_t *)malloc(pixels);
  int *queue = (int *)malloc(pixels * sizeof(int));
  if (!mask || !queue) { free(mask); free(queue); coverage = 0; return 0; }

  int bright = 0;
  // Dust needs a brighter threshold and a much smaller minimum area than whole objects.
  const bool dustMode = (selectedType == "dust");
  const uint8_t threshold = dustMode ? 135 : 105;
  const int minimumArea = dustMode ? 4 : 60;
  // A matte-black sample card and fixed flash make light pixels candidate objects or visible dust specks.
  for (int i = 0; i < pixels; ++i) { mask[i] = fb->buf[i] > threshold; if (mask[i]) bright++; }
  coverage = (bright * 100) / pixels;
  int objects = 0;
  for (int start = 0; start < pixels; ++start) {
    if (!mask[start]) continue;
    int head = 0, tail = 0, area = 0;
    queue[tail++] = start; mask[start] = 0;
    while (head < tail) {
      int p = queue[head++]; area++;
      int x = p % w, y = p / w;
      const int neighbors[4] = {p - 1, p + 1, p - w, p + w};
      for (int n = 0; n < 4; ++n) {
        int q = neighbors[n];
        if ((n == 0 && x == 0) || (n == 1 && x == w - 1) || (n == 2 && y == 0) || (n == 3 && y == h - 1)) continue;
        if (mask[q]) { mask[q] = 0; queue[tail++] = q; }
      }
    }
    // Ignore sensor noise, while retaining separate dust specks in dust mode.
    if (area >= minimumArea) objects++;
  }
  free(mask); free(queue);
  return objects;
}

String captureAndCount() {
  digitalWrite(FLASH_LED_PIN, HIGH);
  delay(120);
  camera_fb_t *fb = esp_camera_fb_get();
  digitalWrite(FLASH_LED_PIN, LOW);
  if (!fb) return "Camera capture failed. Check the camera ribbon is fully seated.";

  lastCount = countObjects(fb, lastCoverage);
  lastType = selectedType;
  lastFile = "";
  if (sdReady) {
    // Save the raw grayscale frame so a result can be checked later.
    lastFile = "/scan_" + String(millis()) + ".pgm";
    File image = SD_MMC.open(lastFile, FILE_WRITE);
    if (image) { image.printf("P5\n%d %d\n255\n", fb->width, fb->height); image.write(fb->buf, fb->len); image.close(); }
  }
  esp_camera_fb_return(fb);
  appendRecord(lastCount, lastCoverage, lastType);
  if (selectedType == "dust") return "Visible dust specks counted: " + String(lastCount) + ". They cover " + String(lastCoverage) + "% of the image. Record saved" + (sdReady ? " to the microSD card." : ", but no microSD card was found.");
  return "Counted " + String(lastCount) + " " + selectedType + ". Record saved" + (sdReady ? " to the microSD card." : ", but no microSD card was found.");
}

void setup() {
  pinMode(CAPTURE_BUTTON_PIN, INPUT_PULLUP);
  pinMode(FLASH_LED_PIN, OUTPUT); digitalWrite(FLASH_LED_PIN, LOW);
  Serial.begin(115200);
  if (!startCamera()) { Serial.println("Camera initialization failed"); }
  sdReady = SD_MMC.begin("/sdcard", true); // 1-bit mode leaves the camera-board wiring uncomplicated.
  if (sdReady && !SD_MMC.exists("/records.csv")) { File f = SD_MMC.open("/records.csv", FILE_WRITE); if (f) { f.println("milliseconds,item_type,count,dust_coverage_percent,image_file"); f.close(); } }
  WiFi.mode(WIFI_AP); WiFi.softAP(AP_NAME, AP_PASSWORD);
  server.on("/", [](){ server.send_P(200, "text/html", PAGE); });
  server.on("/type", [](){ if (server.hasArg("value")) selectedType = server.arg("value"); server.send(200, "text/plain", "Item type set."); });
  server.on("/scan", [](){ server.send(200, "text/plain", captureAndCount()); });
  server.on("/records.csv", [](){ if (!sdReady) { server.send(503, "text/plain", "No microSD card found."); return; } File f = SD_MMC.open("/records.csv"); if (!f) { server.send(404, "text/plain", "No records yet."); return; } server.streamFile(f, "text/csv"); f.close(); });
  server.begin();
  Serial.print("Join Wi-Fi "); Serial.print(AP_NAME); Serial.println(" then open http://192.168.4.1");
}

void loop() {
  server.handleClient();
  bool now = digitalRead(CAPTURE_BUTTON_PIN);
  if (previousButton == HIGH && now == LOW && millis() - lastButtonChange > 250) { scanRequested = true; lastButtonChange = millis(); }
  previousButton = now;
    if (scanRequested) { scanRequested = false; Serial.println(captureAndCount()); }
}
#else
void setup() {
  Serial.begin(115200);
  Serial.println("ESP32-CAM hardware functions are not emulated in the browser simulator.");
}

void loop() {}
#endif
Remix this project
Make it yours in one click
Open a full copy of this project in your own Schematik workspace — diagram, code, parts, and assembly steps included. Swap the sensor, add features, or redesign the whole thing with AI. The author's original stays untouched.