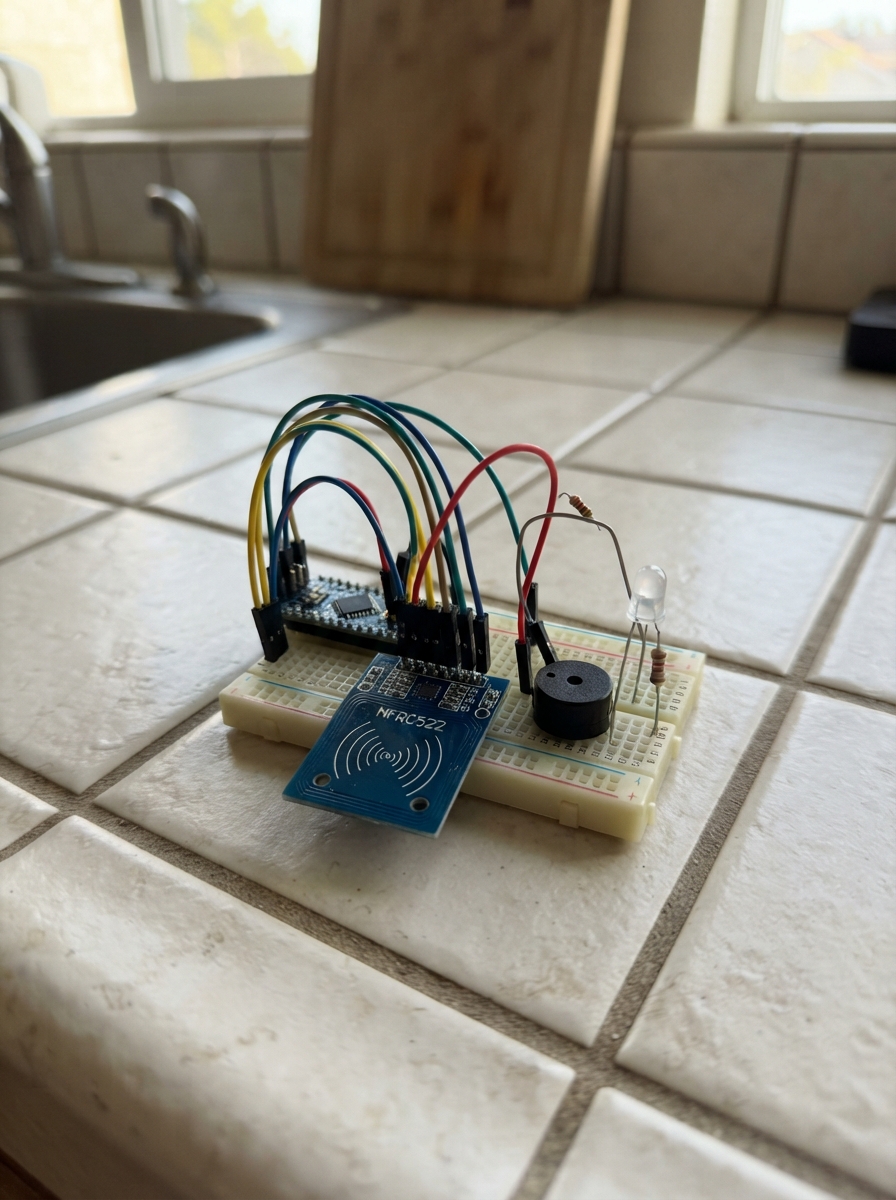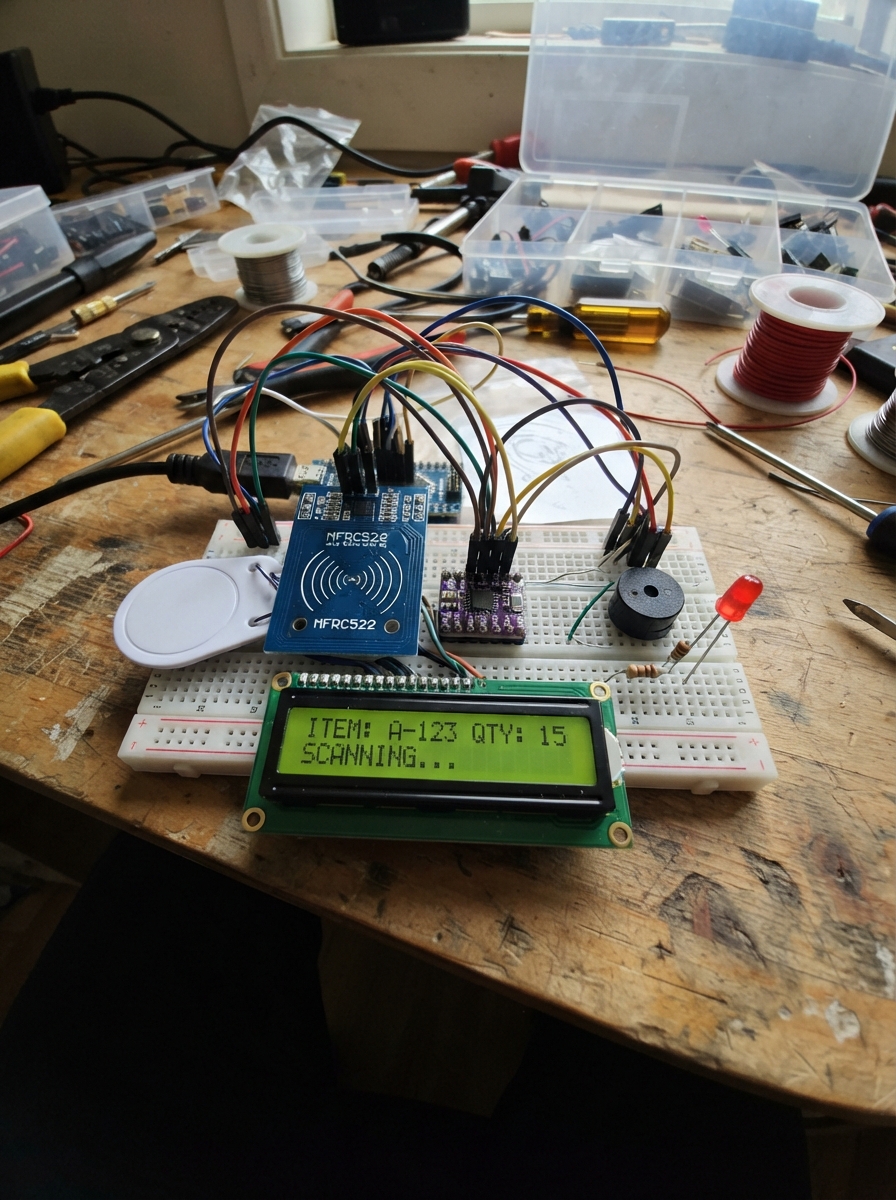
SmartStock Inventory Scanner is an RFID-based inventory management system that tracks product quantities and values on an Arduino Uno. Each product is assigned an RFID tag, and the system stores up to 12 items with their quantities and prices in EEPROM. Users can enroll new tags, add stock, remove stock, and check inventory status with real-time alerts for low-stock conditions.
This guide provides a complete wiring diagram, parts list, and step-by-step assembly instructions for connecting the RC522 RFID reader, 16x2 LCD display, piezo buzzer, and status LEDs. The included firmware handles tag enrollment, inventory transactions, and displays product information with visual and audio alerts when stock runs low.
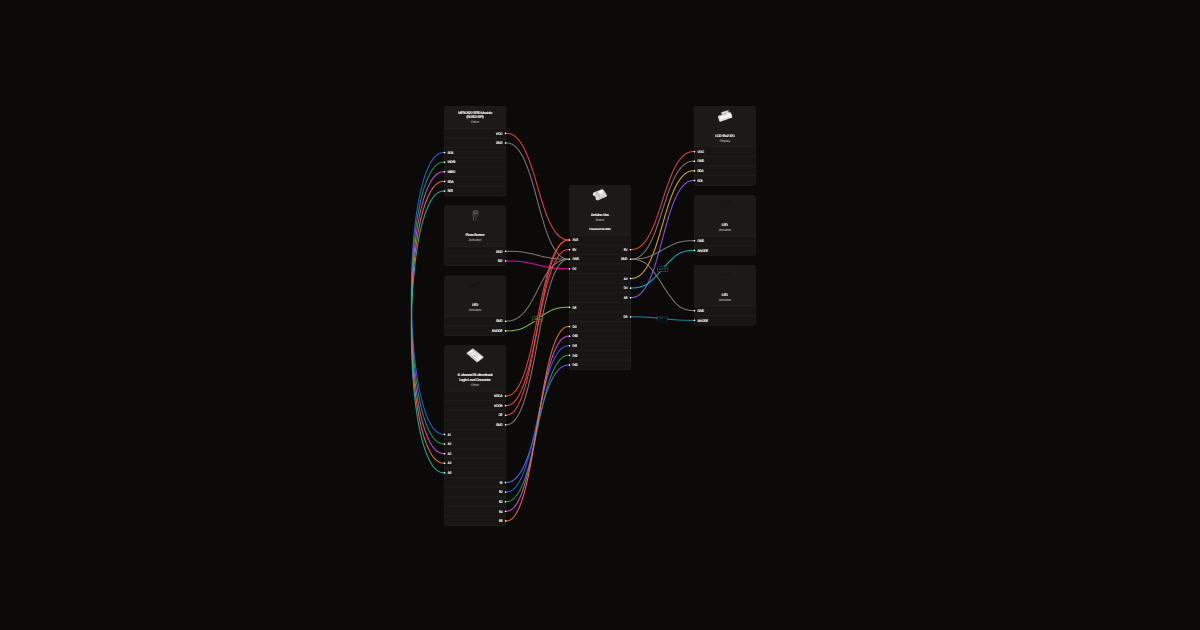
Wiring diagram
Gather all the parts
Assemble it in 3 steps
1. Mount the scanner
Attach the Uno and breadboard to the car chassis on insulating mounts. Face the LCD forward and mount the RFID reader on top, away from metal. Leave the chassis motors disconnected.
2. Protect the RFID reader
With USB unplugged, wire the TXB0108 translator as shown. Its A side faces the reader and its B side faces the Uno. Connect VCCA and OE to 3.3 V, VCCB to 5 V, and GND to Uno ground. The reader gets 3.3 V and shares ground. The reader pin labelled SDA is chip select, not LCD data. Keep SPI wires short.
- Never connect the reader to 5 V.
3. Connect the display and alerts
Wire LCD VCC to 5 V, GND to ground, SDA to A4 (data), and SCL to A5 (clock). Connect each LED long leg through its own 330 Ω resistor and its short leg to ground. Connect the passive piezo signal to D3 and its other lead to ground.
Review all connections
1. Connections between "reader" and "Arduino"
2. Connections between "lcd" and "Arduino"
3. Connections between "piezo" and "Arduino"
4. Connections between "greenR" and "Arduino"
5. Connections between "green" and "Arduino"
6. Connections between "redR" and "Arduino"
7. Connections between "red" and "Arduino"
8. Connections between "yellowR" and "Arduino"
9. Connections between "yellow" and "Arduino"
10. Connections between "shift" and "Arduino"
Deploy the firmware
#include <Arduino.h>
#include <SPI.h>
#include <Wire.h>
#include <EEPROM.h>
#include <MFRC522.h>
#include <LiquidCrystal_I2C.h>
MFRC522 rfid(10,9);
LiquidCrystal_I2C lcd(0x27,16,2);
struct Product { byte len, uid[10]; uint16_t qty, cents; };
Product products[12];
int8_t mode=-1;
bool enroll=false, readerOK=false;
uint16_t initial, price;
char line[32]; byte used=0; bool overflow=false;
void screen(const char *a,const char *b){
 static char old[2][17]; const char *s[]={a,b};
 for(byte i=0;i<2;i++){
  char row[17]; snprintf(row,sizeof(row),"%-16.16s",s[i]);
  if(strcmp(old[i],row)){lcd.setCursor(0,i);lcd.print(row);strcpy(old[i],row);}
 }
}
void lights(byte pin){for(byte i=4;i<=6;i++) digitalWrite(i,i==pin);}
void ready(){lights(6);screen(enroll?"New product": "Tiny SmartStock", !readerOK?"Check RFID wires":enroll?"Tap new tag":mode>0?"Tap to stock IN":mode<0?"Tap to stock OUT":"Tap to check");}
void record(byte i,const __FlashStringHelper *action){
 auto &p=products[i]; Serial.print(action);Serial.print(',');Serial.print(i+1);Serial.print(',');Serial.print(p.qty);Serial.print(',');Serial.print(p.cents);Serial.print(',');Serial.println((unsigned long)p.qty*p.cents);
}
void report(byte i){
 auto &p=products[i]; char a[17],b[17]; unsigned long v=(unsigned long)p.qty*p.cents;
 snprintf(a,sizeof(a),"SKU%u Qty:%u",i+1,p.qty);
 snprintf(b,sizeof(b),"%s$%lu.%02u",p.qty<=2?"LOW ":"Value ",v/100,(unsigned)(v%100));
 screen(a,b);lights(p.qty<=2?5:4); if(p.qty<=2)tone(3,2400,220);
}
void command(){
 if(!strcmp(line,"in")){mode=1;enroll=false;ready();}
 else if(!strcmp(line,"out")){mode=-1;enroll=false;ready();}
 else if(!strcmp(line,"check")){mode=0;enroll=false;ready();}
 else if(!strcmp(line,"list")){
  unsigned long total=0;
  for(byte i=0;i<12;i++)if(products[i].len){record(i,F("ITEM"));total+=(unsigned long)products[i].qty*products[i].cents;}
  Serial.print(F("TOTAL_CENTS,"));Serial.println(total);
 }else{
  unsigned long q,p; char extra;
  if(sscanf(line,"add %lu %lu %c",&q,&p,&extra)==2 && q<=999 && p<=9999){initial=q;price=p;enroll=true;ready();}
  else Serial.println(F("Commands: add QTY PRICE_CENTS | in | out | check | list (send newline)"));
 }
}
void setup(){
 Serial.begin(115200); Wire.begin(); lcd.init();lcd.backlight();
 for(byte p=4;p<=6;p++)pinMode(p,OUTPUT);
 for(byte i=0;i<12;i++){EEPROM.get(i*sizeof(Product),products[i]);auto &p=products[i];if((p.len!=4 && p.len!=7 && p.len!=10)||p.qty>999||p.cents>9999)p.len=0;}
 SPI.begin();rfid.PCD_Init();byte version=rfid.PCD_ReadRegister(MFRC522::VersionReg);readerOK=version!=0 && version!=255;
 Serial.println(F("event,sku,quantity,unit_cents,value_cents"));Serial.println(F("Add a product: add 5 250 then tap its tag. Commands: in, out, check, list."));ready();
}
void loop(){
 while(Serial.available()){
  char c=Serial.read();if(c=='\r')continue;
  if(c=='\n'){line[used]=0;if(used&&!overflow)command();used=0;overflow=false;}
  else if(used<sizeof(line)-1)line[used++]=c;else overflow=true;
 }
 if(!readerOK||!rfid.PICC_IsNewCardPresent()||!rfid.PICC_ReadCardSerial())return;
 byte n=rfid.uid.size; int found=-1,freeSlot=-1;
 for(byte i=0;i<12;i++){auto &p=products[i];if(!p.len){if(freeSlot<0)freeSlot=i;}else if(p.len==n&&!memcmp(p.uid,rfid.uid.uidByte,n))found=i;}
 rfid.PICC_HaltA();
 if(enroll){
  if(found>=0||freeSlot<0|| (n!=4&&n!=7&&n!=10)){lights(5);screen("Cannot add tag",found>=0?"Already enrolled":freeSlot<0?"Catalog full":"Unsupported tag");return;}
  auto &p=products[freeSlot];p={};p.len=n;memcpy(p.uid,rfid.uid.uidByte,n);p.qty=initial;p.cents=price;
  EEPROM.put(freeSlot*sizeof(Product),p);enroll=false;record(freeSlot,F("ADD"));report(freeSlot);return;
 }
 if(found<0){lights(5);screen("Unknown tag","Enroll over USB");tone(3,500,160);return;}
 auto &p=products[found];
 if((mode<0&&!p.qty)||(mode>0&&p.qty==999)){lights(5);screen("Stock unchanged",mode<0?"Already empty":"Maximum is 999");tone(3,500,160);return;}
 if(mode){p.qty+=mode;EEPROM.put(found*sizeof(Product),p);record(found,mode>0?F("IN"):F("OUT"));}
 report(found);
}
Remix this project
Make it yours in one click
Open a full copy of this project in your own Schematik workspace, diagram, code, parts, and assembly steps included. Swap the sensor, add features, or redesign the whole thing with AI. The author's original stays untouched.