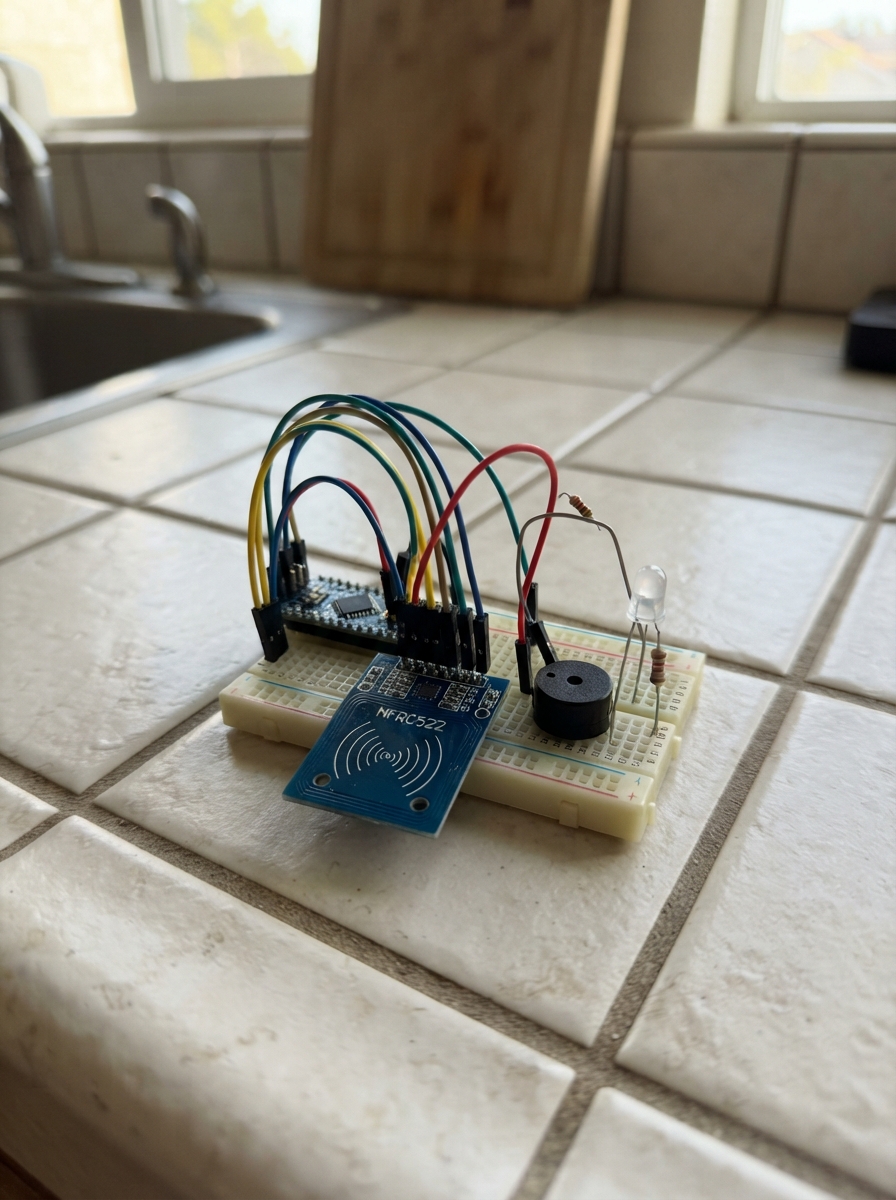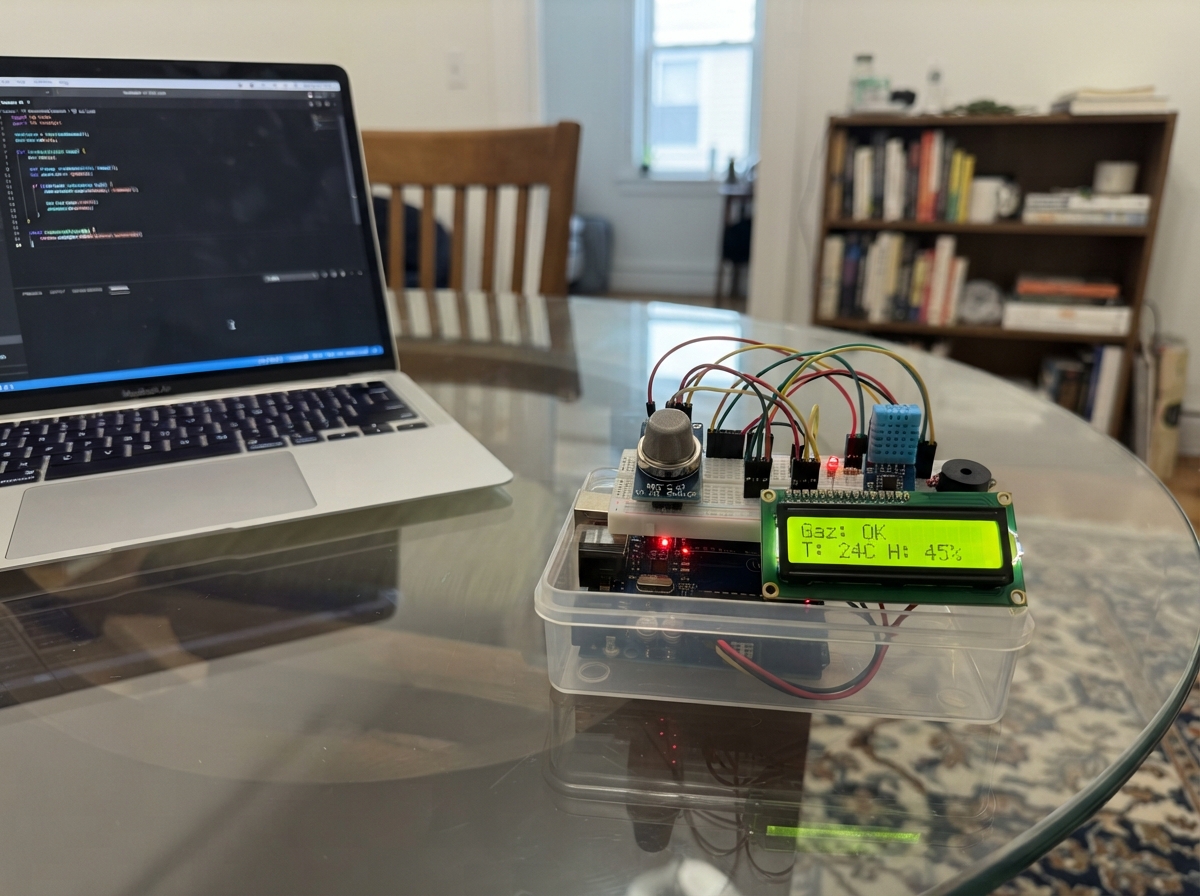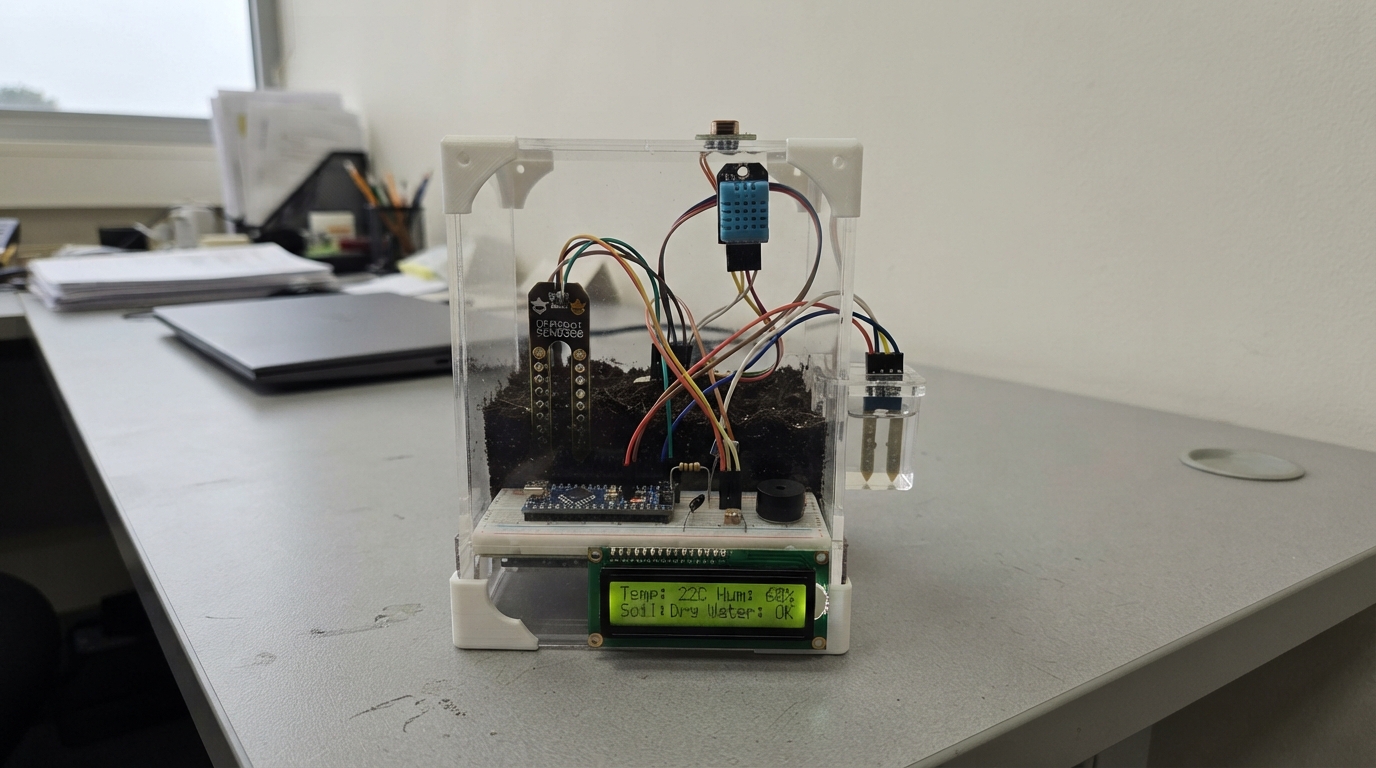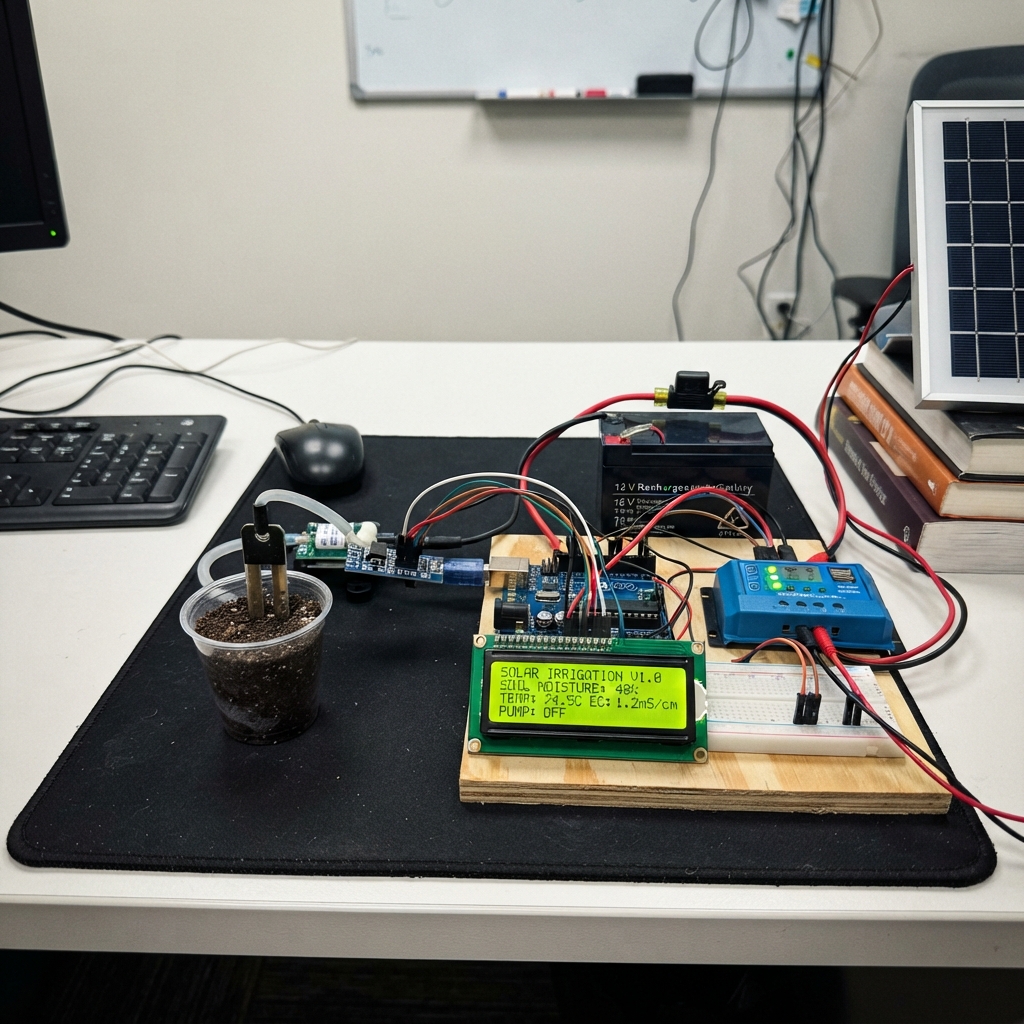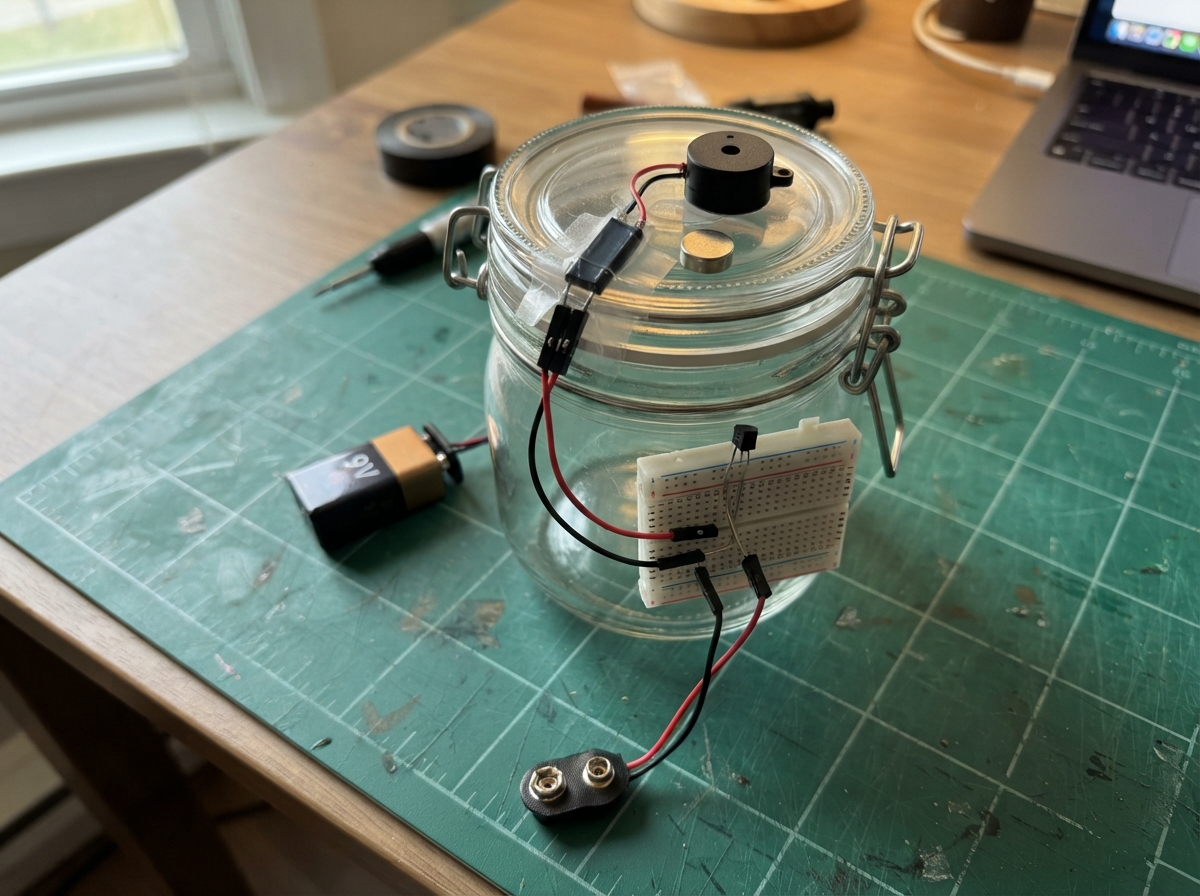
This project builds a simple alarm that sounds whenever a cookie jar is opened. The system uses a reed switch mounted on the jar's lid and a neodymium magnet on the base to detect when they separate, triggering a piezo buzzer to emit an alert. An Arduino Uno microcontroller manages the logic, making it easy to customize the alarm tone and duration.
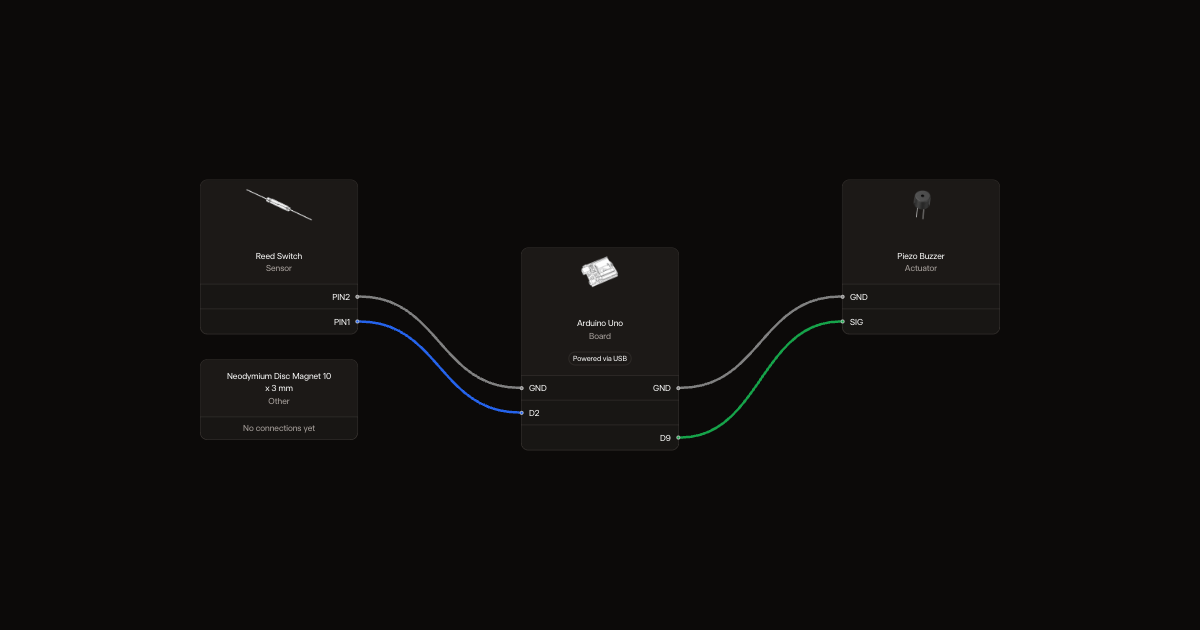
This guide provides a complete parts list, wiring diagram showing connections between the reed switch, buzzer, and Arduino, step-by-step assembly instructions for mounting the magnetic sensor, and the firmware needed to get the alarm working. The project is ideal for learning about magnetic switches and Arduino tone generation while creating a fun kitchen gadget.
Wiring diagram
Gather all the parts
Assemble it in 4 steps
1. Connect the reed switch
With USB disconnected, connect either reed-switch lead to Uno D2 (lid detection) and the other to GND (ground). Do not connect the switch to 5V. The firmware enables the Uno's internal pull-up resistor, so no separate resistor is needed.
- Disconnect USB before changing wires. The glass switch is fragile; protect it from impacts.
2. Connect the buzzer
Keep the passive piezo buzzer SIG lead connected to D9 (sound) and its other lead to GND. Use the specified passive piezo, not a magnetic speaker or high-current siren.
3. Mount the switch and magnet
Secure the reed switch outside the jar near the rim. Secure the magnet outside the lid next to the switch when closed. Position the magnet close to the switch when the lid is closed; the current buzzer-test program ignores the switch. Keep all electronics outside the food area.
- Fully enclose and firmly secure the magnet so it cannot fall into the jar. Swallowed magnets can cause severe internal injury; keep them away from children and pets.
4. Test the alarm
Plug in USB and press Deploy. The current buzzer-test program beeps for one second, then pauses for one second, regardless of the magnet or reed switch. Listen for repeating beeps. Restore the lid-detection program after testing to use this as a jar alarm.
Review all connections
1. Connections between "lid_sensor" and "Arduino"
2. Connections between "buzzer" and "Arduino"
Deploy the firmware
#include <Arduino.h>

// Buzzer test mode: deliberately ignores the reed switch.
constexpr uint8_t BUZZER_PIN = 9;

void setup() {
  pinMode(2, INPUT_PULLUP);
  pinMode(BUZZER_PIN, OUTPUT);
}

void loop() {
  tone(BUZZER_PIN, 4000);
  delay(1000);
  noTone(BUZZER_PIN);
  digitalWrite(BUZZER_PIN, LOW);
  delay(1000);
}
Remix this project
Make it yours in one click
Open a full copy of this project in your own Schematik workspace, diagram, code, parts, and assembly steps included. Swap the sensor, add features, or redesign the whole thing with AI. The author's original stays untouched.