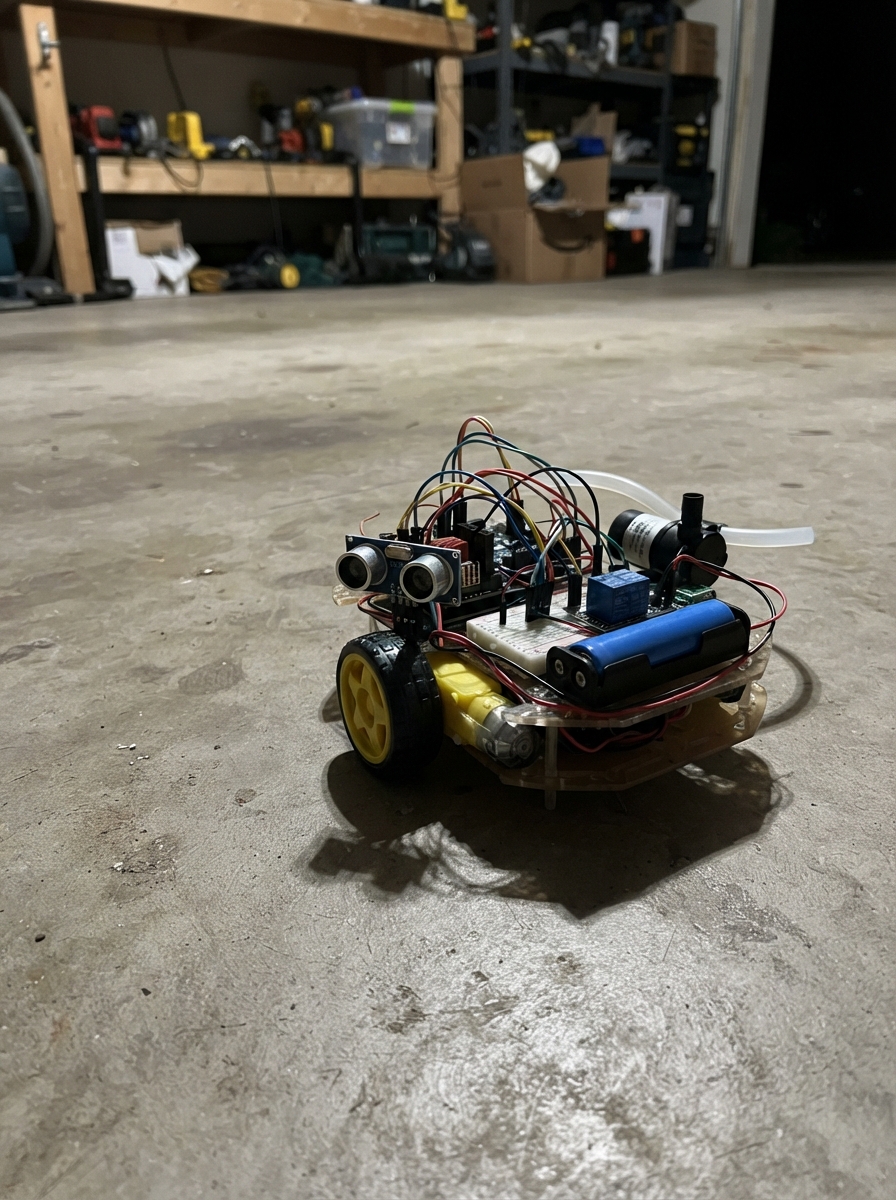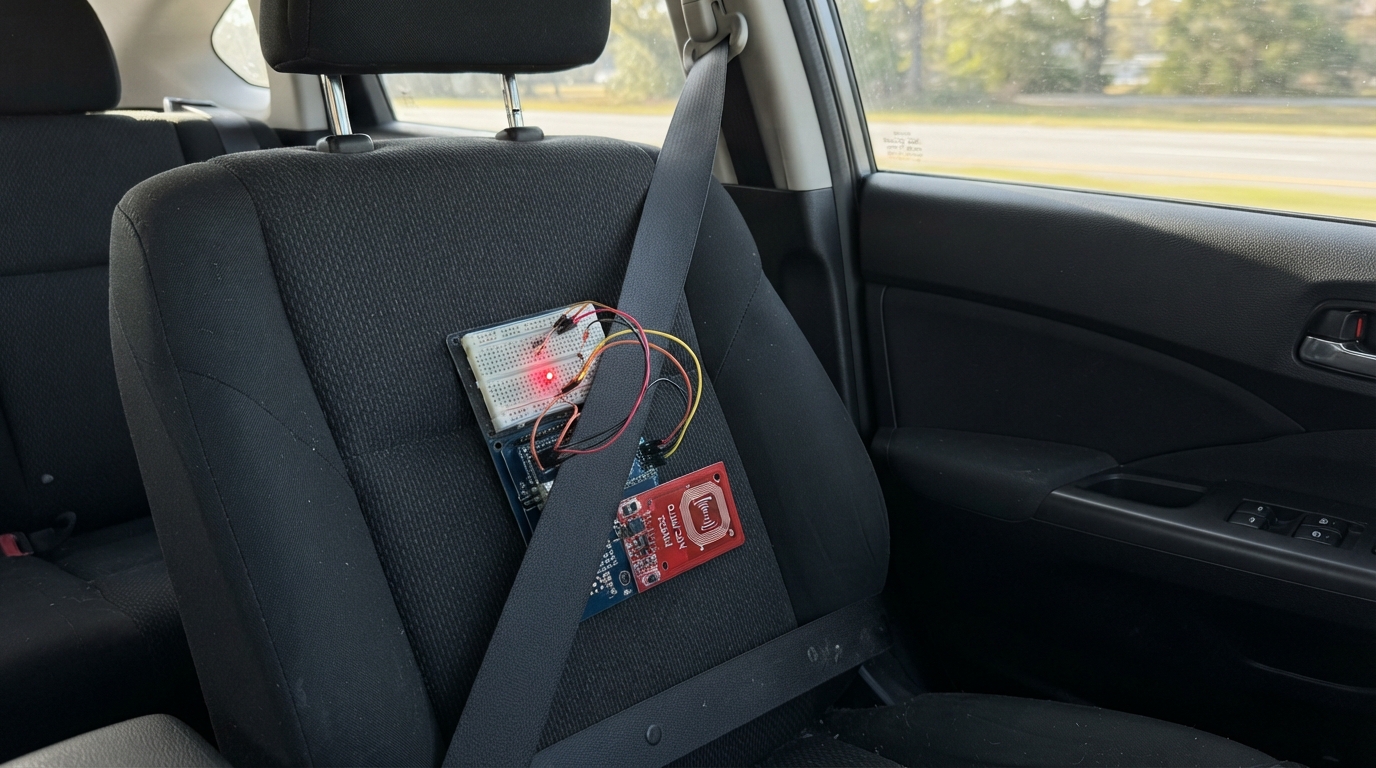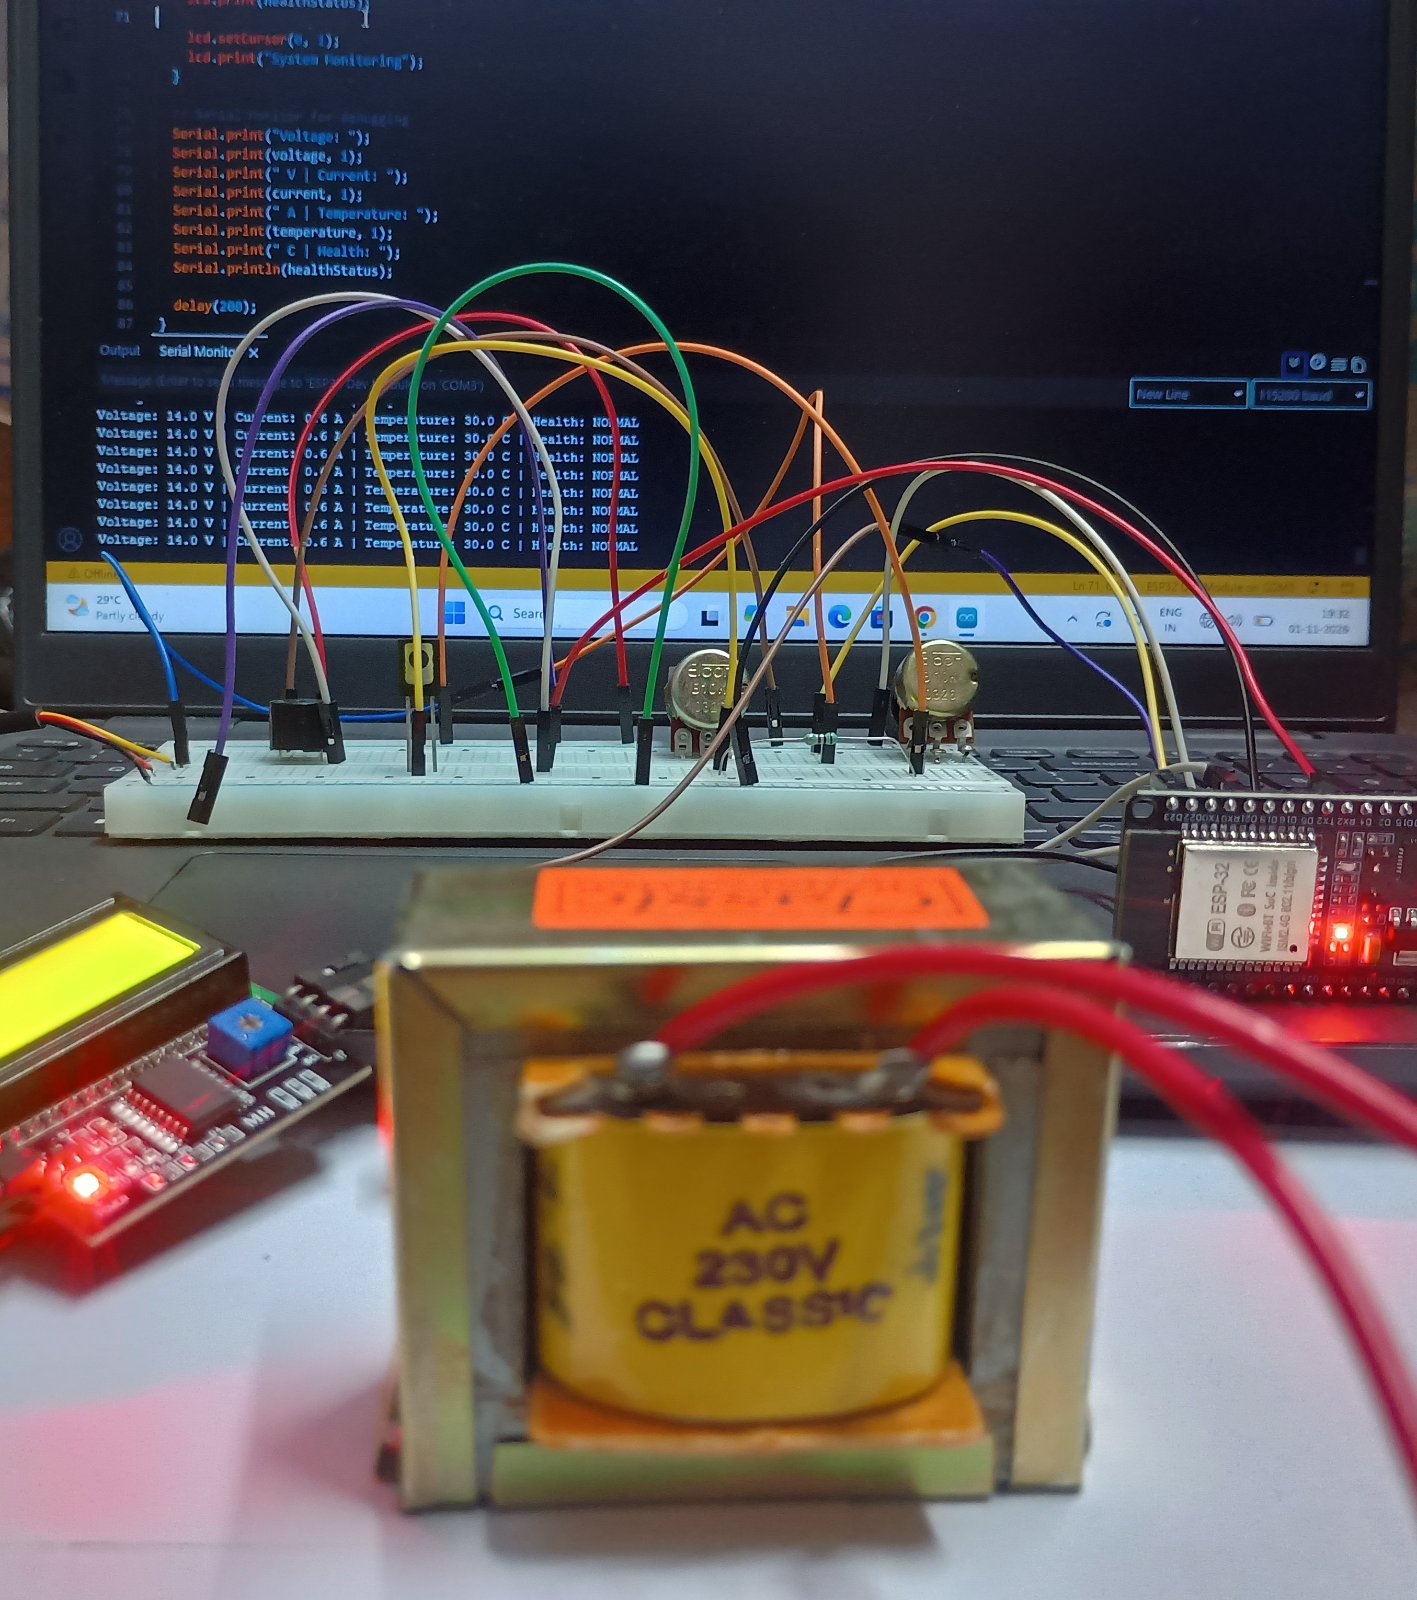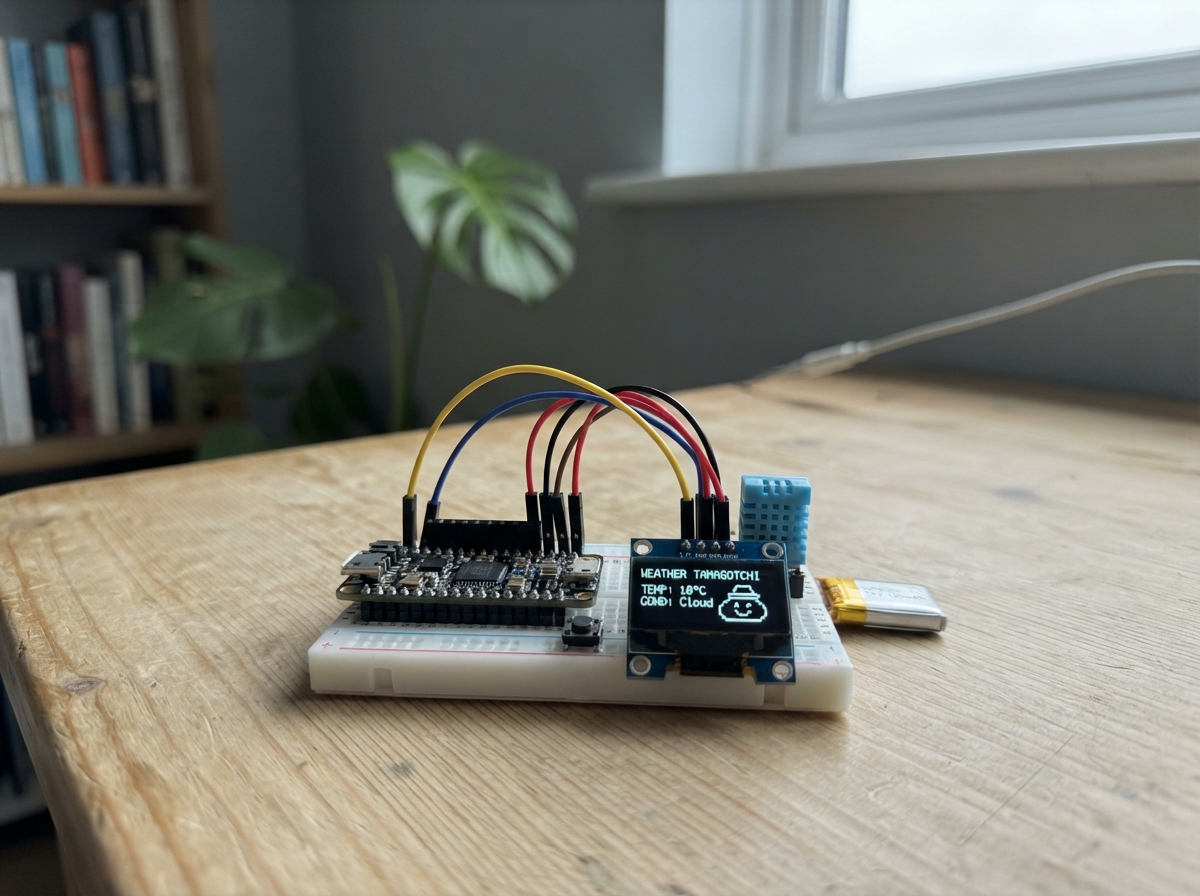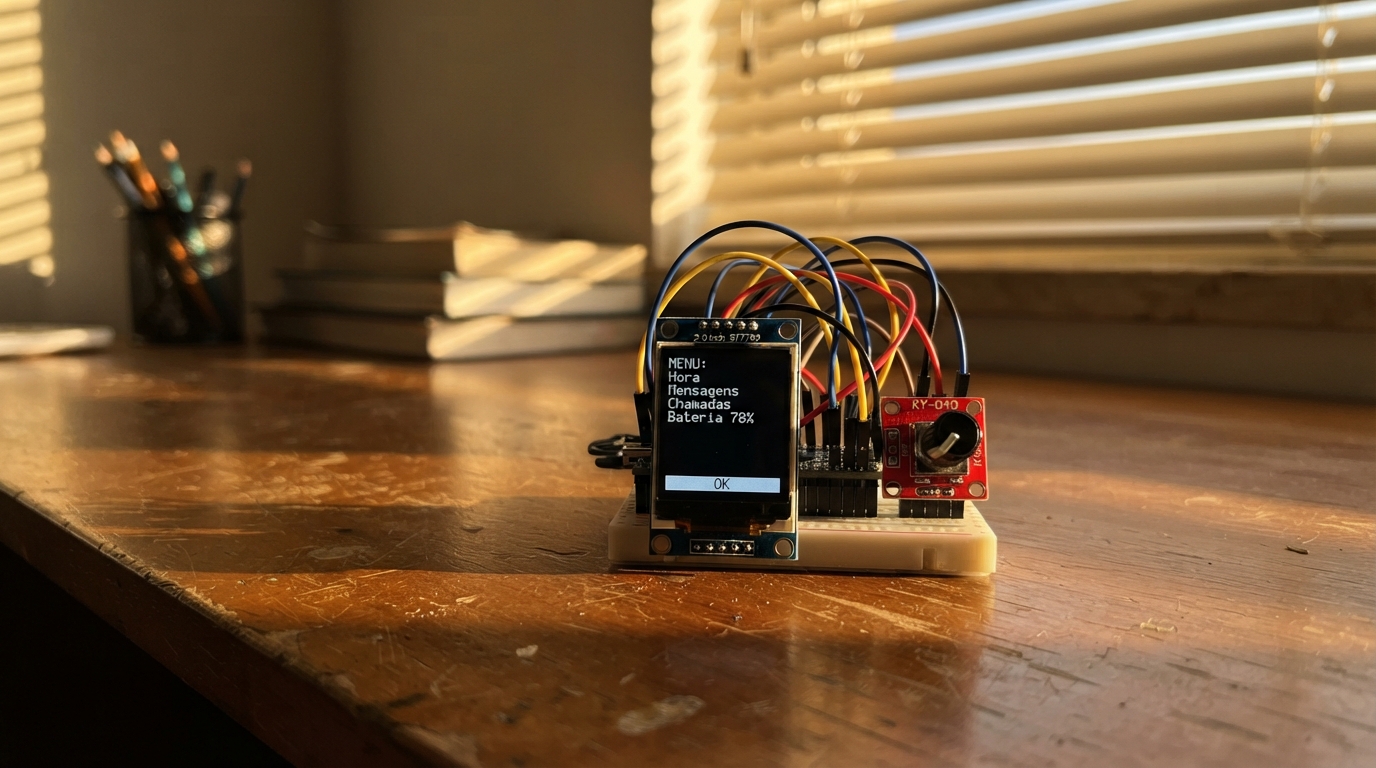
Build a minimalist essential phone interface powered by an ESP32 microcontroller. This project combines a 2.0-inch ST7789 TFT display with a KY-040 rotary encoder to create a stripped-down mobile experience featuring core apps like Phone, Maps, Spotify, WhatsApp, Email, Wallet, and Uber. Navigate the app grid by turning the encoder wheel and press to select.
This guide provides a complete wiring diagram, parts list, and step-by-step assembly instructions for housing the electronics in a custom enclosure. You'll also receive the Arduino firmware that drives the interface, handling display rendering, encoder input detection, and app selection logic. Perfect for makers exploring alternative UI paradigms or creating a focused digital companion.
Wiring diagram
Gather all the parts
Assemble it in 6 steps
1. Abra a caixa sem ligar alimentação
Com o ESP32 desligado do USB, abra o iPod nano vazio com ferramentas plásticas. Retire a bateria, a placa original, o disco e todos os cabos; guarde apenas a frente, a moldura e, se estiver inteira, a peça exterior da roda. A placa original do iPod não faz parte deste protótipo.
- Fotografe a posição das peças antes de as retirar; ajuda a voltar a montar a frente.
- Use uma caixa traseira nova, mais espessa, em vez de forçar a placa ESP32 para dentro da traseira metálica original.
- Não perfure, dobre nem aqueça a bateria antiga do iPod; uma bateria danificada pode incendiar-se. Leve-a a recolha de baterias.
- Não ligue os contactos da bateria antiga ao ESP32. O ESP32 é alimentado apenas pelo cabo USB neste protótipo.
2. Prepare a nova traseira
Faça ou imprima uma traseira de plástico que encaixe na frente do nano e tenha espaço para o ESP32, o ecrã e o módulo da roda. Deixe uma abertura alinhada com a porta USB do ESP32, para poder programar e alimentar o protótipo sem o abrir.
- Teste o encaixe com cartão grosso ou uma impressão de teste antes da caixa final.
- O plástico atrás do ecrã evita curto-circuitos com a caixa metálica antiga.
- Não use a traseira metálica original encostada aos pinos ou à parte de baixo da placa; pode causar um curto-circuito.
3. Monte o ecrã na abertura superior
Coloque o ecrã ST7789 atrás da abertura superior da frente do nano, com a face iluminada virada para fora. Prenda-o pelas bordas com fita fina de dupla face ou uma moldura impressa, sem cobrir a área visível. Ligue VCC → 3V3 (alimentação), GND → GND (terra), SCK → GPIO18 (relógio), MOSI → GPIO23 (dados), CS → GPIO4 (seleção do ecrã), DC → GPIO25 (comando/dados) e RST → GPIO26 (reinício).
- Use vermelho para 3V3 e preto para GND; fios curtos tornam a caixa mais fácil de fechar.
- Faça primeiro um teste com a caixa aberta para confirmar que o texto aparece no sentido certo.
- VCC e GND trocados podem danificar o ecrã.
- Não ligue VCC do ecrã a 5 V neste protótipo; use 3V3.
4. Use a roda do protótipo por trás da frente
Fixe o módulo KY-040 na nova traseira, alinhado com o centro da zona da roda. A roda original do iPod é tátil e não liga diretamente ao ESP32; neste primeiro protótipo, use o pequeno botão rotativo do KY-040 que sai pelo centro ou por uma abertura discreta. Ligue VCC → 3V3 (alimentação), GND → GND (terra), CLK → GPIO32 (movimento da roda), DT → GPIO33 (segundo sinal de movimento) e SW → GPIO27 (pressionar para escolher).
- Antes de furar a caixa, use fita para experimentar a posição da roda e garantir que consegue rodar e pressionar.
- Pode manter a roda original como elemento visual à volta do botão do KY-040.
- Não tente ligar a fita flexível ou os contactos da roda original do iPod diretamente aos GPIO do ESP32; não são compatíveis e podem danificar as peças.
5. Isole e arrume o ESP32
Prenda o ESP32 à nova traseira com espaçadores plásticos ou fita forte, deixando os pinos e as soldas sem tocar em metal. Dobre os fios com cuidado para não ficarem presos entre a frente e a traseira e deixe a porta USB acessível.
- Uma folha fina de plástico entre a placa e a frente metálica é uma proteção extra.
- Se os itens do menu se moverem ao contrário, desligue o USB e troque apenas CLK e DT.
- Não feche a caixa se um fio estiver esmagado; isolamento cortado pode criar curto-circuito.
6. Feche e experimente a interface
Com a caixa ainda aberta, ligue o ESP32 por USB. Rode o botão para mover a faixa azul e pressione o centro para abrir cada ecrã de pré-visualização. Quando tudo funcionar, feche a traseira sem apertar fios.
- O ecrã mostra a interface do nano moderno; é um protótipo visual e de navegação.
- Para ver a maquete sem hardware, abra também data/nano_modern_concept.svg nos ficheiros do projeto.
- Este ESP32 não faz chamadas, Uber, WhatsApp, Spotify ou pagamentos reais. Essas funções só entram quando existir um telefone Android certificado no interior.
Review all connections
1. Connections between "screen" and "ESP32"
2. Connections between "wheel" and "ESP32"
Deploy the firmware
#include <Arduino.h>
#include <SPI.h>
#include <Adafruit_GFX.h>
#include <Adafruit_ST7789.h>

constexpr int TFT_SCK = 18;
constexpr int TFT_MOSI = 23;
constexpr int TFT_CS = 4;
constexpr int TFT_DC = 25;
constexpr int TFT_RST = 26;
constexpr int ENC_CLK = 32;
constexpr int ENC_DT = 33;
constexpr int ENC_SW = 27;
constexpr uint16_t COLOR_LIGHT_GREY = 0xC618;
constexpr uint16_t COLOR_DARK_GREY = 0x7BEF;

Adafruit_ST7789 tft(TFT_CS, TFT_DC, TFT_RST);

const char *apps[] = {"TELEFONE", "MAPAS", "UBER", "SPOTIFY", "WHATSAPP", "E-MAIL", "CARTEIRA"};
constexpr uint8_t APP_COUNT = sizeof(apps) / sizeof(apps[0]);

uint8_t selected = 0;
uint8_t previewPage = 0;
bool appOpen = false;
int lastClockState = HIGH;
int lastButtonState = HIGH;
unsigned long lastTurnAt = 0;
unsigned long lastButtonAt = 0;

void drawHeader() {
  tft.fillRect(0, 0, 320, 28, ST77XX_BLACK);
  tft.setTextColor(ST77XX_WHITE);
  tft.setTextSize(1);
  tft.setCursor(12, 10);
  tft.print("09:41");
  tft.setCursor(263, 10);
  tft.print("87%");
  tft.drawRect(291, 9, 17, 8, ST77XX_WHITE);
  tft.fillRect(308, 11, 2, 4, ST77XX_WHITE);
  tft.fillRect(293, 11, 12, 4, ST77XX_GREEN);
}

void drawHome() {
  appOpen = false;
  tft.fillScreen(ST77XX_BLACK);
  drawHeader();
  tft.setTextColor(ST77XX_CYAN);
  tft.setTextSize(3);
  tft.setCursor(102, 38);
  tft.print("NANO");
  tft.setTextColor(COLOR_LIGHT_GREY);
  tft.setTextSize(1);
  tft.setCursor(116, 67);
  tft.print("simples. util.");

  const int firstY = 84;
  const int rowHeight = 20;
  for (uint8_t i = 0; i < APP_COUNT; i++) {
    int y = firstY + i * rowHeight;
    if (i == selected) {
      tft.fillRoundRect(43, y - 2, 234, 18, 5, ST77XX_CYAN);
      tft.setTextColor(ST77XX_BLACK);
      tft.setCursor(57, y + 2);
      tft.print(">");
    } else {
      tft.setTextColor(ST77XX_WHITE);
    }
    tft.setTextSize(2);
    tft.setCursor(81, y);
    tft.print(apps[i]);
  }
  tft.setTextColor(COLOR_DARK_GREY);
  tft.setTextSize(1);
  tft.setCursor(47, 227);
  tft.print("RODAR: escolher   PREMIR: abrir");
}

void drawAppPreview() {
  appOpen = true;
  tft.fillScreen(ST77XX_BLACK);
  drawHeader();
  tft.setTextColor(ST77XX_CYAN);
  tft.setTextSize(2);
  tft.setCursor(18, 40);
  tft.print(apps[selected]);
  tft.drawFastHLine(18, 62, 284, COLOR_DARK_GREY);
  tft.setTextSize(1);

  if (selected == 0) {
    const char *contacts[] = {"ANA", "MAE", "TAXI"};
    tft.setTextColor(ST77XX_WHITE);
    tft.setCursor(24, 81); tft.print("CONTACTOS FAVORITOS");
    for (uint8_t i = 0; i < 3; i++) {
      int y = 103 + i * 27;
      if (i == previewPage) {
        tft.fillRoundRect(20, y - 4, 280, 21, 4, ST77XX_CYAN);
        tft.setTextColor(ST77XX_BLACK);
      } else tft.setTextColor(ST77XX_WHITE);
      tft.setCursor(38, y); tft.print(contacts[i]);
      tft.setCursor(230, y); tft.print("LIGAR");
    }
  } else if (selected == 1) {
    tft.setTextColor(ST77XX_WHITE);
    tft.setCursor(22, 84); tft.print("DESTINO");
    tft.fillRoundRect(20, 96, 280, 29, 5, ST77XX_WHITE);
    tft.setTextColor(ST77XX_BLACK);
    tft.setCursor(32, 106); tft.print(previewPage == 0 ? "Casa" : "Trabalho");
    tft.setTextColor(ST77XX_CYAN);
    tft.drawLine(58, 176, 142, 116, ST77XX_CYAN);
    tft.drawLine(142, 116, 255, 166, ST77XX_CYAN);
    tft.fillCircle(previewPage == 0 ? 255 : 58, previewPage == 0 ? 166 : 176, 6, ST77XX_GREEN);
    tft.setTextColor(ST77XX_WHITE); tft.setCursor(22, 205); tft.print("12 min  |  3.4 km");
  } else if (selected == 2) {
    tft.setTextColor(ST77XX_WHITE);
    tft.setCursor(22, 84); tft.print("PARA ONDE?");
    tft.fillRoundRect(20, 97, 280, 29, 5, ST77XX_WHITE);
    tft.setTextColor(ST77XX_BLACK); tft.setCursor(32, 107);
    tft.print(previewPage == 0 ? "Casa" : "Trabalho");
    tft.setTextColor(ST77XX_CYAN); tft.setCursor(22, 151); tft.print("UberX");
    tft.setTextColor(ST77XX_WHITE); tft.setCursor(22, 174); tft.print("4 min    6,50 EUR");
    tft.fillRoundRect(20, 190, 280, 29, 5, ST77XX_CYAN);
    tft.setTextColor(ST77XX_BLACK); tft.setCursor(88, 200); tft.print("PEDIR UBER");
  } else if (selected == 3) {
    tft.drawRoundRect(25, 80, 84, 84, 5, ST77XX_GREEN);
    tft.setTextColor(ST77XX_WHITE); tft.setCursor(126, 93); tft.print("A TOCAR");
    tft.setTextSize(2); tft.setCursor(126, 111); tft.print(previewPage == 0 ? "Foco" : "Descobertas");
    tft.setTextSize(1); tft.setTextColor(COLOR_LIGHT_GREY); tft.setCursor(126, 139); tft.print("A tua musica");
    tft.setTextColor(ST77XX_GREEN); tft.setTextSize(3); tft.setCursor(129, 178); tft.print("<<  ||  >>");
  } else if (selected == 4) {
    const char *chats[] = {"ANA   Vamos jantar?", "FAMILIA   Ate logo", "JOAO   Obrigado!"};
    for (uint8_t i = 0; i < 3; i++) {
      int y = 88 + i * 38;
      if (i == previewPage) { tft.fillRoundRect(18, y - 5, 284, 29, 4, ST77XX_GREEN); tft.setTextColor(ST77XX_BLACK); }
      else tft.setTextColor(ST77XX_WHITE);
      tft.setCursor(28, y); tft.print(chats[i]);
    }
  } else if (selected == 5) {
    tft.setTextColor(ST77XX_WHITE); tft.setCursor(22, 85); tft.print("CAIXA PRIORITARIA");
    const char *mail[] = {"Bilhetes - confirmacao", "Uber - recibo", "Ana - fotografias"};
    for (uint8_t i = 0; i < 3; i++) {
      int y = 108 + i * 29;
      if (i == previewPage) { tft.fillRoundRect(18, y - 4, 284, 21, 4, ST77XX_CYAN); tft.setTextColor(ST77XX_BLACK); }
      else tft.setTextColor(ST77XX_WHITE);
      tft.setCursor(28, y); tft.print(mail[i]);
    }
  } else {
    tft.setTextColor(ST77XX_WHITE); tft.setCursor(22, 88); tft.print("GOOGLE WALLET");
    tft.drawRoundRect(22, 105, 276, 77, 8, ST77XX_CYAN);
    tft.setTextSize(2); tft.setCursor(43, 124); tft.print("CARTAO PRINCIPAL");
    tft.setTextSize(1); tft.setCursor(43, 153); tft.print("Aproxime da maquina para pagar");
    tft.setTextColor(COLOR_LIGHT_GREY); tft.setCursor(43, 203); tft.print("A autorizacao continua no Android.");
  }
  tft.setTextColor(COLOR_DARK_GREY);
  tft.setTextSize(1); tft.setCursor(38, 227);
  tft.print("RODAR: mudar   PREMIR: menu");
}

void changeSelection(int direction) {
  if (direction > 0) {
    selected = (selected + 1) % APP_COUNT;
  } else {
    selected = (selected + APP_COUNT - 1) % APP_COUNT;
  }
  previewPage = 0;
  drawHome();
}

void setup() {
  pinMode(ENC_CLK, INPUT_PULLUP);
  pinMode(ENC_DT, INPUT_PULLUP);
  pinMode(ENC_SW, INPUT_PULLUP);
  lastClockState = digitalRead(ENC_CLK);
  lastButtonState = digitalRead(ENC_SW);

  SPI.begin(TFT_SCK, -1, TFT_MOSI, TFT_CS);
  tft.init(240, 320);
  tft.setRotation(1);
  drawHome();
}

void loop() {
  unsigned long now = millis();
  int clockState = digitalRead(ENC_CLK);
  if (clockState != lastClockState && clockState == LOW && now - lastTurnAt > 4) {
    lastTurnAt = now;
    int direction = digitalRead(ENC_DT) != clockState ? 1 : -1;
    if (!appOpen) {
      changeSelection(direction);
    } else if (selected != 6) {
      uint8_t pageCount = selected == 1 || selected == 2 || selected == 3 ? 2 : 3;
      previewPage = direction > 0 ? (previewPage + 1) % pageCount : (previewPage + pageCount - 1) % pageCount;
      drawAppPreview();
    }
  }
  lastClockState = clockState;

  int buttonState = digitalRead(ENC_SW);
  if (lastButtonState == HIGH && buttonState == LOW && now - lastButtonAt > 150) {
    lastButtonAt = now;
    if (appOpen) {
      drawHome();
    } else {
      previewPage = 0;
      drawAppPreview();
    }
  }
  lastButtonState = buttonState;
  delay(5);
}
Remix this project
Make it yours in one click
Open a full copy of this project in your own Schematik workspace, diagram, code, parts, and assembly steps included. Swap the sensor, add features, or redesign the whole thing with AI. The author's original stays untouched.