Community project
Act As Expert Embedded C Software Engineer Speci
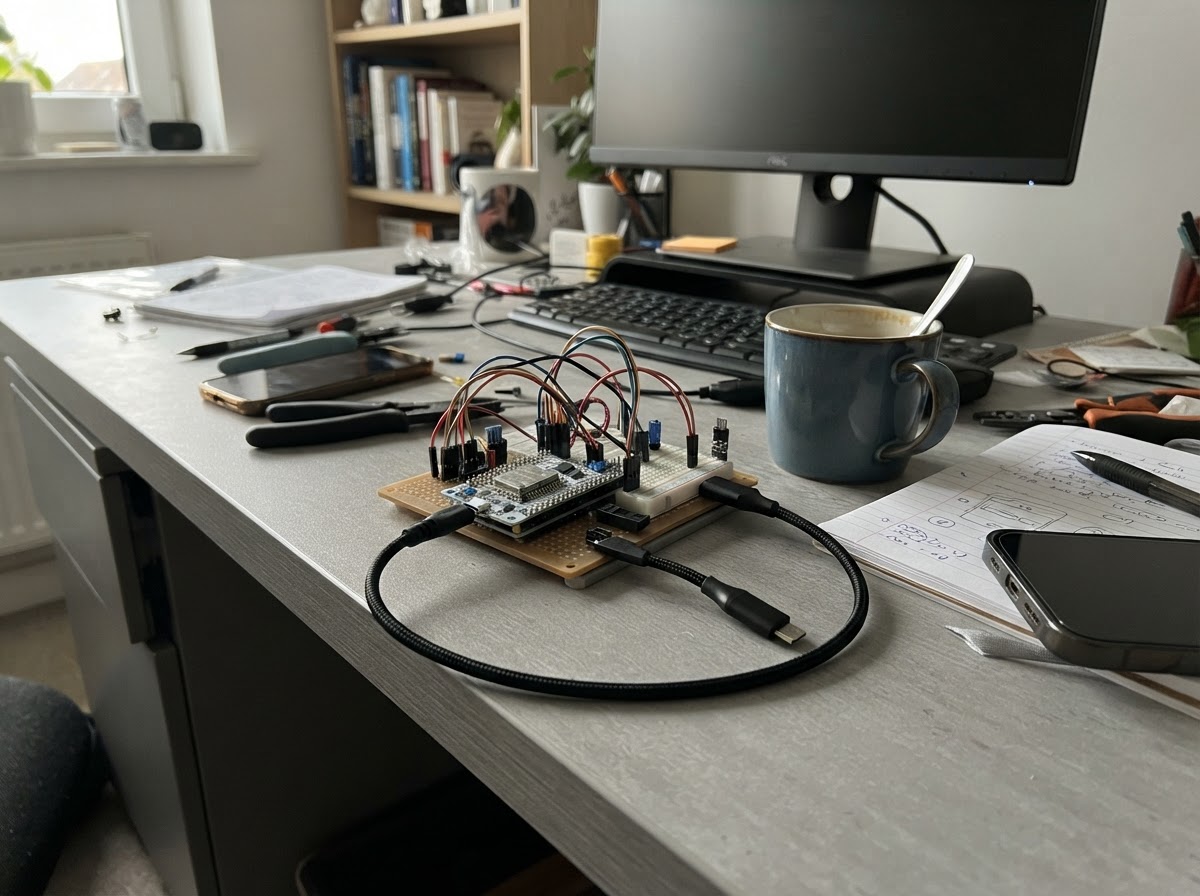
BeanVault is an ESP32-based embedded system that connects to Wi-Fi and communicates with a cloud API to track and display brewing statistics on a built-in dashboard. The project demonstrates professional embedded C firmware architecture with modular components for power management, Wi-Fi connectivity, API communication, and user interface control through physical buttons.
This guide provides a complete parts list, wiring diagram for the ESP32 and USB connection, step-by-step assembly instructions, and the full firmware source code. Builders will learn how to configure the device on first startup, navigate the dashboard and diagnostics pages using the control buttons, and integrate the system with BeanVault cloud services.
Wiring diagram
Gather all the parts
Assemble it in 4 steps
1. Inspect the built-in controls
Leave the display panel and its built-in wheel exactly as supplied. The firmware uses the wheel press and its two directions to change between the coffee page and the diagnostics page; no extra wires are needed.
- The E-Paper screen keeps its last picture while the board sleeps, so a still image is normal.
- Do not connect anything to the display’s internal pins or wheel pins; they are already wired inside the CrowPanel.
2. Connect the USB cable
Plug the USB-C end of the usb_c_data_cable into the CrowPanel. Plug its other end into your computer or a stable 5 V USB power supply; it powers the board and carries the firmware when connected to your computer.
- Use a cable known to transfer data as well as power when you are ready to deploy the firmware.
- Do not connect a battery and USB power unless the CrowPanel documentation for your exact battery setup says that is safe.
3. Configure BeanVault on first start
After deployment, the display shows its setup page. On a phone or computer, connect to the open Wi-Fi network named BeanVault-Display-AP, then open http://192.168.4.1 and enter your normal Wi-Fi name, Wi-Fi password, BeanVault API address, and BeanVault token.
- The API address must be reachable from your normal Wi-Fi network; replace the default <your-ip> text with your BeanVault server address.
- Treat the BeanVault token like a password. The setup hotspot is open, so configure it in a trusted place and let the device return to normal Wi-Fi when finished.
4. Use the dashboard
When a valid BeanVault response arrives, the main page shows the latest brew. Press or move the built-in wheel to switch to Diagnostics, which shows the connected Wi-Fi name, signal strength, network address, and a settings QR code. A manual wheel wake remains active for up to 30 minutes.
- The display normally wakes itself every 30 minutes, updates the dashboard, and sleeps again to save power.
- A failed Wi-Fi or BeanVault request intentionally keeps the display awake in setup mode so you can correct its settings.
Review all connections
1. Connections between "usb_c_data_cable" and "ESP32"
Deploy the firmware
#include <Arduino.h>
#include "config.h"
#include "power_manager.h"
#include "wifi_portal.h"
#include "api_client.h"
#include "display_ui.h"


// Forward declarations
static bool pressedEdge(int pin, bool& previous);
static void renderCurrentPage();
static void enterPortal(const String& reason);

PowerManager powerManager;
WiFiPortal portal;
ApiClient api;
DisplayUi ui;
BrewStats latestBrew;

bool activeMode = false;
bool diagnosticsPage = false;
bool lastConfirm = HIGH;
bool lastUp = HIGH;
bool lastDown = HIGH;

static bool pressedEdge(int pin, bool& previous) {
  const bool now = digitalRead(pin);
  const bool pressed = previous == HIGH && now == LOW;
  previous = now;
  if (pressed) delay(25);
  return pressed && digitalRead(pin) == LOW;
}

static void renderCurrentPage() {
  if (diagnosticsPage) {
    ui.showDiagnostics(portal.connectedSsid(), portal.localIp(), portal.rssi(), portal.settings().apiUrl);
  } else {
    ui.showDashboard(latestBrew);
  }
}

static void enterPortal(const String& reason) {
  portal.startPortal(reason);
  ui.showPortal(reason);
  activeMode = true;
}

void setup() {
  Serial.begin(115200);
  pinMode(Config::NAV_CONFIRM, INPUT_PULLUP);
  pinMode(Config::NAV_UP, INPUT_PULLUP);
  pinMode(Config::NAV_DOWN, INPUT_PULLUP);
  powerManager.begin();
  ui.begin();
  portal.begin();

  if (!portal.settings().configured()) {
    enterPortal("Wi-Fi and BeanVault settings are missing.");
    return;
  }
  ui.showMessage("BeanVault", "Connecting to Wi-Fi...");
  if (!portal.connect()) {
    enterPortal("Wi-Fi connection failed.");
    return;
  }

  String error;
  if (!api.fetch(portal.settings().apiUrl, portal.settings().apiToken, latestBrew, error)) {
    enterPortal("BeanVault request failed: " + error);
    return;
  }

  ui.showDashboard(latestBrew);
  activeMode = powerManager.wokeFromButton();
  if (activeMode) {
    powerManager.beginActiveWindow();
  } else {
    powerManager.sleepNow();
  }
}

void loop() {
  if (portal.portalRunning()) {
    portal.handle();
    return;
  }
  if (!activeMode) return;

  const bool pagePress = pressedEdge(Config::NAV_CONFIRM, lastConfirm) ||
                         pressedEdge(Config::NAV_UP, lastUp) ||
                         pressedEdge(Config::NAV_DOWN, lastDown);
  if (pagePress) {
    diagnosticsPage = !diagnosticsPage;
    renderCurrentPage();
  }
  if (powerManager.activeWindowExpired()) powerManager.sleepNow();
  delay(20);
}
Remix this project
Make it yours in one click
Open a full copy of this project in your own Schematik workspace — diagram, code, parts, and assembly steps included. Swap the sensor, add features, or redesign the whole thing with AI. The author's original stays untouched.