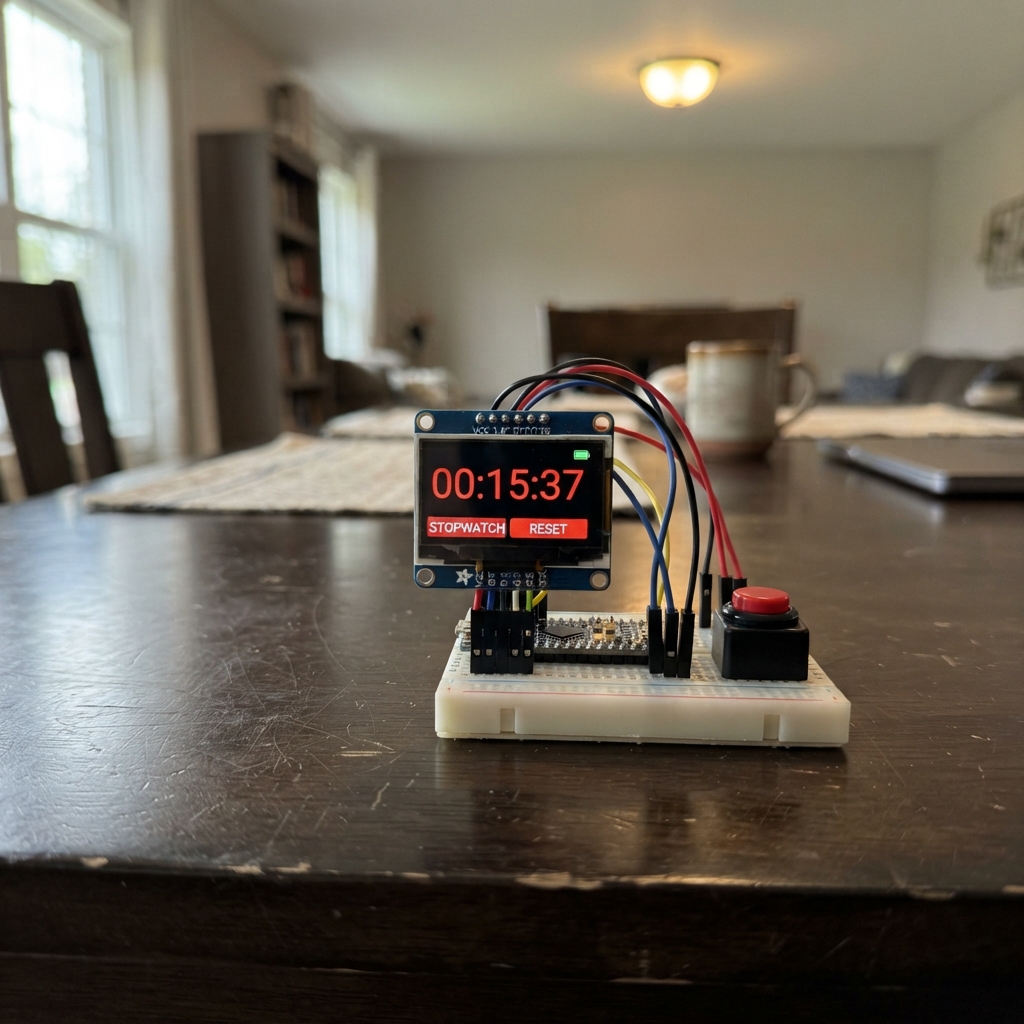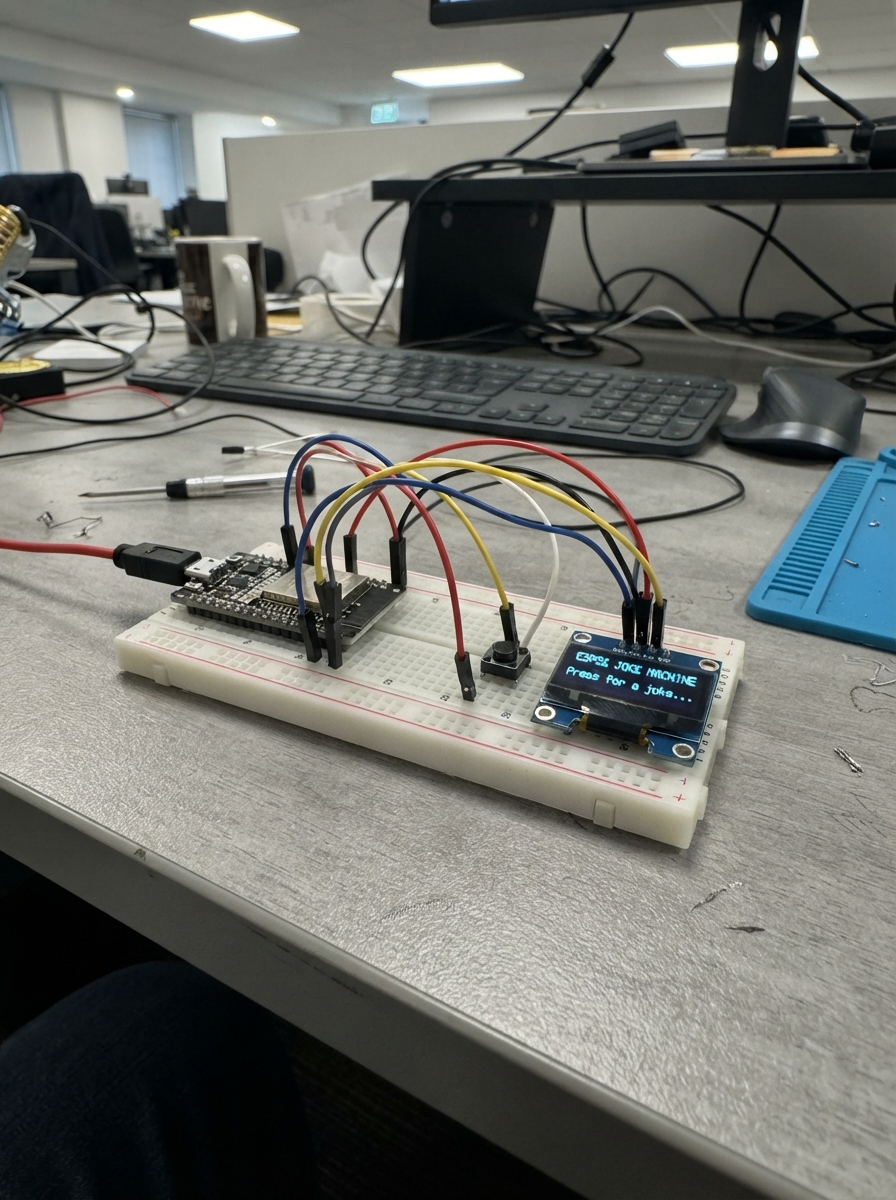
The ESP32 Joke Machine is a humorous excuse generator that displays a random excuse on an SSD1306 OLED screen each time a button is pressed. Perfect for when you need a creative reason for why something didn't happen, this project combines an ESP32 microcontroller with a small display and a single push button to deliver witty excuses on demand.
This guide provides a complete wiring diagram showing how to connect the OLED screen and button to the ESP32, a full parts list, ready-to-upload firmware with eight built-in excuses, and step-by-step assembly instructions. Builders will learn basic I2C communication, debouncing techniques, and how to manage display output on a microcontroller.
Wiring diagram
Gather all the parts
Assemble it in 4 steps
1. Place the parts
Unplug USB. Place the ESP32 DevKit v1, four-pin 128x64 SSD1306 I2C screen, and momentary button on a breadboard.
2. Connect the screen
Connect VCC to 3V3 (power), GND to GND (shared ground), SDA to GPIO21 (data), and SCL to GPIO22 (clock).
- Read the screen's pin labels rather than copying its pin order. Reversing power can damage it. Use 3V3, not 5V.
3. Connect the excuse button
Connect one switch contact to GPIO27 (button input) and the other to GND. The ESP32 provides the pull-up internally. For a four-legged tactile button, use contacts on opposite sides of the switch; the two legs on each connected side are already joined.
- A press must join GPIO27 to GND; releasing it must break that connection.
4. Check before powering
Check every wire against the diagram, especially screen power. Make sure no loose wire bridges 3V3 and GND.
Review all connections
1. Connections between "oled" and "ESP32"
2. Connections between "button1" and "ESP32"
Deploy the firmware
#include <Arduino.h>
#include <Wire.h>
#include <Adafruit_GFX.h>
#include <Adafruit_SSD1306.h>
#include <esp_system.h>
Adafruit_SSD1306 screen(128,64,&Wire,-1);
constexpr int BUTTON_PIN=27;
const char* excuses[]={
 "My hamster ate\nmy Wi-Fi.",
 "My brain is\ninstalling updates.",
 "The dog renamed\nall my files.",
 "I was abducted by\nvery polite ducks.",
 "My motivation is\non airplane mode.",
 "A ninja stole\nmy alarm clock.",
 "My socks formed\na union.",
 "Gravity was extra\nstrong today."
};
bool ready=false, raw=HIGH, stable=HIGH;
uint32_t changed=0;
int last=-1;
void show(const char* message){
 Serial.println(message);
 if(!ready) return;
 screen.clearDisplay();
 screen.setTextSize(1);
 screen.setTextColor(SSD1306_WHITE);
 screen.setCursor(0,0); screen.print("EXCUSE-O-MATIC");
 screen.setCursor(0,22); screen.print(message);
 screen.setCursor(0,56); screen.print("Press for an excuse!");
 screen.display();
}
void setup(){
 Serial.begin(115200);
 pinMode(BUTTON_PIN,INPUT_PULLUP);
 Wire.begin(21,22);
 Wire.beginTransmission(0x3C);
 if(Wire.endTransmission()==0) ready=screen.begin(SSD1306_SWITCHCAPVCC,0x3C);
 if(!ready) Serial.println("Screen missing: check 3V3, GND, SDA21, SCL22 and address 0x3C.");
 show("Need an excuse?\nI've got you.");
}
void loop(){
 bool reading=digitalRead(BUTTON_PIN);
 uint32_t now=millis();
 if(reading!=raw){raw=reading; changed=now;}
 if(now-changed>=30 && stable!=raw){
  stable=raw;
  if(stable==LOW){
   int next;
   do {next=esp_random()%(sizeof(excuses)/sizeof(excuses[0]));} while(next==last);
   last=next; show(excuses[next]);
  }
 }
 delay(1);
}
Remix this project
Make it yours in one click
Open a full copy of this project in your own Schematik workspace, diagram, code, parts, and assembly steps included. Swap the sensor, add features, or redesign the whole thing with AI. The author's original stays untouched.