Community project
ESP32-S3 AMOLED Interface
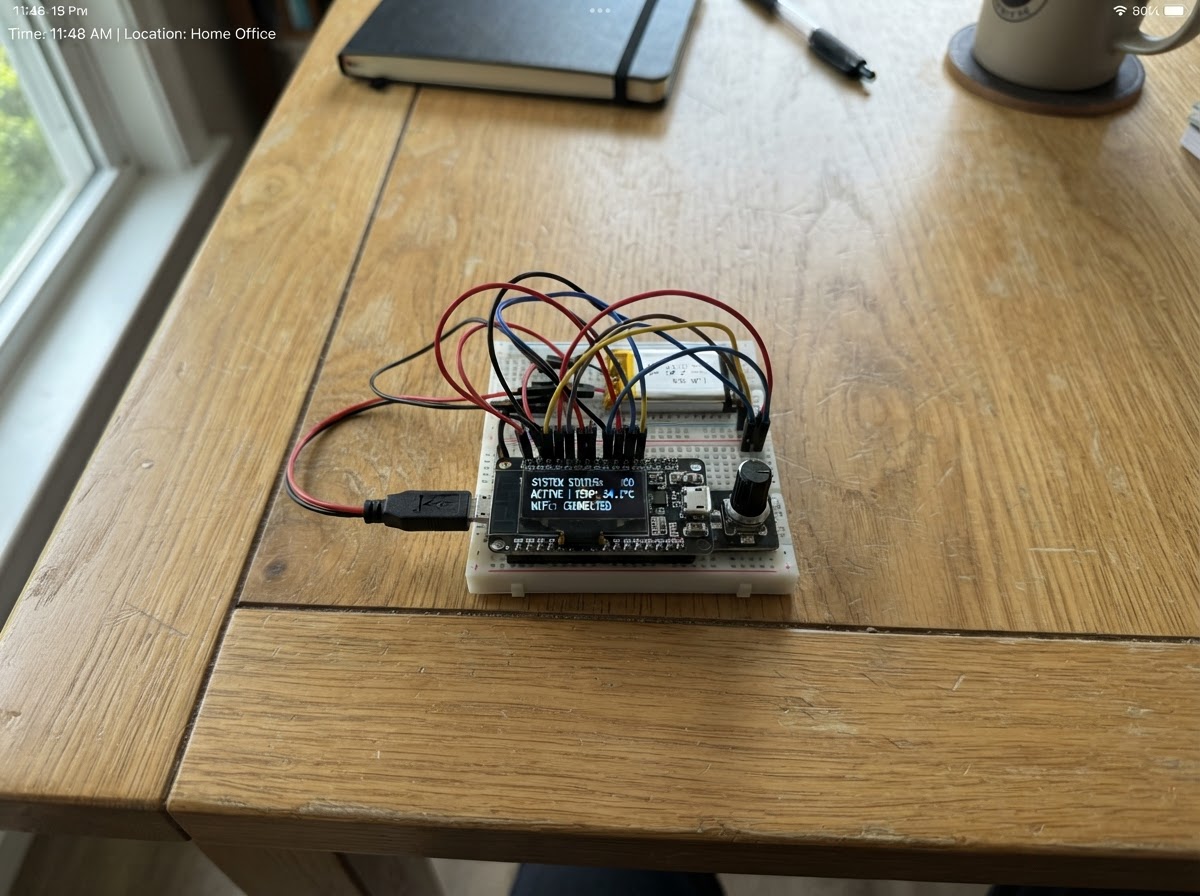
This guide walks through setting up the Waveshare ESP32-S3-Touch-AMOLED-2.16 board, a compact development platform combining a 32-bit microcontroller with a high-resolution AMOLED touchscreen display. The board integrates I2C communication lines for connecting external sensors and peripherals, making it ideal for interactive projects that need both processing power and a responsive visual interface.
Following this guide, you'll receive a complete parts list, wiring diagram, and step-by-step assembly instructions to get the board running. The included firmware demonstrates I2C device detection, helping you verify that all connections are working correctly before moving on to your own application code.
Wiring diagram
Assemble it in 2 steps
1. Place the board safely
Put the Waveshare ESP32-S3-Touch-AMOLED-2.16 on a non-metal desk with the AMOLED screen facing upward. Leave the screen’s protective film in place until you have confirmed the display works; it helps prevent scratches.
- The screen, touch panel, motion sensor, and clock are already built into this board, so this starter project needs no breadboard or jumper wires.
- Do not rest the powered board on foil, tools, or another circuit board — a short circuit can damage it.
2. Connect the USB cable
Use a data-capable USB cable to connect the board’s USB connector to your computer. The USB cable supplies power and lets Schematik send the program to the board.
- If nothing powers on, try another USB cable; many charge-only cables cannot transfer the program.
- Do not force the USB plug or connect any separate power source at the same time — incorrect power connections can damage the board.
Deploy the firmware
#include <Arduino.h>
#include <Wire.h>


// Forward declarations
void scanI2cBus();

constexpr uint8_t I2C_SDA_PIN = 15;
constexpr uint8_t I2C_SCL_PIN = 14;
constexpr uint32_t SERIAL_BAUD = 115200;
constexpr uint32_t SCAN_INTERVAL_MS = 5000;

uint32_t lastScanMs = 0;

void scanI2cBus() {
  uint8_t found = 0;
  Serial.println("Scanning built-in I2C devices...");

  for (uint8_t address = 1; address < 127; ++address) {
    Wire.beginTransmission(address);
    if (Wire.endTransmission() == 0) {
      Serial.printf("  Found device at 0x%02X\n", address);
      ++found;
    }
  }

  if (found == 0) {
    Serial.println("  No device replied. Confirm this is the Waveshare AMOLED board.");
  } else {
    Serial.printf("  %u built-in device(s) replied.\n", found);
  }
}

void setup() {
  Serial.begin(SERIAL_BAUD);
  delay(500);
  Serial.println();
  Serial.println("Waveshare ESP32-S3-Touch-AMOLED-2.16 starter");
  Serial.println("USB serial is ready.");

  // GPIO15 and GPIO14 are the board's built-in I2C data and clock lines.
  Wire.begin(I2C_SDA_PIN, I2C_SCL_PIN);
  scanI2cBus();
  lastScanMs = millis();
}

void loop() {
  if (millis() - lastScanMs >= SCAN_INTERVAL_MS) {
    scanI2cBus();
    lastScanMs = millis();
  }
}
Remix this project
Make it yours in one click
Open a full copy of this project in your own Schematik workspace — diagram, code, parts, and assembly steps included. Swap the sensor, add features, or redesign the whole thing with AI. The author's original stays untouched.