Community project
Hey I Want To Fun M5sticks3
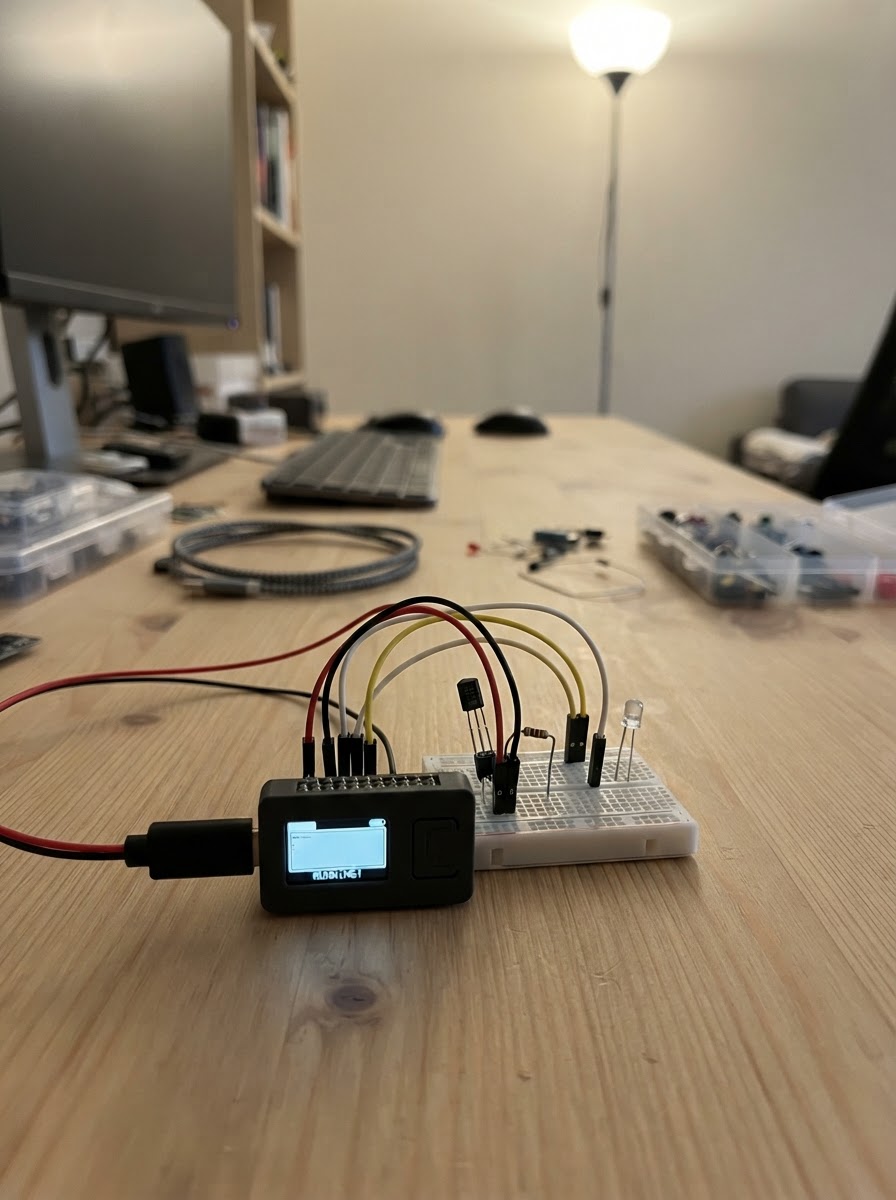
Build a tiny digital pet that lives on the M5Stack StickS3 and responds to how you hold it. The pet's mood changes based on the device's tilt angle detected by its built-in accelerometer—keep it level to keep your pet happy, or let it tilt to see it get grumpy. This guide provides the complete firmware, wiring diagram, and step-by-step assembly instructions to get your interactive pet running in minutes.
The project uses only the StickS3 itself, making it a perfect pocket-sized companion. Feed your pet with button presses, reset its mood, and watch its expression change on the tiny display. This is an ideal first project for learning how to read sensor data and create interactive graphics on an ESP32-based device.
Wiring diagram
Assemble it in 2 steps
1. Use the StickS3 by itself
This project uses the screen, motion sensor, buttons, and speaker already inside the M5StickS3, so do not attach any loose wires or extra parts.
- Keep the small screen facing you so you can see the pet while you tilt the device.
- Do not force a plug or wire into the side connector for this project; nothing external is needed.
2. Hold it like a tiny game
Hold the M5StickS3 gently and keep it roughly level. Tilting it makes the on-screen pet lose mood; keeping it level lets it recover.
- Press the A button to feed the pet and increase its mood. Press the B button to reset its mood to the middle.
- Avoid dropping the board; the screen and battery are built into the small case.
Deploy the firmware
#include <Arduino.h>
#include <M5Unified.h>


// Forward declarations
void drawPet();

int petMood = 50;
uint32_t lastDraw = 0;

void drawPet() {
  auto &d = M5.Display;
  d.fillScreen(TFT_NAVY);
  d.setTextDatum(middle_center);
  d.setTextColor(TFT_WHITE, TFT_NAVY);
  d.setTextSize(2);
  d.drawString("TILT PET", d.width() / 2, 15);

  const int cx = d.width() / 2;
  const int cy = d.height() / 2 + 7;
  const uint16_t faceColor = petMood >= 50 ? TFT_YELLOW : TFT_ORANGE;
  d.fillCircle(cx, cy, 34, faceColor);
  d.fillCircle(cx - 12, cy - 8, 4, TFT_BLACK);
  d.fillCircle(cx + 12, cy - 8, 4, TFT_BLACK);

  if (petMood >= 50) {
    d.drawArc(cx, cy + 4, 16, 10, 20, 160, TFT_BLACK);
  } else {
    d.drawArc(cx, cy + 17, 16, 10, 200, 340, TFT_BLACK);
  }

  d.setTextSize(1);
  d.setTextColor(TFT_WHITE, TFT_NAVY);
  d.drawString("Keep me level!", cx, d.height() - 24);
  d.drawString("A: feed   B: reset", cx, d.height() - 10);
}

void setup() {
  auto cfg = M5.config();
  M5.begin(cfg);
  M5.Display.setRotation(1);
  drawPet();
}

void loop() {
  M5.update();

  if (M5.BtnA.wasPressed()) {
    petMood = min(100, petMood + 15);
    drawPet();
  }
  if (M5.BtnB.wasPressed()) {
    petMood = 50;
    drawPet();
  }

  if (millis() - lastDraw >= 250) {
    lastDraw = millis();
    float ax = 0.0f;
    float ay = 0.0f;
    float az = 0.0f;
    M5.Imu.getAccel(&ax, &ay, &az);
    const float tilt = sqrtf(ax * ax + ay * ay);
    const int oldMood = petMood;
    if (tilt > 0.45f) {
      petMood = max(0, petMood - 2);
    } else {
      petMood = min(100, petMood + 1);
    }
    if (petMood != oldMood) {
      drawPet();
    }
  }
}
Remix this project
Make it yours in one click
Open a full copy of this project in your own Schematik workspace — diagram, code, parts, and assembly steps included. Swap the sensor, add features, or redesign the whole thing with AI. The author's original stays untouched.