Community project
Live Flight Radar Scanner
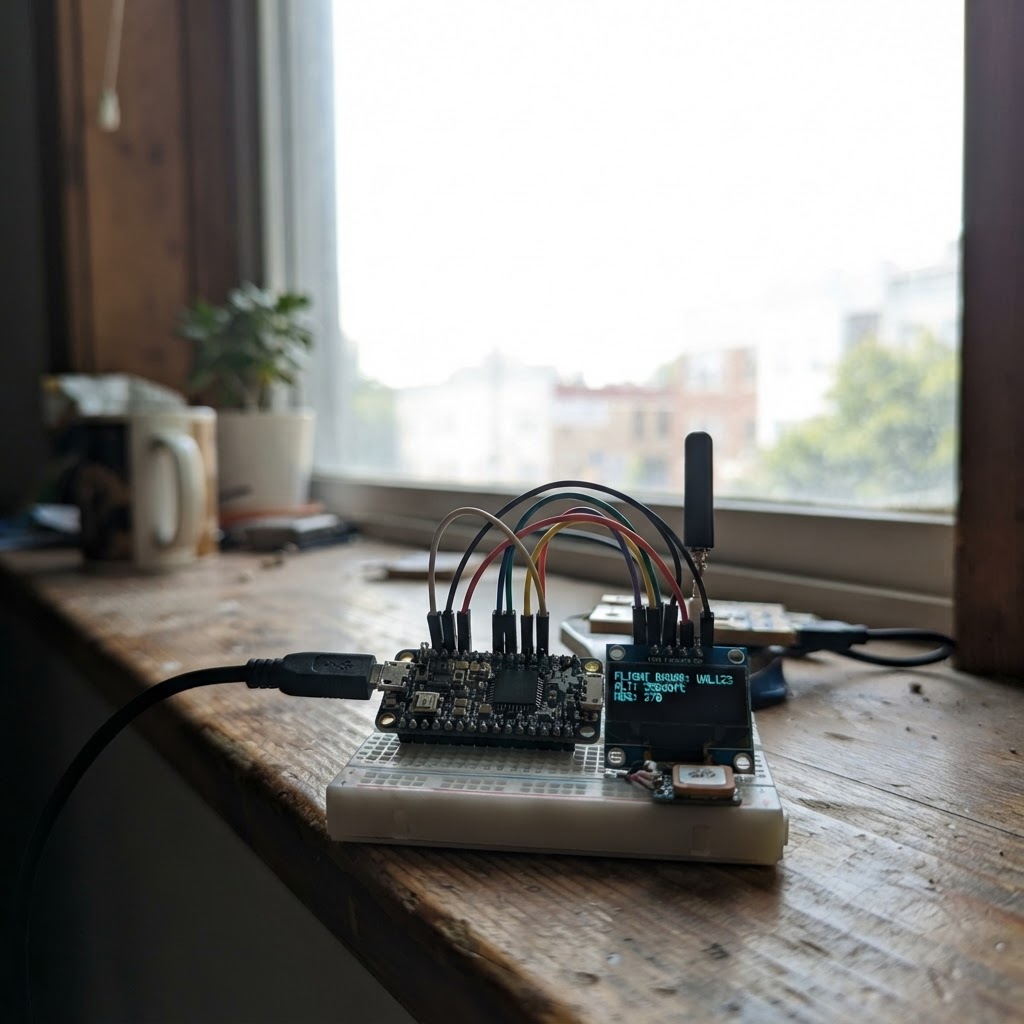
This project turns an M5Dial into a live flight radar scanner that displays real-time aircraft data from your location. By connecting to Flightradar24's API, the device fetches nearby flight information and lets you browse through aircraft using the dial's rotary knob, showing callsign, route, altitude, speed, and bearing for each flight.
The guide provides a complete parts list, wiring diagram, and ready-to-flash firmware. Simply configure your WiFi credentials and Flightradar24 API token, set your scan location coordinates, and start exploring the skies above you. A demo mode is included so you can test the interface before connecting to live data.
Wiring diagram
Assemble it in 2 steps
1. Place the M5Dial where you can turn the knob
Set the M5Dial on a dry, stable surface with its round screen facing up. The screen, rotary knob, and small sounder are already built into this board, so there are no loose electronic parts to connect.
- Turn the knob gently; each turn changes the selected example flight on the screen.
- Keep metal objects and liquids away from the board while it is powered, because they can short its exposed connectors.
2. Power the board by USB
Plug a suitable USB cable into the M5Dial and then into a USB power source or computer. This powers the board and is also how Schematik sends the finished program to it.
- The round display should light after the program is deployed.
- Use an undamaged USB cable and do not force the connector; a damaged cable or connector can cause unreliable power.
Deploy the firmware
#include <Arduino.h>
#include <M5Dial.h>

// Add your private details here later, then set DEMO_MODE to false.

// Hoisted type definitions
struct Flight {
  const char* callsign;
  const char* route;
  int altitudeFt;
  int speedKt;
  int bearingDeg;
};


// Forward declarations
void drawCentered(const String& text, int y, uint16_t color, uint8_t size);
void drawBearingArrow(int bearing);
void drawScreen();

const char* WIFI_SSID = "YOUR_WIFI_NAME";
const char* WIFI_PASSWORD = "YOUR_WIFI_PASSWORD";
const char* FLIGHTRADAR24_TOKEN = "YOUR_FLIGHTRADAR24_TOKEN";
const float SCAN_LATITUDE = 0.0f;
const float SCAN_LONGITUDE = 0.0f;
const bool DEMO_MODE = true;


const Flight demoFlights[] = {
  {"BAW284", "SFO  \\u2192  LHR", 37000, 487,  52},
  {"UAL918", "ORD  \\u2192  FRA", 34000, 461, 128},
  {"DAL405", "JFK  \\u2192  LAX", 28000, 438, 226},
  {"AAL107", "LHR  \\u2192  JFK", 39000, 501, 310}
};
const int FLIGHT_COUNT = sizeof(demoFlights) / sizeof(demoFlights[0]);

int selectedFlight = 0;
int32_t previousEncoder = 0;
unsigned long lastDrawMs = 0;

void drawCentered(const String& text, int y, uint16_t color, uint8_t size) {
  M5Dial.Display.setTextSize(size);
  M5Dial.Display.setTextColor(color, TFT_BLACK);
  int16_t x = (240 - M5Dial.Display.textWidth(text)) / 2;
  M5Dial.Display.setCursor(x, y);
  M5Dial.Display.print(text);
}

void drawBearingArrow(int bearing) {
  const float radians = (bearing - 90) * DEG_TO_RAD;
  const int cx = 120;
  const int cy = 105;
  const int tipX = cx + (int)(32 * cos(radians));
  const int tipY = cy + (int)(32 * sin(radians));
  const int leftX = cx + (int)(12 * cos(radians + 2.45f));
  const int leftY = cy + (int)(12 * sin(radians + 2.45f));
  const int rightX = cx + (int)(12 * cos(radians - 2.45f));
  const int rightY = cy + (int)(12 * sin(radians - 2.45f));
  M5Dial.Display.fillTriangle(tipX, tipY, leftX, leftY, rightX, rightY, TFT_CYAN);
  M5Dial.Display.fillCircle(cx, cy, 4, TFT_WHITE);
}

void drawScreen() {
  const Flight& flight = demoFlights[selectedFlight];
  M5Dial.Display.fillScreen(TFT_BLACK);
  M5Dial.Display.drawCircle(120, 120, 116, TFT_DARKGREY);
  M5Dial.Display.drawCircle(120, 120, 88, TFT_DARKGREY);

  drawCentered(DEMO_MODE ? "FLIGHT RADAR  •  DEMO" : "FLIGHT RADAR  •  LIVE", 18,
               DEMO_MODE ? TFT_ORANGE : TFT_GREEN, 1);
  M5Dial.Display.drawFastHLine(42, 34, 156, TFT_DARKGREY);

  M5Dial.Display.setTextColor(TFT_WHITE, TFT_BLACK);
  M5Dial.Display.setTextSize(2);
  int16_t callX = (240 - M5Dial.Display.textWidth(flight.callsign)) / 2;
  M5Dial.Display.setCursor(callX, 48);
  M5Dial.Display.print(flight.callsign);
  drawCentered(flight.route, 72, TFT_LIGHTGREY, 1);
  drawBearingArrow(flight.bearingDeg);

  M5Dial.Display.setTextColor(TFT_CYAN, TFT_BLACK);
  M5Dial.Display.setTextSize(2);
  M5Dial.Display.setCursor(45, 145);
  M5Dial.Display.printf("%d ft", flight.altitudeFt);
  M5Dial.Display.setCursor(58, 168);
  M5Dial.Display.printf("%d kt", flight.speedKt);
  M5Dial.Display.setCursor(76, 191);
  M5Dial.Display.printf("%03d°", flight.bearingDeg);

  M5Dial.Display.setTextColor(TFT_LIGHTGREY, TFT_BLACK);
  M5Dial.Display.setTextSize(1);
  M5Dial.Display.setCursor(47, 218);
  M5Dial.Display.printf("TURN DIAL  %d / %d", selectedFlight + 1, FLIGHT_COUNT);
}

void setup() {
  auto config = M5.config();
  M5Dial.begin(config, true, false);
  M5Dial.Display.setRotation(0);
  M5Dial.Display.setTextDatum(TL_DATUM);
  previousEncoder = M5Dial.Encoder.read();
  drawScreen();
}

void loop() {
  M5Dial.update();
  int32_t encoderNow = M5Dial.Encoder.read();
  if (encoderNow != previousEncoder) {
    int32_t movement = encoderNow - previousEncoder;
    previousEncoder = encoderNow;
    selectedFlight += (movement > 0) ? 1 : -1;
    if (selectedFlight < 0) selectedFlight = FLIGHT_COUNT - 1;
    if (selectedFlight >= FLIGHT_COUNT) selectedFlight = 0;
    drawScreen();
  }

  // The live API fetch will be added after your private Wi-Fi, token, and location are entered.
  if (millis() - lastDrawMs > 60000UL) {
    lastDrawMs = millis();
  }
}
Remix this project
Make it yours in one click
Open a full copy of this project in your own Schematik workspace — diagram, code, parts, and assembly steps included. Swap the sensor, add features, or redesign the whole thing with AI. The author's original stays untouched.