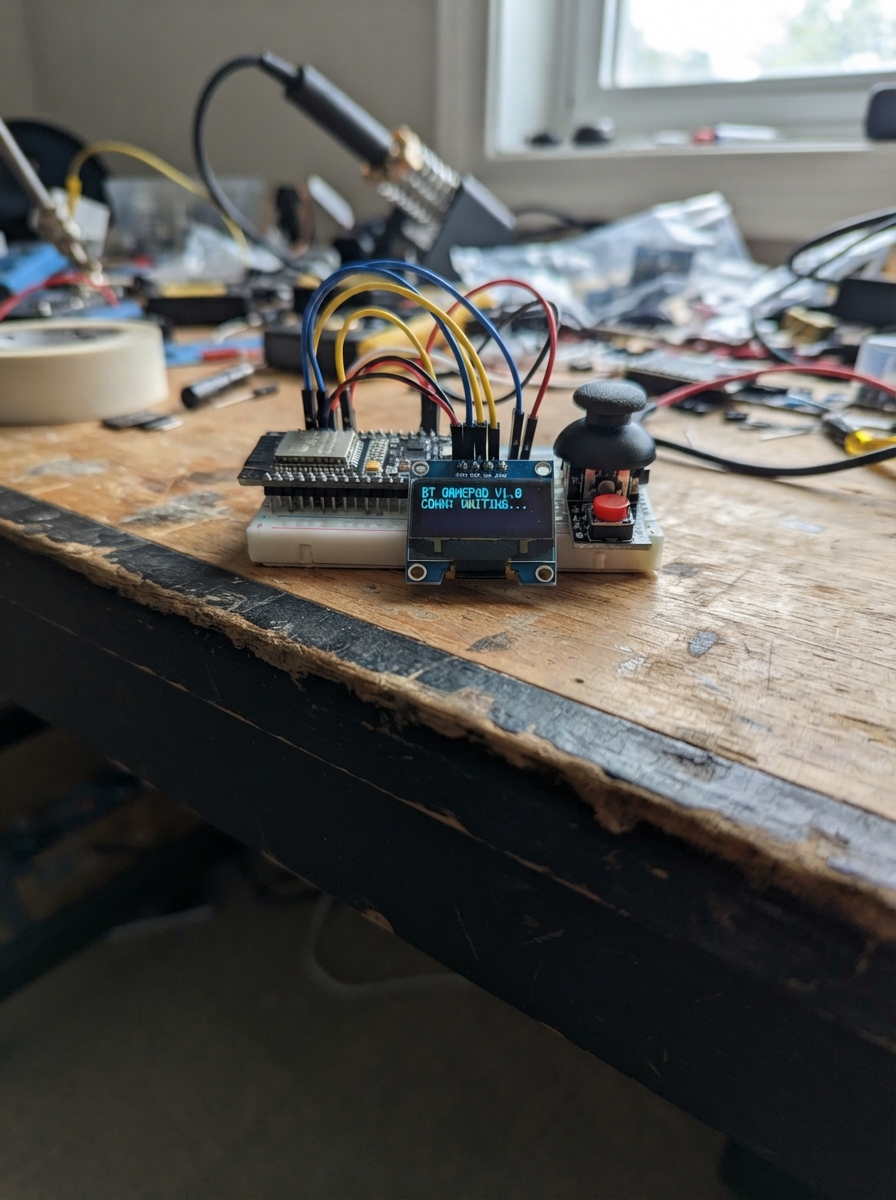
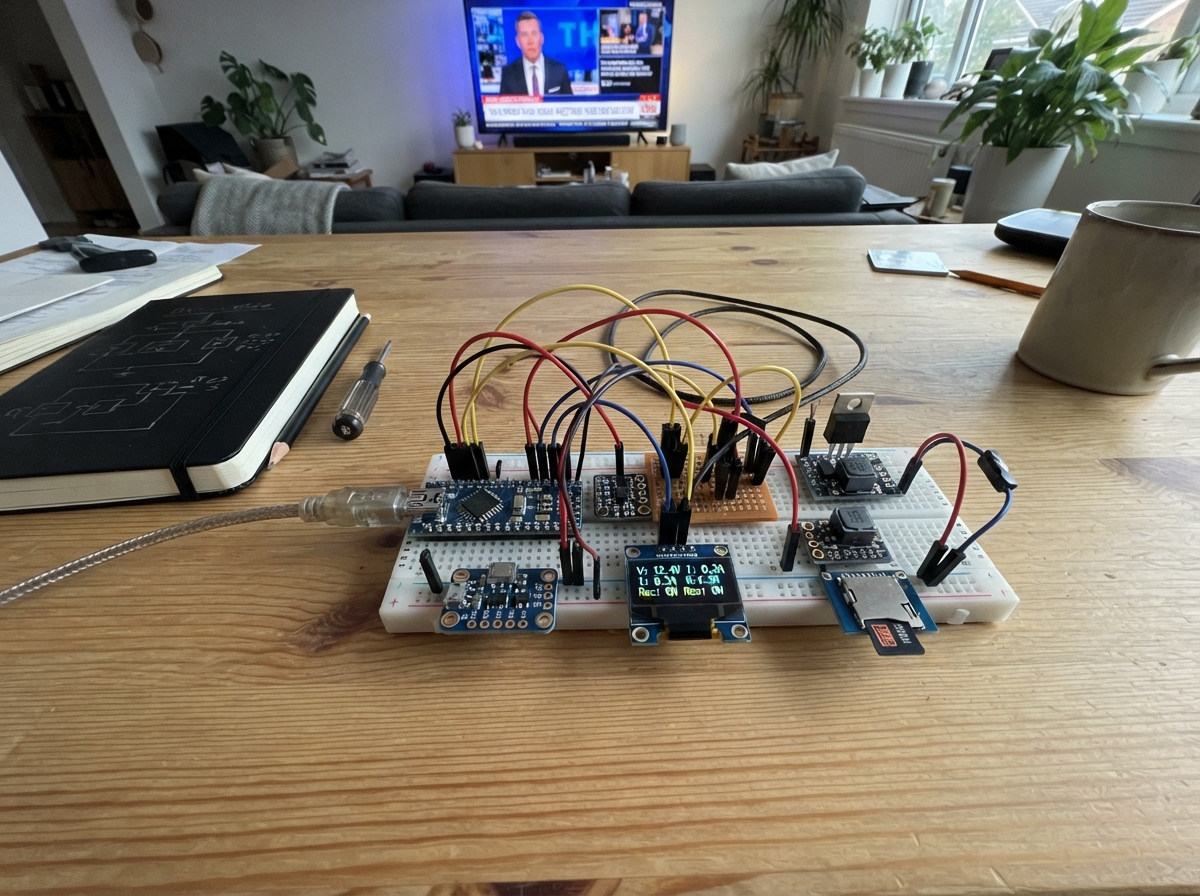
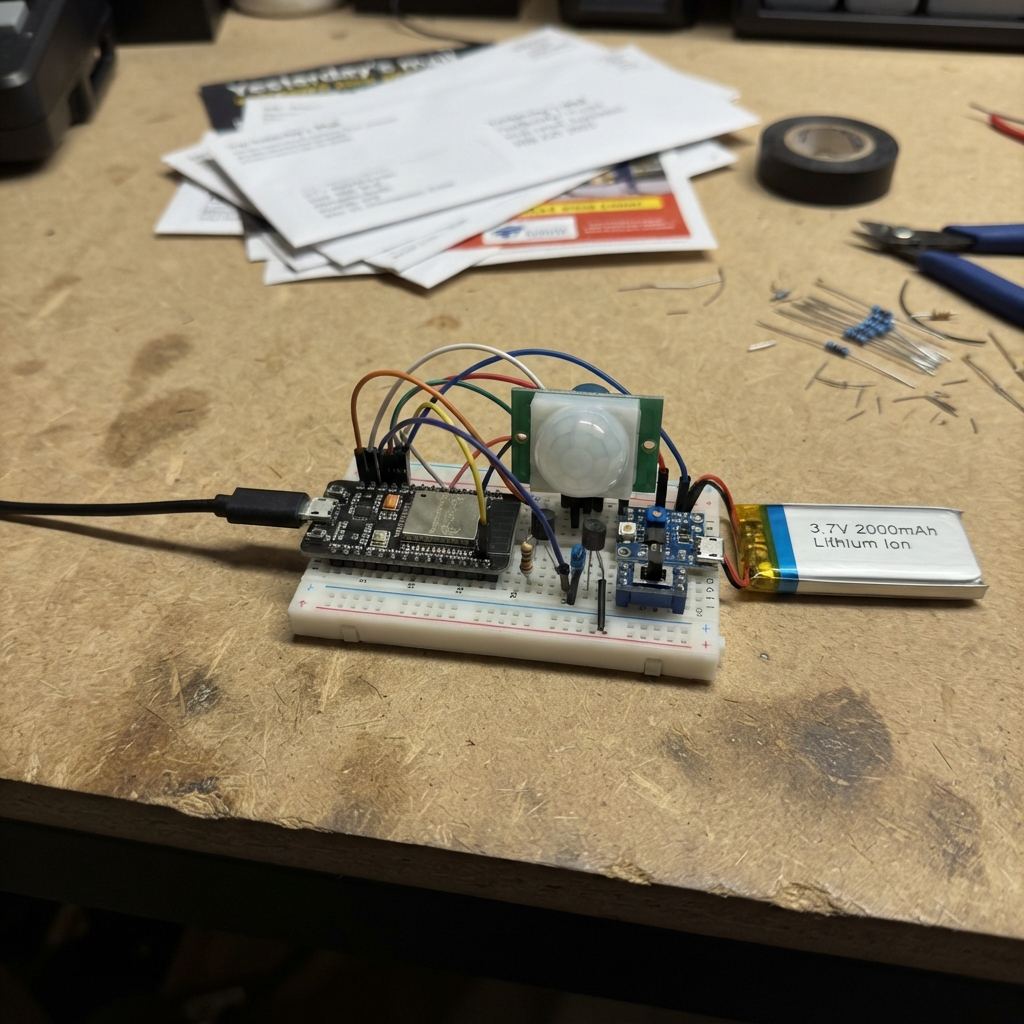
Community project
Zigbee Vibration Monitor
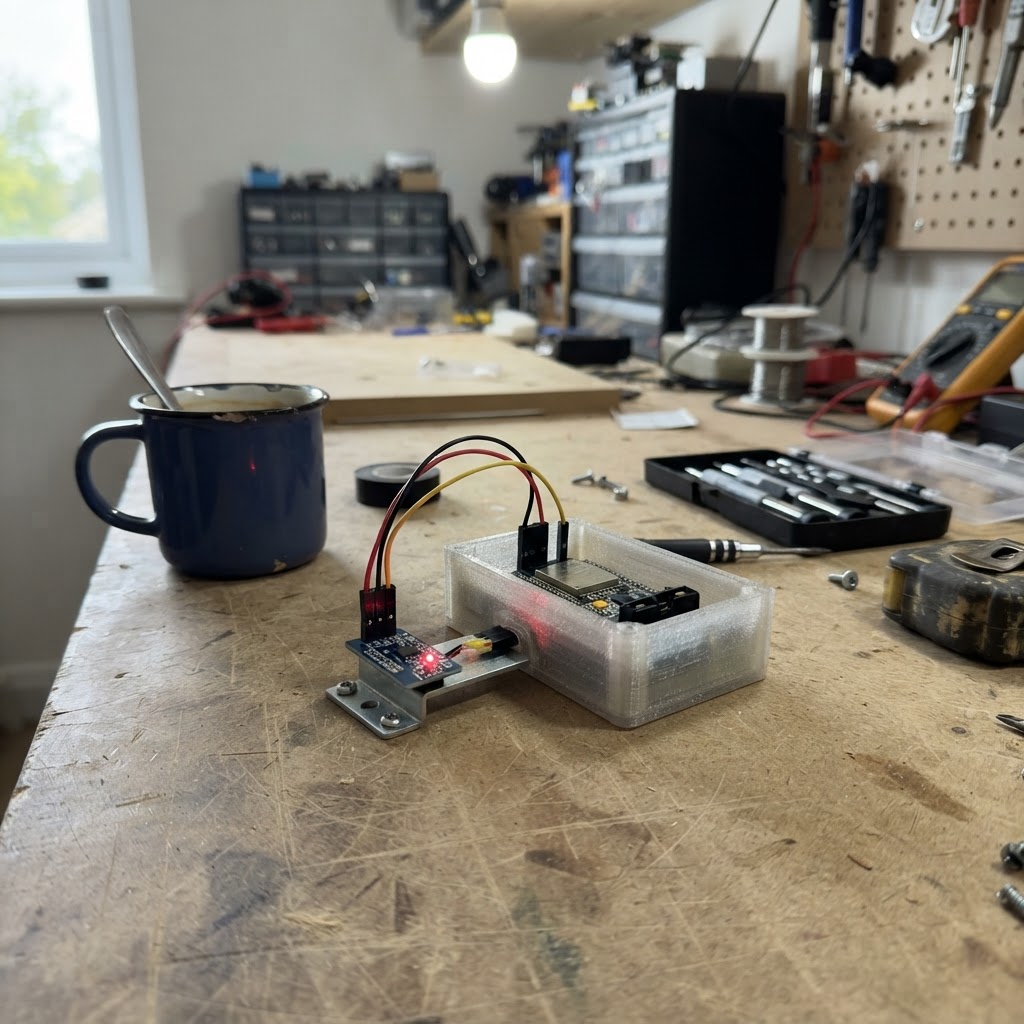
This project turns an ESP32 microcontroller and SW-420 vibration sensor into a networked monitor that detects and reports vibration events over Wi-Fi. The sensor module outputs a digital signal when vibration is detected, which the ESP32 processes with debouncing and event counting to filter out noise and false triggers.
Builders will receive a complete wiring diagram showing how to connect the sensor to the ESP32, a full parts list, Arduino firmware with Wi-Fi connectivity and a local web interface, and step-by-step assembly instructions. The guide includes configuration details for adjusting sensor sensitivity and understanding the JSON status endpoint that reports real-time vibration state and event counts.
Wiring diagram

Gather all the parts
Assemble it in 4 steps
1. Place the board and sensor
Put the ESP32 DevKit v1 and the SW-420 vibration module on a breadboard or non-metal surface. Keep the SW-420 on, or firmly connected to, the object whose shaking you want to notice.
- The small blue adjustment screw on the SW-420 changes how easily it reacts. Start with it near the middle.
- Do not let loose wires touch the underside of the ESP32 board or the metal sensor can; a short circuit can damage the board.
2. Connect the power wires
Use a red jumper wire from the ESP32 pin marked 3V3 to the SW-420 pin marked VCC (power). Use a black jumper wire from an ESP32 pin marked GND to the SW-420 pin marked GND (ground).
- Use the ESP32 pin marked 3V3, not 5V. This keeps the sensor's output safe for the ESP32 input.
- Make sure VCC and GND are not swapped — swapped power can damage the sensor module.
3. Connect the vibration signal wire
Use a third jumper wire from the SW-420 pin marked DO to ESP32 GPIO27 (signal). On many ESP32 DevKit v1 boards the pin is printed as 27 along the header; follow the printed GPIO number.
- Follow the SW-420's printed pin labels VCC, GND, and DO rather than relying on their physical order.
- Do not connect the SW-420 DO wire to the ESP32 5V pin; it must go only to GPIO27.
4. Adjust the sensor
Plug the ESP32 into your computer with USB. Gently tap or shake the object holding the SW-420, then turn the small blue adjustment screw a tiny amount at a time until normal background movement does not trigger it but the movement you care about does.
- The small indicator light on most SW-420 modules changes when the module detects movement.
- Do not force the small adjustment screw past its stops; forcing it can break the adjustment part.
Review all connections
1. Connections between "sw420_1" and "ESP32"
Deploy the firmware
#include <Arduino.h>
#include <WiFi.h>
#include <WebServer.h>

// Local Wi-Fi credentials supplied for this sensor.

// Forward declarations
void handleStatus();
void handleRoot();
void connectWiFi();

const char *WIFI_SSID = "Home2";
const char *WIFI_PASSWORD = "HomeSweetHome2";

constexpr uint8_t VIBRATION_PIN = 27;
constexpr uint32_t DEBOUNCE_MS = 80;
constexpr uint32_t EVENT_HOLD_MS = 2000;
constexpr uint32_t RETRIGGER_LOCKOUT_MS = 3000;

WebServer server(80);

bool lastRawState = false;
bool stableState = false;
bool vibrationActive = false;
uint32_t lastRawChangeMs = 0;
uint32_t vibrationStartedMs = 0;
uint32_t lastEventMs = 0;
uint32_t eventCount = 0;

void handleStatus() {
  const char *state = vibrationActive ? "vibration" : "clear";
  String json = "{\"device\":\"sw420_vibration_sensor\",\"state\":\"";
  json += state;
  json += "\",\"vibration_detected\":";
  json += vibrationActive ? "true" : "false";
  json += ",\"event_count\":";
  json += String(eventCount);
  json += ",\"uptime_ms\":";
  json += String(millis());
  json += "}";
  server.send(200, "application/json", json);
}

void handleRoot() {
  String page = "<!doctype html><html><head><meta charset='utf-8'><meta http-equiv='refresh' content='2'><title>Vibration Sensor</title></head><body><h1>SW-420 Vibration Sensor</h1><p>State: <strong>";
  page += vibrationActive ? "VIBRATION DETECTED" : "clear";
  page += "</strong></p><p>Events: ";
  page += String(eventCount);
  page += "</p><p>Machine-readable status: <a href='/status'>/status</a></p></body></html>";
  server.send(200, "text/html", page);
}

void connectWiFi() {
  WiFi.mode(WIFI_STA);
  WiFi.begin(WIFI_SSID, WIFI_PASSWORD);
  Serial.print("Connecting to Wi-Fi");
  const uint32_t started = millis();
  while (WiFi.status() != WL_CONNECTED && millis() - started < 20000) {
    delay(250);
    Serial.print('.');
  }
  Serial.println();

  if (WiFi.status() == WL_CONNECTED) {
    Serial.print("Local status page: http://");
    Serial.println(WiFi.localIP());
    Serial.println("JSON endpoint: /status");
  } else {
    Serial.println("Wi-Fi connection failed; sensor detection continues and will retry.");
  }
}

void setup() {
  Serial.begin(115200);
  pinMode(VIBRATION_PIN, INPUT);
  delay(20);

  lastRawState = digitalRead(VIBRATION_PIN) == HIGH;
  stableState = lastRawState;
  lastRawChangeMs = millis();

  server.on("/", HTTP_GET, handleRoot);
  server.on("/status", HTTP_GET, handleStatus);
  server.begin();

  connectWiFi();
  Serial.println("Vibration monitoring is active.");
}

void loop() {
  const uint32_t now = millis();
  const bool rawState = digitalRead(VIBRATION_PIN) == HIGH;

  if (rawState != lastRawState) {
    lastRawState = rawState;
    lastRawChangeMs = now;
  }

  if ((now - lastRawChangeMs) >= DEBOUNCE_MS && stableState != rawState) {
    stableState = rawState;
    if (stableState && !vibrationActive && (now - lastEventMs) >= RETRIGGER_LOCKOUT_MS) {
      vibrationActive = true;
      vibrationStartedMs = now;
      lastEventMs = now;
      eventCount++;
      Serial.println("Vibration detected.");
    }
  }

  if (vibrationActive && (now - vibrationStartedMs) >= EVENT_HOLD_MS) {
    vibrationActive = false;
    Serial.println("Vibration state cleared.");
  }

  if (WiFi.status() != WL_CONNECTED) {
    static uint32_t lastRetryMs = 0;
    if (now - lastRetryMs >= 10000) {
      lastRetryMs = now;
      WiFi.disconnect();
      WiFi.begin(WIFI_SSID, WIFI_PASSWORD);
    }
  }

  server.handleClient();
  delay(5);
}
Remix this project
Make it yours in one click
Open a full copy of this project in your own Schematik workspace — diagram, code, parts, and assembly steps included. Swap the sensor, add features, or redesign the whole thing with AI. The author's original stays untouched.