On this page
The HC-SR501 is the motion sensor in the Schematik Starter Kit, the one with the white plastic dome. Walk past it and one pin goes high. Stand still long enough and it goes low again.
Flip it over and you'll find two orange knobs and a small jumper. Those three parts decide how much heat change it needs, how long it stays on and what happens when you keep moving.
How a PIR sensor works
PIR stands for passive infrared. Everything warm gives off infrared light, which our eyes can't see. A person is usually warmer than the room around them. The sensor under the dome is split into two halves. When nothing moves, both halves see the same amount of heat and cancel out. When you walk past, one half sees you a moment before the other, and that difference counts as motion.
The dome is a lens made of many small lenses. Each one points at a different patch of the room, so the sensor watches a wide cone, about 100° across.
"Passive" means it only listens. It sends nothing out, which is why it uses less than 50µA while it waits. A chip on the back, the BISS0001, turns the sensor's tiny signal into a clean high or low on the OUT pin.
Because it reacts to change, the HC-SR501 sees movement. Someone who sits still for long enough will stop triggering it.
The pins
The three pins sit along one edge of the back of the board.
| Pin | Board pin | What it does |
|---|---|---|
| VCC | 5V | Power, 4.5V to 20V |
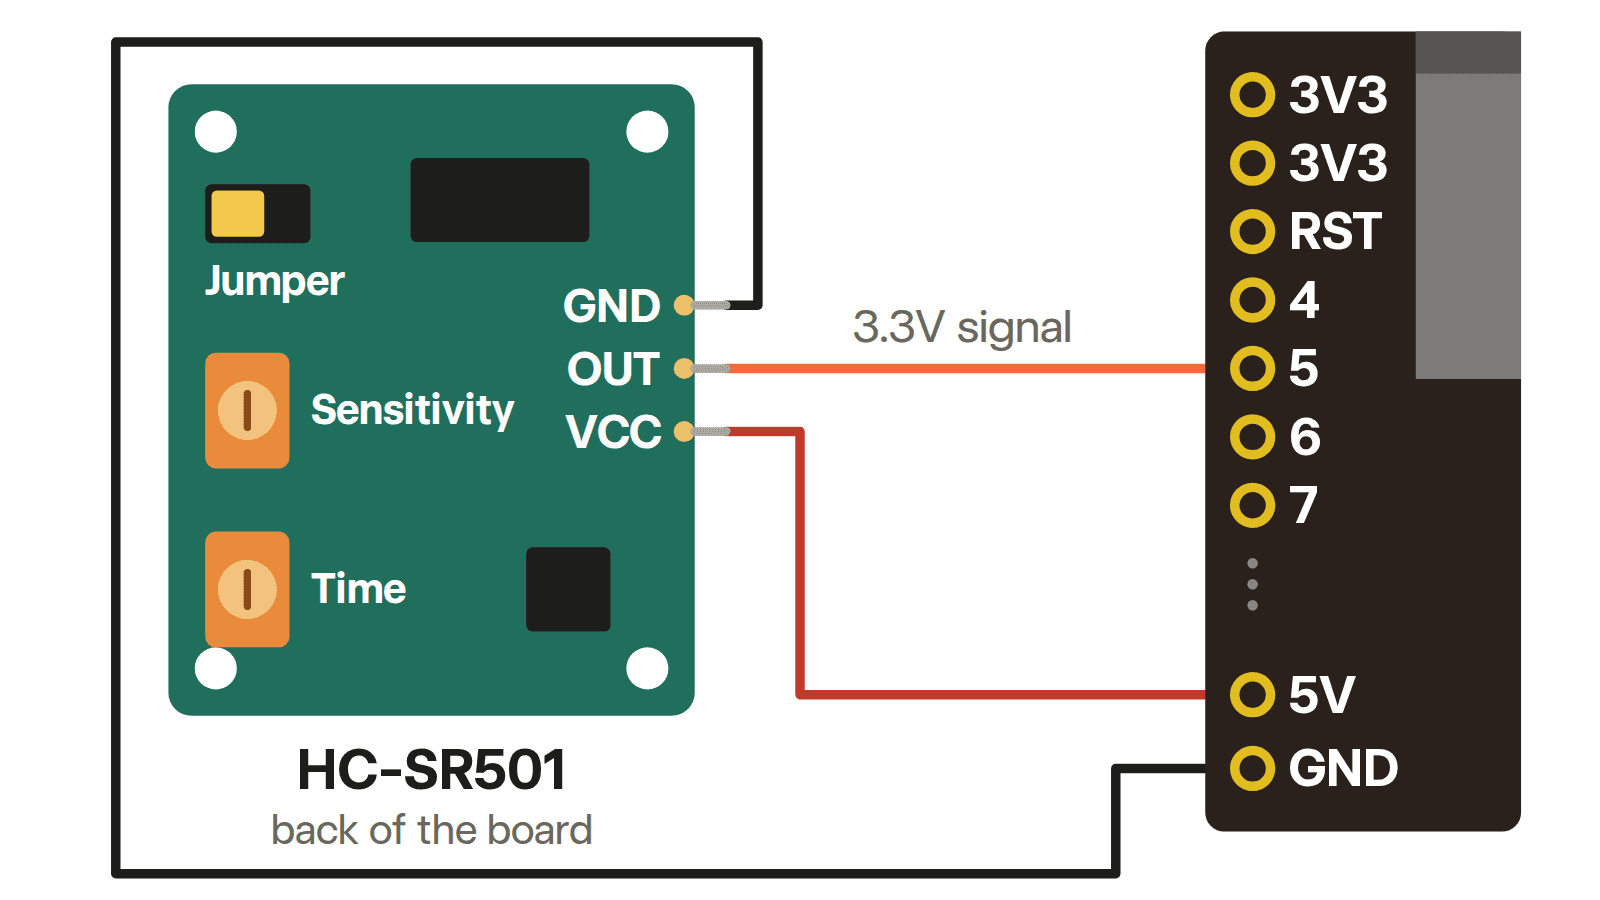
| OUT | 5 | High (3.3V) when it sees motion, low (0V) when it doesn't |
| GND | GND | Ground, the return path for the current |
VCC is the pin next to the small black voltage regulator. GND is the pin on the side of the larger chip. The labels are often printed under the dome, so pop it off if you want to check.
Wiring it to the ESP32-S3
The diagram at the top shows the sensor on the kit ESP32-S3 board, with the pin labels printed on the board.
Power goes to 5V, not 3V3. The seller lists 4.5V as the lowest supply it works on, and 3.3V is below that. The 5V pin carries the USB power through a protection diode on the board, so it sits a little under 5V with a normal USB supply.
OUT connects straight to pin 5. The seller rates its high level at 3.3V, a safe level for the ESP32-S3. No resistors needed.
The two knobs
With the dome facing away from you and the pins at the bottom edge, the left knob sets the time and the right knob sets the sensitivity. In the diagram the board is turned on its side, so the pins point toward the ESP32.
Time sets how long OUT stays high after motion. Turn it clockwise for longer, up to about 5 minutes. Turn it counterclockwise for shorter, down to about 5 seconds.
Sensitivity sets how much change in heat it needs before it calls it motion. Clockwise reaches about 7m, counterclockwise about 3m. The real distance depends on what is moving and how warm it is compared with the room.
Turn both knobs fully counterclockwise to start. You get the shortest wait while you test, and fewer surprises across the room.
The jumper: H or L
The jumper sits in a corner, next to the letters H and L.
- H, repeat trigger. Each new movement restarts the timer. OUT stays high for as long as someone keeps moving, then for the time you set after they stop. This is the default, and the right choice for a light that stays on while you're in the room.
- L, single trigger. OUT goes high once, stays high for the time you set, then drops back to low even if you're still moving. Use it when you want one pulse per trigger, like a doorbell chime. It misses anything that happens while OUT is high and during the pause that follows, so it can't count people one by one.
After OUT drops back to low, the sensor ignores everything for about 2.5 seconds. That pause is built in, so short gaps in your readings are normal.
Code: watch the timer at work
This sketch prints when motion starts and how long OUT stayed high. Use it to set the time knob: turn it, wave once and read the number. It builds for the ESP32-S3 with the Arduino core, version 2 or 3.
#include <Arduino.h>

const int PIR = 5;

bool moving = false;
unsigned long startedAt = 0;

void setup() {
  Serial.begin(115200);
  pinMode(PIR, INPUT);
  Serial.println("Warming up for 60 seconds. Stay still.");
  delay(60000);
  while (digitalRead(PIR) == HIGH) delay(50);
  Serial.println("Ready");
}

void loop() {
  bool high = digitalRead(PIR) == HIGH;
  if (high && !moving) {
    startedAt = millis();
    Serial.println("Motion");
  }
  if (!high && moving) {
    Serial.print("OUT went low after ");
    Serial.print((millis() - startedAt) / 1000.0, 1);
    Serial.println(" seconds");
  }
  moving = high;
  delay(50);
}
The sketch waits a minute first. The HC-SR501 needs about that long to settle after power-up, and it can fire on its own while it does. The code then waits for OUT to go low, so the first time it prints is a full one. After that, it only prints when OUT changes, so the Serial Monitor stays quiet while nothing happens.
When it misbehaves
It fires with no one in the room. Give it the full minute after power-up first. The seller also warns that this sensor can pick up false triggers from boards with Wi-Fi or Bluetooth, and the ESP32-S3 has both. Longer jumper wires that move the sensor away from the board can help.
It stays high for ages. Turn the time knob counterclockwise. With the jumper on H, keep still too, since every movement restarts the timer.
It misses you across the room. Turn the sensitivity knob clockwise, and walk across its view instead of straight toward it. Crossing from one half to the other is the change it looks for.
Build it in Schematik
Open Schematik and describe what you want. It picks the parts, wires them and writes the code. Try one of these with the kit:
- "Light the green LED for 30 seconds when someone walks past."
- "Show on the OLED screen how many times the motion sensor triggered in the last hour."
- "Beep the passive buzzer when there's motion, but only after dark, using the light sensor."
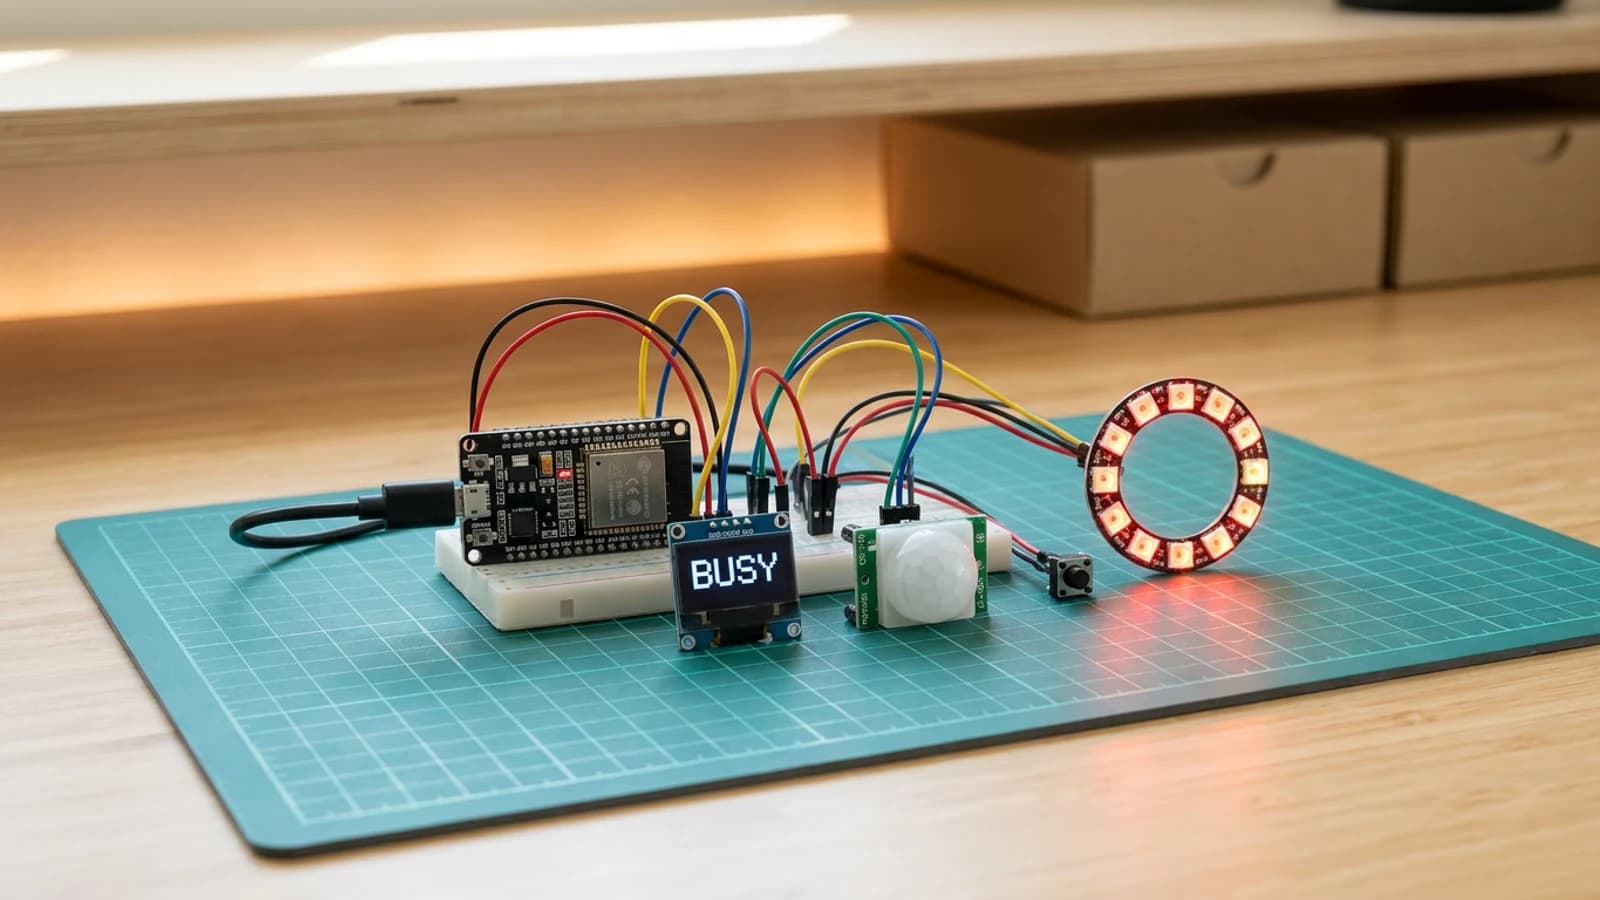
The ESP32 desk presence busy light is a full PIR build you can open and remix.
FAQ
Can I power the HC-SR501 from 3.3V? Not as it comes. The seller rates it from 4.5V to 20V, so use the 5V pin. Its OUT pin still gives 3.3V, which is safe for the ESP32-S3.
What do the two orange knobs do? The one nearest the jumper sets sensitivity, with a range of roughly 3m to 7m depending on what moves. The other sets how long OUT stays high, about 5 seconds to 5 minutes.
Should the jumper be on H or L? H for lights and presence, where you want OUT to stay high while someone moves. L when you want one pulse per trigger.
Why does the sensor ignore me right after it turns off? It blocks new triggers for about 2.5 seconds after OUT goes low.
Keep building from here
Jump into a step-by-step build, or open Schematik and turn your own idea into code, wiring, and assembly instructions.
Related posts
New to Hardware? A Beginner ESP32 Guide for Your First Build
A beginner ESP32 hardware guide: what to buy first, how breadboards work, what pin labels mean, and what to check before powering your first build.
Most-used parts in Schematik projects
We counted the parts in all 902 published Schematik projects. A push button beat every screen and sensor, and one project in six adds no parts at all.
Related builds
How to Build an ESP32 Desk Presence Busy Light
Build an ESP32 desk presence light that shows whether your workspace is free, recently active, or manually set to busy. Includes PIR wiring, OLED status text, LED ring feedback, and complete Arduino code.
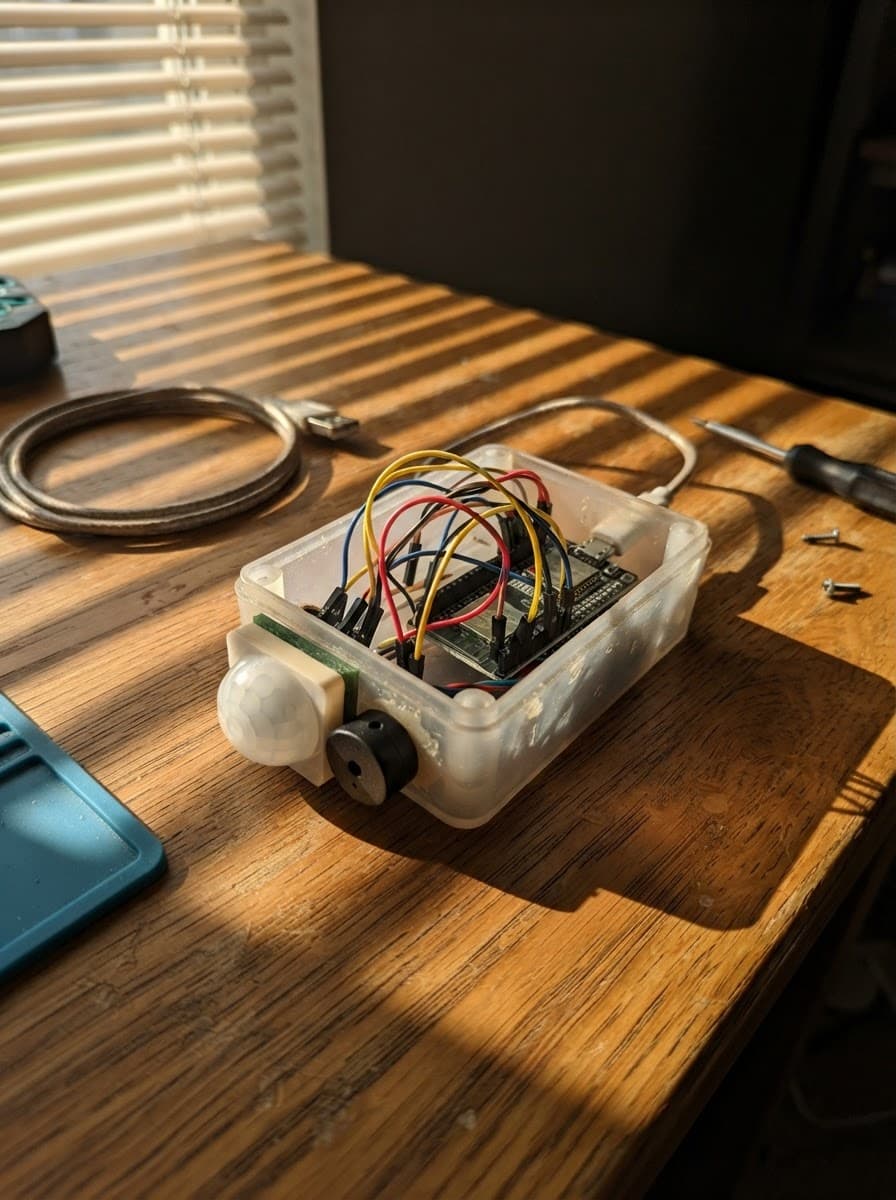
ESP32 Telegram Motion Alarm
Build a motion alarm with ESP32 that sends Telegram alerts when movement is detected using a PIR sensor.
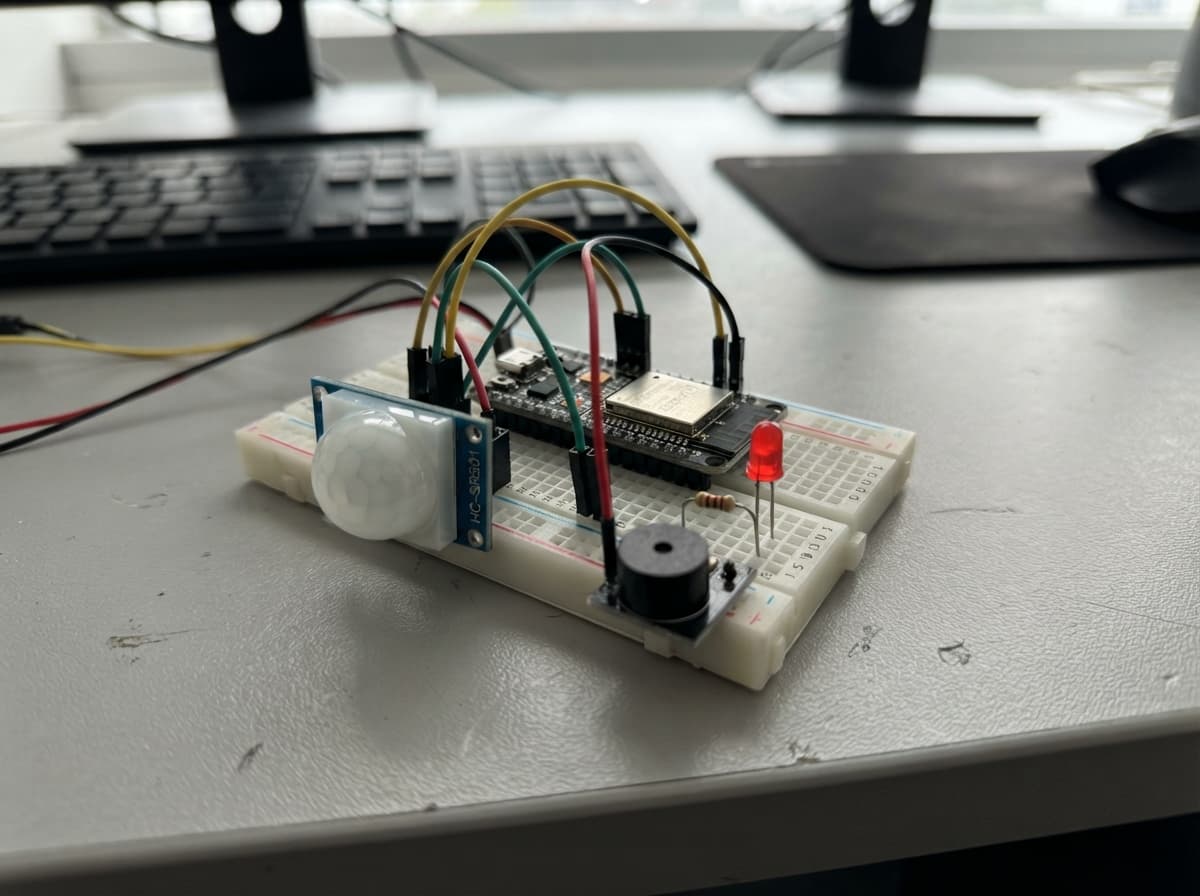
ESP32 Room Motion Alarm
Build an ESP32 motion alarm with PIR sensor, buzzer, and LED. Complete wiring guide and firmware included.