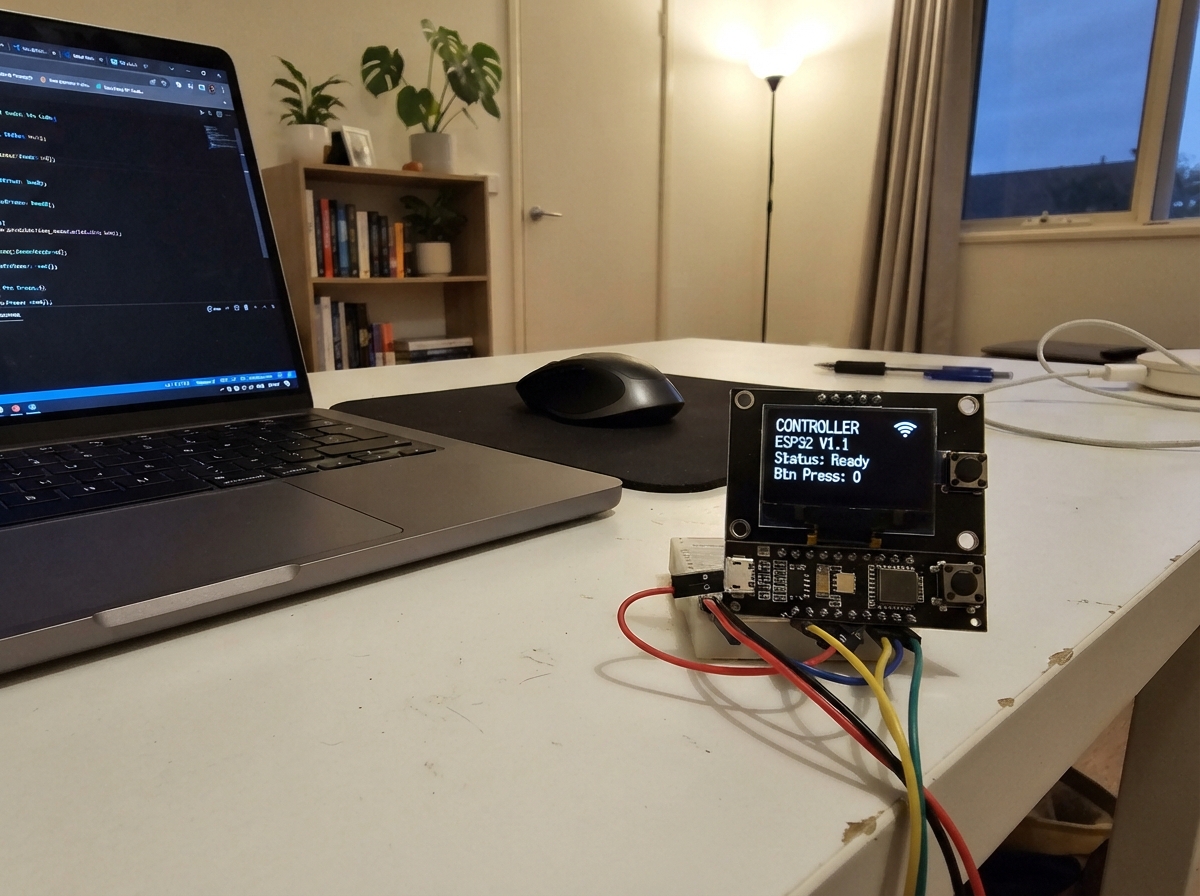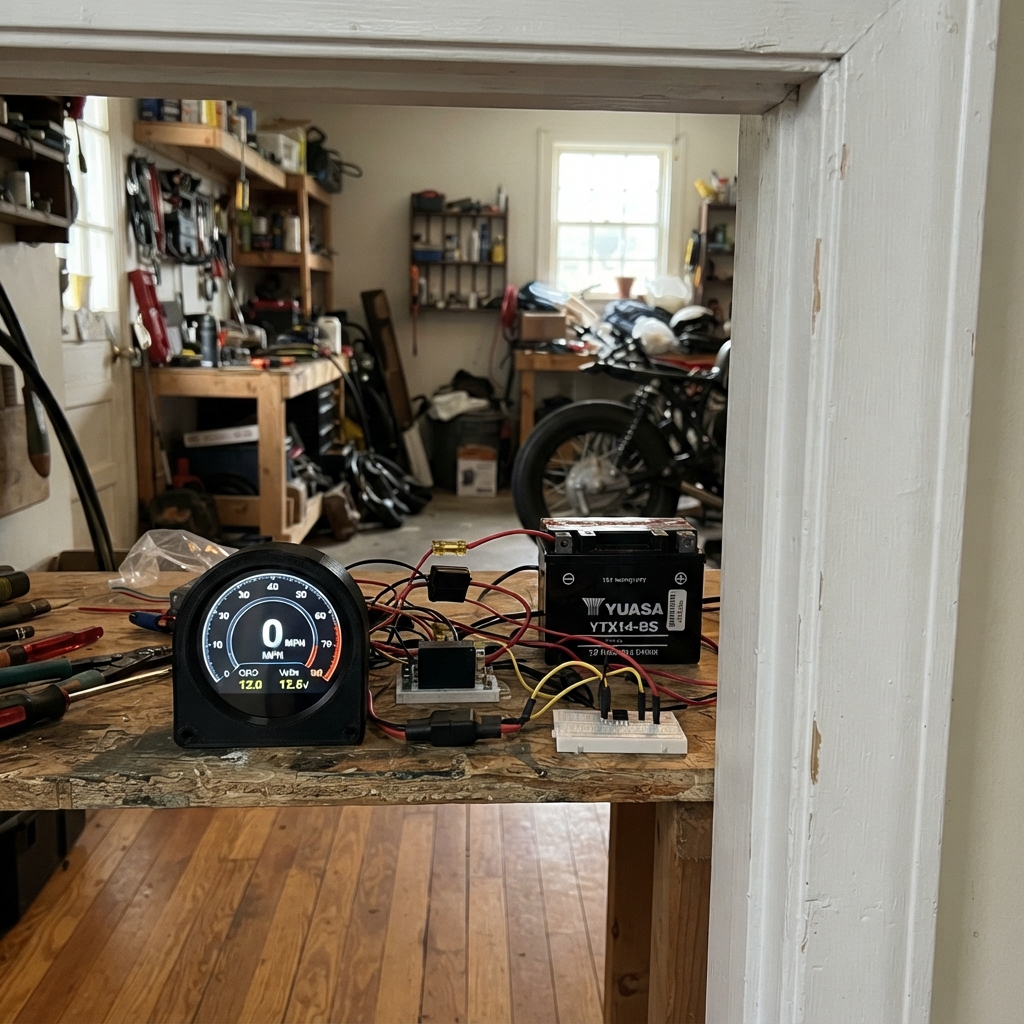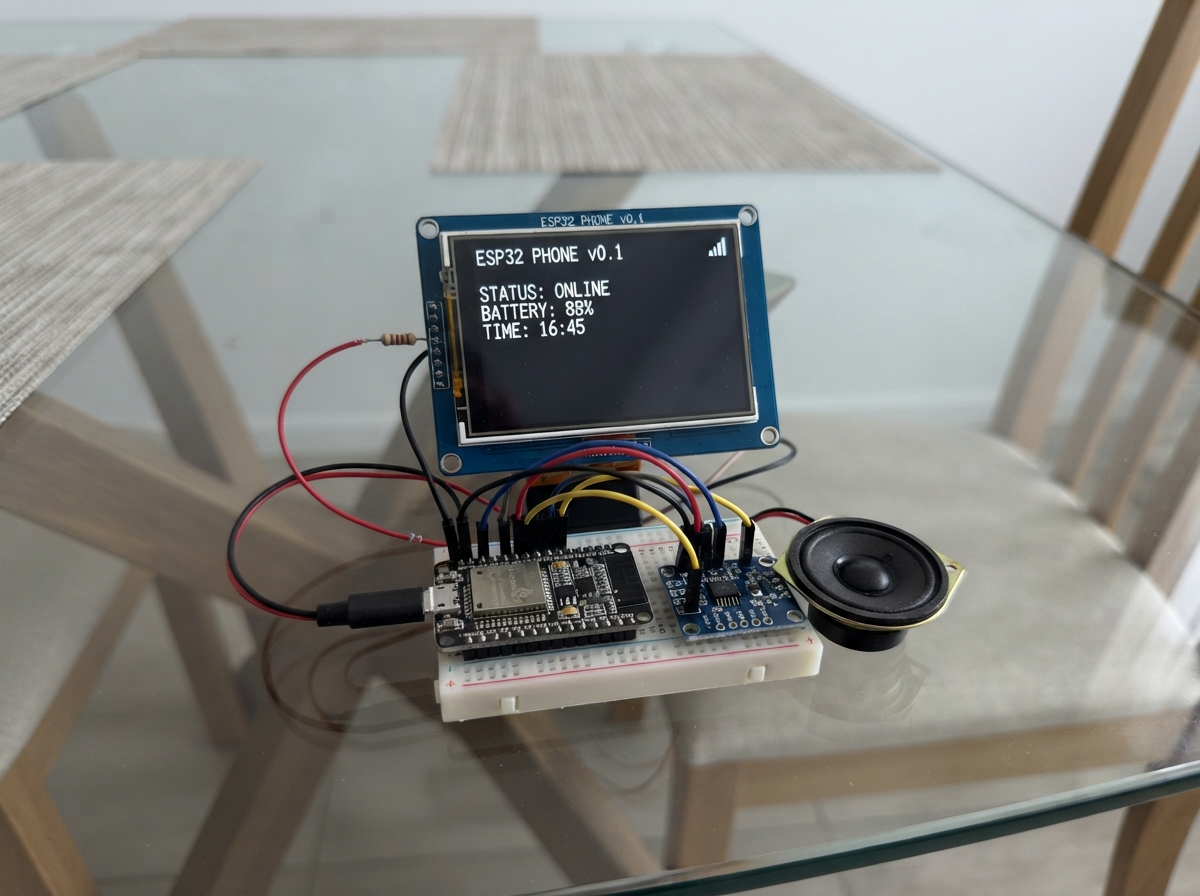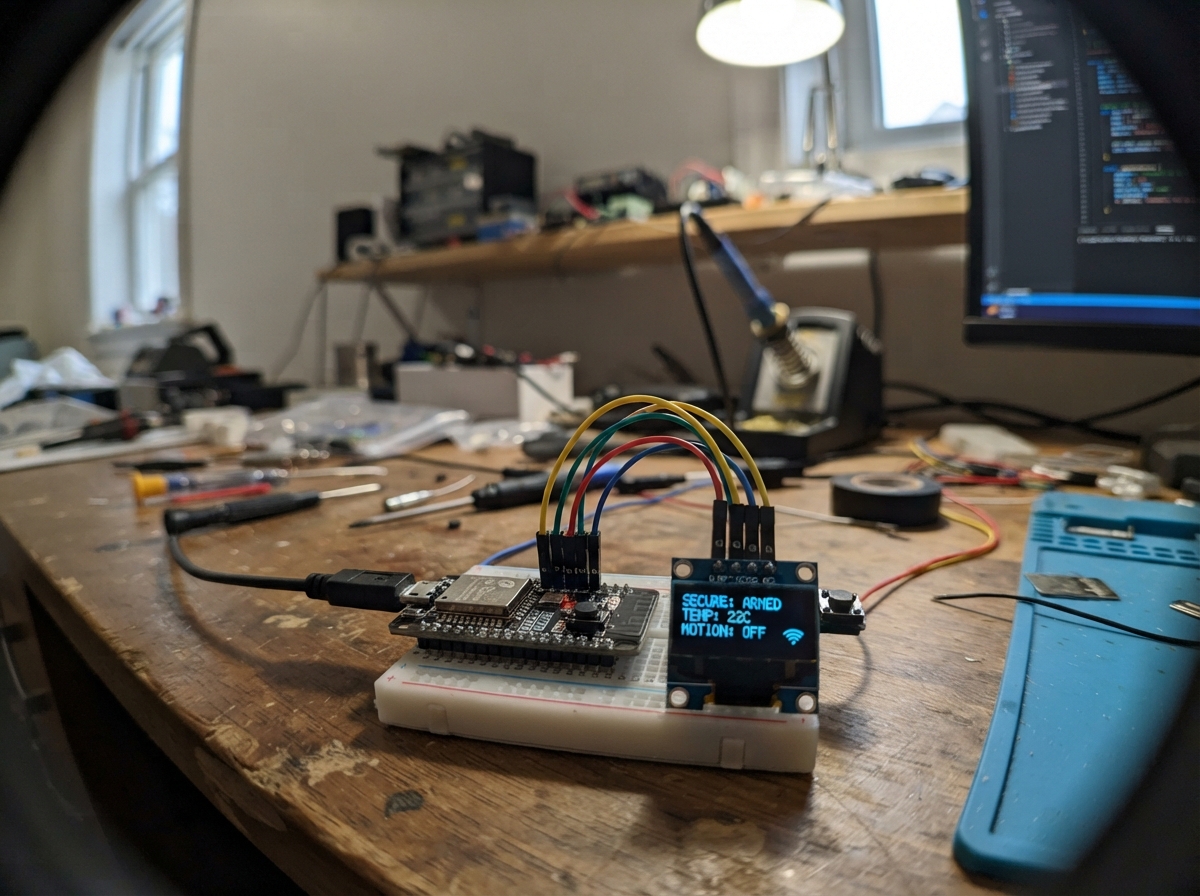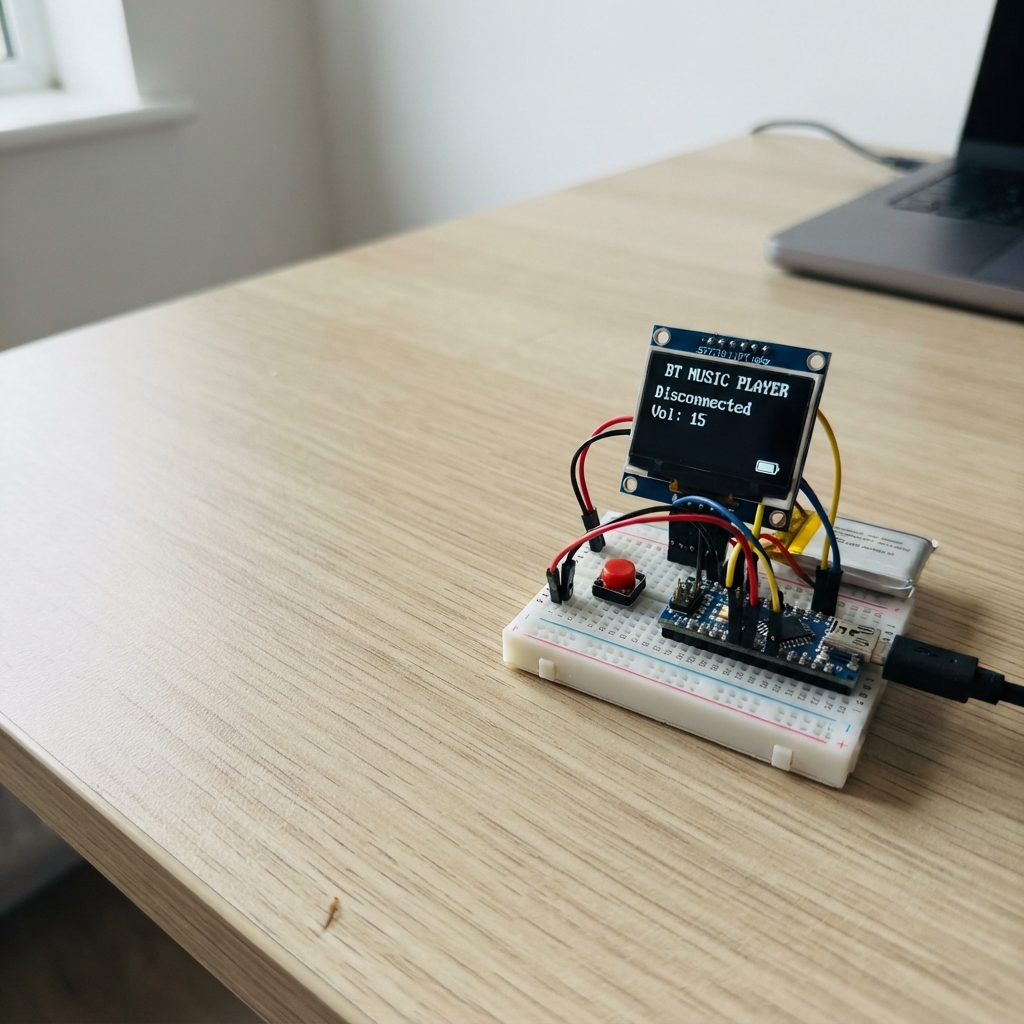
This Bluetooth MP3 player streams audio to wireless earbuds using an ESP32 microcontroller paired with a 1.8-inch color display. The project generates synthesized audio tracks that play over Bluetooth A2DP, with track selection and playback control managed through three push buttons.
Builders will receive a complete wiring diagram showing how to connect the ST7735 display and control buttons to the ESP32, a full parts list, and firmware that handles Bluetooth audio streaming, button debouncing, and display updates. The assembly guide walks through powering the display, connecting all signal wires, configuring the control buttons, and pairing with Bluetooth earbuds for testing.
Wiring diagram
Gather all the parts
Assemble it in 7 steps
1. Place the ESP32 and display
Put the ESP32 DevKit V1 and the 1.8-inch TFT module on a breadboard with their pin rows in separate holes. Keep the USB socket at the edge so its cable can plug in easily.
- Read the tiny labels printed beside the display pins before connecting any wire.
- Do not connect the display to power until you have checked VCC and GND; swapped power can damage the screen.
2. Connect power to the screen
Use a red jumper from the ESP32 3V3 pin to tft_1 VCC (power). Use another red jumper from 3V3 to tft_1 BLK (backlight power). Use a black jumper from an ESP32 GND pin to tft_1 GND (ground).
- The BLK pin keeps the screen light on all the time.
- Use the ESP32 3V3 pin, not VIN or 5V, because the ESP32 signal pins use 3.3 volts.
3. Connect the screen signal wires
Connect tft_1 SCK to ESP32 GPIO18 (clock), tft_1 MOSI to GPIO23 (display data), tft_1 CS to GPIO4 (screen select), tft_1 DC to GPIO16 (tells the screen whether bytes are text/pictures or commands), and tft_1 RST to GPIO17 (screen reset). Leave tft_1 MISO unconnected; this player only writes to the display.
- Some modules label SCK as CLK or SCL, and label MOSI as SDA or DIN; these labels mean the same pins here.
- Do not swap MOSI and MISO: this display's MISO pin is not used.
4. Wire the previous button
Put button_previous across the center gap of the breadboard. Connect one leg to ESP32 GPIO32 (previous-track signal) and the leg on the opposite side of the switch to ESP32 GND (ground).
- A four-leg tactile switch has two legs joined on each side; use legs from opposite sides, not two legs on the same side.
5. Wire the play and next buttons
Put button_play_pause and button_next across the breadboard center gap. Connect one leg of button_play_pause to GPIO33 (play/pause signal) and its opposite leg to GND (ground). Connect one leg of button_next to GPIO27 (next-track signal) and its opposite leg to GND (ground).
- No extra resistors are needed: the ESP32 turns on its safe internal pull-up resistors in the program.
- Make sure each button's two wires use opposite sides of its switch or pressing it will do nothing.
6. Prepare the Bluetooth earbuds
Charge the Bluetooth earbuds, then put them into their pairing mode before powering the ESP32. The player advertises itself as ESP32 Flash Music and sends its built-in test tunes when the earbuds connect.
- Keep a phone away from the earbuds while testing so the phone does not reconnect to them first.
7. Power and test the player
Recheck every wire, plug the ESP32 into USB, and then use Schematik’s Deploy button to put the player program on it. Press the three buttons: GPIO32 selects the previous tune, GPIO33 pauses or plays, and GPIO27 selects the next tune.
- The screen should show the selected track name and whether it is playing or paused.
- If the screen stays blank, unplug USB first and check that VCC is on 3V3, GND is on GND, and the BLK wire is connected to 3V3.
Review all connections
1. Connections between "tft_1" and "ESP32"
2. Connections between "button_previous" and "ESP32"
3. Connections between "button_play_pause" and "ESP32"
4. Connections between "button_next" and "ESP32"
Deploy the firmware
#include <Arduino.h>
#include <SPI.h>
#include <Adafruit_GFX.h>
#include <Adafruit_ST7735.h>
#include <BluetoothA2DPSource.h>

#define TFT_CS 4
#define TFT_DC 16
#define TFT_RST 17
#define TFT_SCK 18
#define TFT_MOSI 23
#define BUTTON_PREVIOUS 32
#define BUTTON_PLAY_PAUSE 33
#define BUTTON_NEXT 27

Adafruit_ST7735 tft(TFT_CS, TFT_DC, TFT_RST);
BluetoothA2DPSource a2dpSource;

const char *trackTitles[] = {"Sunny Steps", "Night Ride", "Game Start"};
const uint32_t trackFrequencies[] = {262, 330, 392};
const uint32_t SAMPLE_RATE = 44100;

volatile uint8_t selectedTrack = 0;
volatile bool playing = true;
volatile uint32_t oscillatorPhase = 0;
volatile uint32_t phaseStep = 0;

bool previousButtonWasHigh = true;
bool playButtonWasHigh = true;
bool nextButtonWasHigh = true;
uint32_t lastButtonTime = 0;
bool screenNeedsUpdate = true;

void setTrack(uint8_t newTrack) {
  selectedTrack = newTrack % 3;
  phaseStep = (uint32_t)((uint64_t)trackFrequencies[selectedTrack] * 4294967296ULL / SAMPLE_RATE);
  oscillatorPhase = 0;
  screenNeedsUpdate = true;
}

int32_t getDataFrames(Frame *frames, int32_t frameCount) {
  for (int32_t i = 0; i < frameCount; i++) {
    int16_t sample = 0;
    if (playing) {
      oscillatorPhase += phaseStep;
      sample = (oscillatorPhase & 0x80000000UL) ? 5500 : -5500;
    }
    frames[i].channel1 = sample;
    frames[i].channel2 = sample;
  }
  return frameCount;
}

void drawPlayer() {
  tft.fillScreen(ST77XX_BLACK);
  tft.setTextWrap(false);
  tft.setTextSize(1);
  tft.setTextColor(ST77XX_CYAN);
  tft.setCursor(8, 10);
  tft.print("ESP32 MUSIC PLAYER");
  tft.drawFastHLine(8, 24, 144, ST77XX_BLUE);

  tft.setTextColor(ST77XX_WHITE);
  tft.setCursor(8, 42);
  tft.print("Track ");
  tft.print(selectedTrack + 1);
  tft.print(" of 3");

  tft.setTextColor(ST77XX_YELLOW);
  tft.setCursor(8, 63);
  tft.print(trackTitles[selectedTrack]);

  tft.setTextColor(playing ? ST77XX_GREEN : ST77XX_RED);
  tft.setTextSize(2);
  tft.setCursor(8, 90);
  tft.print(playing ? "PLAYING" : "PAUSED");

  tft.setTextSize(1);
  tft.setTextColor(ST77XX_WHITE);
  tft.setCursor(8, 122);
  tft.print("Buds: ESP32 Flash");
  tft.setCursor(8, 136);
  tft.print("Music");
  tft.setCursor(8, 150);
  tft.print("Prev  Play  Next");
}

bool justPressed(uint8_t pin, bool &wasHigh) {
  bool isHigh = digitalRead(pin) == HIGH;
  bool pressed = wasHigh && !isHigh;
  wasHigh = isHigh;
  if (pressed && millis() - lastButtonTime > 160) {
    lastButtonTime = millis();
    return true;
  }
  return false;
}

void setup() {
  pinMode(BUTTON_PREVIOUS, INPUT_PULLUP);
  pinMode(BUTTON_PLAY_PAUSE, INPUT_PULLUP);
  pinMode(BUTTON_NEXT, INPUT_PULLUP);

  SPI.begin(TFT_SCK, -1, TFT_MOSI, TFT_CS);
  tft.initR(INITR_BLACKTAB);
  tft.setRotation(1);
  setTrack(0);
  drawPlayer();
  screenNeedsUpdate = false;

  a2dpSource.start("ESP32 Flash Music", getDataFrames);
}

void loop() {
  if (justPressed(BUTTON_PREVIOUS, previousButtonWasHigh)) {
    setTrack((selectedTrack + 2) % 3);
  }
  if (justPressed(BUTTON_PLAY_PAUSE, playButtonWasHigh)) {
    playing = !playing;
    screenNeedsUpdate = true;
  }
  if (justPressed(BUTTON_NEXT, nextButtonWasHigh)) {
    setTrack((selectedTrack + 1) % 3);
  }

  if (screenNeedsUpdate) {
    drawPlayer();
    screenNeedsUpdate = false;
  }
  delay(10);
}
Remix this project
Make it yours in one click
Open a full copy of this project in your own Schematik workspace, diagram, code, parts, and assembly steps included. Swap the sensor, add features, or redesign the whole thing with AI. The author's original stays untouched.