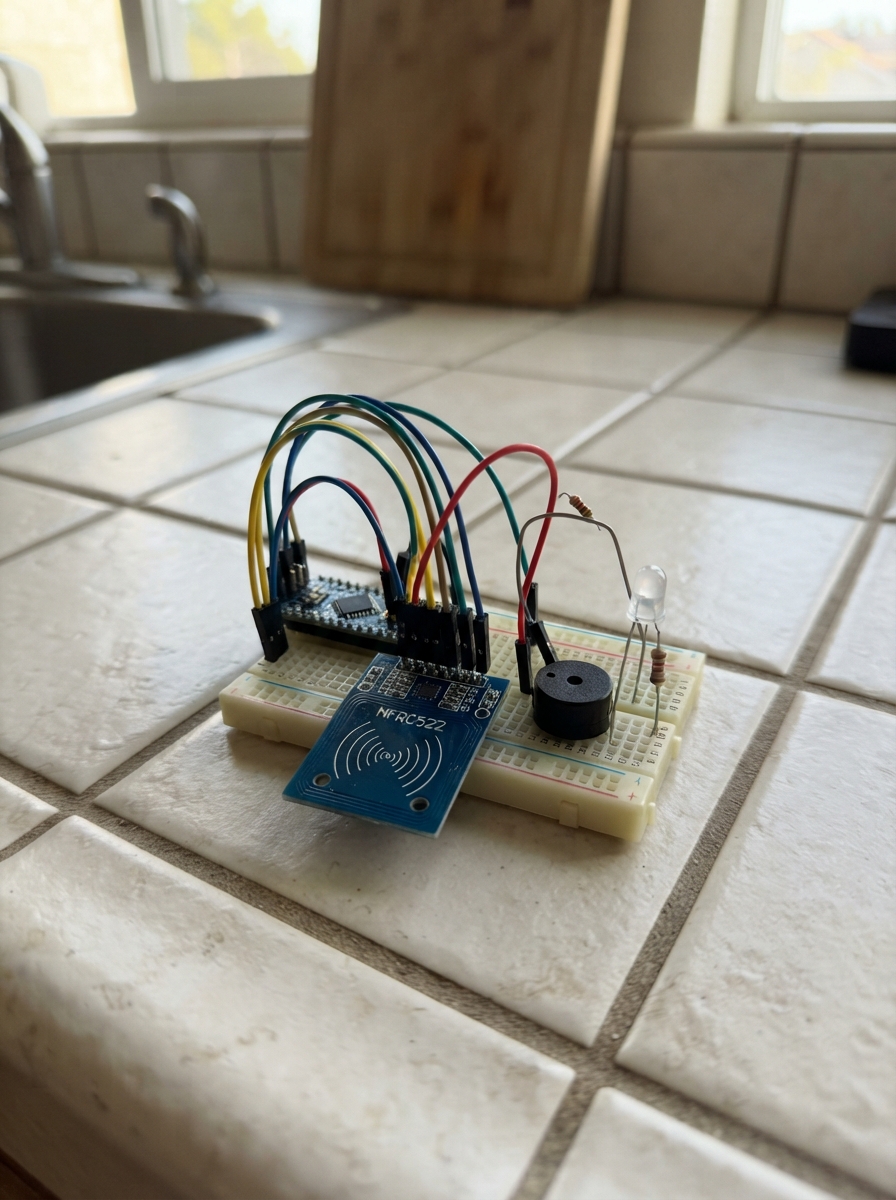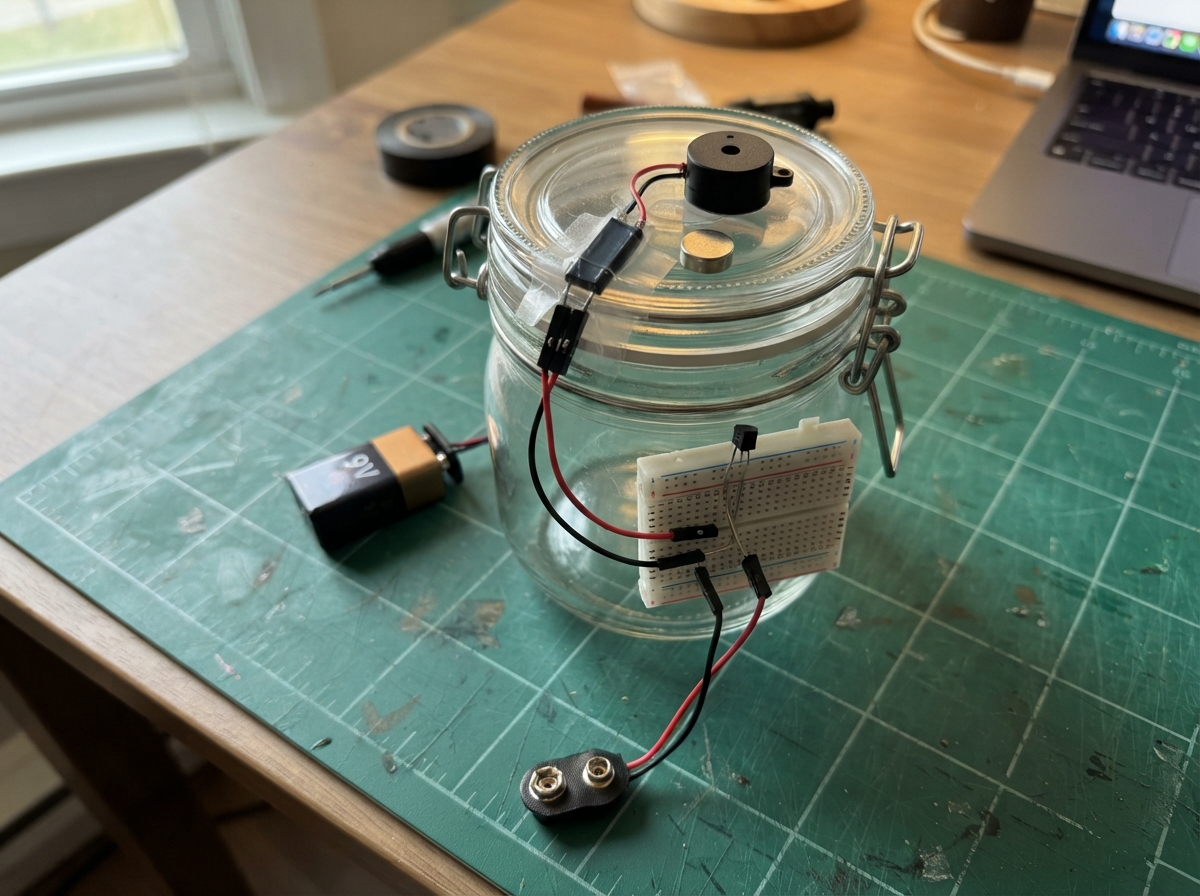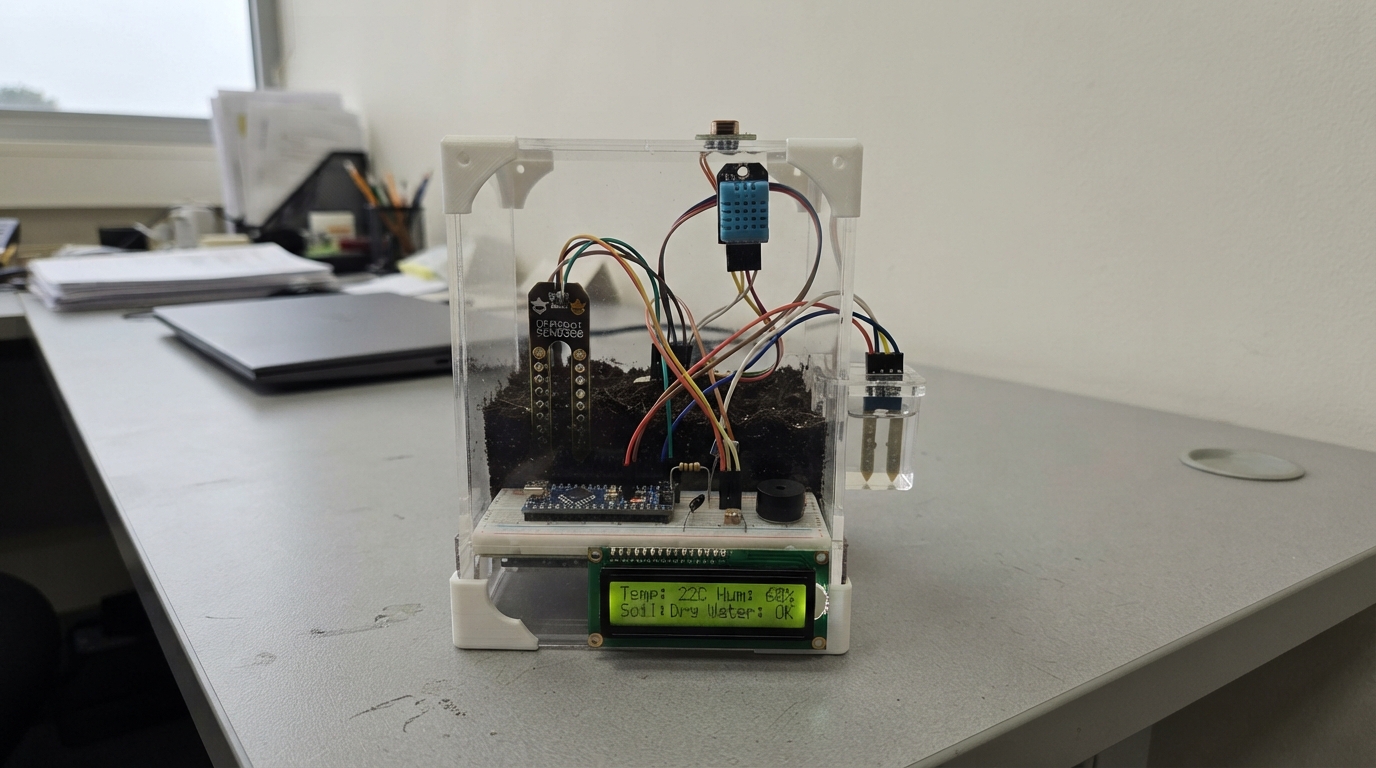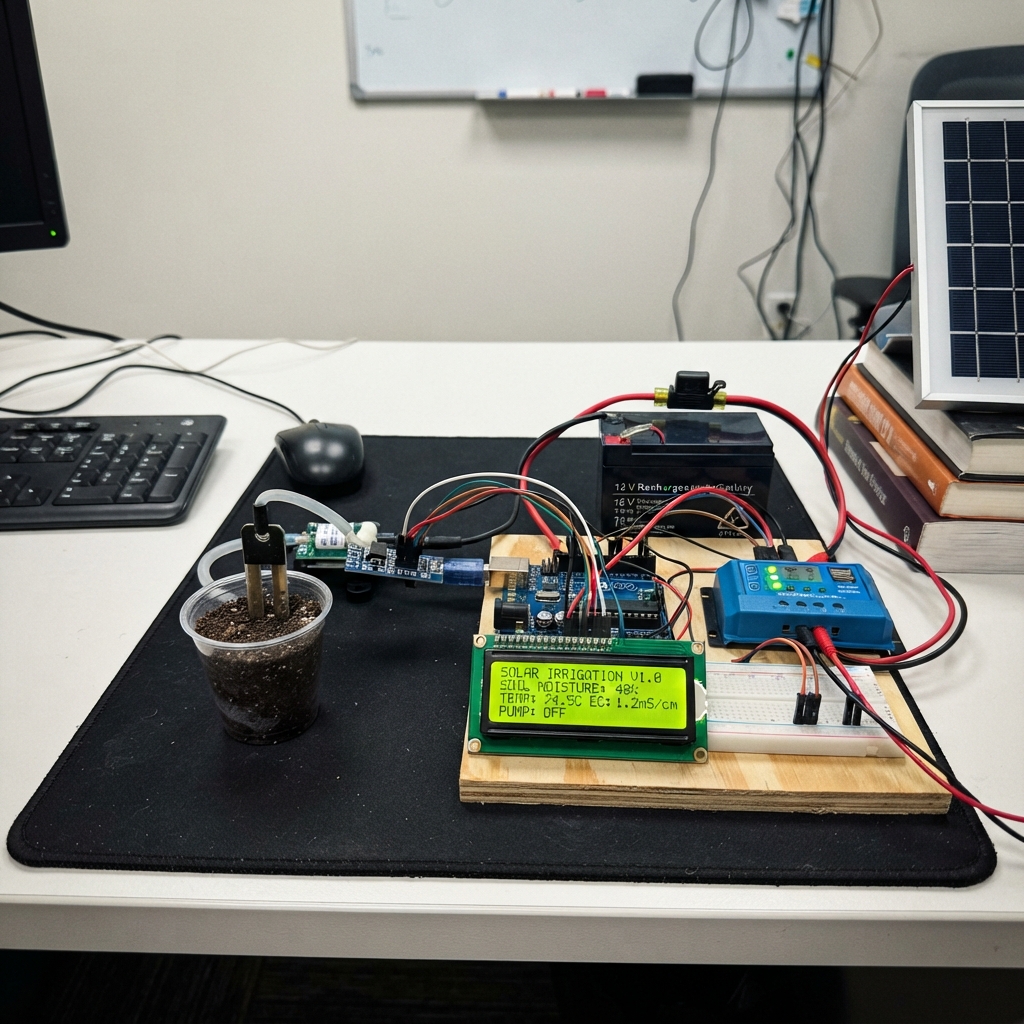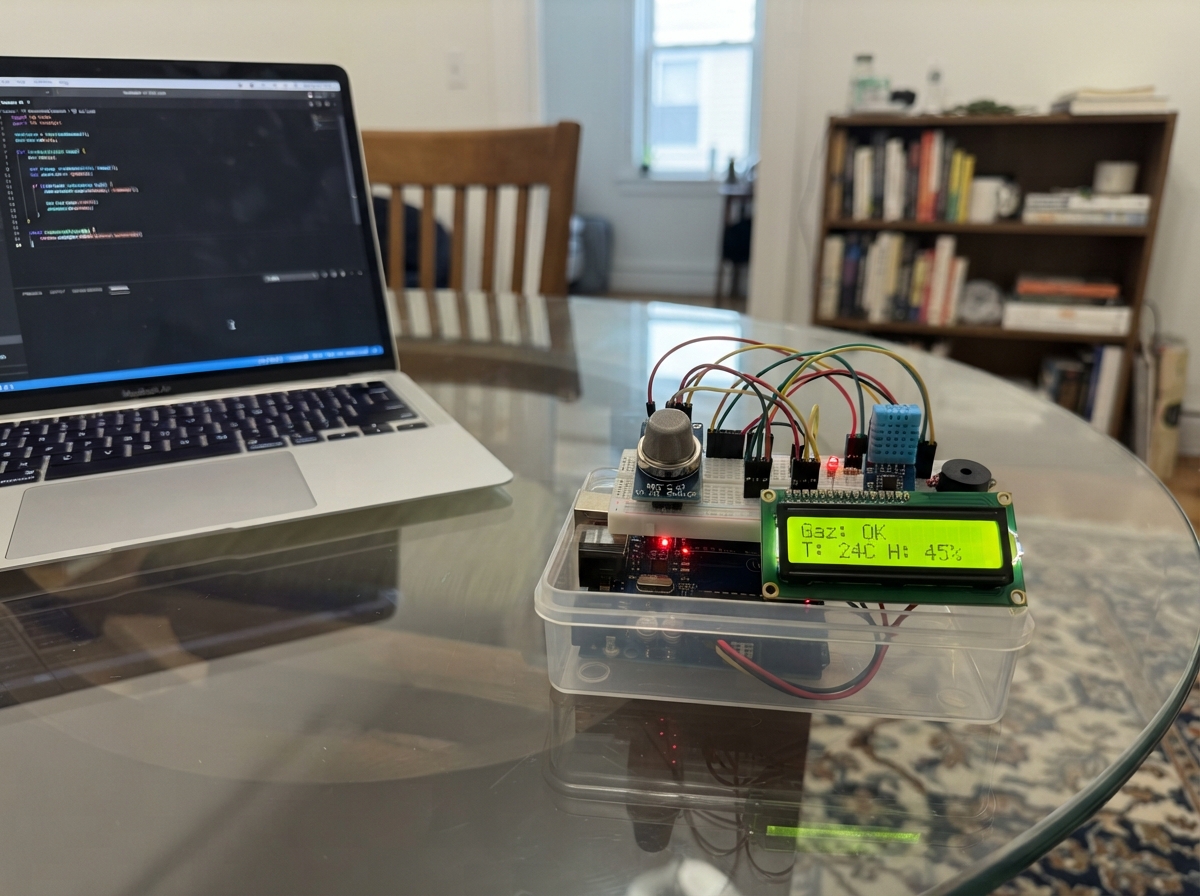
This gas, temperature, and humidity alarm system monitors air quality and environmental conditions using an Arduino Uno. The MQ-2 gas sensor detects combustible gases, while the DHT11 tracks temperature and humidity levels. The system displays real-time readings on a 16x2 LCD screen and triggers visual (LED) and audio (piezo buzzer) alarms when any threshold is exceeded.
This guide provides a complete parts list, wiring diagram, and step-by-step assembly instructions to build a functional air quality monitor. The included firmware handles sensor calibration, threshold detection with hysteresis, and display management. Builders will learn how to integrate multiple sensors with an Arduino and implement alarm logic for environmental monitoring applications.
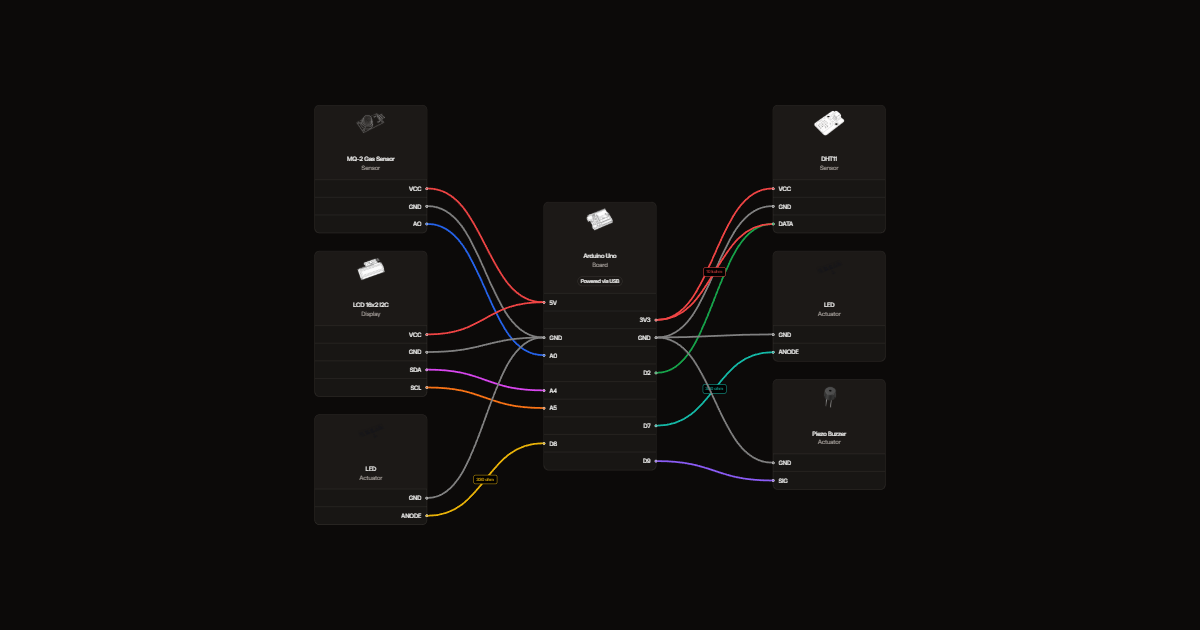
Wiring diagram
Gather all the parts
Assemble it in 5 steps
1. Préparer le montage hors tension
Débranchez l'USB. Utilisez le module MQ-2 à quatre broches, le DHT11 et un LCD1602 avec adaptateur I2C à quatre broches. Toutes les masses GND sont communes.
- Prototype pédagogique uniquement : ne remplace pas un détecteur de gaz certifié. Ne provoquez pas de fuite de gaz pour tester.
2. Relier les capteurs
MQ-2 : VCC vers 5V, GND vers GND, AO vers A0 (mesure de gaz), DO inutilisé. DHT11 : VCC vers 3V3, GND vers GND, DATA vers D2 (température et humidité). Reliez la résistance de 10 kohm entre DATA et 3V3. Suivez les noms imprimés, pas la position des broches.
- Le MQ-2 chauffe normalement : ne touchez pas sa grille. Ne l'alimentez jamais par une sortie numérique.
3. Relier l'écran
VCC vers 5V, GND vers GND, SDA vers A4 (données), SCL vers A5 (horloge). Écran I2C prévu à l'adresse 0x27. Réglez sa petite vis de contraste si les caractères sont invisibles. Un LCD nu à 16 broches ne convient pas à ce câblage.
4. Relier les voyants et le buzzer
D7 vers une résistance de 330 ohm puis la patte longue de la LED rouge. D8 vers l'autre résistance de 330 ohm puis la patte longue de la LED verte. Les pattes courtes vont à GND. Buzzer piézo passif : SIG vers D9 (son), autre patte vers GND.
- Utilisez un petit piézo passif, pas un haut-parleur ni un buzzer électromagnétique directement sur D9.
5. Vérifier avant alimentation
Vérifiez les résistances et l'absence de court-circuit entre 5V et GND. Alimentation par USB. Le voyant vert reste éteint pendant les trois minutes de chauffe. Rouge et bips indiquent gaz, température, humidité ou défaut DHT11.
- Seuils initiaux : gaz brut 400/1023, température 35 °C, humidité 70 %. Le gaz n'est pas mesuré en ppm. Adaptez GAS_LIMIT dans le programme après observation en air propre.
- Un MQ-2 neuf nécessite un rodage prolongé selon sa notice, souvent 24 à 48 heures ; les trois minutes au démarrage ne remplacent pas ce rodage.
Review all connections
1. Connections between "gaz" and "Arduino"
2. Connections between "climat" and "Arduino"
3. Connections between "pullup" and "Arduino"
4. Connections between "ecran" and "Arduino"
5. Connections between "rrouge" and "Arduino"
6. Connections between "rouge" and "Arduino"
7. Connections between "rverte" and "Arduino"
8. Connections between "verte" and "Arduino"
9. Connections between "son" and "Arduino"
Deploy the firmware
#include <Arduino.h>
#include <Wire.h>
#include <DHT.h>
#include <LiquidCrystal_I2C.h>
#include <string.h>
// Seuils de demonstration, a adapter apres essais en air propre.
const int GAS_LIMIT = 400; // valeur brute 0..1023, pas des ppm
const float TEMP_LIMIT = 35.0;
const float HUM_LIMIT = 70.0;
const unsigned long WARMUP_MS = 180000UL;
DHT dht(2, DHT11);
LiquidCrystal_I2C lcd(0x27,16,2);
char previous[2][17] = {{0},{0}};
float temperature = NAN, humidity = NAN;
bool gasAlarm=false, tempAlarm=false, humAlarm=false;
unsigned long lastDht=0, lastUi=0;
void line(uint8_t row, const char *text) {
  char padded[17]; memset(padded,' ',16); padded[16]=0;
  size_t n=strlen(text); if(n>16)n=16; memcpy(padded,text,n);
  if(strcmp(previous[row],padded)) {lcd.setCursor(0,row);lcd.print(padded);strcpy(previous[row],padded);}
}
void setup(){
  pinMode(7,OUTPUT);pinMode(8,OUTPUT);pinMode(9,OUTPUT);
  Serial.begin(9600); dht.begin(); lcd.init();lcd.backlight();
  line(0,"Demarrage..."); line(1,"MQ2 chauffe");
}
void loop(){
  unsigned long now=millis();
  if(now-lastDht>=2000){lastDht=now;humidity=dht.readHumidity();temperature=dht.readTemperature();}
  bool fault=isnan(temperature)||isnan(humidity);
  bool ready=now>=WARMUP_MS;
  int gas=analogRead(A0);
  if(ready){ if(gas>=GAS_LIMIT)gasAlarm=true;else if(gas<GAS_LIMIT-30)gasAlarm=false; }
  if(!fault){
    if(temperature>=TEMP_LIMIT)tempAlarm=true;else if(temperature<TEMP_LIMIT-2)tempAlarm=false;
    if(humidity>=HUM_LIMIT)humAlarm=true;else if(humidity<HUM_LIMIT-5)humAlarm=false;
  }
  bool alarm=gasAlarm||tempAlarm||humAlarm||fault;
  digitalWrite(7,alarm);digitalWrite(8,ready&&!alarm);
  if(alarm&&(now%1000<500))tone(9,4000);else noTone(9);
  if(now-lastUi>=500){
    lastUi=now;char text[32];
    if(fault)line(0,"Erreur DHT11");
    else {snprintf(text,sizeof(text),"T:%dC H:%d%%",(int)temperature,(int)humidity);line(0,text);}
    if(alarm){snprintf(text,sizeof(text),"ALARME %s%s%s%s",gasAlarm?"G ":"",tempAlarm?"T ":"",humAlarm?"H ":"",fault?"DHT":"");line(1,text);}
    else if(!ready){snprintf(text,sizeof(text),"Chauffe %lus",(WARMUP_MS-now)/1000);line(1,text);}
    else{snprintf(text,sizeof(text),"Gaz:%d OK",gas);line(1,text);}
    Serial.print(F("MQ2 brut="));Serial.print(gas);Serial.print(F(" T="));Serial.print(temperature);Serial.print(F(" H="));Serial.println(humidity);
  }
}
Remix this project
Make it yours in one click
Open a full copy of this project in your own Schematik workspace, diagram, code, parts, and assembly steps included. Swap the sensor, add features, or redesign the whole thing with AI. The author's original stays untouched.