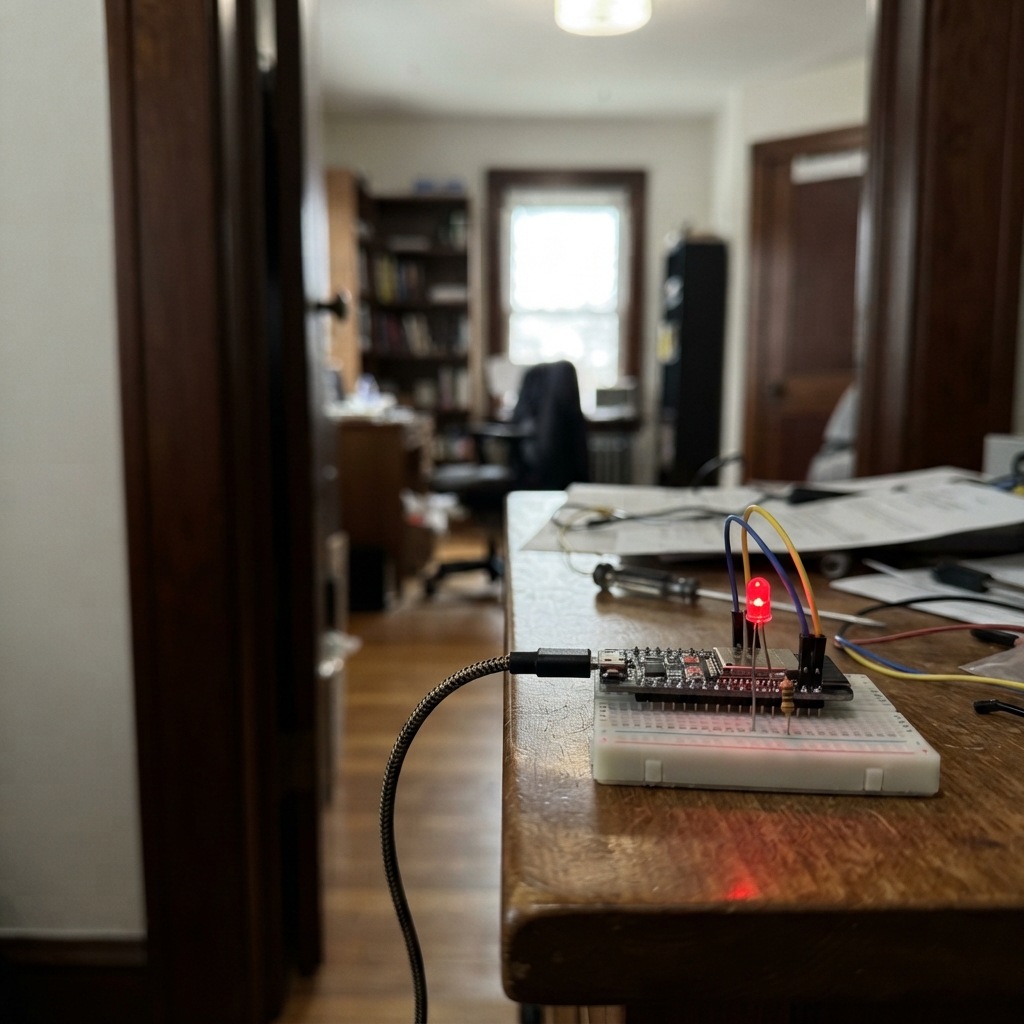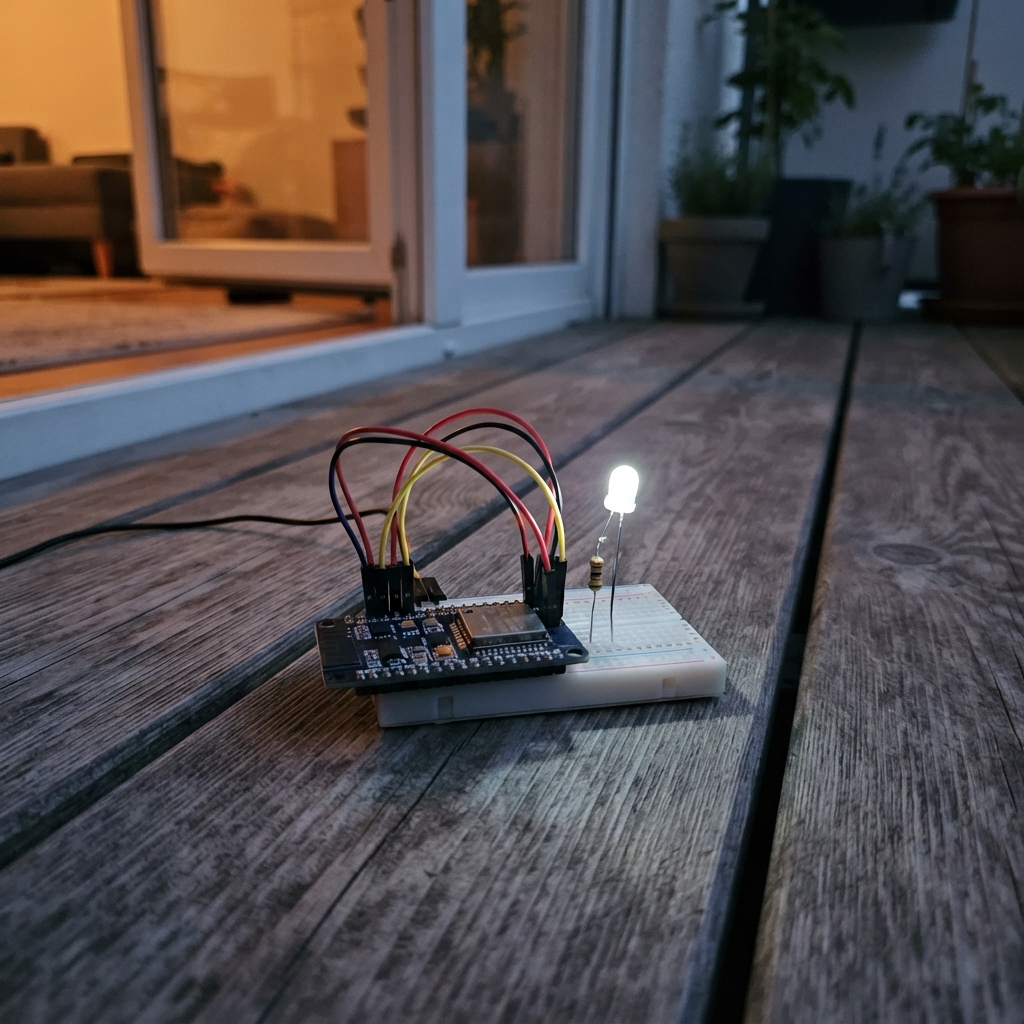
This project creates a breathing light effect using an Arduino Uno, where an LED gradually fades in and out in a smooth, continuous cycle. The effect is achieved through PWM (pulse-width modulation) on digital pin 9, which rapidly switches the LED on and off at varying rates to simulate dimming and brightening.
The guide includes a complete parts list, wiring diagram showing how to connect the LED with a protective resistor, and the Arduino firmware needed to produce the breathing effect. Assembly takes just a few minutes and requires only basic soldering skills.
Wiring diagram
Gather all the parts
Assemble it in 4 steps
1. 先断开 Arduino 的 USB 线
把 Arduino Uno 从 USB 线拔下,再把它放在面包板旁边。断电后接线可以避免金属跳线碰错位置时损坏板子。
- 先看清 Arduino 排针旁边印着的 D9 和 GND 标签。
2. 插入 LED
把红色 LED 插在面包板上,让两只脚落在不同的横排。较长的一只脚是正极;较短的一只脚、以及外壳边缘有平口的一侧是负极。
- 两只脚不要插在同一排,否则 LED 会被短接。
- 如果把 LED 的正负脚接反,它通常不会发亮。
3. 把 LED 负极接地
用一根黑色跳线,把 LED 的短脚所在横排接到 Arduino 的任意 GND 排针。这条线让电流能回到 Arduino。
- Arduino 上标有 GND 的几个孔都可以使用。
4. 串入保护电阻并接到 D9
将 220 Ω 电阻的一只脚插到 LED 长脚所在横排;电阻另一只脚用一根跳线接到 Arduino 的 D9 排针。电阻没有方向,可以任意转向插入。
- 接线结果是:D9 → 电阻 → LED 长脚,LED 短脚 → GND。
- D9 → 电阻(亮度控制和限流),电阻 → LED 长脚(保护 LED),LED 短脚 → GND(回流地线)。
- 不要省略 220 Ω 电阻;直接把 LED 接到 D9 和 GND 可能损坏 LED 或 Arduino 引脚。
Review all connections
1. Connections between "resistor_1" and "Arduino"
2. Connections between "led_1" and "Arduino"
Deploy the firmware
// Arduino Uno breathing LED
// D9 drives the LED through a 220 ohm series resistor.
const uint8_t LED_PIN = 9;

uint8_t brightness = 0;
int8_t stepSize = 1;

void setup() {
  pinMode(LED_PIN, OUTPUT);
}

void loop() {
  analogWrite(LED_PIN, brightness);

  brightness += stepSize;
  if (brightness == 255 || brightness == 0) {
    stepSize = -stepSize;
  }

  // A short pause makes the brightness change smoothly without busy-waiting.
  delay(12);
}
Remix this project
Make it yours in one click
Open a full copy of this project in your own Schematik workspace, diagram, code, parts, and assembly steps included. Swap the sensor, add features, or redesign the whole thing with AI. The author's original stays untouched.