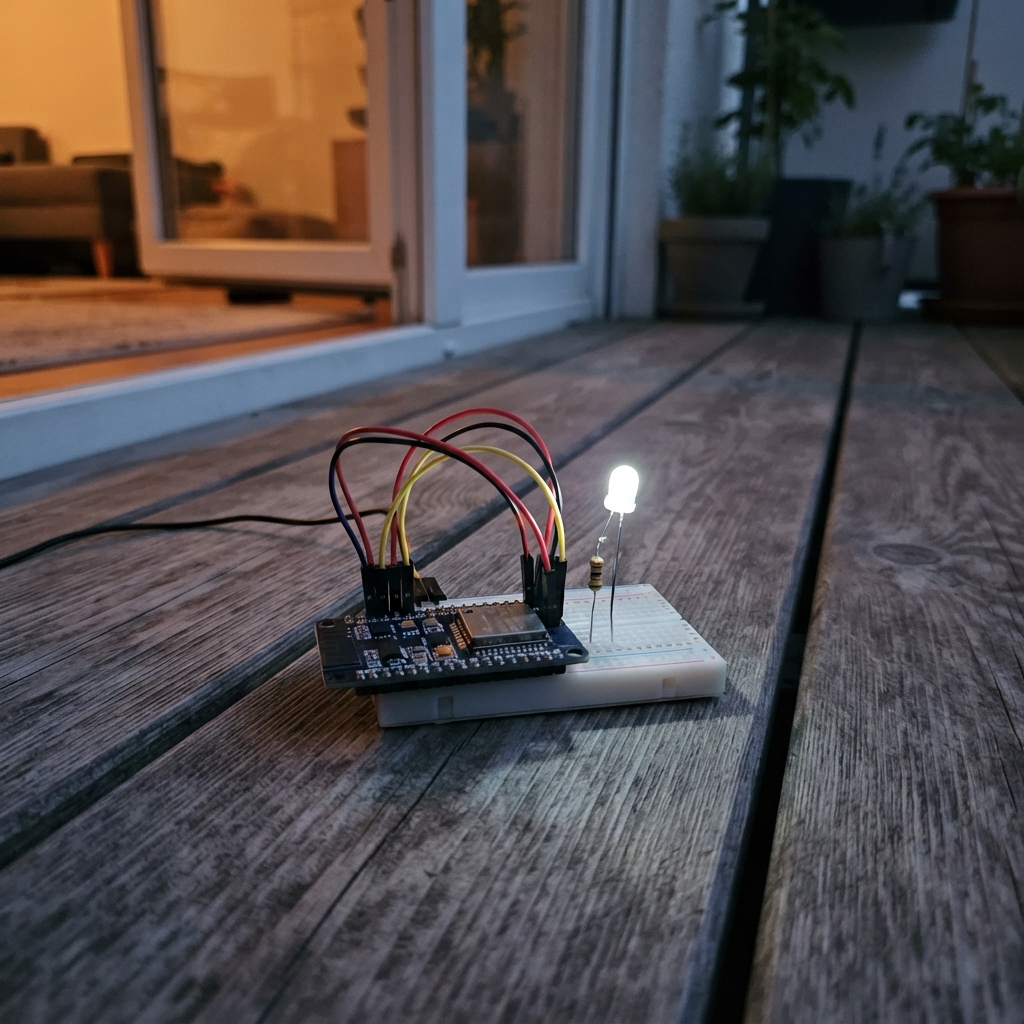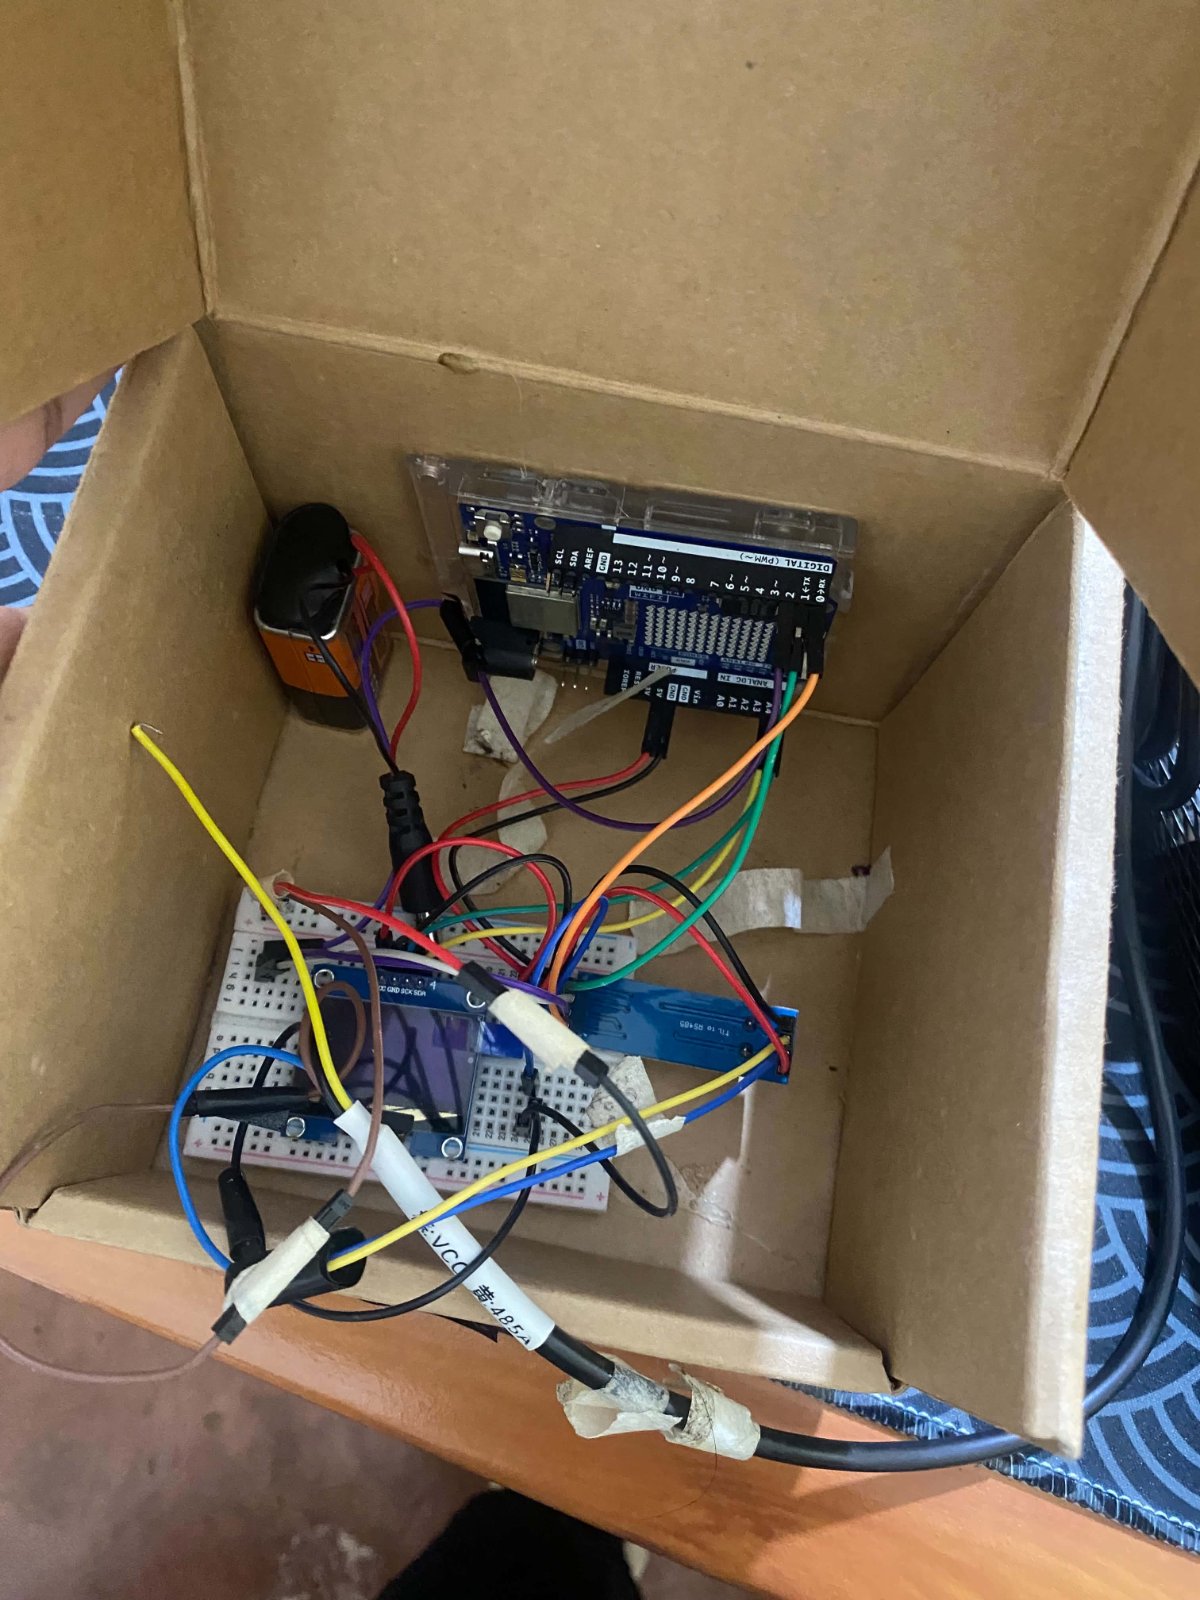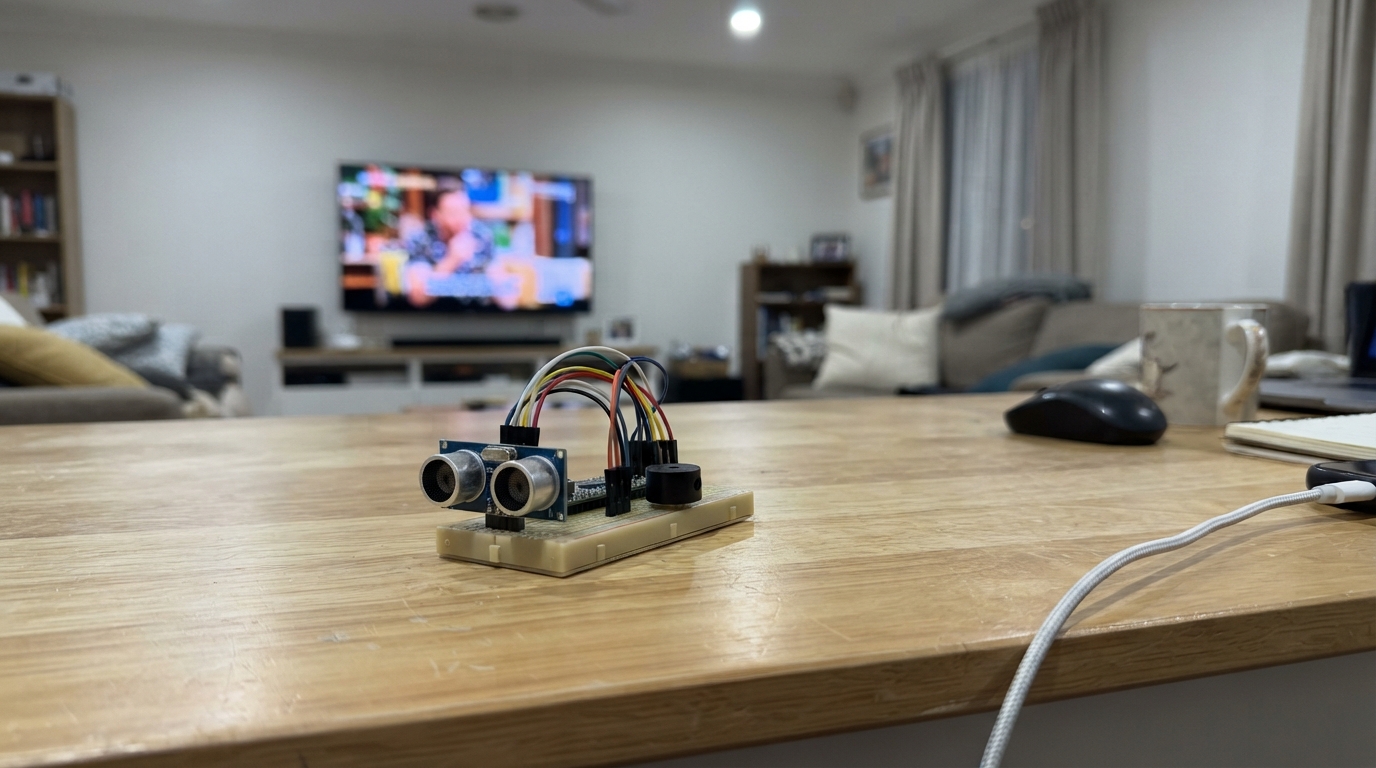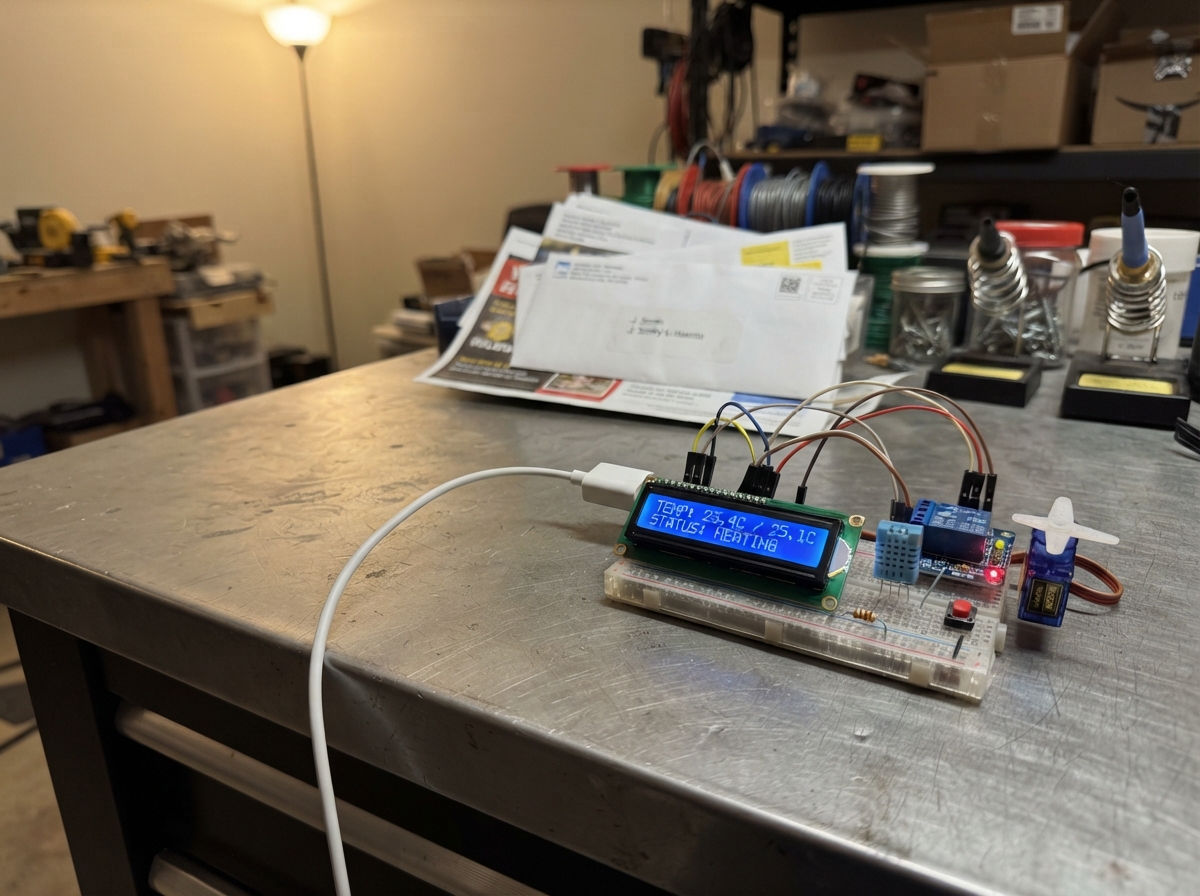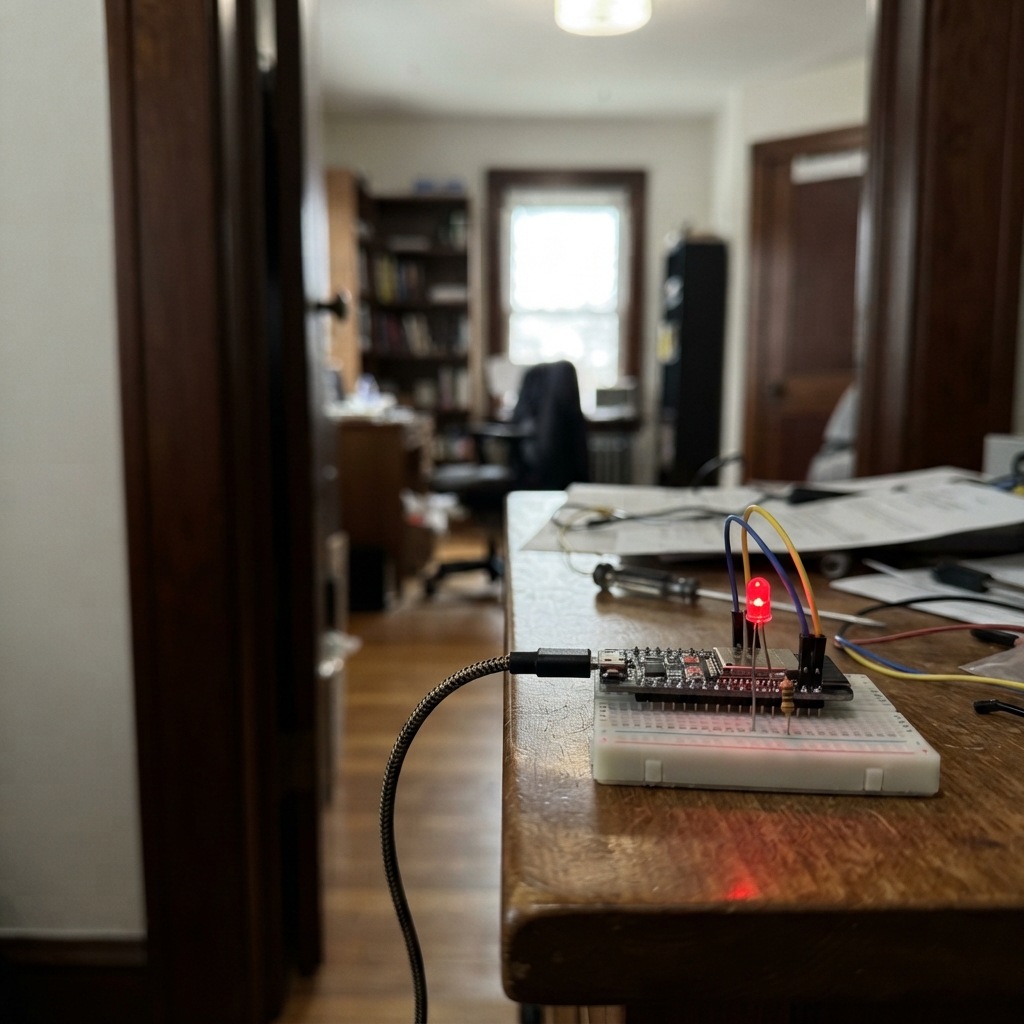
This project turns an Arduino Uno into a Morse code SOS beacon using a single LED. The classic distress signal (three dots, three dashes, three dots) repeats continuously, making it useful for learning about timing, digital output, and Morse code fundamentals.
The guide includes a wiring diagram showing how to connect the LED and current-limiting resistor to pin D8, a complete parts list, the Arduino sketch with detailed comments, and step-by-step assembly instructions. No prior experience needed—just follow the breadboard layout and upload the firmware to see your SOS signal in action.
Wiring diagram
Gather all the parts
Assemble it in 5 steps
1. 先断开 Uno 的 USB 线
在接线前先把 Arduino Uno 从 USB 口拔下,避免导线碰错时让板子或 LED 受损。
- 接线时不要让 D8 直接碰到 GND;插错或短路可能使板子过热。
2. 把 LED 插到面包板上
把红色 LED 的两只脚插在面包板不同的横排中。较长的脚是正极,较短的脚、以及 LED 外壳扁平的一侧是负极。
- 两只脚若插在同一横排,LED 会被短接,无法闪亮。
3. 接上保护电阻和 D8
把 220 Ω 电阻的一只脚插到 LED 较长脚所在的横排;电阻没有正反方向。用一根跳线把电阻另一只脚接到 Uno 标有 D8 的插孔(信号)。
- 电阻限制电流,能保护 LED 和 Arduino 的输出脚。
4. 接好 LED 的负极
用一根黑色跳线,把 LED 较短的脚所在横排接到 Uno 任意一个 GND 插孔(地线)。
- 确认 LED 的长脚经过电阻接向 D8、短脚接向 GND;把正负方向接反时 LED 不会亮。
5. 检查后再接 USB
再次确认线路是 D8 → 220 Ω 电阻 → LED 长脚,LED 短脚 → GND。确认无误后,将 Uno 用 USB 线接回电脑供电。
- 板载标有 L 的小灯也会跟着 D13 闪,但本项目使用的是接在 D8 上的外接红色 LED。
Review all connections
1. Connections between "led_resistor" and "Arduino"
2. Connections between "sos_led" and "Arduino"
Deploy the firmware
// Arduino Uno SOS beacon: ... --- ... in Morse code.
const uint8_t SOS_LED_PIN = 8;
const unsigned long DOT_MS = 250;

void flashMark(unsigned long onTimeMs) {
  digitalWrite(SOS_LED_PIN, HIGH);
  delay(onTimeMs);
  digitalWrite(SOS_LED_PIN, LOW);
  delay(DOT_MS);  // gap between marks
}

void sendS() {
  flashMark(DOT_MS);
  flashMark(DOT_MS);
  flashMark(DOT_MS);
}

void sendO() {
  flashMark(DOT_MS * 3);
  flashMark(DOT_MS * 3);
  flashMark(DOT_MS * 3);
}

void setup() {
  pinMode(SOS_LED_PIN, OUTPUT);
  digitalWrite(SOS_LED_PIN, LOW);
}

void loop() {
  sendS();
  delay(DOT_MS * 2);  // completes the letter gap
  sendO();
  delay(DOT_MS * 2);  // completes the letter gap
  sendS();
  delay(DOT_MS * 6);  // completes the word gap before repeating
}
Remix this project
Make it yours in one click
Open a full copy of this project in your own Schematik workspace, diagram, code, parts, and assembly steps included. Swap the sensor, add features, or redesign the whole thing with AI. The author's original stays untouched.