On this page
Your first ESP32 project can be a breadboard, a few jumper wires and one or two parts. The seven builds below are all marked Beginner, and they're ordered from fewest parts and shortest build time. Each project page has the parts list, the wiring, the pin assignments and the firmware.
When you finish these, the ESP32 projects page has every ESP32 build on Schematik, from the team and the community, with the same wiring diagrams and code.
| Build | Parts besides the ESP32 | Time |
|---|---|---|
| Air quality monitor | BME280 sensor, OLED | 25 min |
| LED matrix message board | MAX7219 8x32 matrix | 30 min |
| Tiny OLED desk command centre | OLED | 30 min |
| CO2 room monitor | SCD41 sensor, OLED | 35 min |
| Ultrasonic parking sensor | Distance sensor, OLED, 3 LEDs, buzzer | 40 min |
| ClawdBot tamagotchi | OLED, 3 buttons, buzzer, LED | 45 min |
| Desk presence busy light | Motion sensor, button, OLED, LED ring, level shifter, 5 V supply | 35 min |
What you need to start
Espressif's getting-started guide for its ESP32-DevKitC V4 board lists three things: the board, a USB cable that fits it (Standard-A to Micro-B for that board), and a computer running Windows, Linux or macOS. The USB port powers the board and carries the firmware from your computer.
The pins come out on headers along both sides, so the board sits in a breadboard and parts connect with jumper wires. Power it from one source at a time. Espressif warns that feeding USB and the 5V or 3V3 pins together can damage the board or the supply.
If your computer doesn't see the board, the driver for its USB-to-serial chip may be missing. Espressif names CP210x and FTDI chips; normally your operating system installs the driver on its own.
Three posts cover the rest:
- Beginner ESP32 hardware guide: what to buy first.
- ESP32 on a breadboard: where the board goes and how the strips connect.
- ESP32 Arduino IDE setup: getting your first upload to work.
Six of the seven builds use an SSD1306 OLED. It talks over I2C on two pins, SDA on GPIO21 and SCL on GPIO22, and other I2C parts share those same two pins. Learn that once and most of this list is the same four wires.
ESP32 air quality monitor
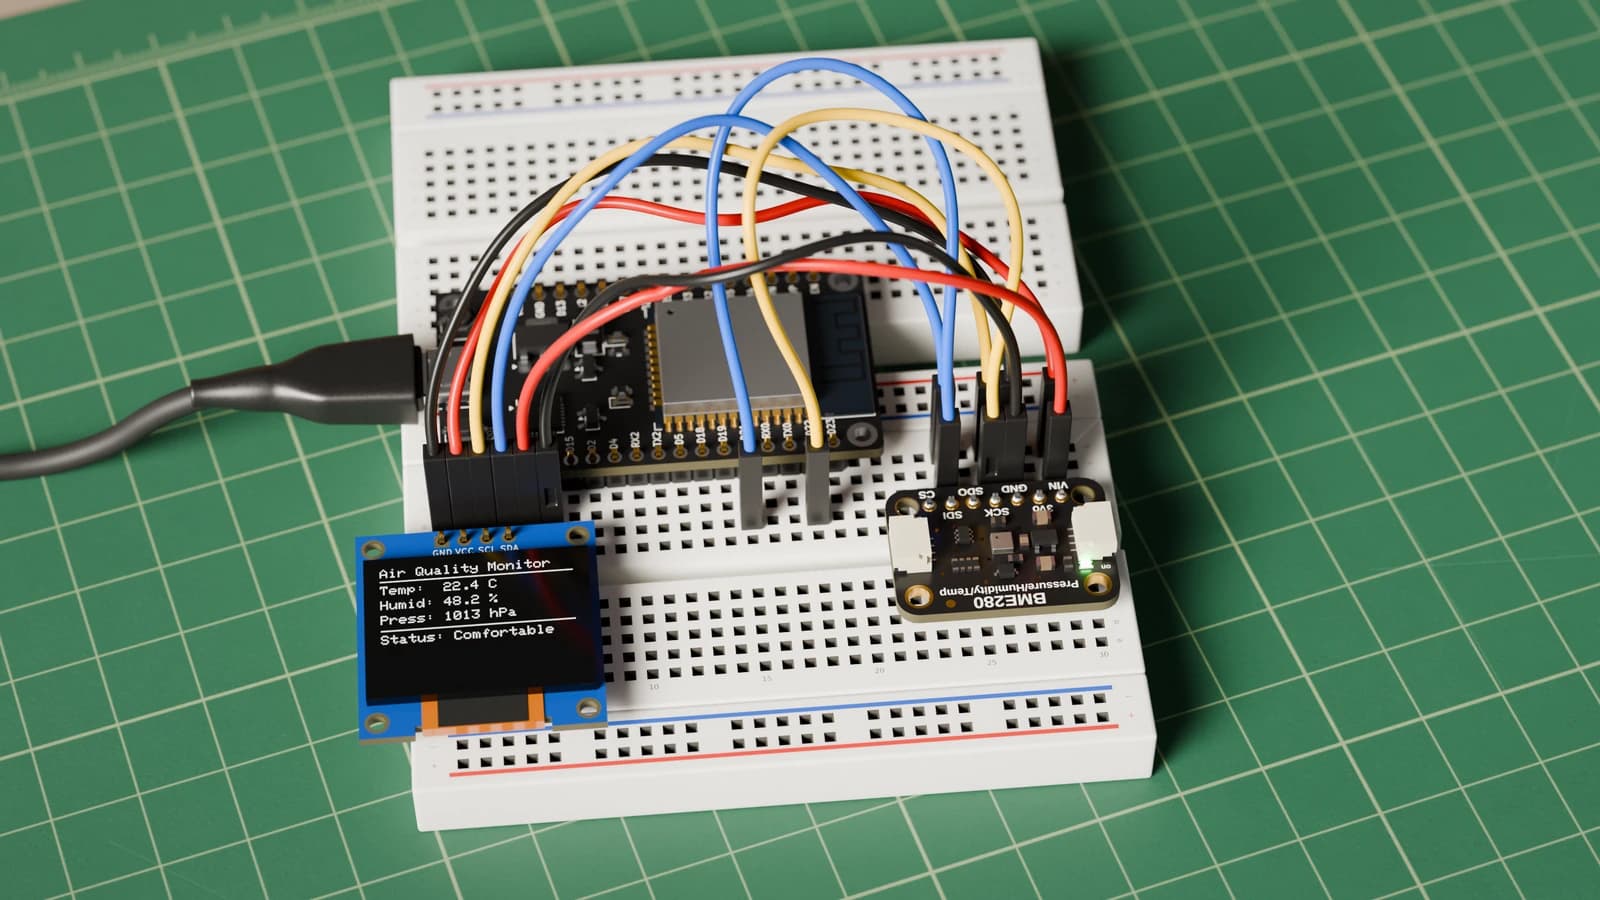
Two parts: a BME280 sensor and an SSD1306 OLED. The BME280 reads temperature, humidity and pressure every two seconds. The OLED shows all three plus a one-word label: Cold, Hot, Humid, Dry or Comfortable.
Both modules share the I2C bus on GPIO21 and GPIO22 and take power from 3V3, so the whole circuit is four signal wires. The BME280 answers at address 0x76 (0x77 on some boards) and the OLED at 0x3C, so they don't clash. The same readings print to the Serial Monitor at 115200 baud.
Once it's running, breathe gently on the sensor and watch the humidity and temperature climb.
Build the ESP32 air quality monitor, by Schematik. 25 minutes.
LED matrix message board
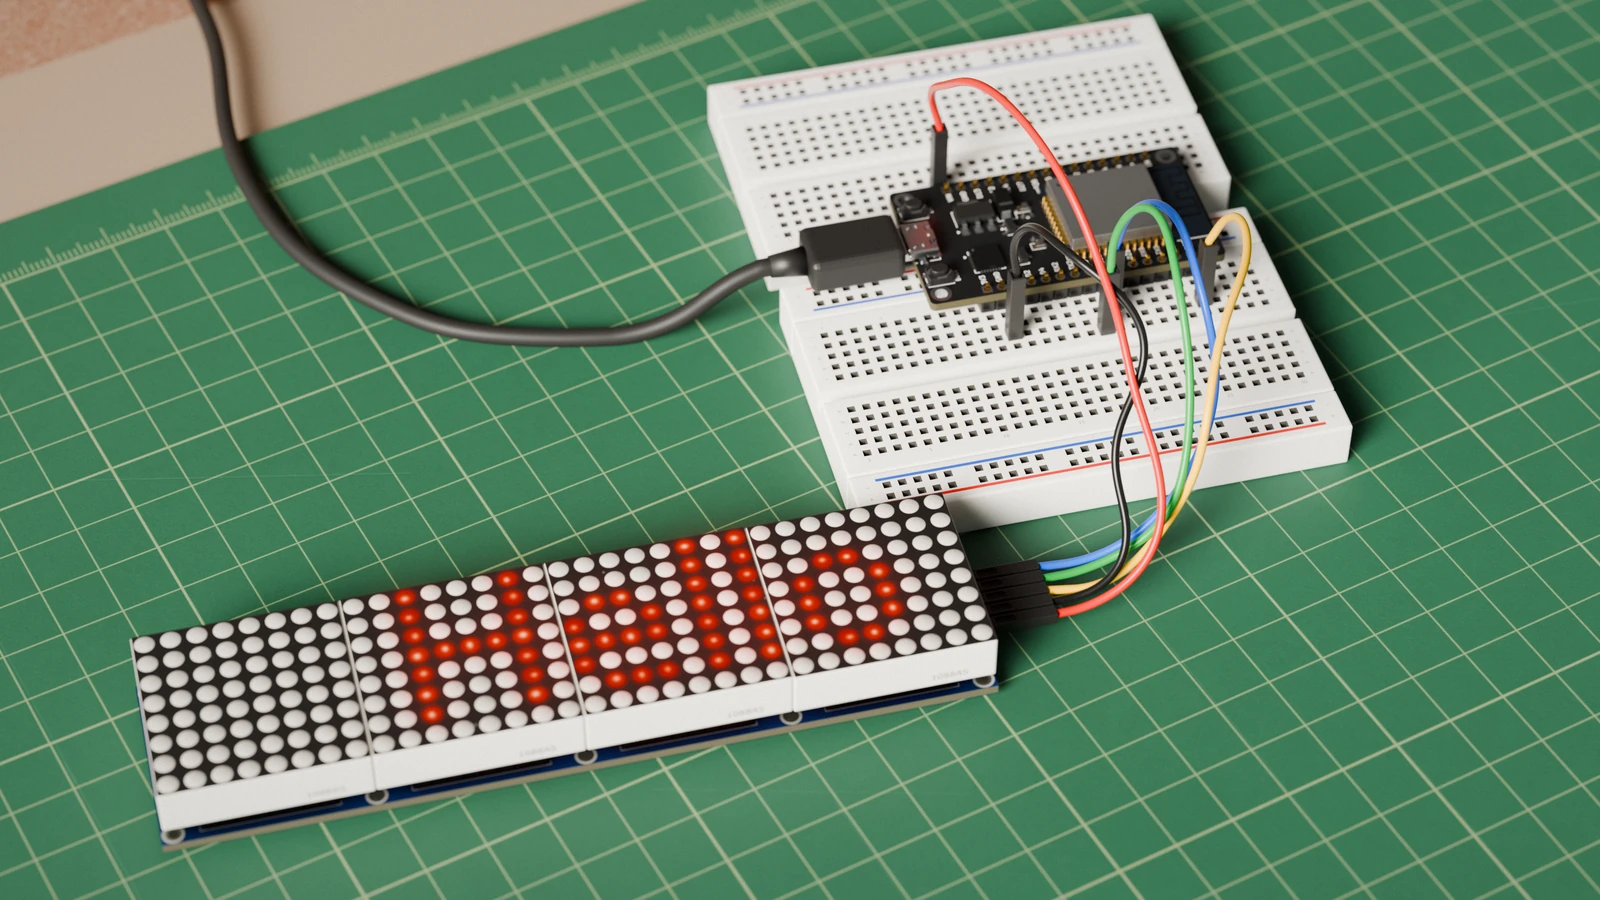
One part: a MAX7219 8x32 dot matrix module, four 8x8 panels already chained on one board. It scrolls a looping list of messages.
Five wires connect it: VCC to 5V, GND to GND, DIN to GPIO23, CS to GPIO5 and CLK to GPIO18. Use the 5V pin, not 3.3V; the matrix needs 5 V to drive its LEDs at full brightness. The sketch uses the MD_Parola and MD_MAX72XX libraries. To change the messages, edit a list of strings. To change brightness, set display.setIntensity() anywhere from 0 to 15.
If the text scrolls backwards, change HARDWARE_TYPE to MD_MAX72XX::GENERIC_HW. Modules from different batches lay out their LEDs differently.
Build the LED matrix message board, by Schematik. 30 minutes.
Tiny OLED desk command centre
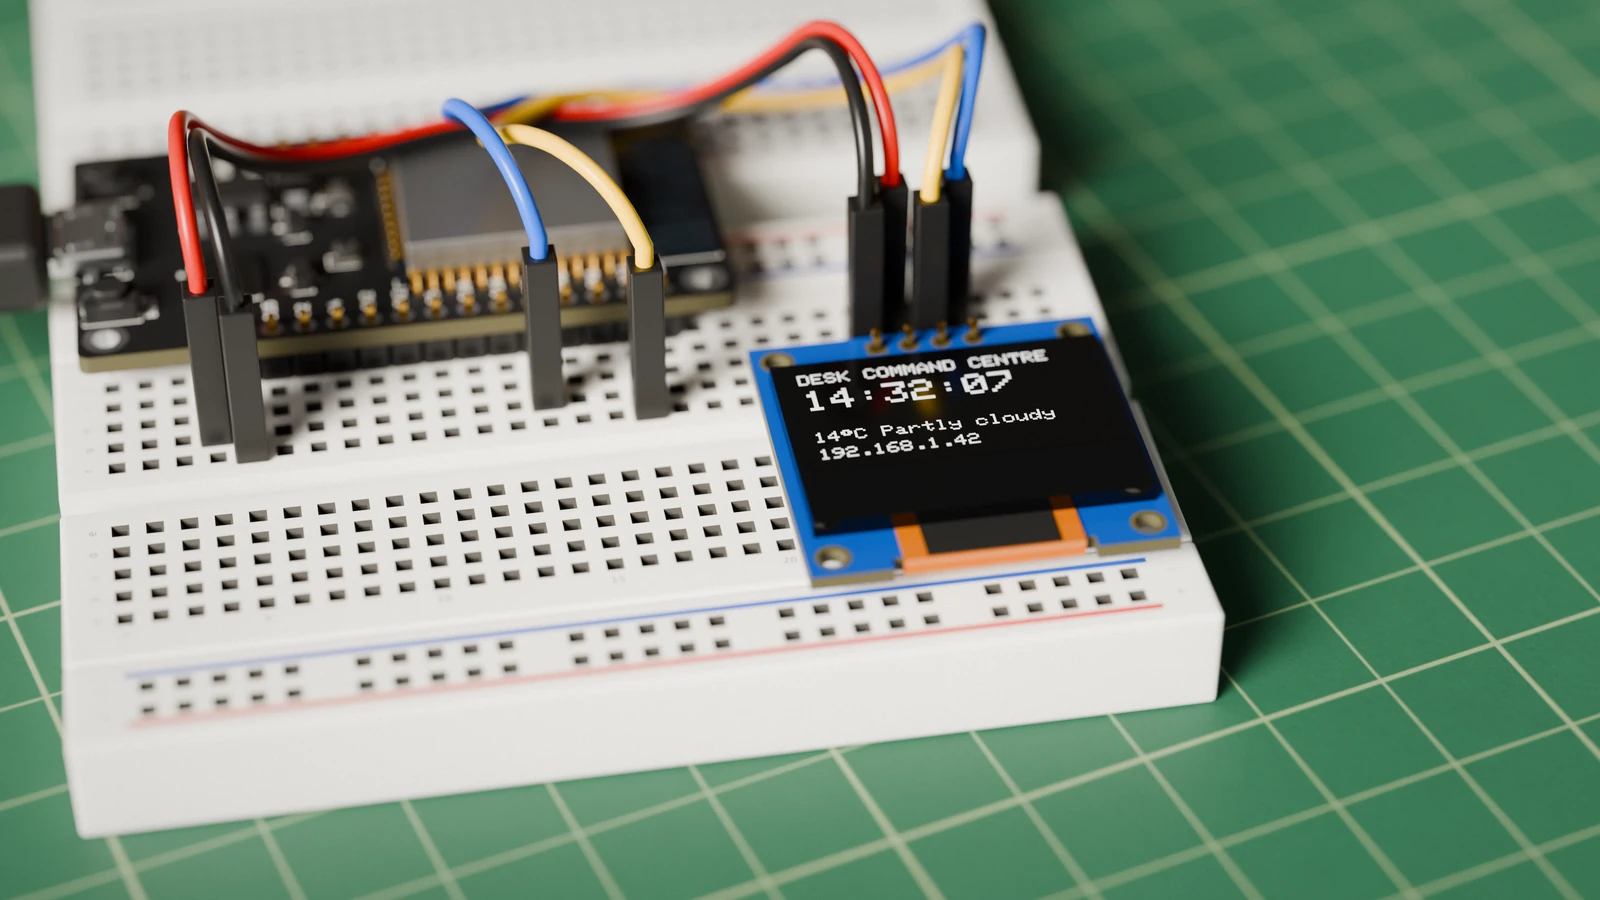
An ESP32, an OLED and four jumper wires: VCC to 3V3, GND to GND, SDA to GPIO21, SCL to GPIO22. No soldering.
This is the first build here that uses Wi-Fi. The screen keeps the time over the internet, shows the current weather from Open-Meteo (no API key needed) and displays any message you type into a web page the ESP32 serves. Open that page from any browser on the same network. Your message stays up for about 8 seconds, then the dashboard comes back. The ESP32 only joins 2.4 GHz networks.
Build the tiny OLED desk command centre, by Schematik. 30 minutes.
CO2 room monitor
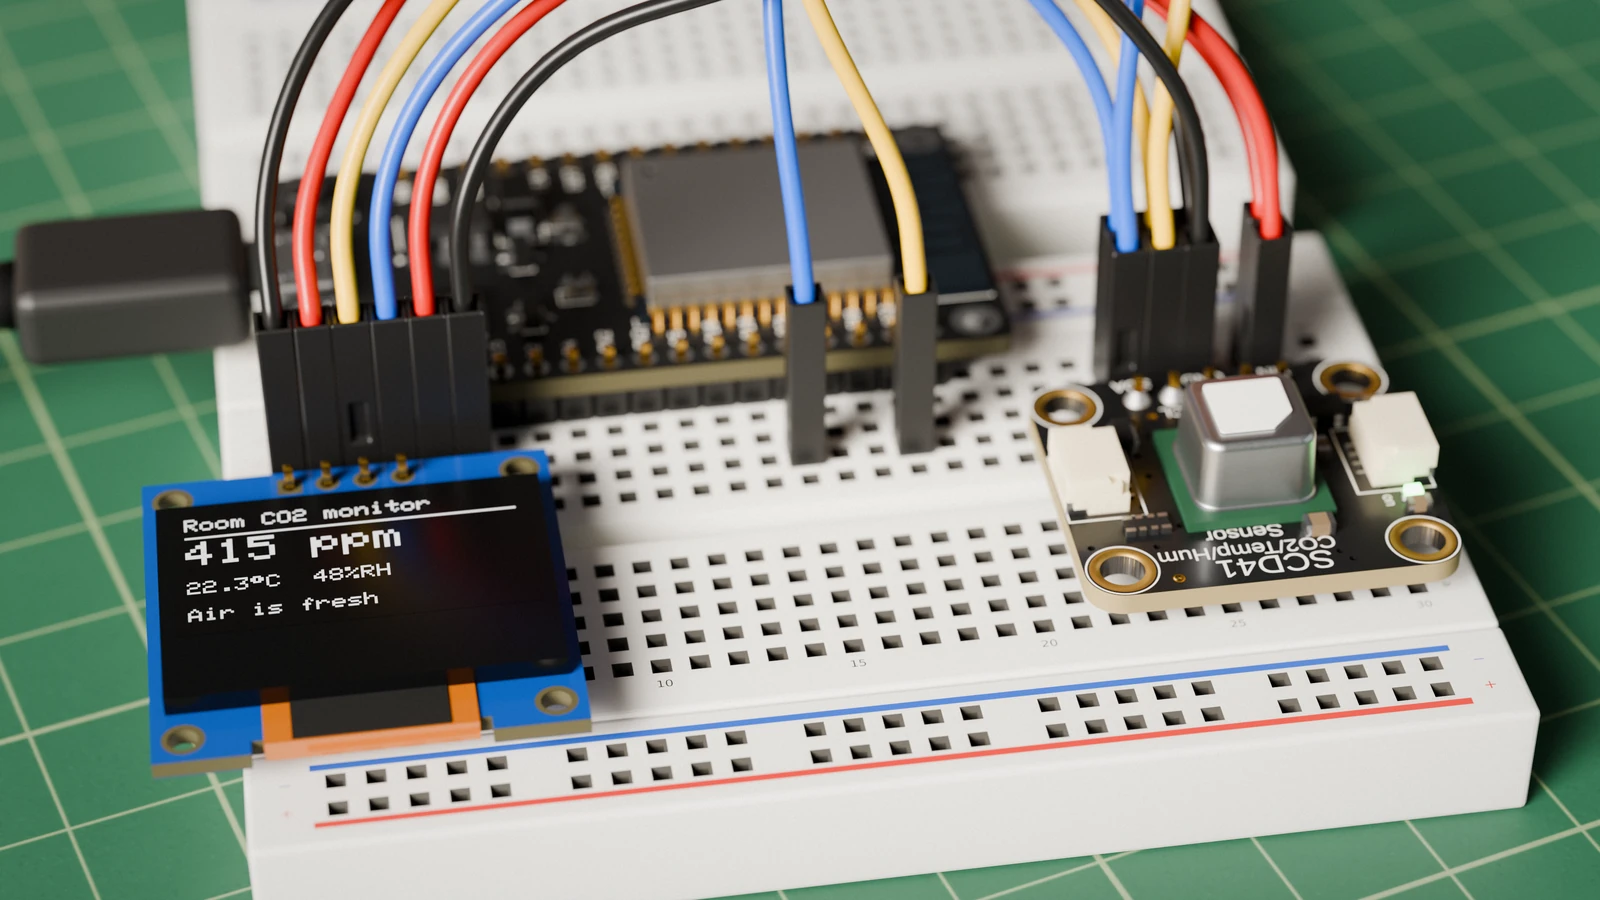
The same wiring as the air quality monitor with a different sensor: an Adafruit SCD41 and an SSD1306 OLED on GPIO21, GPIO22 and 3V3. The SCD41 measures CO2 directly instead of estimating it from other gases.
After a warm-up countdown of about two minutes, it reads every five seconds. Below 1000 ppm the screen says the air looks good. From 1000 ppm it says the air is getting stale, and from 1500 ppm it tells you to let some air in. Both limits are settings in the code, CO2_WARN_PPM and CO2_ALERT_PPM.
Build the CO2 room monitor, by Schematik. 35 minutes.
Ultrasonic parking sensor
An HC-SR04P ultrasonic sensor measures the gap to whatever is in front of it. The OLED shows the distance, and three LEDs plus a buzzer tell you how close it is: green when it's far, yellow as it gets closer, and red with faster beeps in the stop zone.
The parts: the HC-SR04P, an SSD1306 OLED, green, yellow and red LEDs with 220 Ω resistors, and a passive buzzer. The HC-SR04P runs at 3.3 V, which suits the ESP32 better than the older 5 V-only HC-SR04. Test it against a sheet of cardboard or the edge of your desk.
This build teaches timing a pulse, driving outputs and smoothing a jumpy sensor reading.
Build the ultrasonic parking sensor, by Schematik. 40 minutes.
ClawdBot tamagotchi
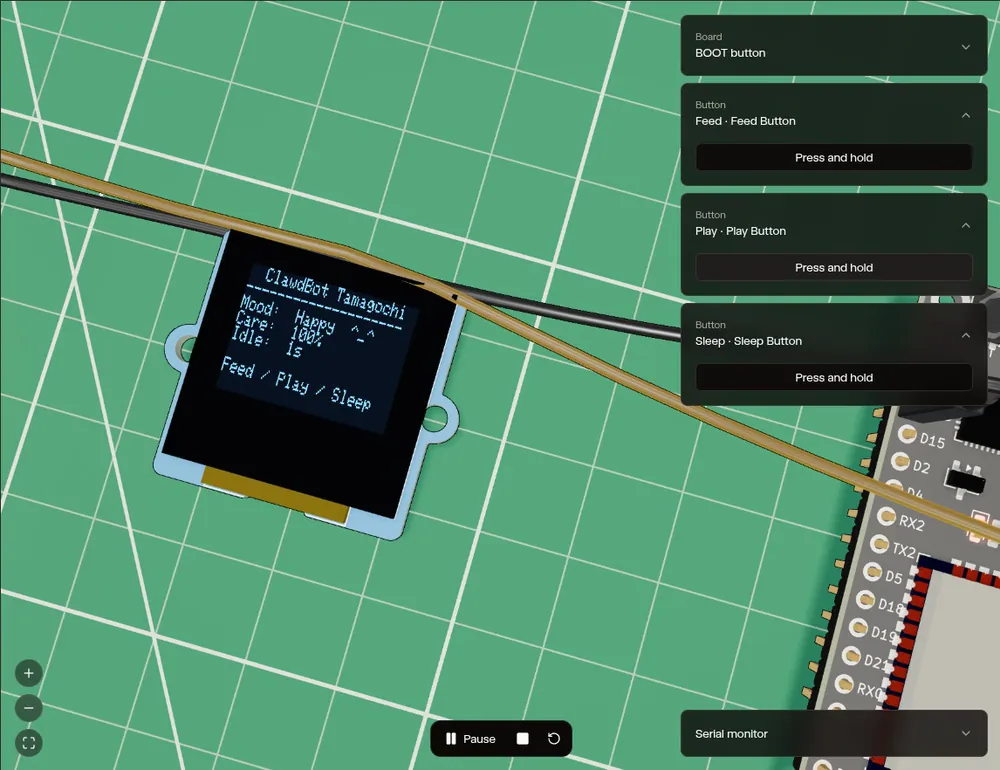
A lobster-bot pet that lives on an SSD1306 OLED. Its needs run down over time. Three buttons, Feed, Play and Sleep, look after it, and a buzzer and a status LED answer back. Leave it alone and its mood drops at 30, 60 and 90 seconds, from happy to grumpy to furious.
The parts are the OLED, three buttons, a piezo buzzer, an LED and a 220 Ω resistor. The code is where you learn something new: a state machine for the moods, debounced buttons and timers with millis() that never stop the loop.
Build the ClawdBot tamagotchi, by Schematik. 45 minutes.
Desk presence busy light
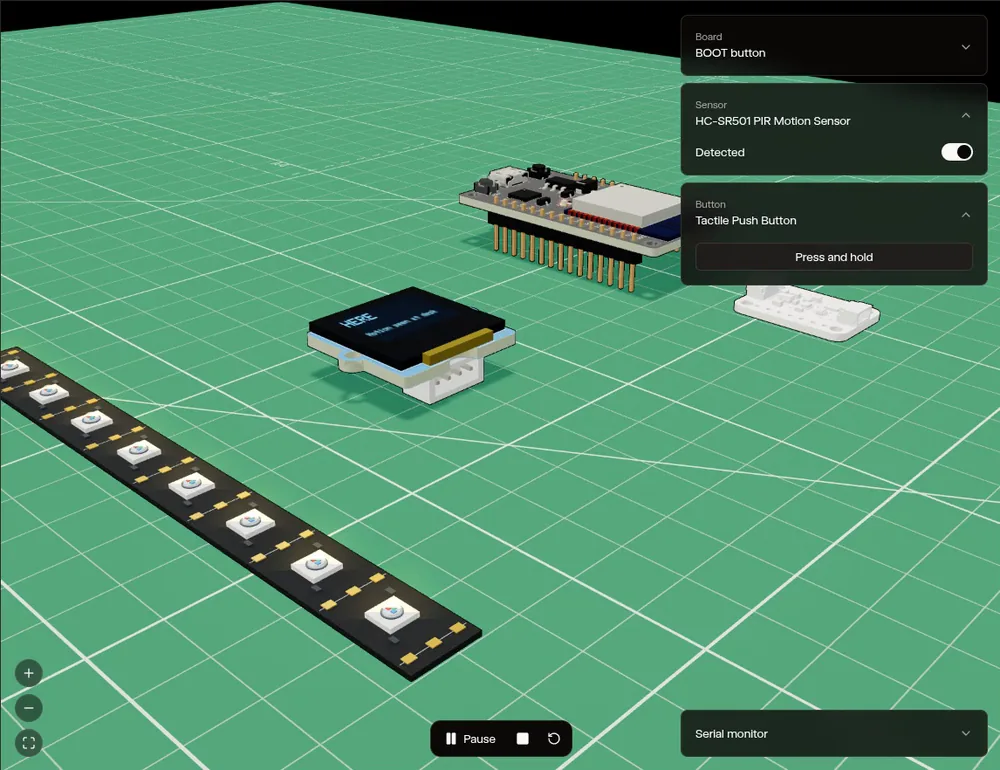
A desk sign for shared rooms. An HC-SR501 motion sensor notices you at the desk, a button switches on busy mode, the OLED says the status in words and a WS2812B LED ring shows it in colour: green for free, orange for recently active, red for busy. No Wi-Fi, app or account.
It comes last because it has the most parts. The LED ring gets its own 5 V USB-C supply with a capacitor across it, and a 74AHCT125 level shifter sits between GPIO4 and the ring's data input. Wiring that safely is the step up from everything above.
Build the desk presence busy light, by Schematik. 35 minutes.
Try them before you buy parts
The parking sensor, the ClawdBot and the busy light all run in the Schematik simulator. Your firmware runs on a 3D workbench with your parts and wires. Press a button or drag a sensor, and the screens, LEDs and serial monitor react. It runs the ESP32, ESP32-S3, ESP32-C3 and ESP32-C6, as well as Arduino Uno, Nano, Mega and Raspberry Pi Pico. Open a project, pick Preview and press Run.
Start your own
Open Schematik and describe the build you want. For example:
ESP32 DevKit, SSD1306 OLED and a BME280 on a breadboard. Show temperature, humidity and a comfort label on the screen.
Keep building from here
Jump into a step-by-step build, or open Schematik and turn your own idea into code, wiring, and assembly instructions.
Related posts
New to Hardware? A Beginner ESP32 Guide for Your First Build
A beginner ESP32 hardware guide: what to buy first, how breadboards work, what pin labels mean, and what to check before powering your first build.
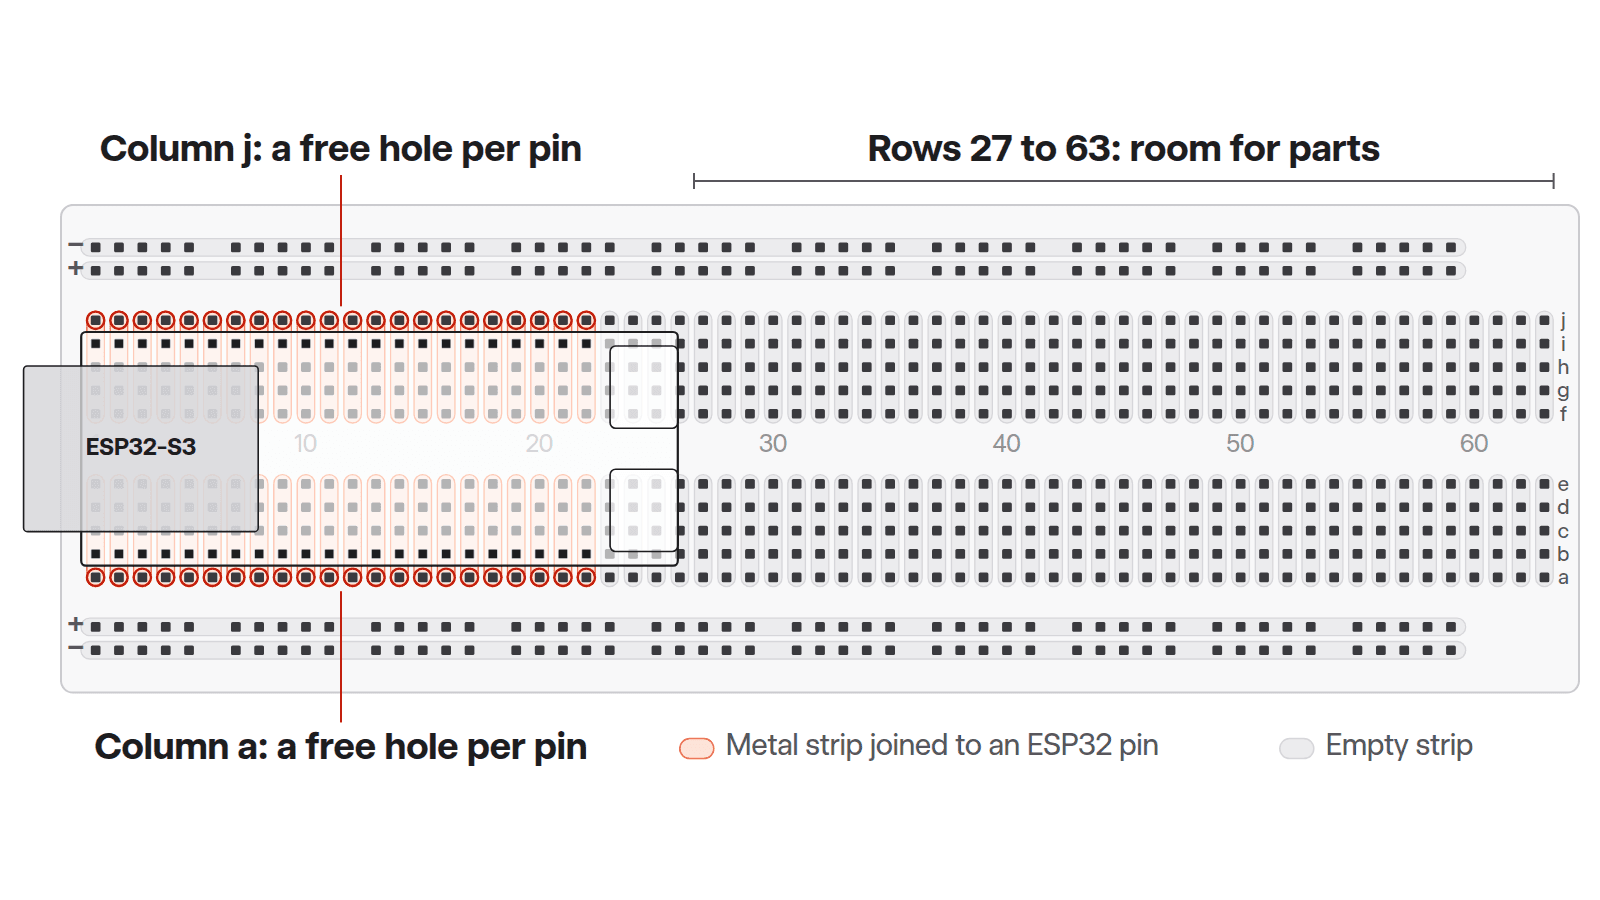
How to put an ESP32 on a breadboard and wire your first parts
Where the ESP32 goes on a breadboard, why it leaves you one free hole per pin and how to wire power, an LED and the first sensors of a room monitor.
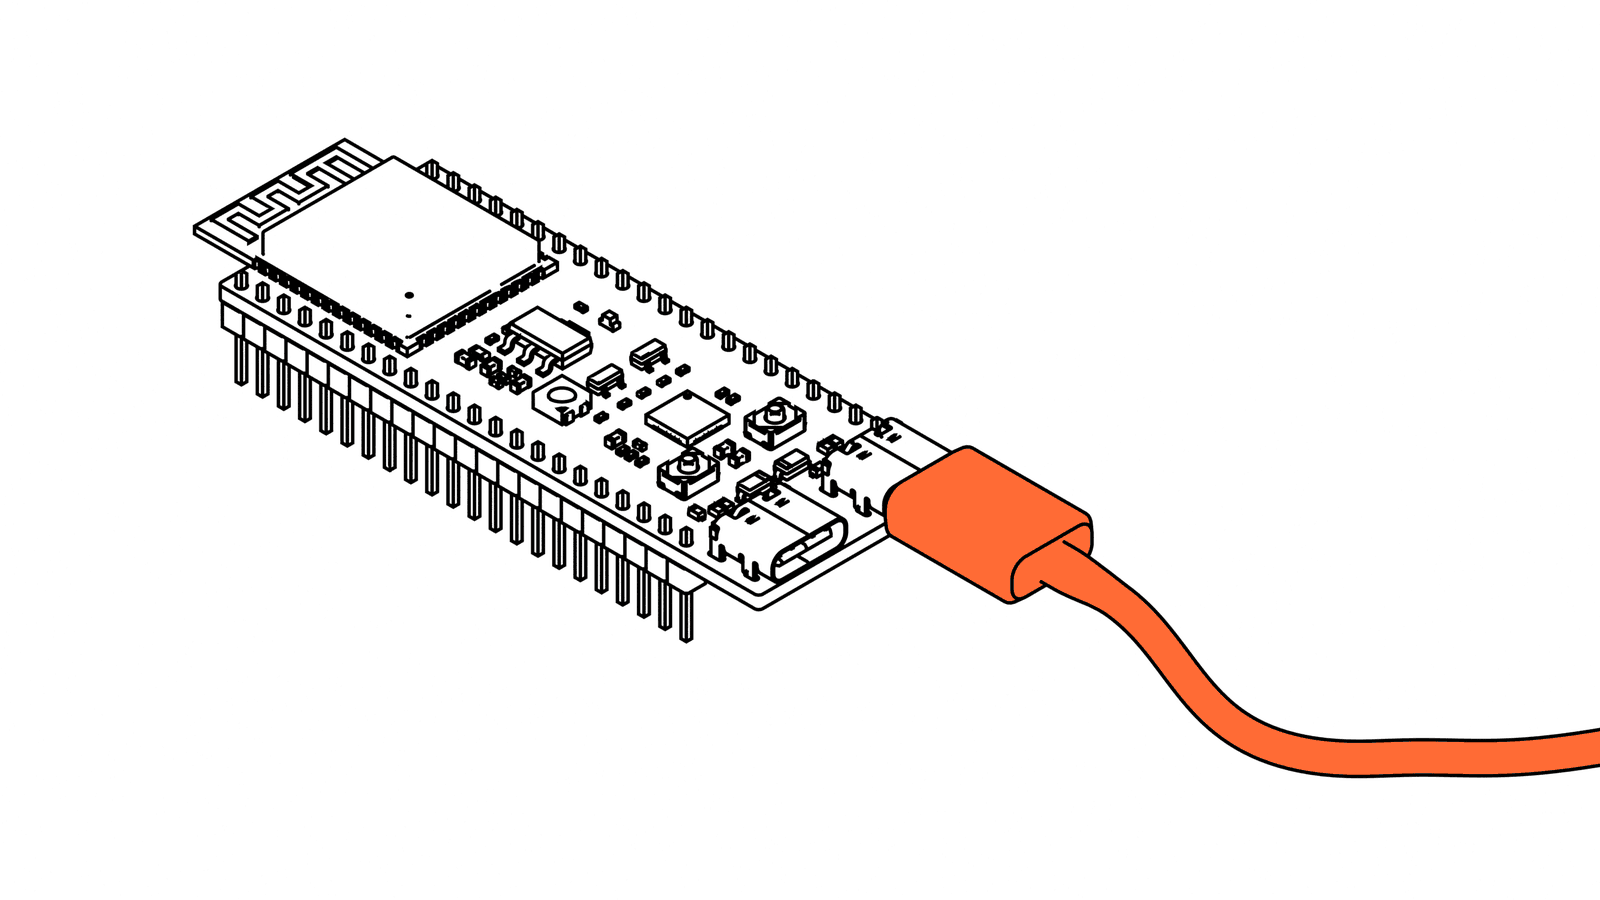
How to set up an ESP32 in the Arduino IDE, and fix a missing port
Plug in an ESP32, check your computer sees it, find its USB chip and driver, then flash your first sketch from the Arduino IDE, esptool or the browser.
Related builds
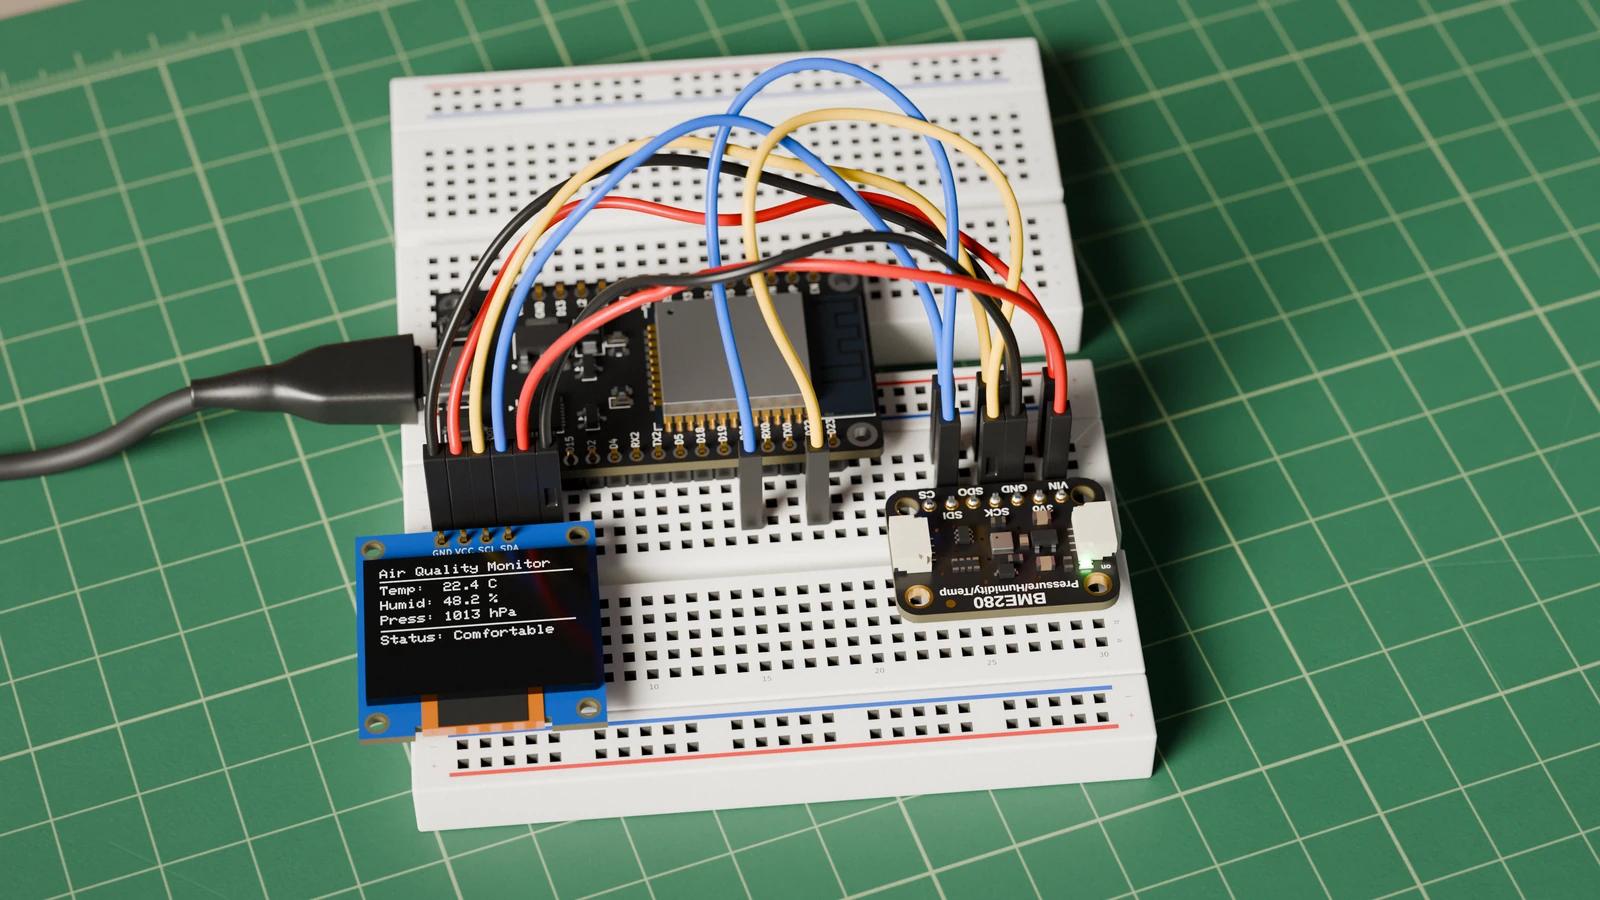
How to Build an ESP32 Air Quality Monitor with BME280
Build an ESP32 air quality monitor using a BME280 sensor and SSD1306 OLED display. Shows indoor temperature, humidity, pressure, and a simple comfort status. Complete guide with wiring, code, and assembly.
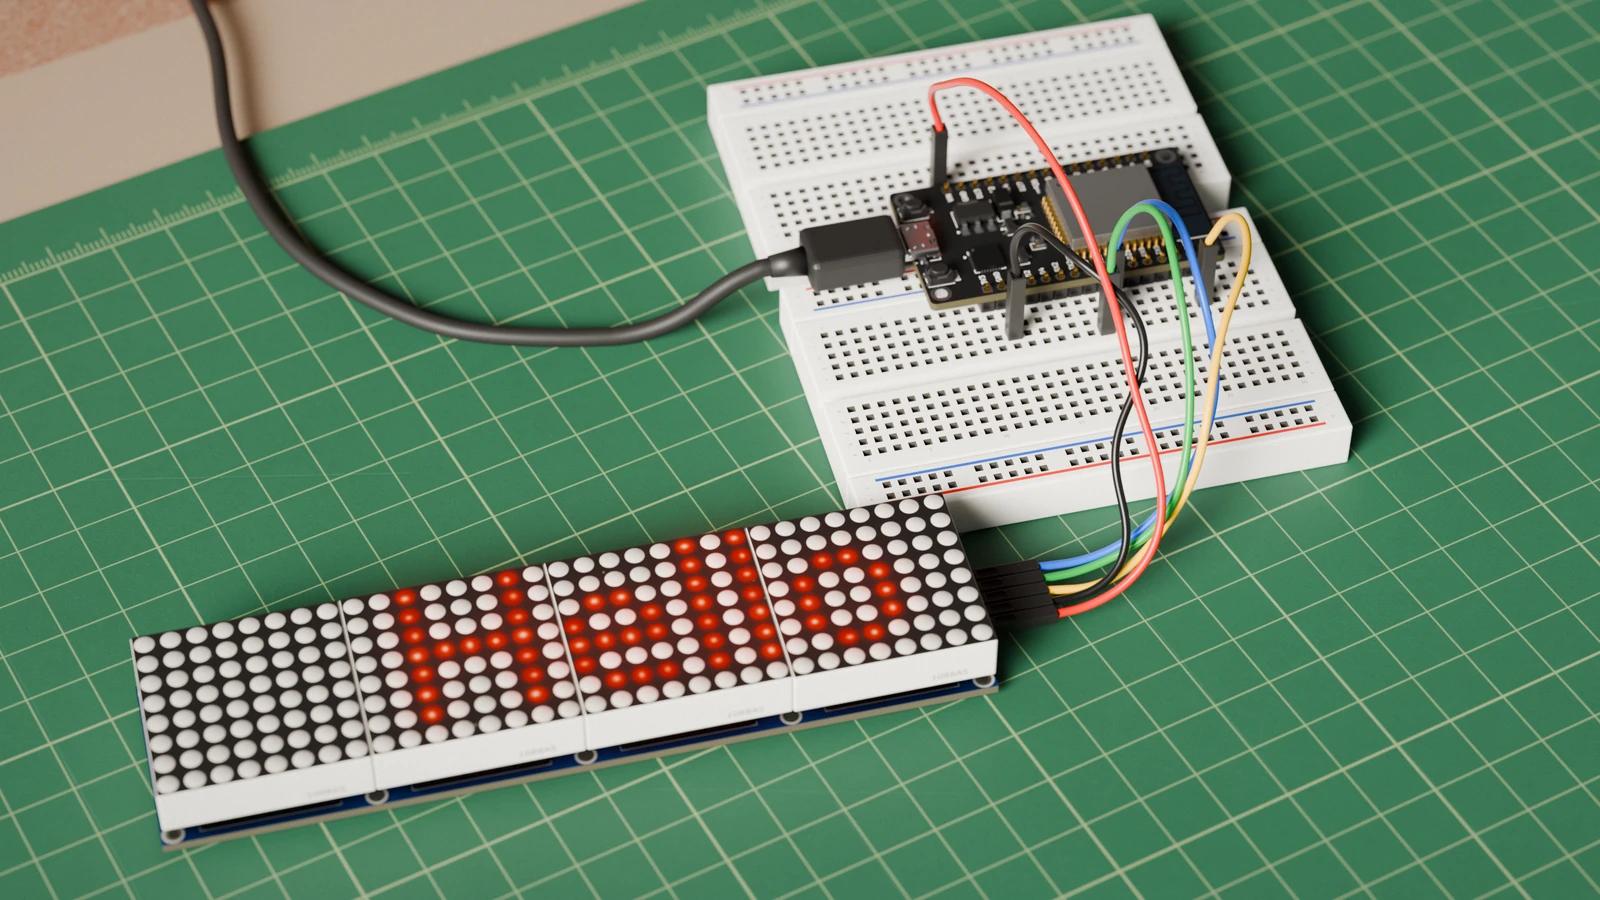
How to Build a Scrolling LED Matrix Message Board with ESP32
Step-by-step guide to building an ESP32 scrolling LED message board using a MAX7219 8x32 dot matrix module. Includes SPI wiring, MD_Parola code, and assembly instructions.
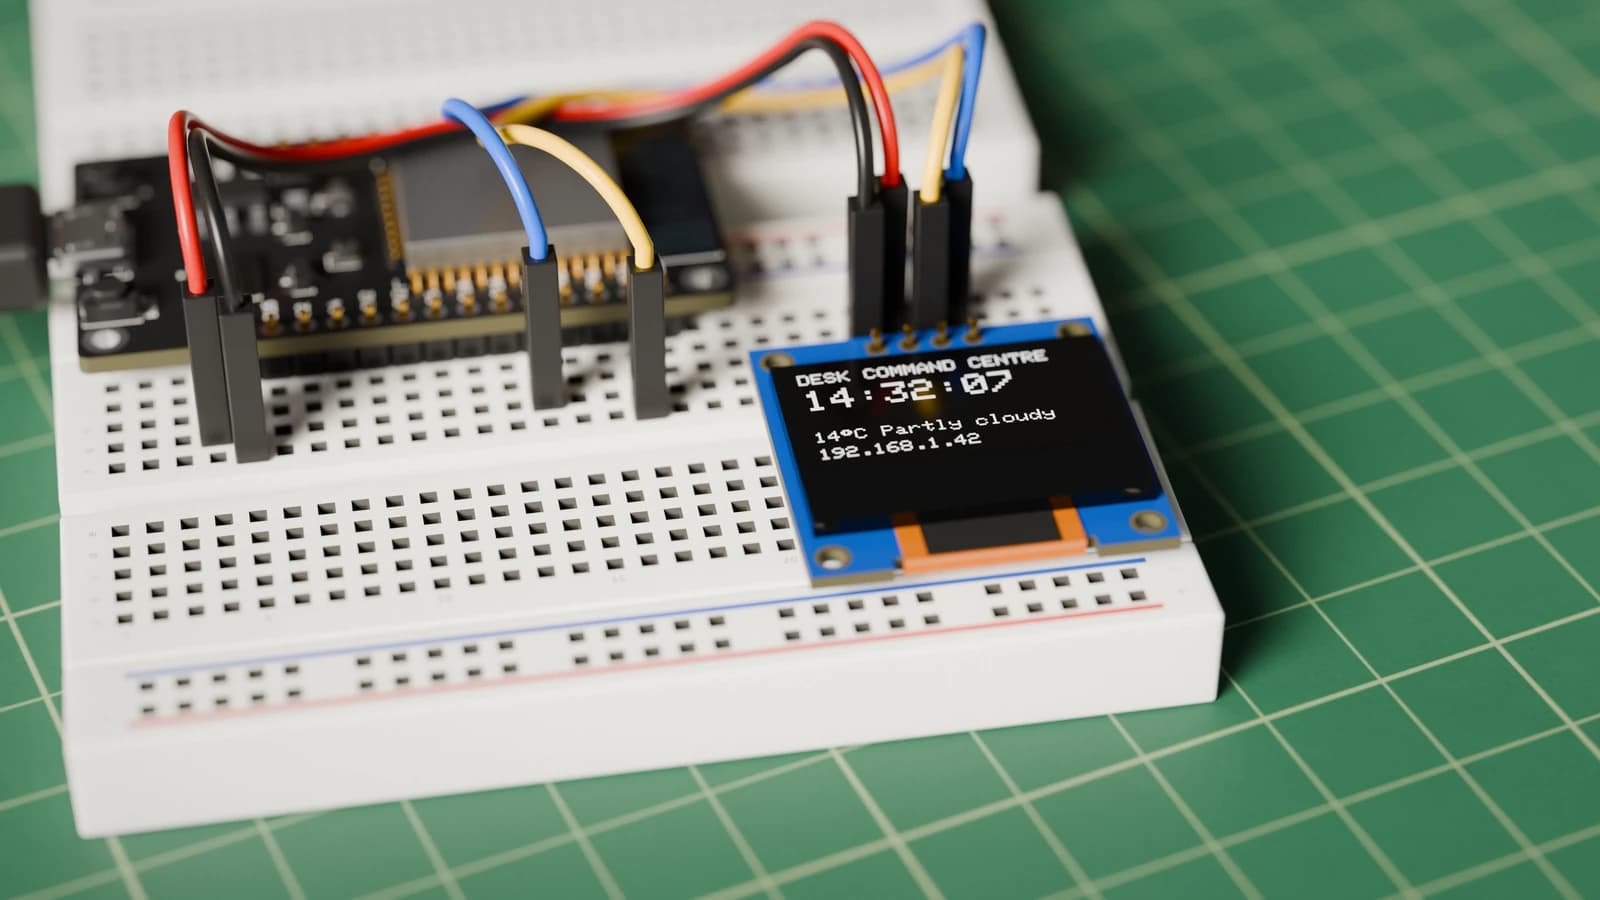
How to Build a Tiny OLED Desk Command Centre
Build an ESP32 OLED desk display with Wi-Fi, weather, time, local IP printing, and a browser page for sending messages to the screen.